
How to Use LCD Screen: Examples, Pinouts, and Specs
 Design with LCD Screen in Cirkit Designer
Introduction
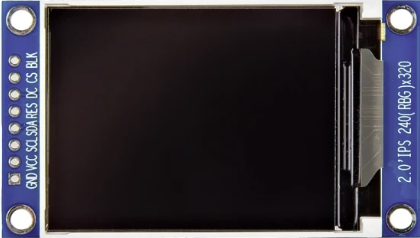
The Adafruit TFT200c 240x320 LCD Screen is a high-resolution liquid crystal display (LCD) module designed for a wide range of applications. This flat-panel display technology utilizes liquid crystals to produce sharp and vibrant images. Its compact size, lightweight design, and energy efficiency make it ideal for use in portable devices, embedded systems, and DIY electronics projects.
Explore Projects Built with LCD Screen
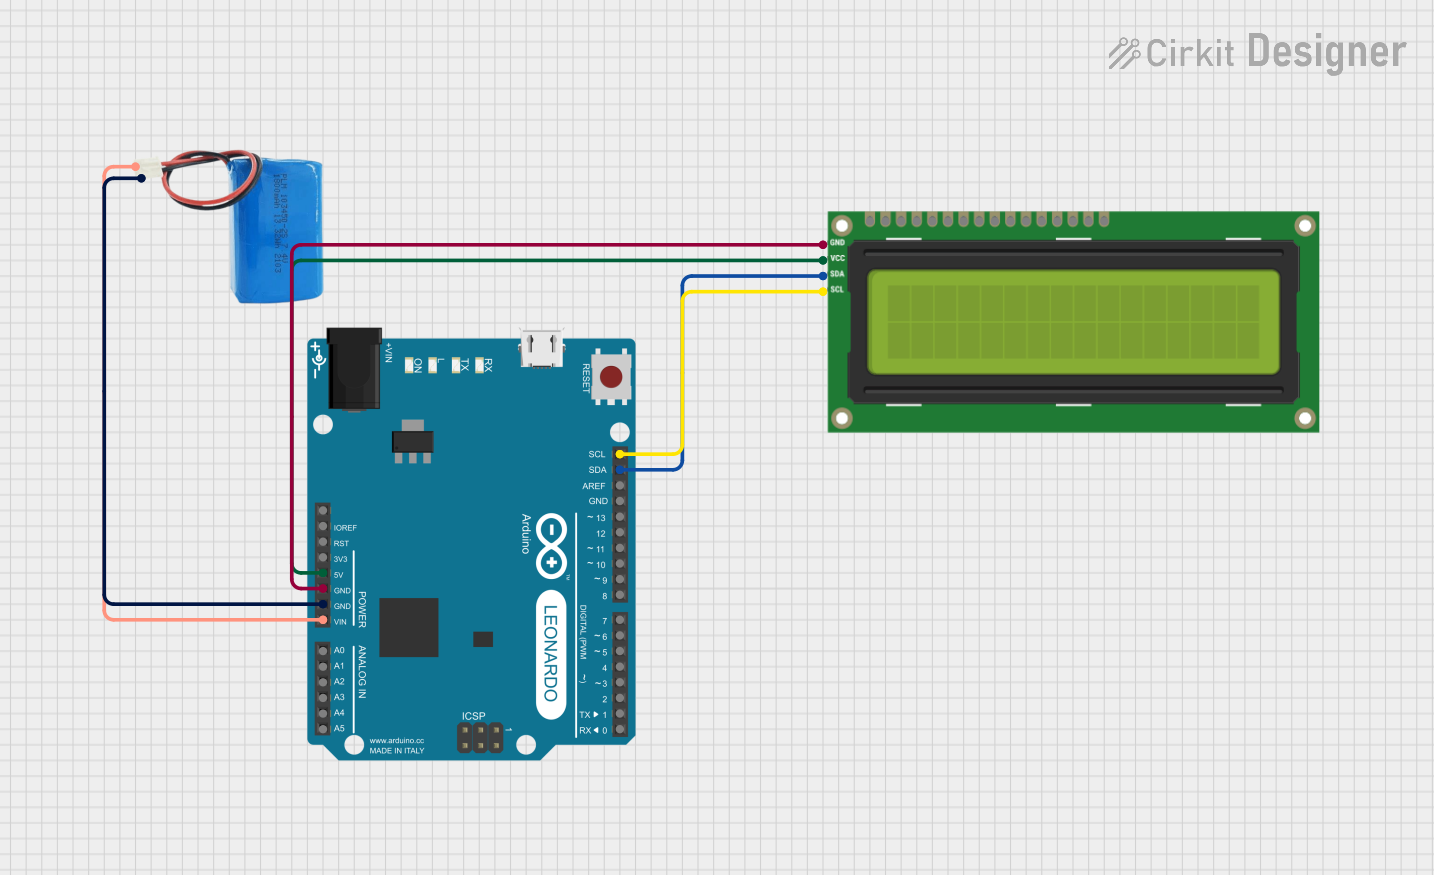 Open Project in Cirkit Designer
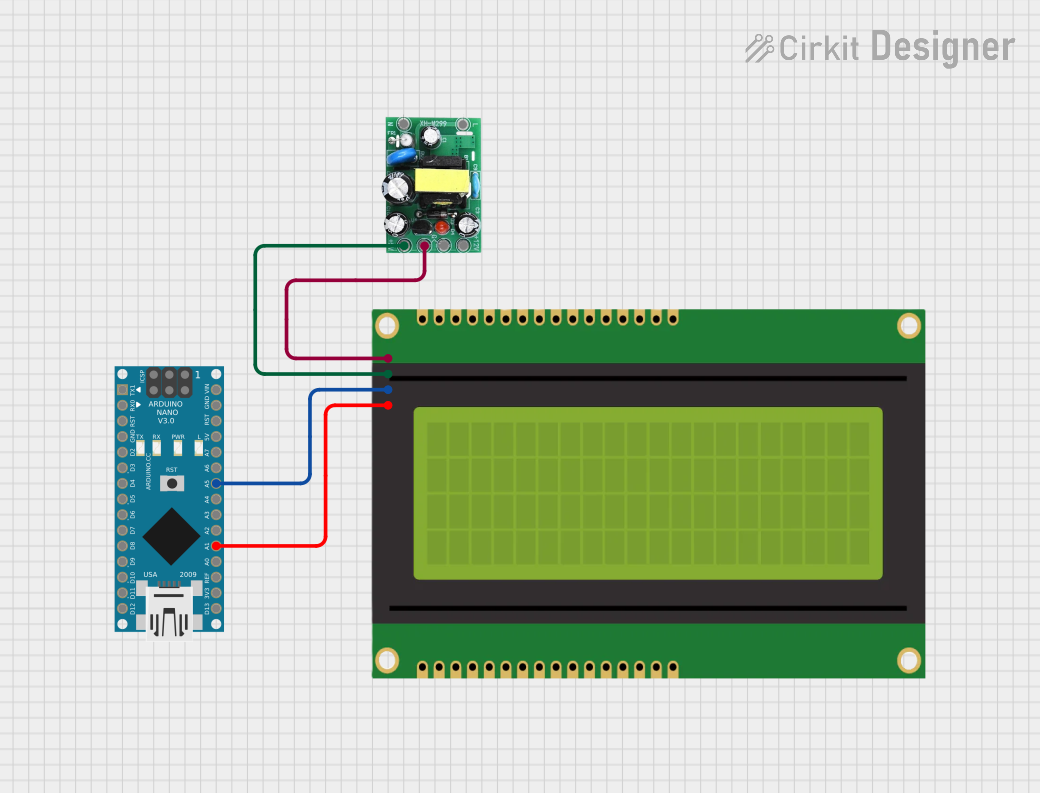 Open Project in Cirkit Designer
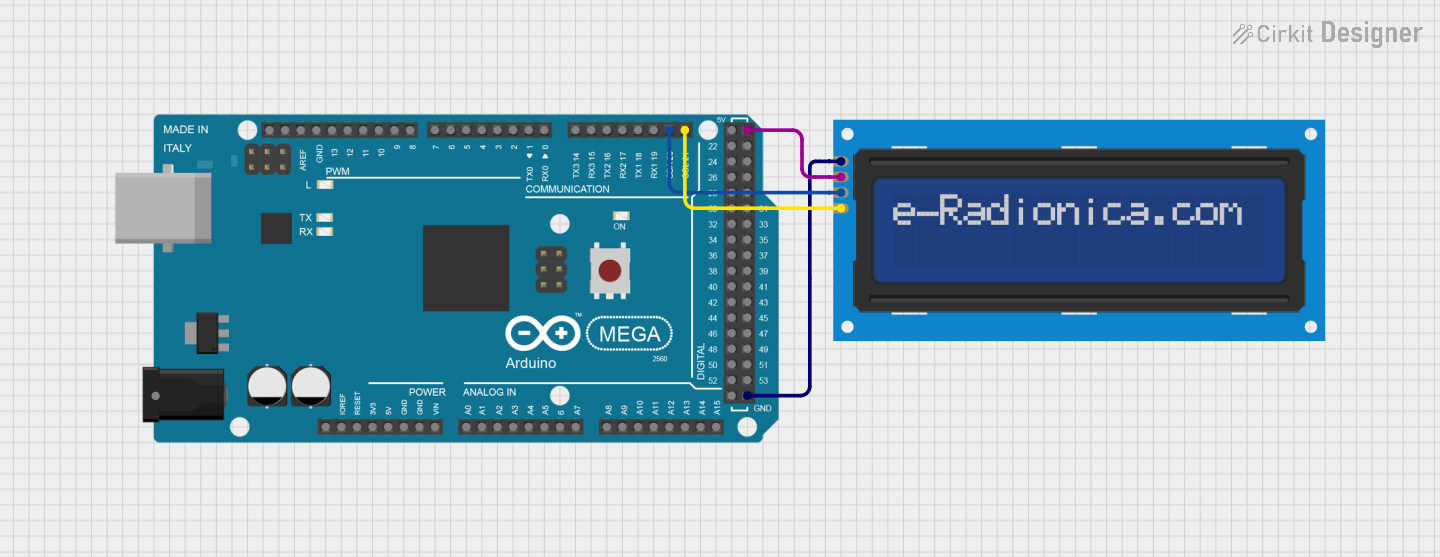 Open Project in Cirkit Designer
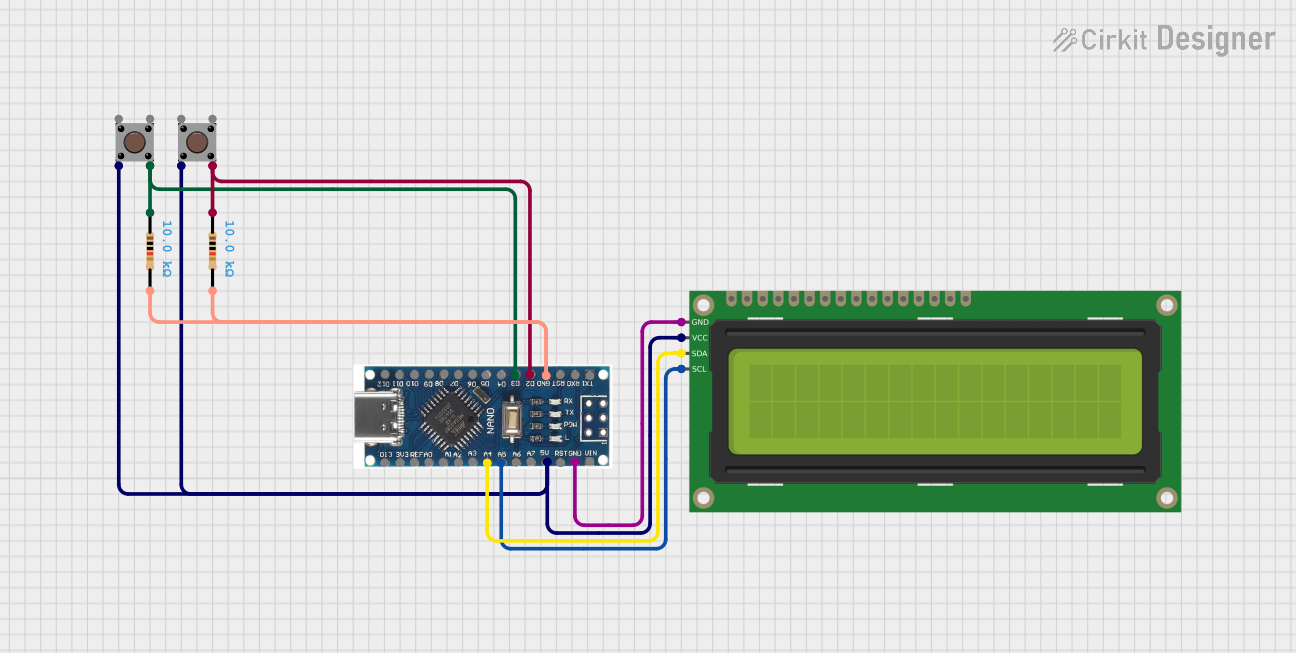 Open Project in Cirkit Designer
Explore Projects Built with LCD Screen
Open Project in Cirkit DesignerOpen Project in Cirkit DesignerOpen Project in Cirkit DesignerOpen Project in Cirkit DesignerCommon Applications and Use Cases
- Portable devices such as handheld gaming consoles and digital cameras
- Embedded systems and microcontroller-based projects
- Graphical user interfaces (GUIs) for IoT devices
- Educational and prototyping purposes
- Industrial control panels and instrumentation displays
Technical Specifications
The following table outlines the key technical details of the Adafruit TFT200c 240x320 LCD Screen:
| Specification | Details |
|---|---|
| Manufacturer | Adafruit |
| Part ID | TFT200c |
| Display Resolution | 240 x 320 pixels |
| Display Type | TFT LCD |
| Screen Size | 2.0 inches |
| Interface | SPI (Serial Peripheral Interface) |
| Operating Voltage | 3.3V to 5V |
| Backlight | LED |
| Viewing Angle | 160° |
| Operating Temperature | -20°C to 70°C |
| Dimensions | 42mm x 60mm x 5mm |
Pin Configuration and Descriptions
The Adafruit TFT200c LCD Screen features the following pin configuration:
| Pin | Name | Description |
|---|---|---|
| 1 | VCC | Power supply input (3.3V to 5V). |
| 2 | GND | Ground connection. |
| 3 | CS | Chip Select pin for SPI communication. |
| 4 | RESET | Reset pin to initialize the display. |
| 5 | DC | Data/Command pin to differentiate between data and command signals. |
| 6 | MOSI | Master Out Slave In (SPI data input). |
| 7 | SCK | Serial Clock for SPI communication. |
| 8 | LED | Backlight control pin (connect to 3.3V or 5V for constant backlight). |
Usage Instructions
How to Use the Component in a Circuit
- Power Supply: Connect the VCC pin to a 3.3V or 5V power source and the GND pin to the ground.
- SPI Communication: Connect the CS, MOSI, and SCK pins to the corresponding SPI pins on your microcontroller.
- Backlight Control: Connect the LED pin to 3.3V or 5V for constant backlight, or use a PWM pin for adjustable brightness.
- Initialization: Use the RESET pin to initialize the display during startup.
- Data/Command Control: Use the DC pin to toggle between sending data and commands.
Important Considerations and Best Practices
- Ensure the operating voltage matches the specifications (3.3V to 5V) to avoid damage.
- Use level shifters if your microcontroller operates at 5V logic levels and the LCD requires 3.3V logic.
- Avoid exposing the screen to extreme temperatures or direct sunlight for prolonged periods.
- Use a decoupling capacitor (e.g., 0.1µF) near the VCC and GND pins to reduce noise.
Example Code for Arduino UNO
Below is an example code snippet to interface the Adafruit TFT200c LCD Screen with an Arduino UNO using the Adafruit GFX and Adafruit ST7735 libraries:
#include <Adafruit_GFX.h>    // Core graphics library
#include <Adafruit_ST7735.h> // Library for the TFT LCD

// Define pin connections
#define TFT_CS     10  // Chip Select pin
#define TFT_RST    9   // Reset pin
#define TFT_DC     8   // Data/Command pin

// Initialize the display object
Adafruit_ST7735 tft = Adafruit_ST7735(TFT_CS, TFT_DC, TFT_RST);

void setup() {
  // Initialize the serial monitor
  Serial.begin(9600);
  Serial.println("Initializing TFT LCD...");

  // Initialize the display
  tft.initR(INITR_BLACKTAB); // Use the appropriate initialization for your display
  tft.fillScreen(ST77XX_BLACK); // Clear the screen with black color

  // Display a message
  tft.setTextColor(ST77XX_WHITE); // Set text color to white
  tft.setTextSize(2);             // Set text size
  tft.setCursor(10, 10);          // Set cursor position
  tft.println("Hello, World!");   // Print message
}

void loop() {
  // Add your code here for dynamic updates
}
Troubleshooting and FAQs
Common Issues and Solutions
No Display Output:
- Ensure all connections are secure and match the pin configuration.
- Verify that the power supply voltage is within the specified range (3.3V to 5V).
- Check the initialization code for compatibility with the Adafruit TFT200c.
Flickering or Dim Backlight:
- Ensure the LED pin is connected to a stable power source or a properly configured PWM pin.
- Check for loose connections or insufficient power supply.
Incorrect or Garbled Display:
- Verify the SPI connections (CS, MOSI, SCK) and ensure they are correctly mapped to the microcontroller.
- Confirm that the correct initialization sequence is used in the code.
Touchscreen Not Responding (if applicable):
- Ensure the touchscreen library is included and properly configured.
- Check the touchscreen pins and connections.
FAQs
Q: Can I use this LCD screen with a Raspberry Pi?
A: Yes, the Adafruit TFT200c can be used with a Raspberry Pi. You will need to configure the SPI interface and use compatible libraries such as Pillow or ST7735.
Q: What is the maximum frame rate supported by this display?
A: The frame rate depends on the SPI clock speed and the microcontroller's processing power. Typically, it can achieve up to 30 FPS with optimized code.
Q: Can I adjust the brightness of the backlight?
A: Yes, you can control the backlight brightness using a PWM pin on your microcontroller connected to the LED pin.
Q: Is this display compatible with 5V logic?
A: The display operates at 3.3V logic. If your microcontroller uses 5V logic, you will need level shifters to avoid damage.