How to Use Módulo Sensor Nivel De Agua Deteccion De Lluvia Clima: Examples, Pinouts, and Specs
Introduction
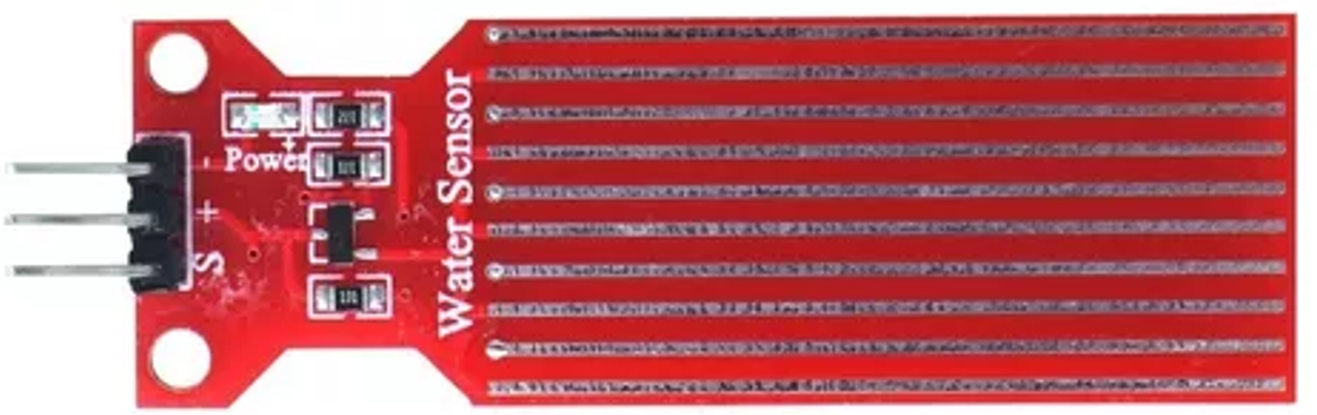
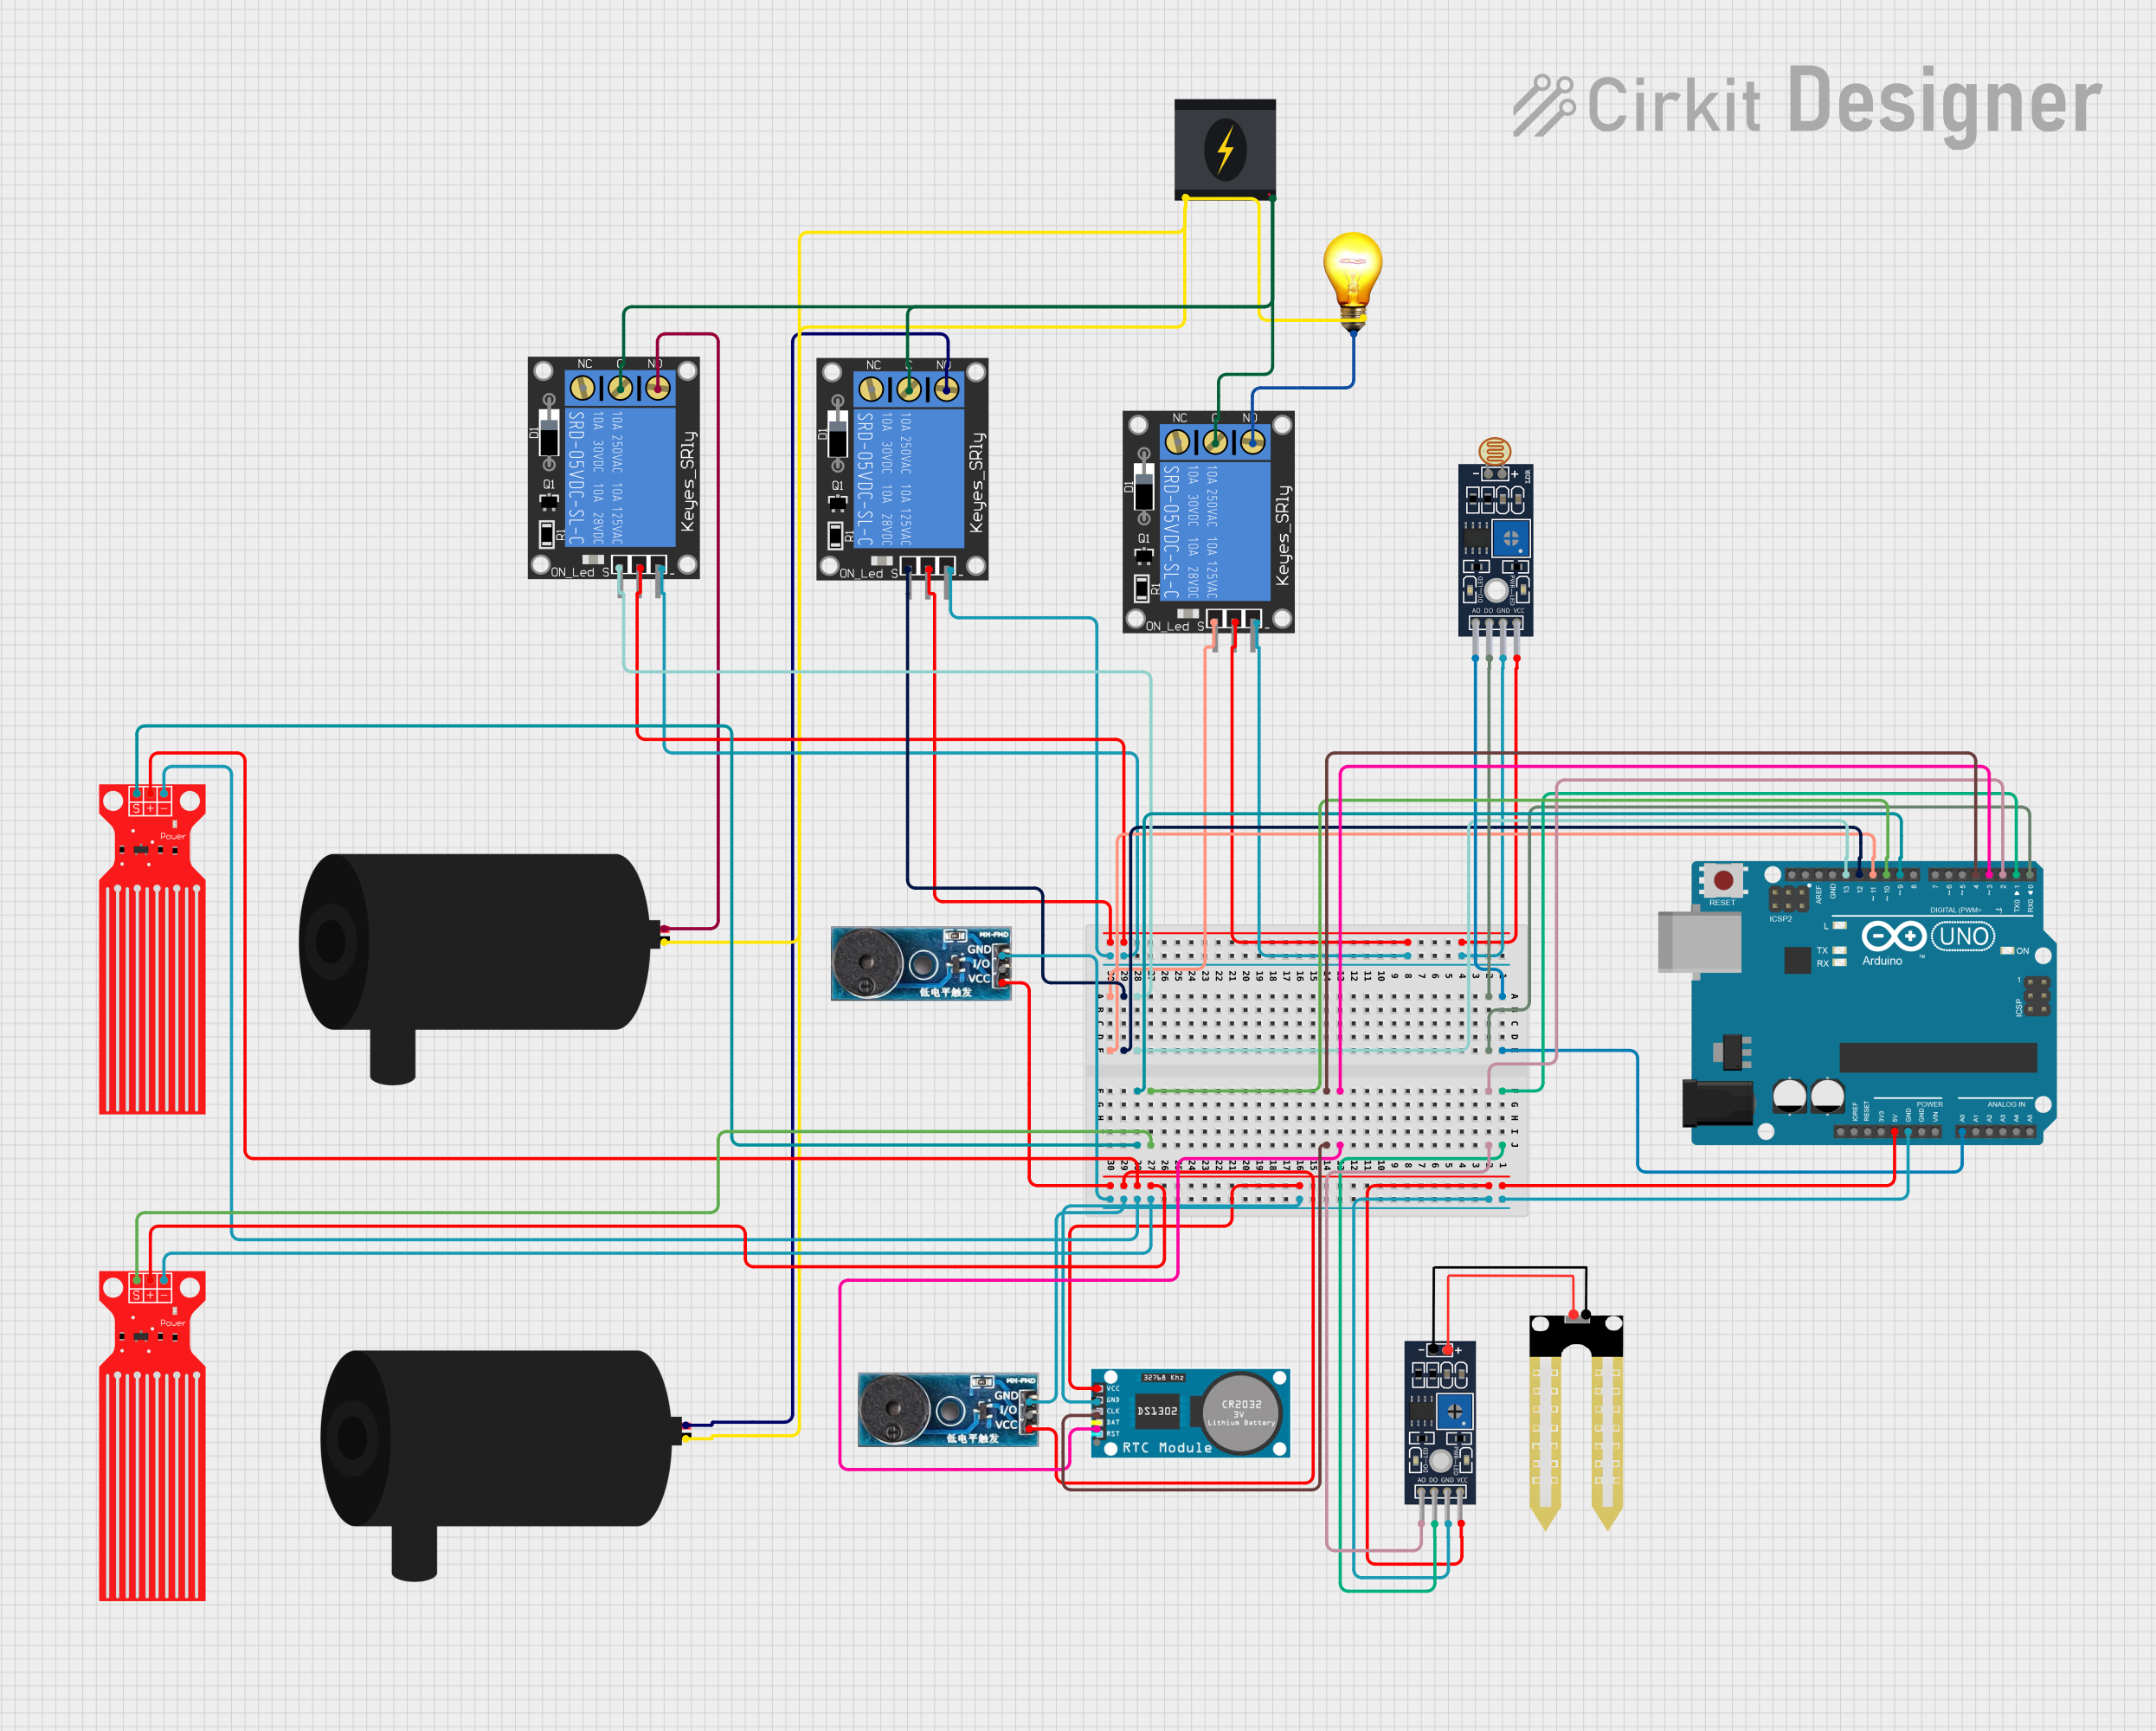
The Módulo Sensor Nivel De Agua Detección De Lluvia Clima (Yl-83), manufactured by ESP32, is a water level sensor module designed to detect rain and monitor water levels. It is commonly used in weather stations, irrigation systems, and other environmental monitoring applications. The module provides an easy way to automate responses based on environmental conditions, such as triggering alerts during rainfall or controlling water pumps in irrigation systems.
This sensor is ideal for projects requiring real-time water level or rain detection, making it a popular choice for hobbyists and professionals alike.
Explore Projects Built with Módulo Sensor Nivel De Agua Deteccion De Lluvia Clima
Explore Projects Built with Módulo Sensor Nivel De Agua Deteccion De Lluvia Clima
Common Applications:
- Weather monitoring stations
- Smart irrigation systems
- Rain detection for automated systems
- Water level monitoring in tanks or reservoirs
- Environmental data logging projects
Technical Specifications
Key Technical Details:
- Operating Voltage: 3.3V to 5V DC
- Output Type: Analog and Digital
- Current Consumption: < 20mA
- Detection Area: 40mm x 60mm (sensor board)
- Output Signal:
- Digital Output (DO): High/Low signal based on threshold
- Analog Output (AO): Proportional to water level or rain intensity
- Adjustable Sensitivity: Via onboard potentiometer
- Dimensions:
- Control Board: 30mm x 16mm
- Sensor Board: 40mm x 60mm
Pin Configuration and Descriptions:
The module consists of two parts: the sensor board and the control board. The control board has the following pin configuration:
| Pin Name | Type | Description |
|---|---|---|
| VCC | Power Input | Connect to 3.3V or 5V DC power supply. |
| GND | Ground | Connect to the ground of the power supply. |
| DO | Digital Output | Outputs HIGH (1) or LOW (0) based on the threshold set by the potentiometer. |
| AO | Analog Output | Outputs an analog voltage proportional to the water level or rain intensity. |
Usage Instructions
How to Use the Component in a Circuit:
- Power the Module: Connect the
VCCpin to a 3.3V or 5V power source and theGNDpin to ground. - Connect Outputs:
- For digital output, connect the
DOpin to a digital input pin on your microcontroller. - For analog output, connect the
AOpin to an analog input pin on your microcontroller.
- For digital output, connect the
- Adjust Sensitivity: Use the onboard potentiometer to set the desired sensitivity for rain or water level detection.
- Place the Sensor Board: Position the sensor board in the area where rain or water level detection is required. Ensure the board is securely mounted and exposed to the environment for accurate readings.
Important Considerations and Best Practices:
- Avoid Submersion: The sensor board is designed to detect water on its surface, not for full submersion in water.
- Protect the Control Board: Ensure the control board is kept dry and away from water to prevent damage.
- Calibrate Sensitivity: Adjust the potentiometer to fine-tune the detection threshold based on your specific application.
- Use Pull-Up Resistors: If connecting the digital output to a microcontroller, consider using pull-up resistors for stable signal readings.
Example Code for Arduino UNO:
Below is an example code snippet to interface the Yl-83 module with an Arduino UNO:
// Define pin connections
const int digitalPin = 2; // Digital output (DO) from the sensor
const int analogPin = A0; // Analog output (AO) from the sensor

void setup() {
  pinMode(digitalPin, INPUT); // Set digital pin as input
  Serial.begin(9600); // Initialize serial communication
}

void loop() {
  // Read digital output
  int digitalValue = digitalRead(digitalPin);

  // Read analog output
  int analogValue = analogRead(analogPin);

  // Print values to the Serial Monitor
  Serial.print("Digital Output: ");
  Serial.println(digitalValue); // 1 = Dry, 0 = Wet

  Serial.print("Analog Output: ");
  Serial.println(analogValue); // Proportional to water level/rain intensity

  delay(500); // Wait for 500ms before next reading
}
Troubleshooting and FAQs
Common Issues and Solutions:
No Output Signal:
- Cause: Incorrect wiring or insufficient power supply.
- Solution: Double-check all connections and ensure the module is powered with 3.3V or 5V.
Inconsistent Readings:
- Cause: Sensitivity not properly calibrated.
- Solution: Adjust the potentiometer to fine-tune the detection threshold.
Control Board Damage:
- Cause: Exposure to water or moisture.
- Solution: Ensure the control board is placed in a dry, protected area.
Analog Output Not Changing:
- Cause: Sensor board not properly exposed to water or rain.
- Solution: Verify the placement of the sensor board and ensure it is in contact with water or rain.
FAQs:
Q: Can the sensor board be submerged in water?
A: No, the sensor board is designed for surface water detection only. Submersion may damage the module.Q: How do I increase the sensitivity of the sensor?
A: Use the onboard potentiometer to adjust the sensitivity. Turn it clockwise to increase sensitivity and counterclockwise to decrease it.Q: Can this module be used with a 3.3V microcontroller like ESP32?
A: Yes, the module is compatible with both 3.3V and 5V systems, including ESP32 and Arduino.Q: What is the difference between the digital and analog outputs?
A: The digital output provides a HIGH/LOW signal based on the threshold, while the analog output gives a proportional voltage representing water level or rain intensity.
This documentation provides a comprehensive guide to using the Módulo Sensor Nivel De Agua Detección De Lluvia Clima (Yl-83). By following the instructions and best practices, you can effectively integrate this sensor into your projects for reliable water level and rain detection.