
How to Use SCD41: Examples, Pinouts, and Specs
 Design with SCD41 in Cirkit Designer
Introduction
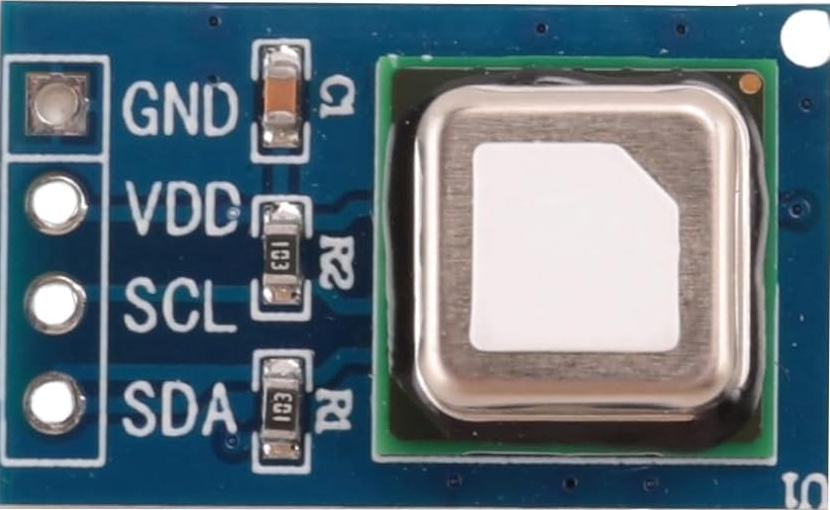
The SCD41 is a digital sensor manufactured by Adafruit for measuring carbon dioxide (CO2), temperature, and humidity. It employs non-dispersive infrared (NDIR) technology for CO2 detection, ensuring precise and reliable measurements. This sensor is ideal for applications such as indoor air quality monitoring, HVAC systems, greenhouses, and smart home devices. Its compact design and digital interface make it easy to integrate into various projects.
Explore Projects Built with SCD41
 Open Project in Cirkit Designer
 Open Project in Cirkit Designer
 Open Project in Cirkit Designer
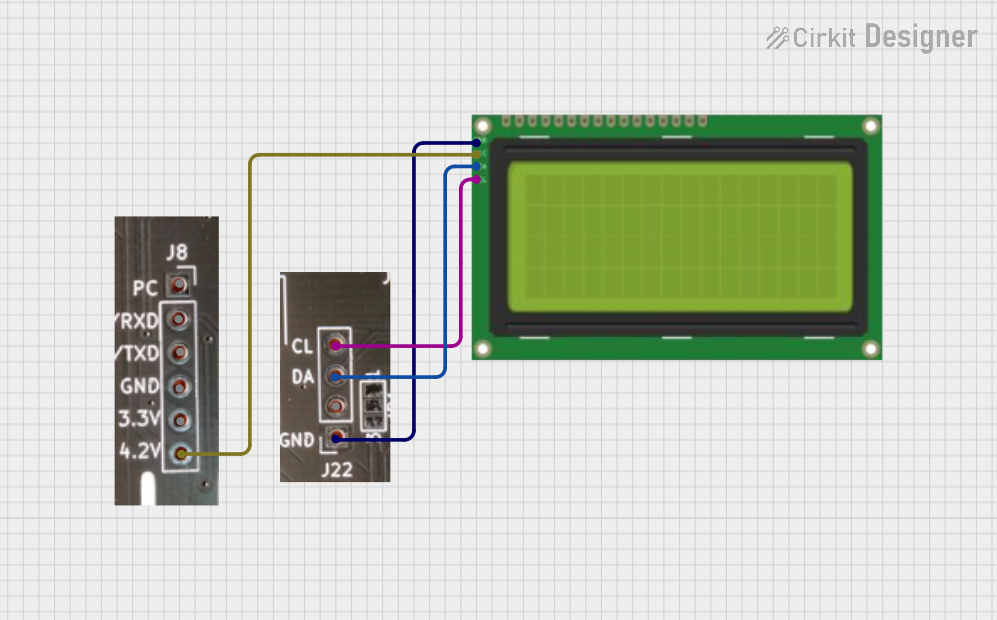 Open Project in Cirkit Designer
Explore Projects Built with SCD41
Open Project in Cirkit DesignerOpen Project in Cirkit DesignerOpen Project in Cirkit DesignerOpen Project in Cirkit DesignerTechnical Specifications
The SCD41 sensor offers high accuracy and a wide measurement range, making it suitable for demanding applications. Below are the key technical details:
Key Specifications
| Parameter | Value |
|---|---|
| CO2 Measurement Range | 400 ppm to 5000 ppm |
| CO2 Accuracy | ±(40 ppm + 5% of reading) |
| Temperature Range | -10°C to 60°C |
| Temperature Accuracy | ±0.8°C |
| Humidity Range | 0% to 100% RH |
| Humidity Accuracy | ±5% RH |
| Supply Voltage | 3.3V to 5V |
| Interface | I2C |
| Power Consumption | 2 mA (typical) |
| Dimensions | 10.1 mm x 10.1 mm x 6.5 mm |
Pin Configuration
The SCD41 sensor has a simple pinout for easy integration. Below is the pin configuration:
| Pin Name | Description |
|---|---|
| VIN | Power supply input (3.3V to 5V) |
| GND | Ground |
| SDA | I2C data line |
| SCL | I2C clock line |
Usage Instructions
The SCD41 sensor is straightforward to use in a circuit, especially with microcontrollers like the Arduino UNO. Follow the steps below to integrate and use the sensor:
Connecting the SCD41 to an Arduino UNO
- Power the Sensor: Connect the
VINpin of the SCD41 to the 5V pin on the Arduino UNO and theGNDpin to the Arduino's GND. - I2C Communication: Connect the
SDApin of the SCD41 to the Arduino's A4 pin (SDA) and theSCLpin to the A5 pin (SCL). - Install Required Libraries: Install the Adafruit SCD4x library from the Arduino Library Manager for easy communication with the sensor.
Sample Arduino Code
Below is an example Arduino sketch to read CO2, temperature, and humidity data from the SCD41:
#include <Wire.h>
#include "Adafruit_SCD4x.h"

// Create an instance of the SCD4x sensor
Adafruit_SCD4x scd4x;

void setup() {
  Serial.begin(115200);
  while (!Serial) delay(10); // Wait for Serial Monitor to open

  Serial.println("Initializing SCD41 sensor...");

  if (!scd4x.begin()) {
    Serial.println("Failed to find SCD41 sensor. Check wiring!");
    while (1) delay(10);
  }

  Serial.println("SCD41 sensor initialized successfully!");

  // Start periodic measurement
  if (!scd4x.startPeriodicMeasurement()) {
    Serial.println("Failed to start periodic measurement!");
    while (1) delay(10);
  }
}

void loop() {
  // Wait for a new measurement to be available
  delay(5000);

  float co2, temperature, humidity;
  if (scd4x.getEvent(&co2, &temperature, &humidity)) {
    Serial.print("CO2: ");
    Serial.print(co2);
    Serial.println(" ppm");

    Serial.print("Temperature: ");
    Serial.print(temperature);
    Serial.println(" °C");

    Serial.print("Humidity: ");
    Serial.print(humidity);
    Serial.println(" %RH");
  } else {
    Serial.println("Failed to read data from SCD41 sensor!");
  }
}
Important Considerations
- Power Supply: Ensure the sensor is powered within its specified voltage range (3.3V to 5V).
- I2C Address: The default I2C address of the SCD41 is
0x62. Ensure no other devices on the I2C bus conflict with this address. - Warm-Up Time: Allow the sensor to stabilize for a few minutes after powering it on for accurate readings.
- Ventilation: Place the sensor in a well-ventilated area to avoid CO2 buildup around the sensor, which could affect readings.
Troubleshooting and FAQs
Common Issues
Sensor Not Detected
- Cause: Incorrect wiring or I2C address conflict.
- Solution: Double-check the wiring and ensure the I2C address matches the library settings.
Inaccurate Readings
- Cause: Insufficient warm-up time or poor ventilation.
- Solution: Allow the sensor to stabilize for a few minutes and ensure proper airflow around the sensor.
Failed to Start Periodic Measurement
- Cause: Sensor initialization issue.
- Solution: Restart the system and ensure the sensor is properly connected.
FAQs
Q: Can the SCD41 measure outdoor air quality?
A: The SCD41 is optimized for indoor air quality applications. Outdoor use may expose it to extreme conditions beyond its operating range.
Q: How often should I calibrate the sensor?
A: The SCD41 features automatic self-calibration. However, for best results, expose the sensor to fresh air periodically.
Q: Can I use the SCD41 with a 3.3V microcontroller?
A: Yes, the SCD41 supports a supply voltage range of 3.3V to 5V, making it compatible with 3.3V microcontrollers like the ESP32.
By following this documentation, you can effectively integrate and use the SCD41 sensor in your projects.