How to Use soil moisture: Examples, Pinouts, and Specs
Introduction
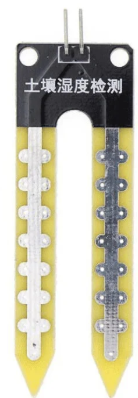
The Arduino Soil Moisture Sensor (Part ID: UNO R3) is a device designed to measure the volumetric water content in soil. It provides an analog or digital output that reflects the moisture level, making it an essential tool for applications such as irrigation management, environmental monitoring, and smart gardening systems. By integrating this sensor into your projects, you can automate watering systems, monitor soil conditions, and optimize plant health.
Explore Projects Built with soil moisture
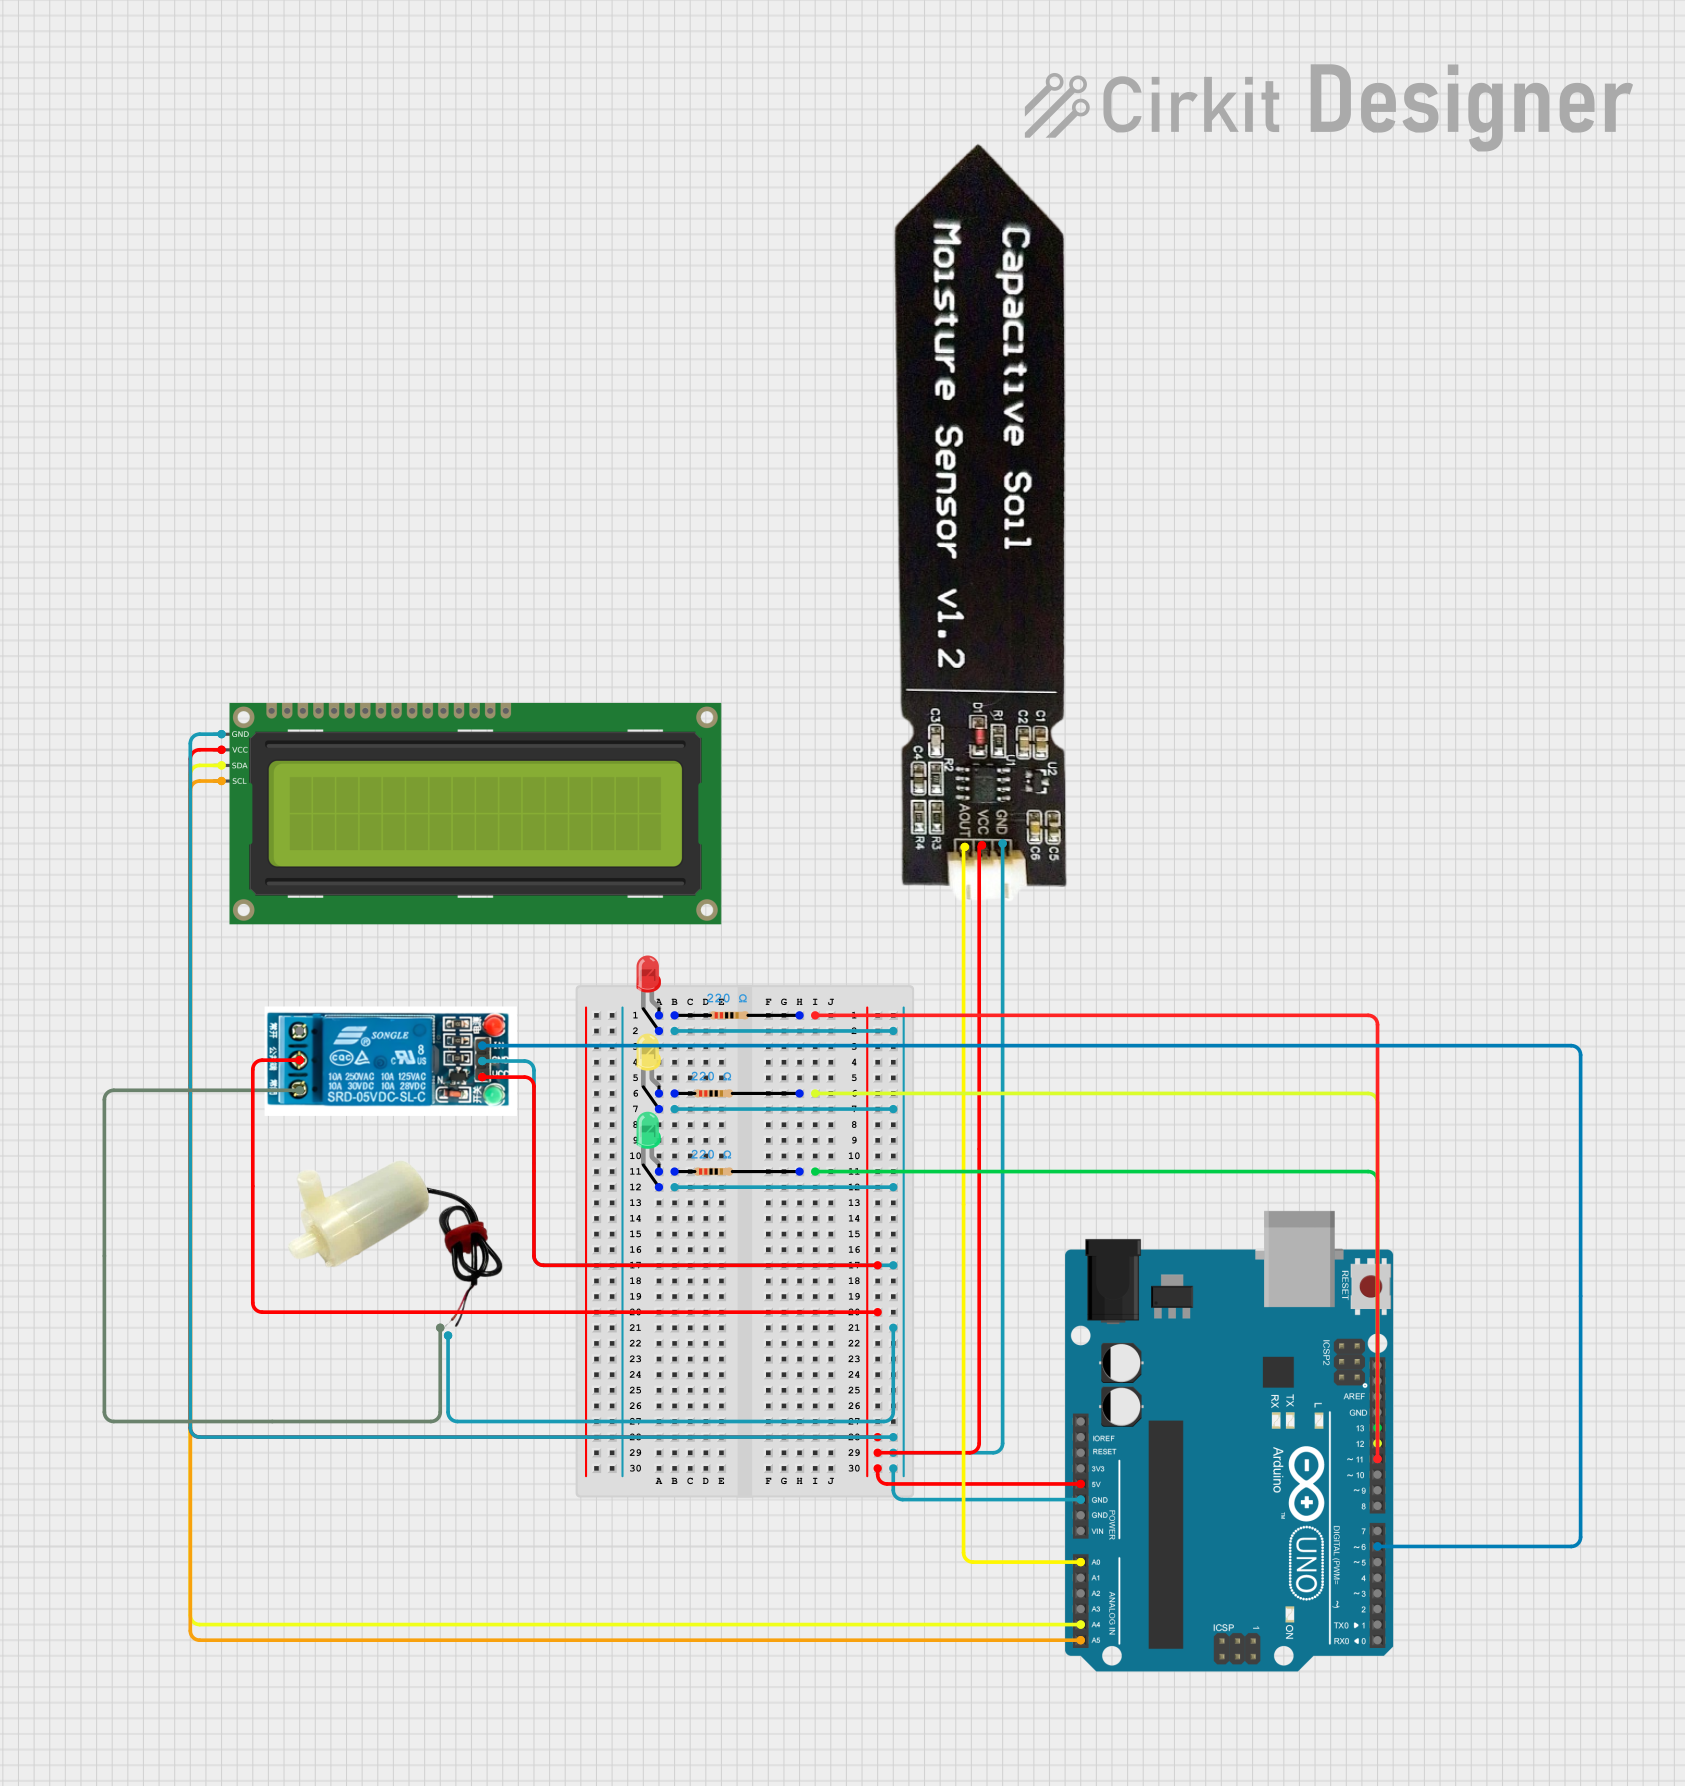
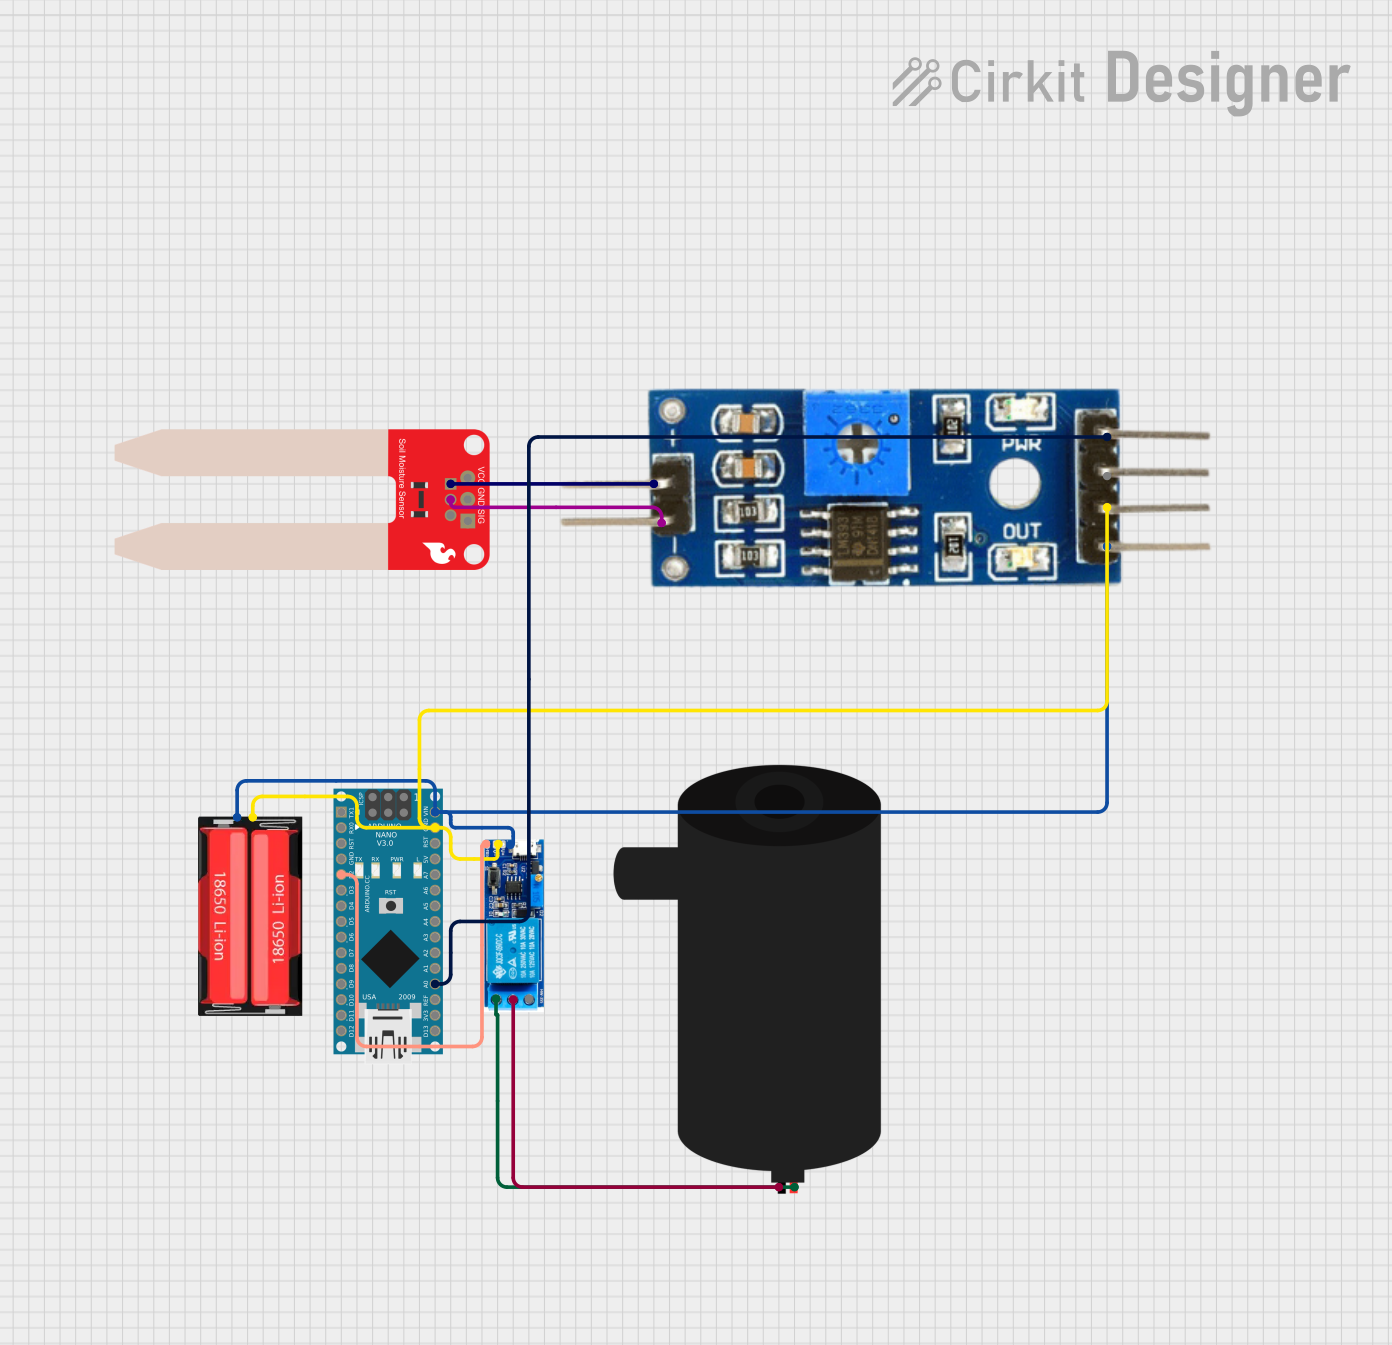
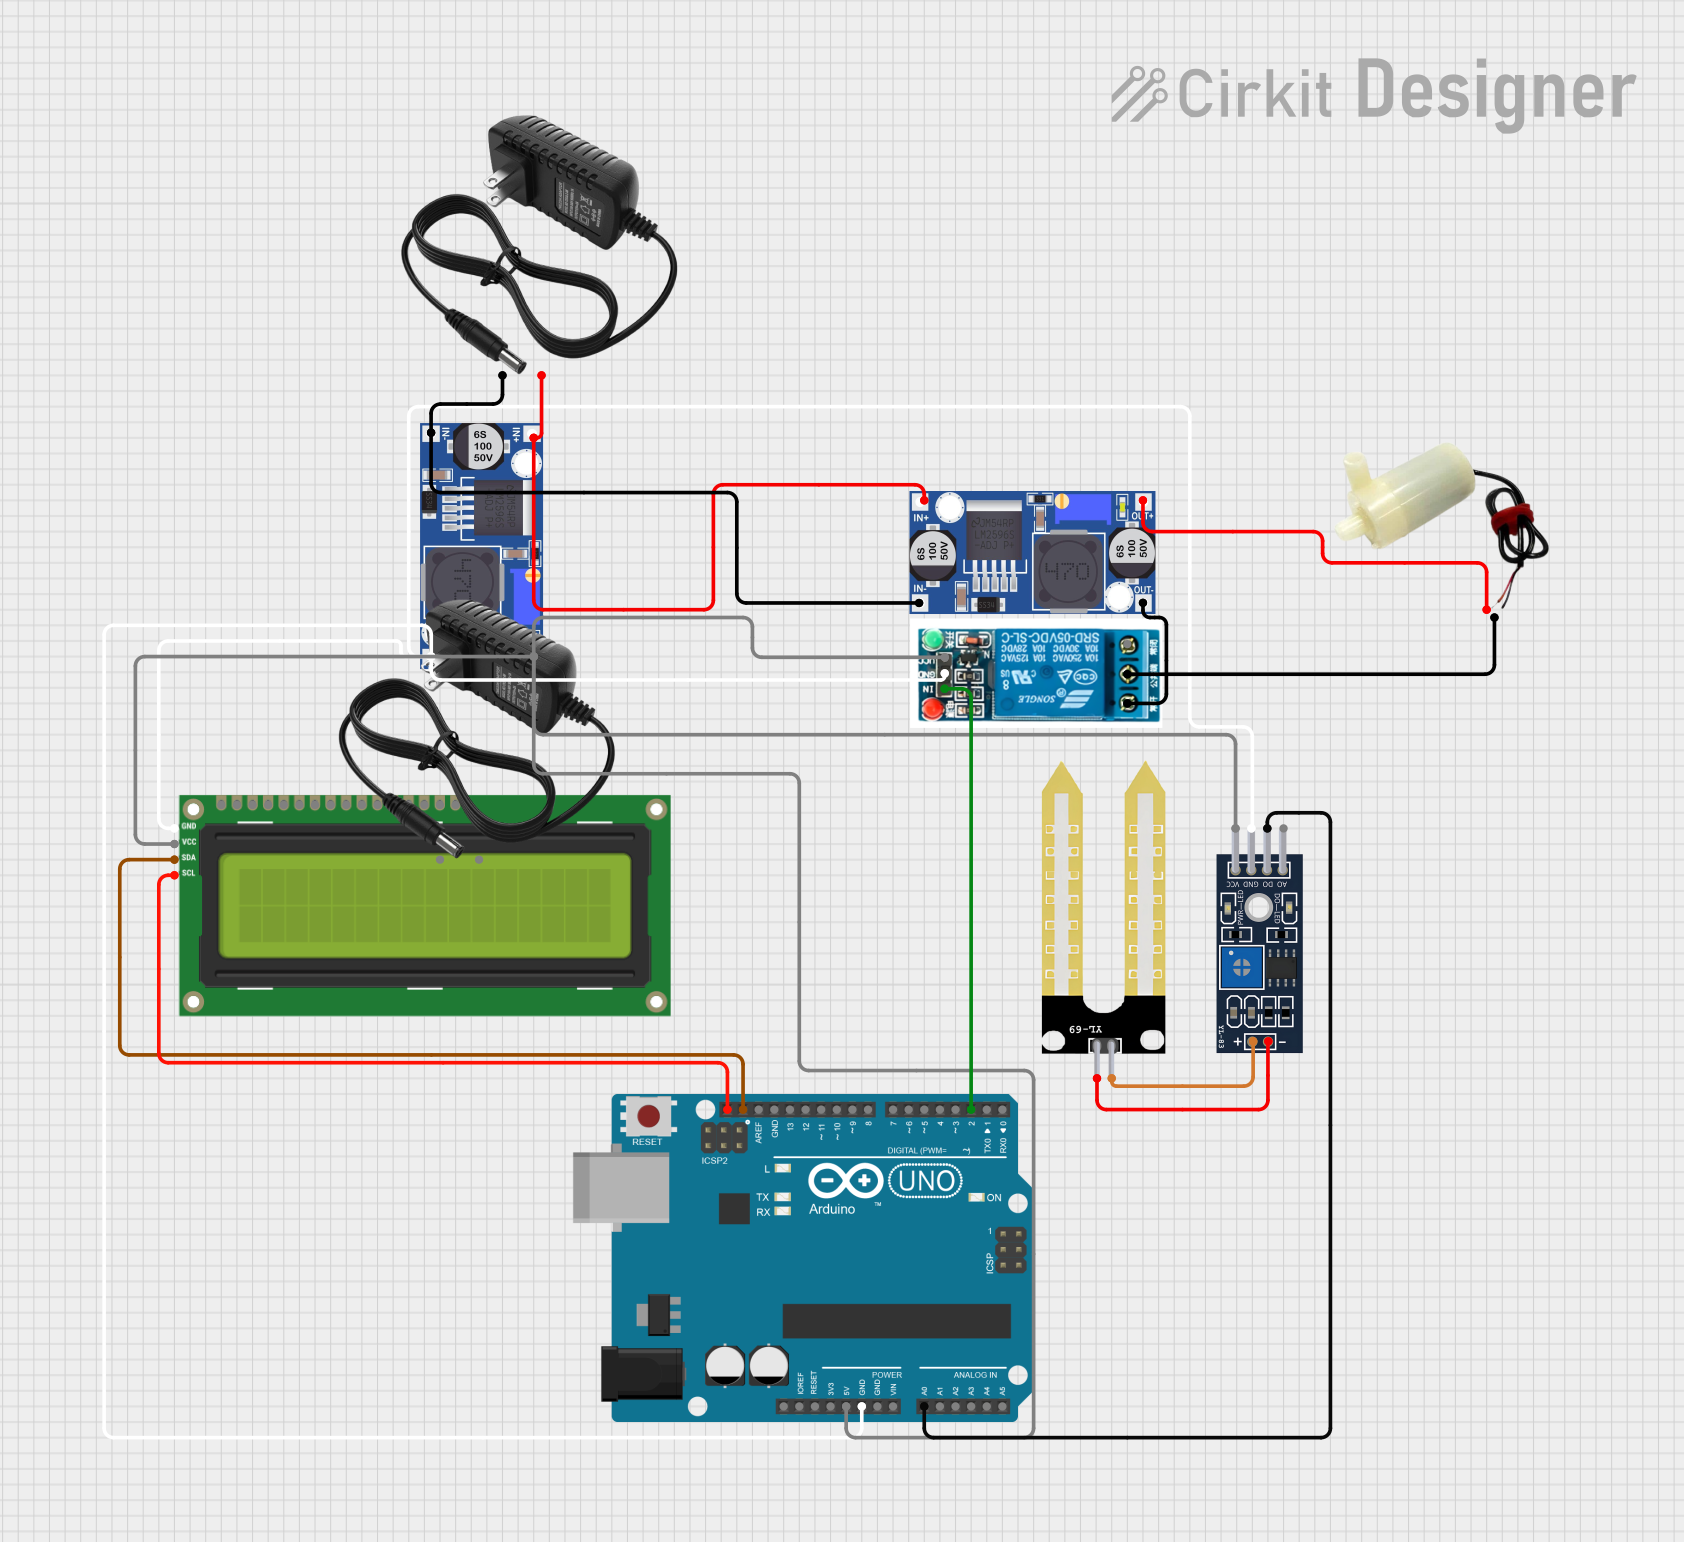
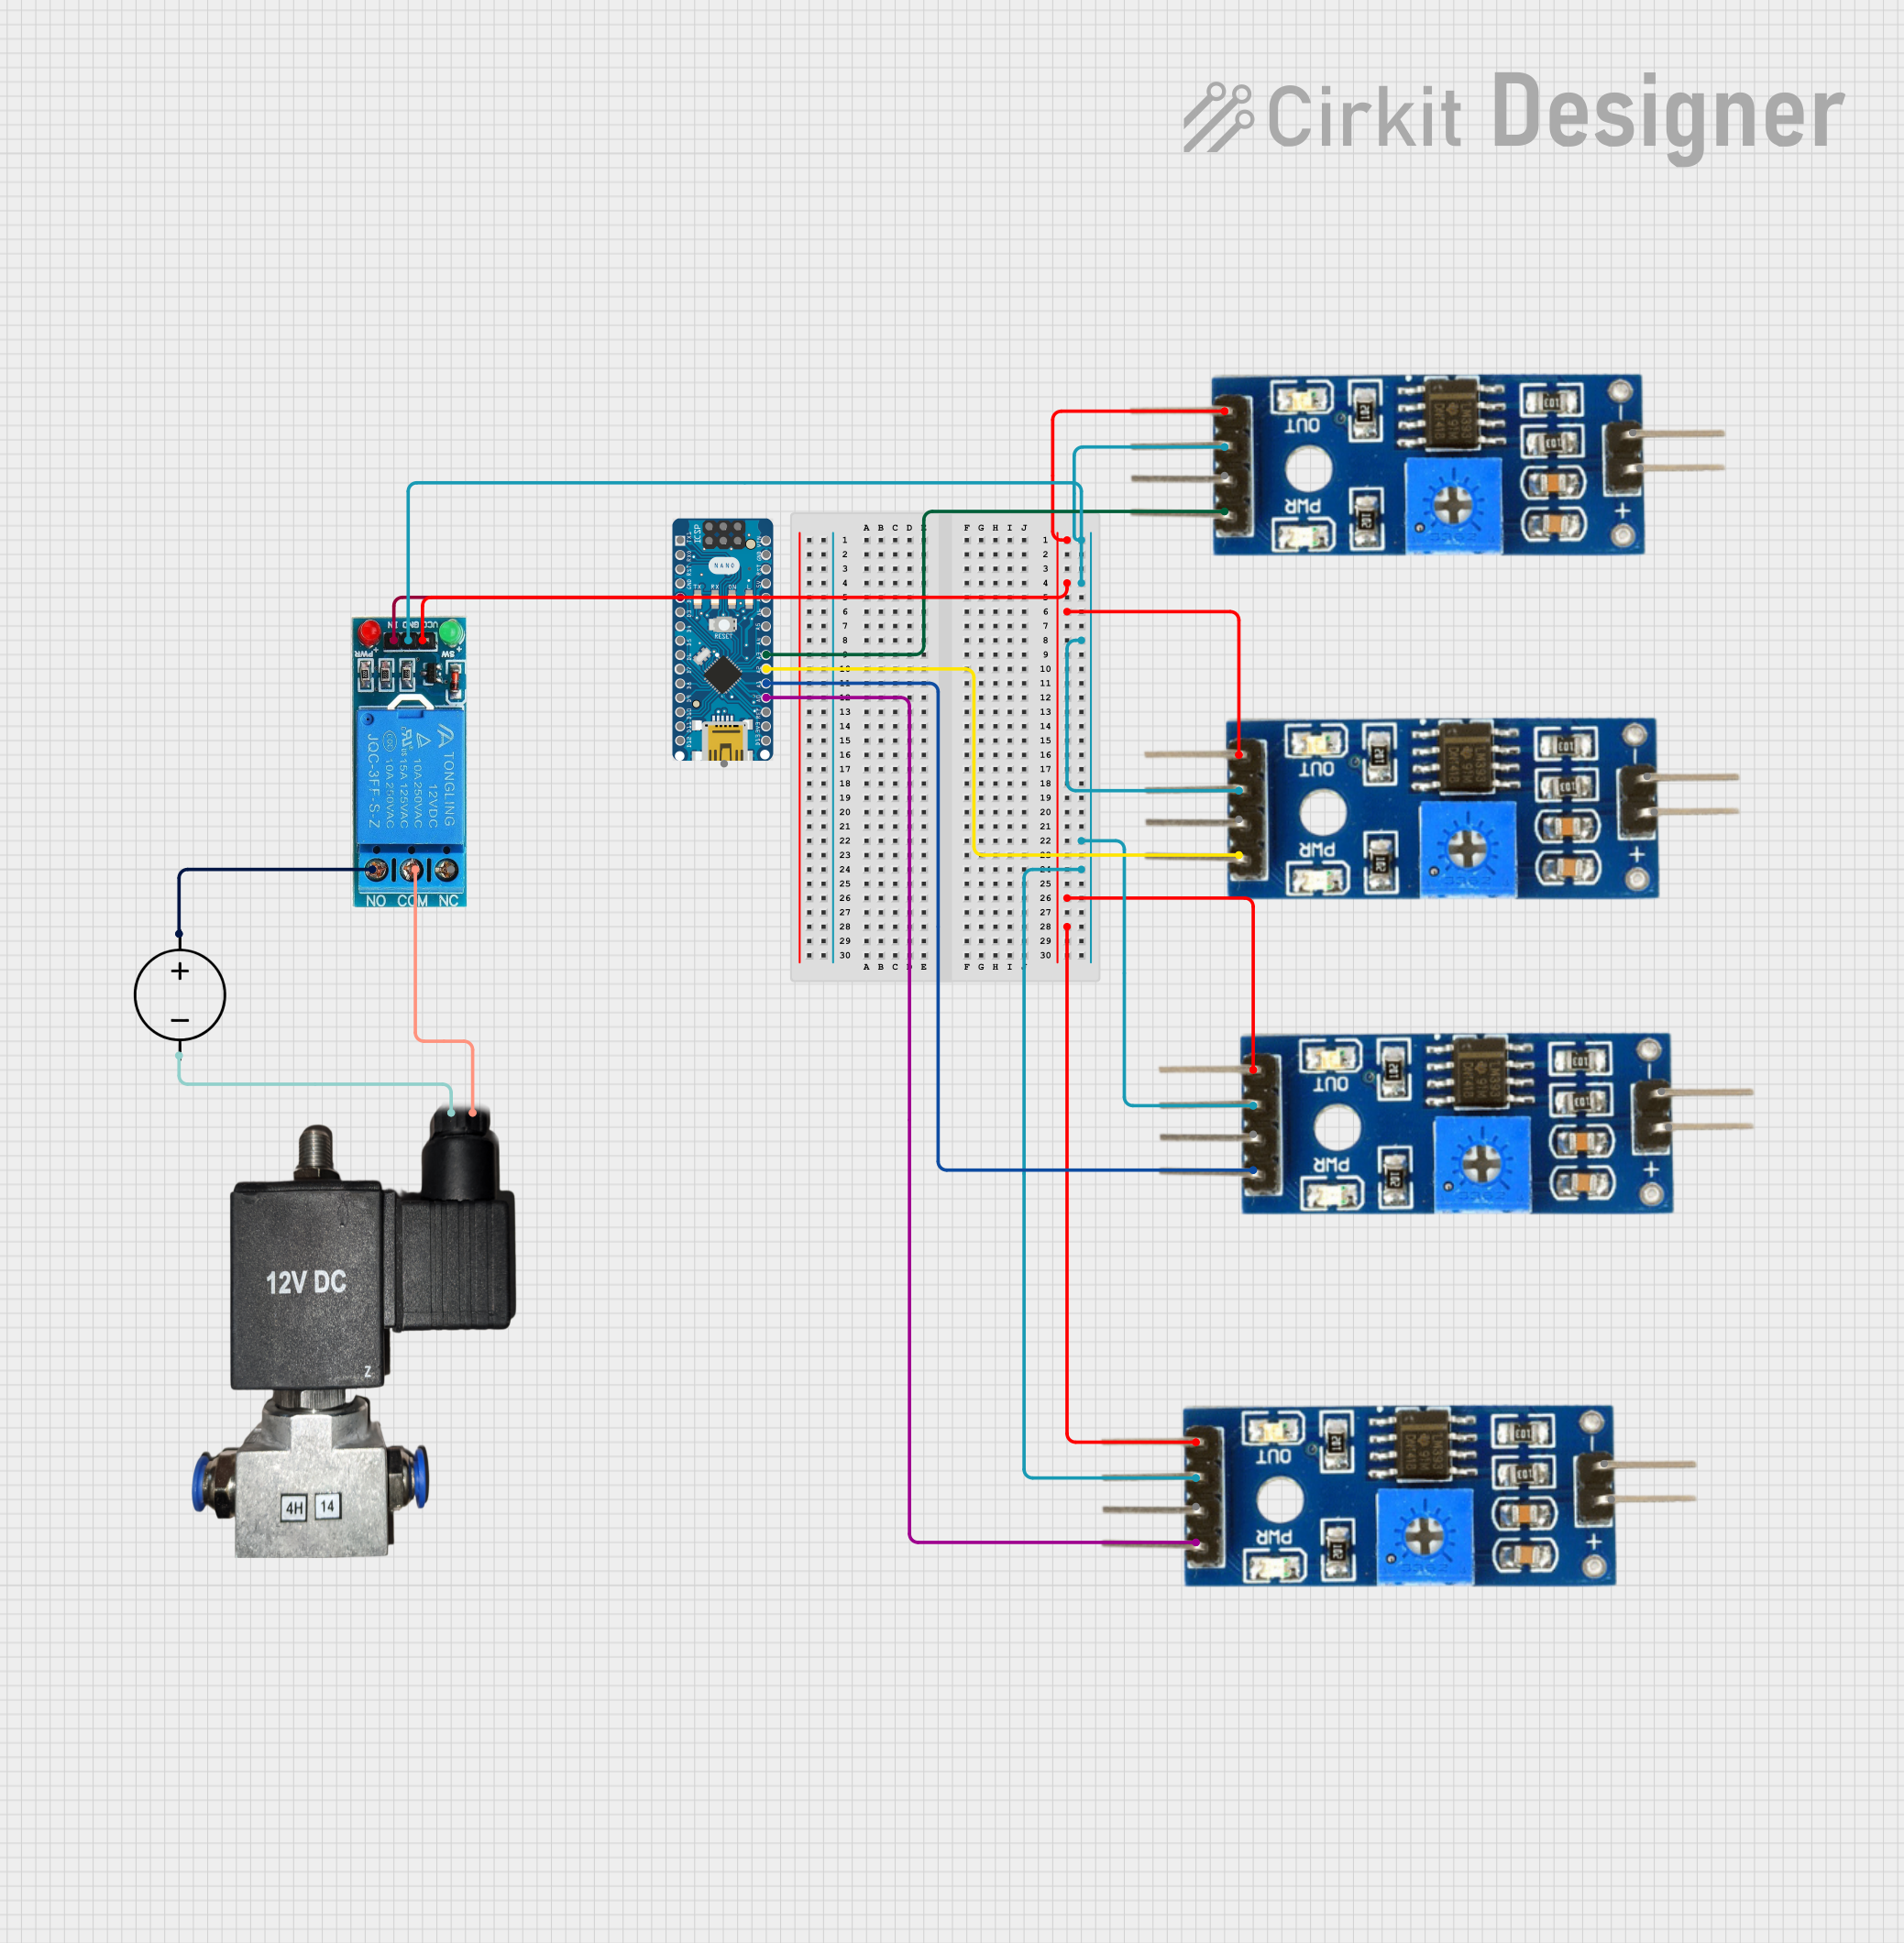
Explore Projects Built with soil moisture
Common Applications and Use Cases
- Irrigation Systems: Automating watering schedules based on soil moisture levels.
- Smart Gardening: Monitoring soil conditions for indoor and outdoor plants.
- Environmental Monitoring: Collecting data for agricultural or ecological studies.
- DIY Projects: Building interactive systems that respond to soil moisture changes.
Technical Specifications
The Arduino Soil Moisture Sensor is a simple yet effective tool for detecting soil moisture. Below are its key technical details:
Key Technical Details
| Parameter | Specification |
|---|---|
| Operating Voltage | 3.3V - 5V |
| Output Type | Analog and Digital |
| Current Consumption | < 20 mA |
| Soil Moisture Range | 0% (dry) to 100% (wet) |
| Dimensions | 60mm x 20mm x 5mm (approx.) |
| Interface Type | 3-pin (VCC, GND, Signal) |
Pin Configuration and Descriptions
| Pin Name | Description |
|---|---|
| VCC | Power supply pin. Connect to 3.3V or 5V from the Arduino UNO R3. |
| GND | Ground pin. Connect to the ground of the Arduino UNO R3. |
| Signal | Output pin. Provides analog or digital signal based on soil moisture level. |
Usage Instructions
How to Use the Component in a Circuit
Wiring the Sensor:
- Connect the VCC pin of the sensor to the 5V pin on the Arduino UNO R3.
- Connect the GND pin of the sensor to the GND pin on the Arduino UNO R3.
- Connect the Signal pin of the sensor to an analog input pin (e.g., A0) on the Arduino UNO R3.
Powering the Sensor:
- Ensure the Arduino UNO R3 is powered via USB or an external power source.
Reading the Output:
- The sensor provides an analog voltage that corresponds to the soil moisture level. A higher voltage indicates wetter soil, while a lower voltage indicates drier soil.
Important Considerations and Best Practices
- Avoid Corrosion: Prolonged exposure to moisture can corrode the sensor probes. Use the sensor intermittently or coat the probes with anti-corrosion material.
- Calibration: Calibrate the sensor for your specific soil type to improve accuracy.
- Placement: Insert the sensor probes fully into the soil for consistent readings.
- Power Supply: Use a stable power source to avoid fluctuations in readings.
Example Code for Arduino UNO R3
Below is an example code snippet to read soil moisture levels using the Arduino UNO R3:
// Define the analog pin connected to the sensor's Signal pin
const int soilMoisturePin = A0;

// Variable to store the sensor reading
int soilMoistureValue;

void setup() {
  // Initialize serial communication for debugging
  Serial.begin(9600);
}

void loop() {
  // Read the analog value from the soil moisture sensor
  soilMoistureValue = analogRead(soilMoisturePin);

  // Map the sensor value to a percentage (0% to 100%)
  int moisturePercentage = map(soilMoistureValue, 0, 1023, 0, 100);

  // Print the moisture percentage to the Serial Monitor
  Serial.print("Soil Moisture: ");
  Serial.print(moisturePercentage);
  Serial.println("%");

  // Add a delay to avoid flooding the Serial Monitor
  delay(1000);
}
Troubleshooting and FAQs
Common Issues and Solutions
No Output or Incorrect Readings:
- Solution: Check the wiring and ensure the sensor is properly connected to the Arduino UNO R3.
- Tip: Verify that the VCC pin is receiving 3.3V or 5V and the GND pin is connected to ground.
Fluctuating Readings:
- Solution: Ensure the sensor is inserted firmly into the soil and the power supply is stable.
- Tip: Use a capacitor across the power supply pins to reduce noise.
Corroded Probes:
- Solution: Clean the probes with a soft cloth and apply anti-corrosion coating if necessary.
- Tip: Use the sensor intermittently to extend its lifespan.
Sensor Not Responding:
- Solution: Test the sensor with a multimeter to ensure it is functioning. Replace if damaged.
FAQs
Q1: Can this sensor be used in outdoor environments?
A1: Yes, but it is recommended to protect the sensor from prolonged exposure to water and extreme weather conditions.
Q2: How do I calibrate the sensor?
A2: Measure the sensor output in dry soil and fully saturated soil, then map the readings to a percentage scale in your code.
Q3: Can I use multiple sensors with one Arduino UNO R3?
A3: Yes, connect each sensor to a separate analog input pin and read their values individually in your code.
Q4: What is the lifespan of the sensor?
A4: The lifespan depends on usage and environmental conditions. Proper care, such as avoiding continuous exposure to moisture, can extend its life.