How to Use Fogger: Examples, Pinouts, and Specs
Introduction
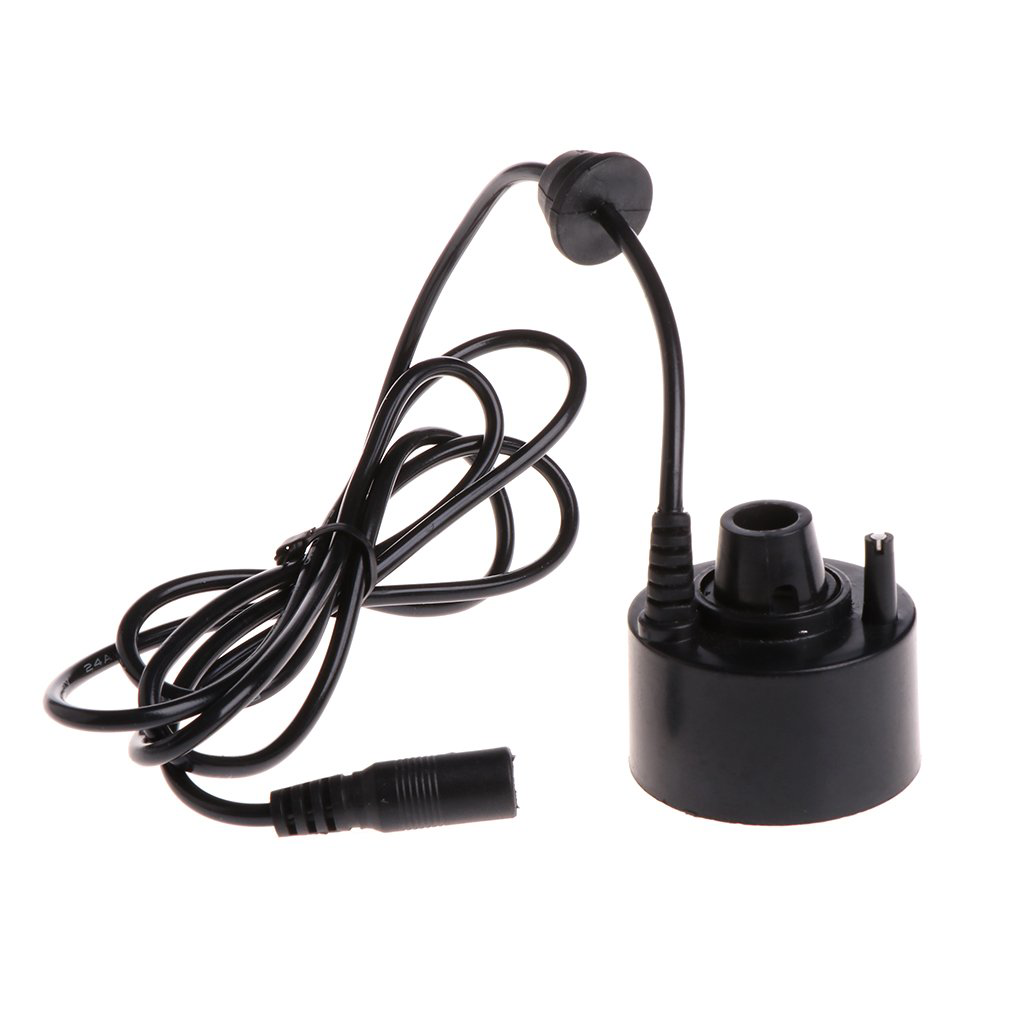
A fogger is an electronic device designed to create a dense fog or mist by heating and vaporizing a specialized liquid solution. It is commonly used in various applications such as theatrical productions, photography, pest control, industrial humidification, and even for creating ambiance in events or haunted houses.
Explore Projects Built with Fogger
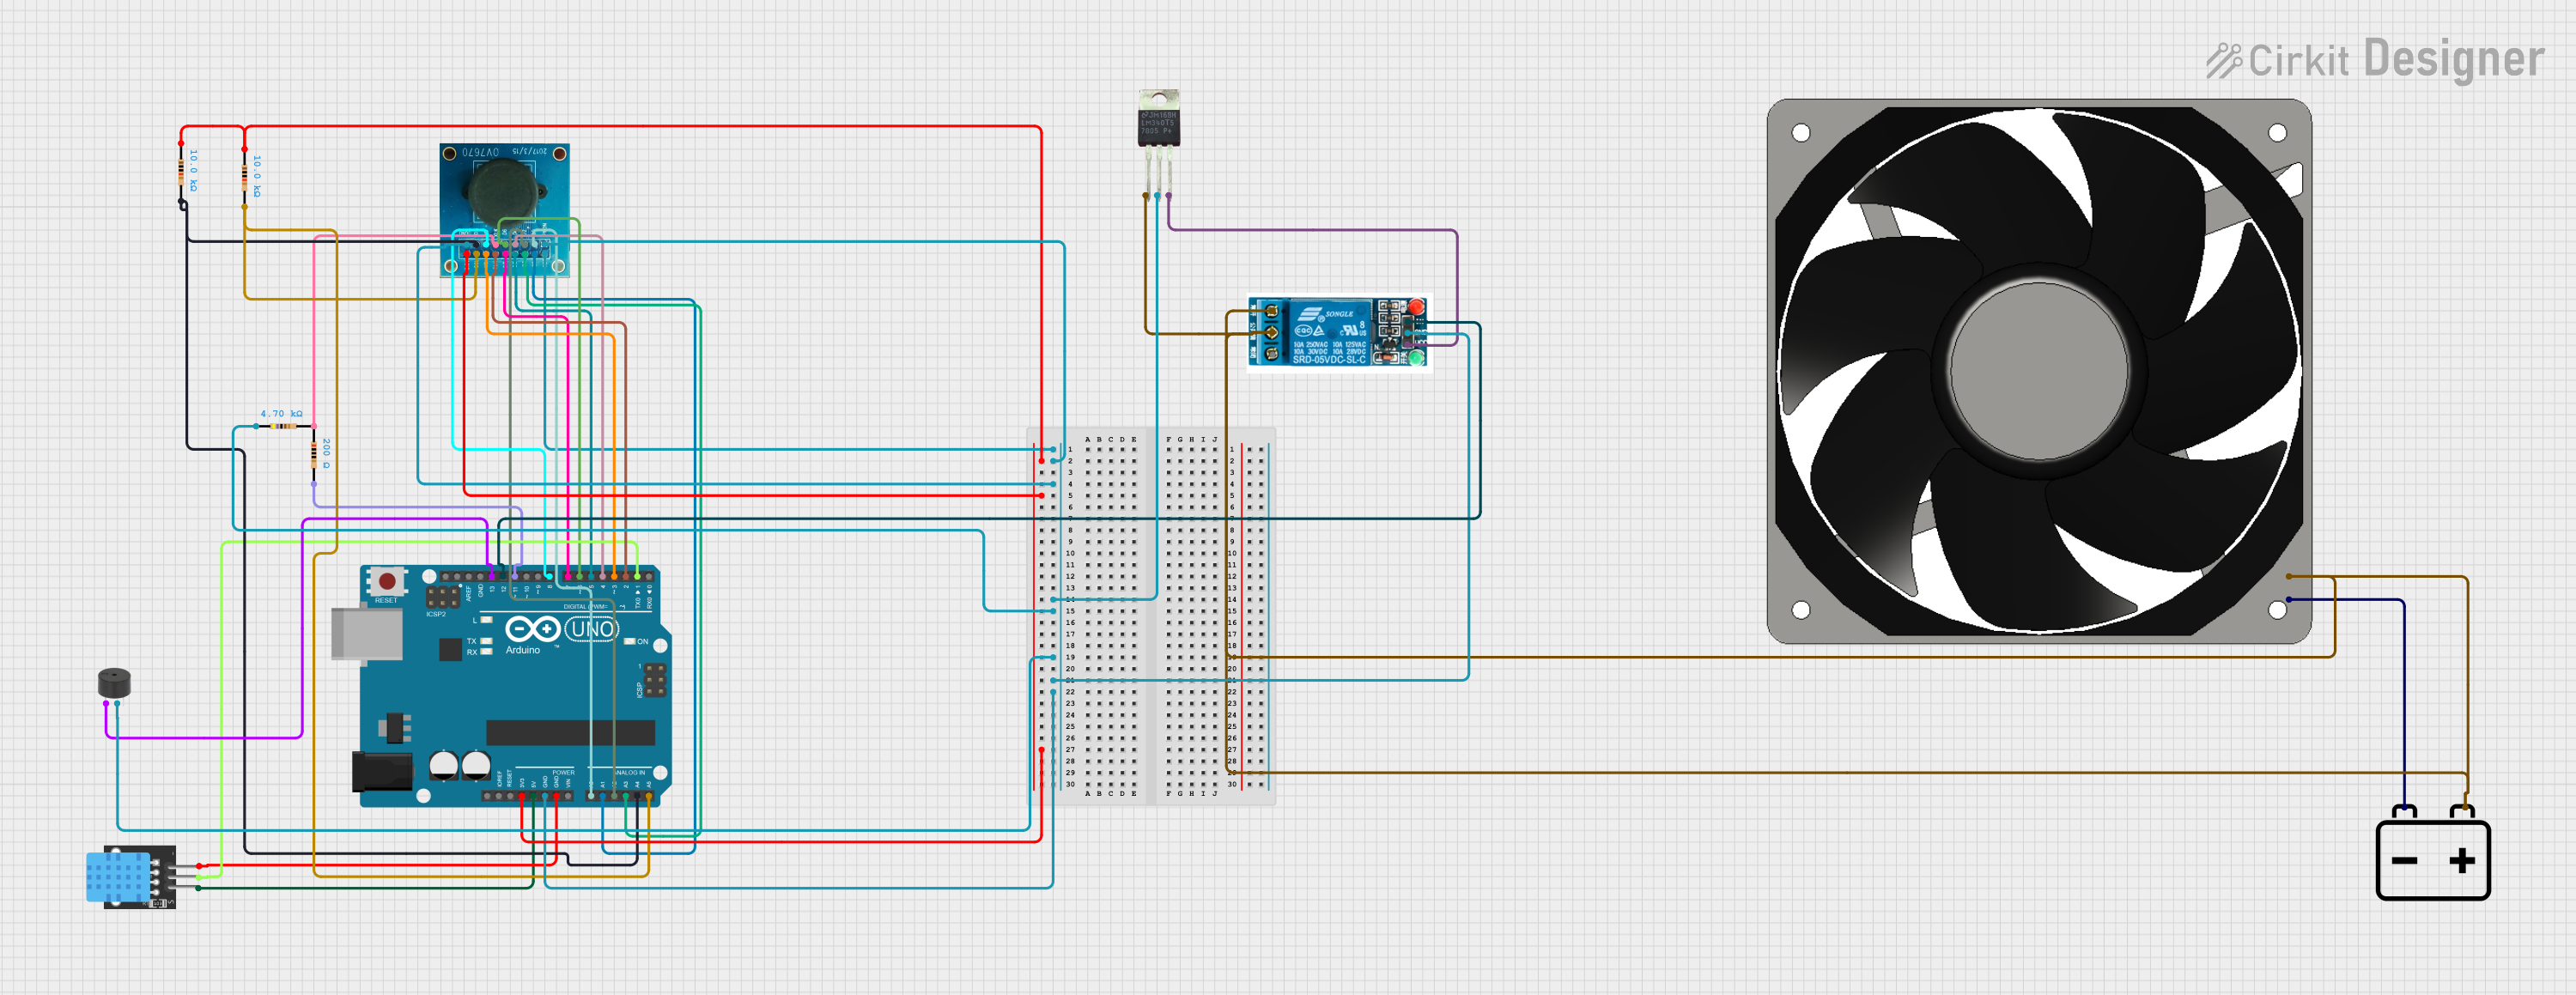

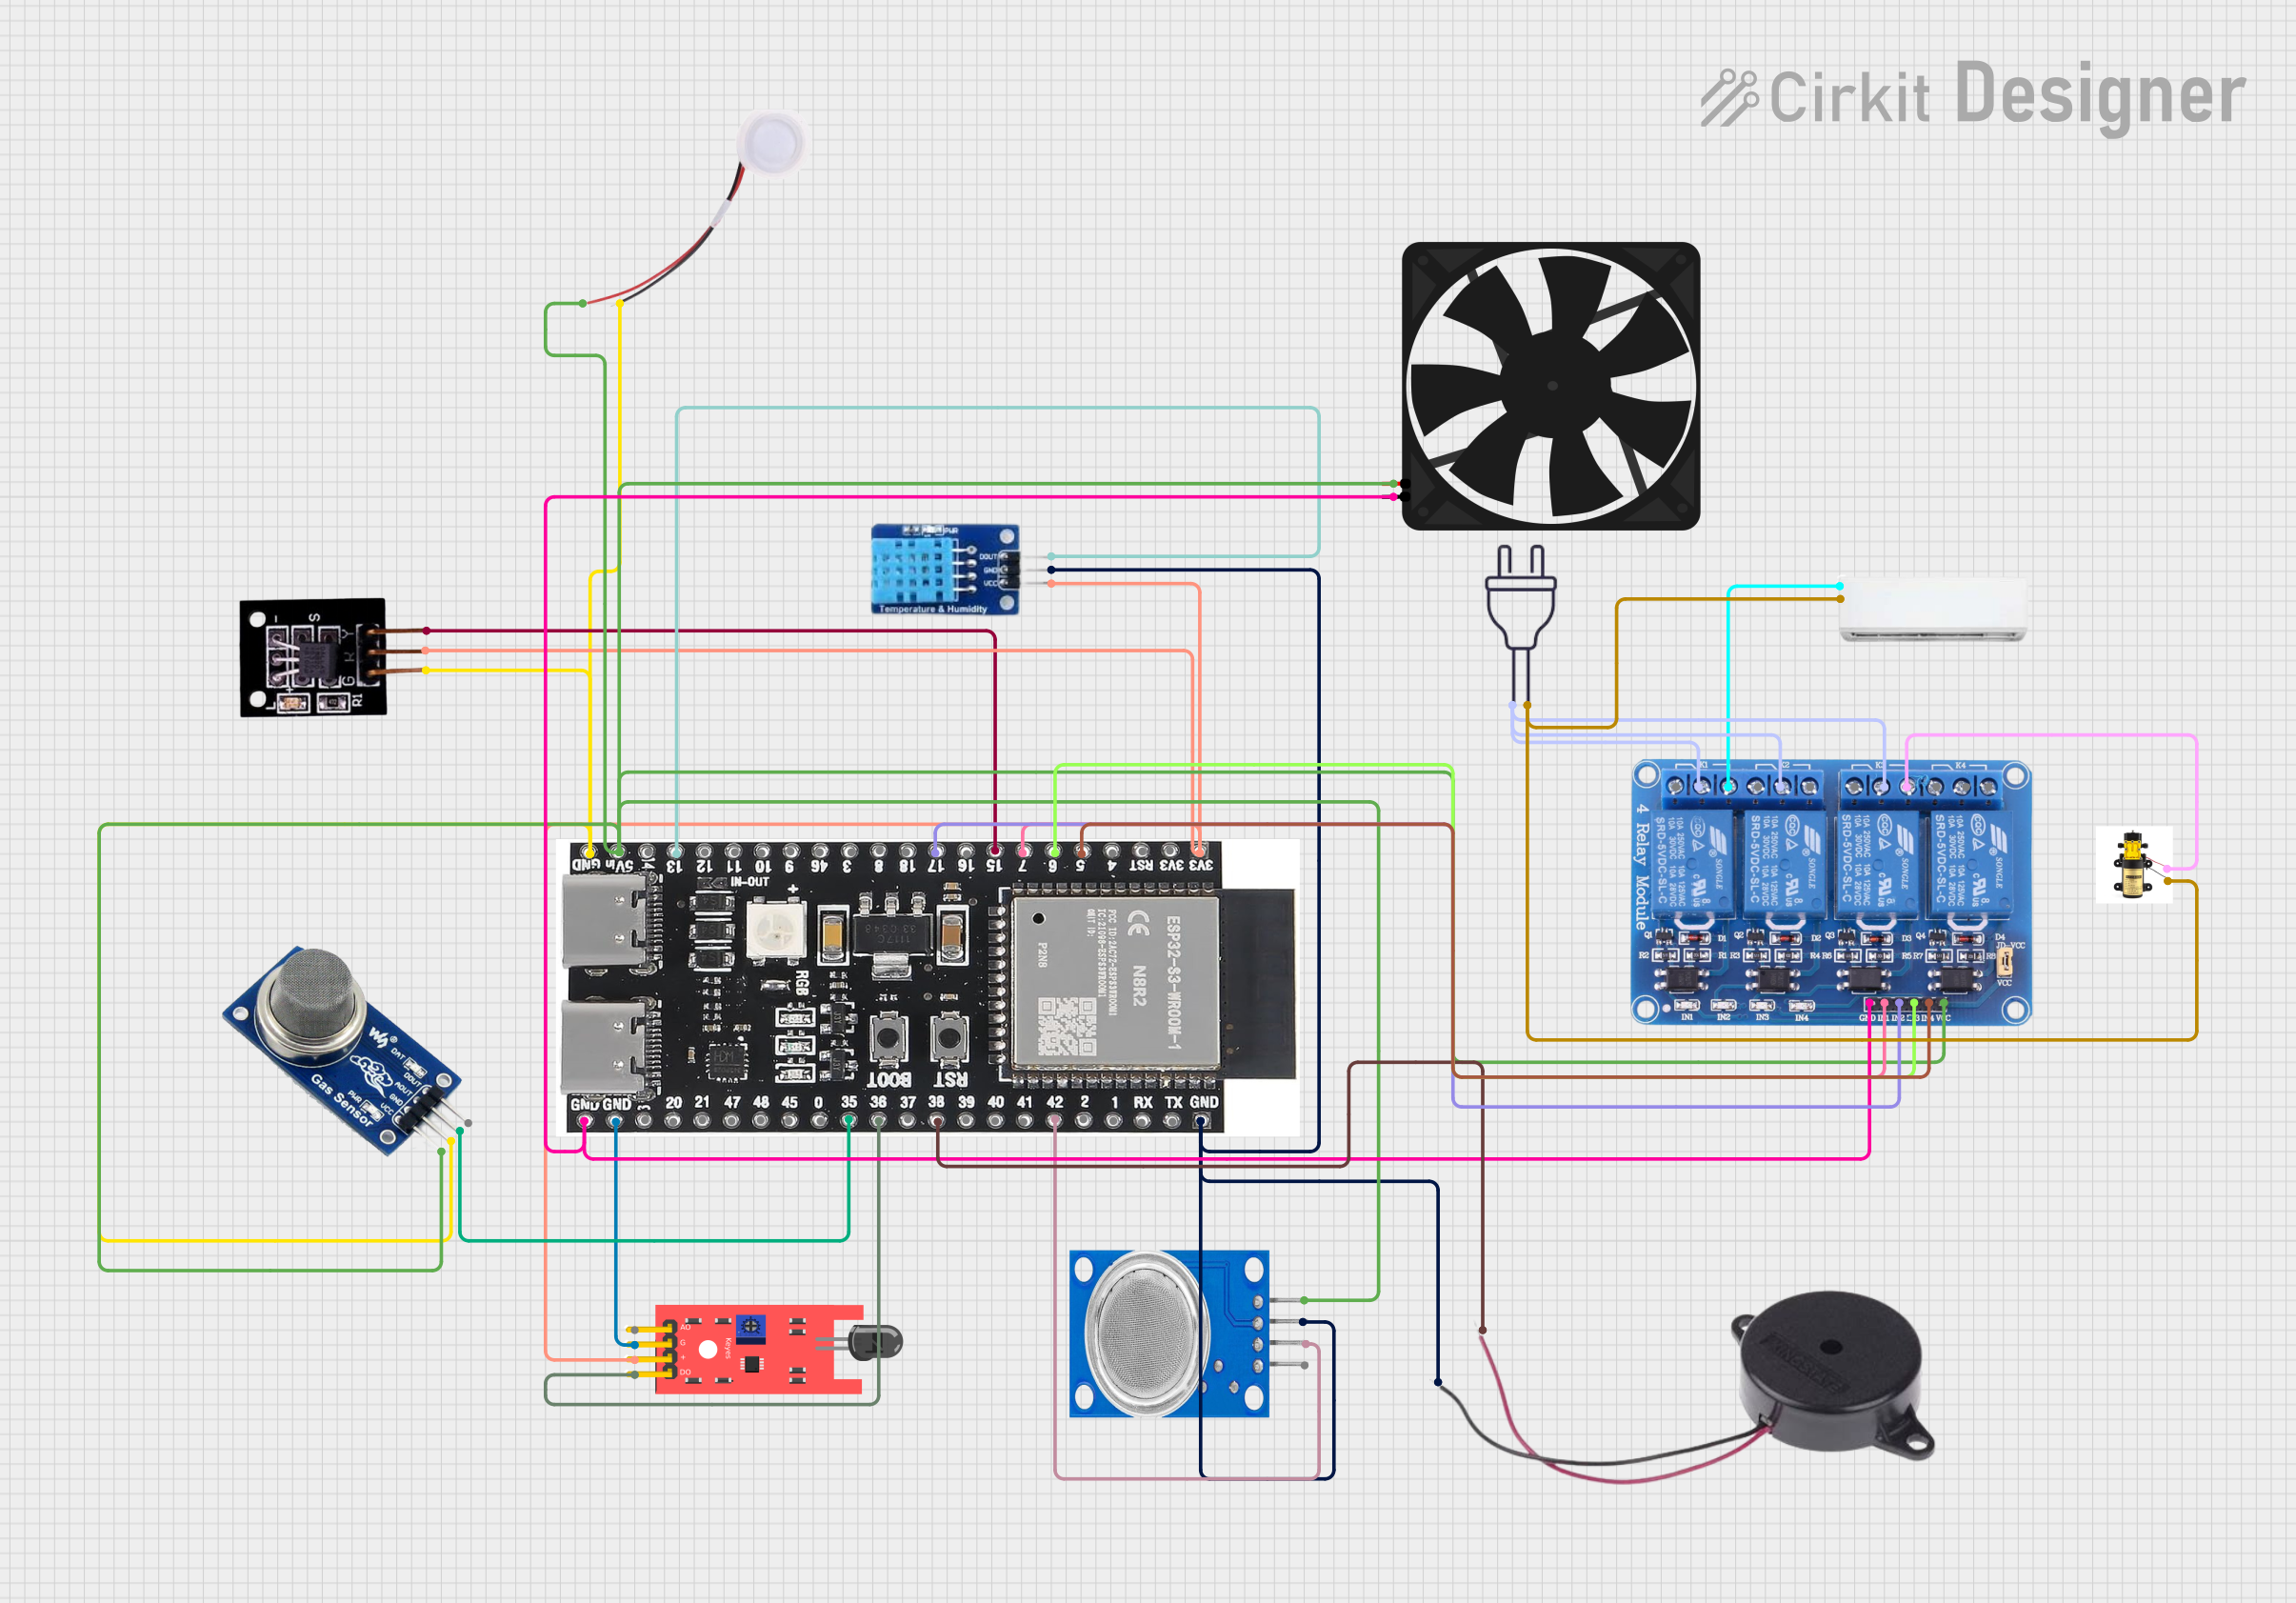
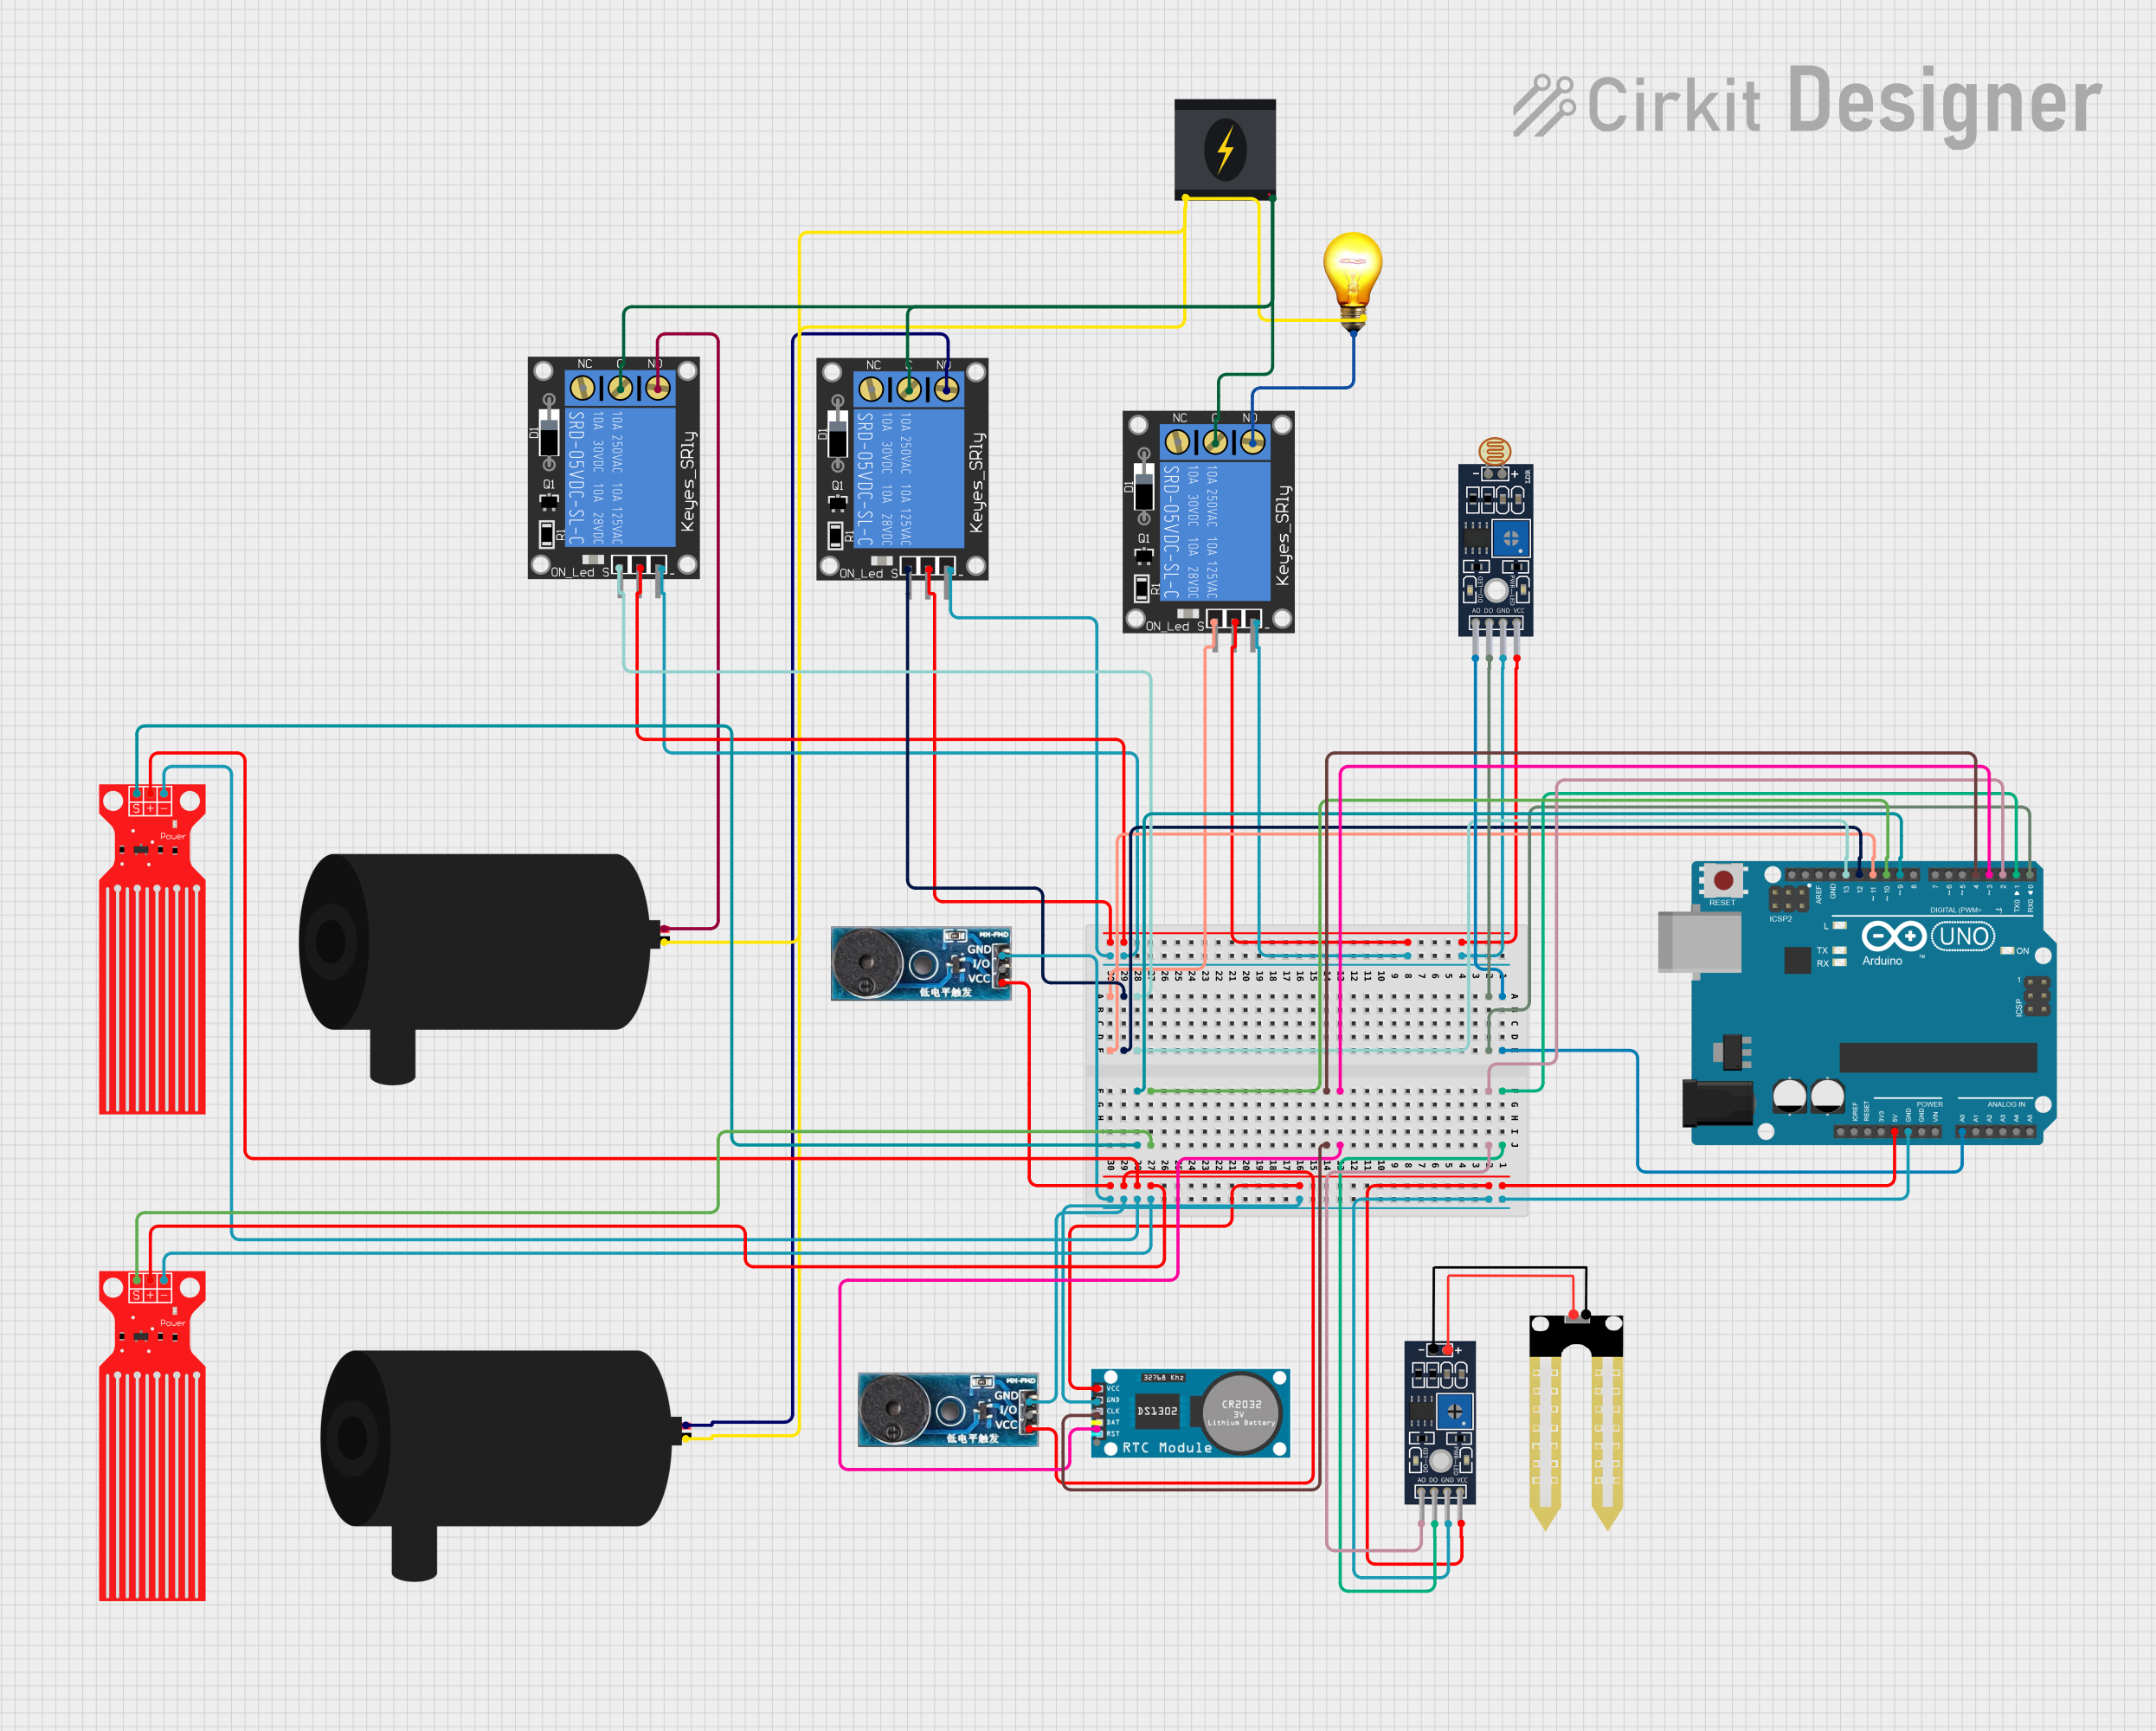
Explore Projects Built with Fogger
Technical Specifications
General Specifications
- Operating Voltage: Typically 110V or 220V AC (depending on the model)
- Power Consumption: Varies with model (commonly ranges from 400W to 1500W)
- Output: Fog output measured in cubic feet per minute (CFM)
- Warm-up Time: Time required to reach operational temperature
- Fluid Consumption: Rate at which fog fluid is used (ml per hour)
- Control: Manual, remote, or DMX control options
Pin Configuration and Descriptions
Since foggers are typically controlled via a remote or a DMX controller, they do not have a standard pin configuration like simpler electronic components. However, for integration with an Arduino or similar microcontroller, one might interface with the fogger's remote control using relay modules or transistor circuits.
| Pin | Description |
|---|---|
| V+ | Connects to the positive voltage supply (AC mains) |
| GND | Connects to the ground (AC mains) |
| CTRL | Control input, can be connected to a relay module for activation |
Usage Instructions
Integration with an Arduino UNO
To control a fogger with an Arduino UNO, you can use a relay module that is capable of handling the fogger's power requirements. The relay acts as an electrically operated switch that the Arduino can control.
Circuit Connection
- Connect the relay module VCC to Arduino 5V.
- Connect the relay module GND to Arduino GND.
- Connect the relay module IN1 to a digital pin on the Arduino (e.g., pin 7).
- Connect the fogger's power cord to the relay's normally open (NO) and common (COM) terminals, ensuring proper isolation and safety precautions.
Sample Code
// Define the relay control pin
const int relayPin = 7;

void setup() {
  // Set the relay pin as an output
  pinMode(relayPin, OUTPUT);
  // Start with the fogger turned off
  digitalWrite(relayPin, LOW);
}

void loop() {
  // Turn on the fogger for 10 seconds
  digitalWrite(relayPin, HIGH);
  delay(10000);
  // Turn off the fogger for 20 seconds
  digitalWrite(relayPin, LOW);
  delay(20000);
}
Important Considerations and Best Practices
- Always ensure the fogger is filled with the correct fluid and that it is not operated dry.
- Allow the fogger to warm up before attempting to produce fog.
- Use the fogger in well-ventilated areas to prevent any respiratory discomfort.
- Ensure that the fogger and any electrical connections are kept away from water and moisture.
- When interfacing with electronics, always follow proper safety protocols to prevent electrical hazards.
Troubleshooting and FAQs
Common Issues
- Fogger not producing fog: Ensure the device is properly warmed up, filled with fluid, and that the control relay is functioning.
- Fogger producing weak fog: Check if the fluid is low or if the nozzle is clogged. Refill or clean as necessary.
- Fogger overheating: Turn off the fogger and allow it to cool down. Ensure adequate ventilation and check for any obstructions.
FAQs
Q: Can I use any liquid in the fogger? A: No, you should only use the fluid specifically designed for your fogger model.
Q: Is it safe to leave the fogger unattended? A: It is not recommended to leave the fogger unattended while it is operating.
Q: How often should I clean my fogger? A: Refer to the manufacturer's guidelines, but typically after every 40 hours of use or when you notice a decrease in fog output.
Q: Can I control the fogger with a wireless Arduino module? A: Yes, you can use a wireless module (e.g., ESP8266, Bluetooth) in conjunction with the Arduino to control the fogger remotely.
Remember to always refer to the manufacturer's manual for specific instructions and safety information related to your fogger model.