
How to Use HM-10 Bluetooth Module: Examples, Pinouts, and Specs
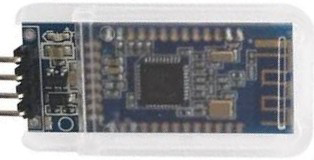
 Design with HM-10 Bluetooth Module in Cirkit Designer
Introduction
The HM-10 Bluetooth Module is a low-power Bluetooth 4.0 module manufactured by DSD Tech. It is designed to enable wireless communication between devices, making it an ideal choice for Internet of Things (IoT) applications. The module supports BLE (Bluetooth Low Energy) and is commonly used to connect microcontrollers, such as Arduino boards, to smartphones or other Bluetooth-enabled devices. Its compact size, low power consumption, and ease of use make it a popular choice for hobbyists and professionals alike.
Explore Projects Built with HM-10 Bluetooth Module
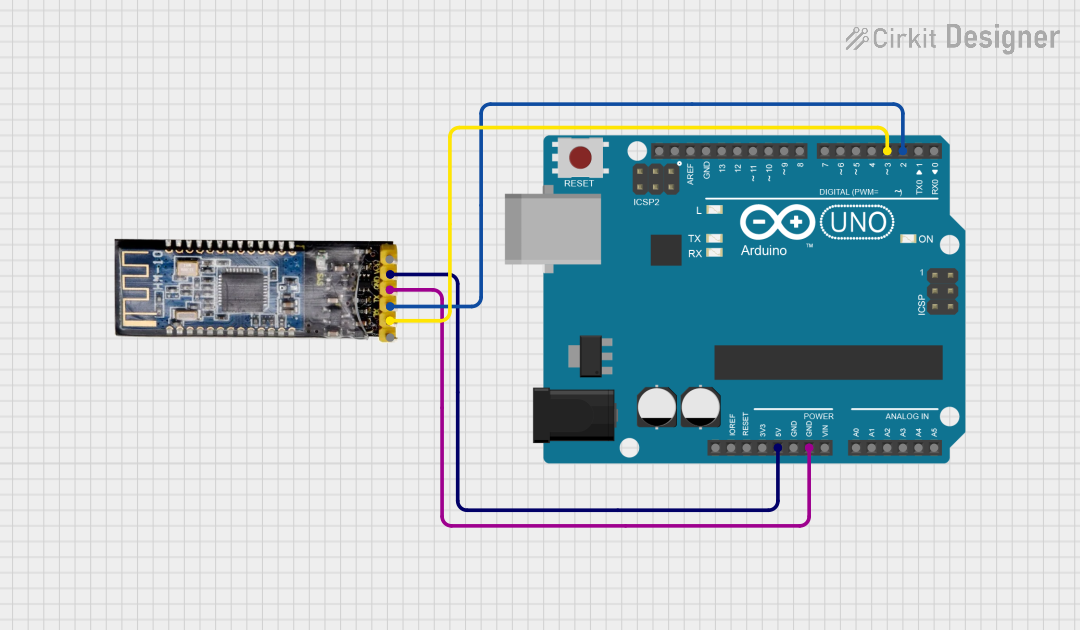 Open Project in Cirkit Designer
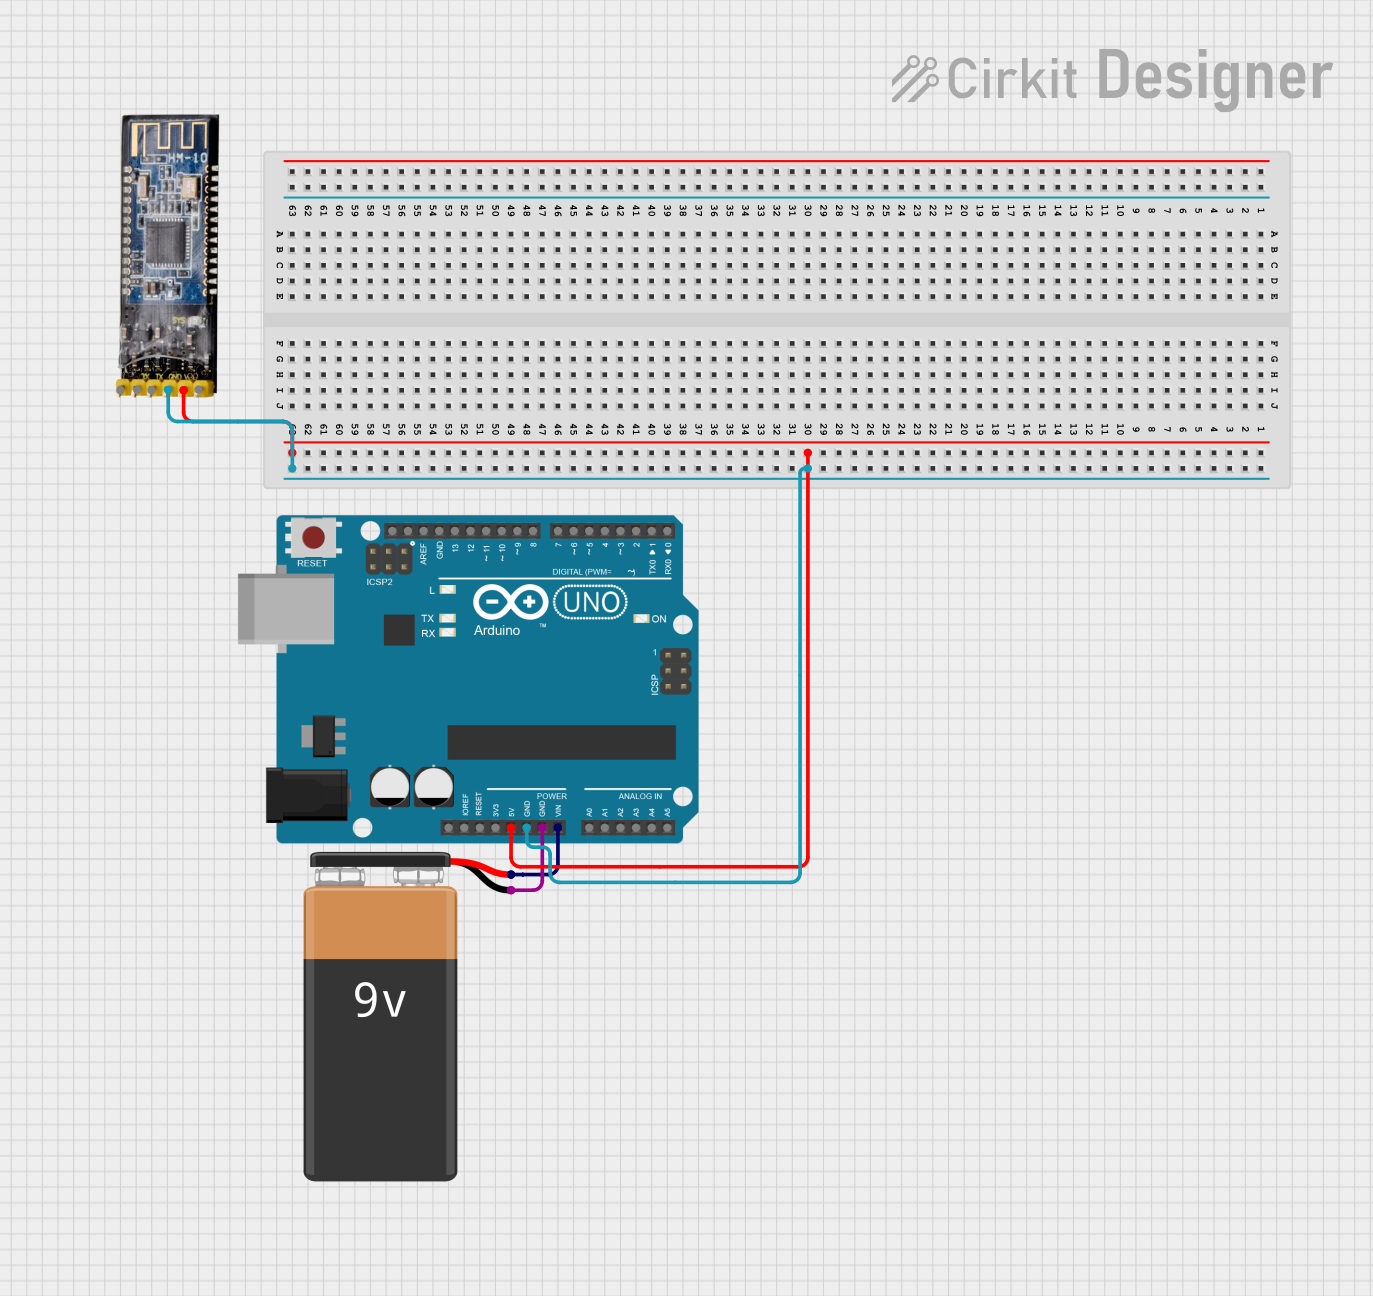 Open Project in Cirkit Designer
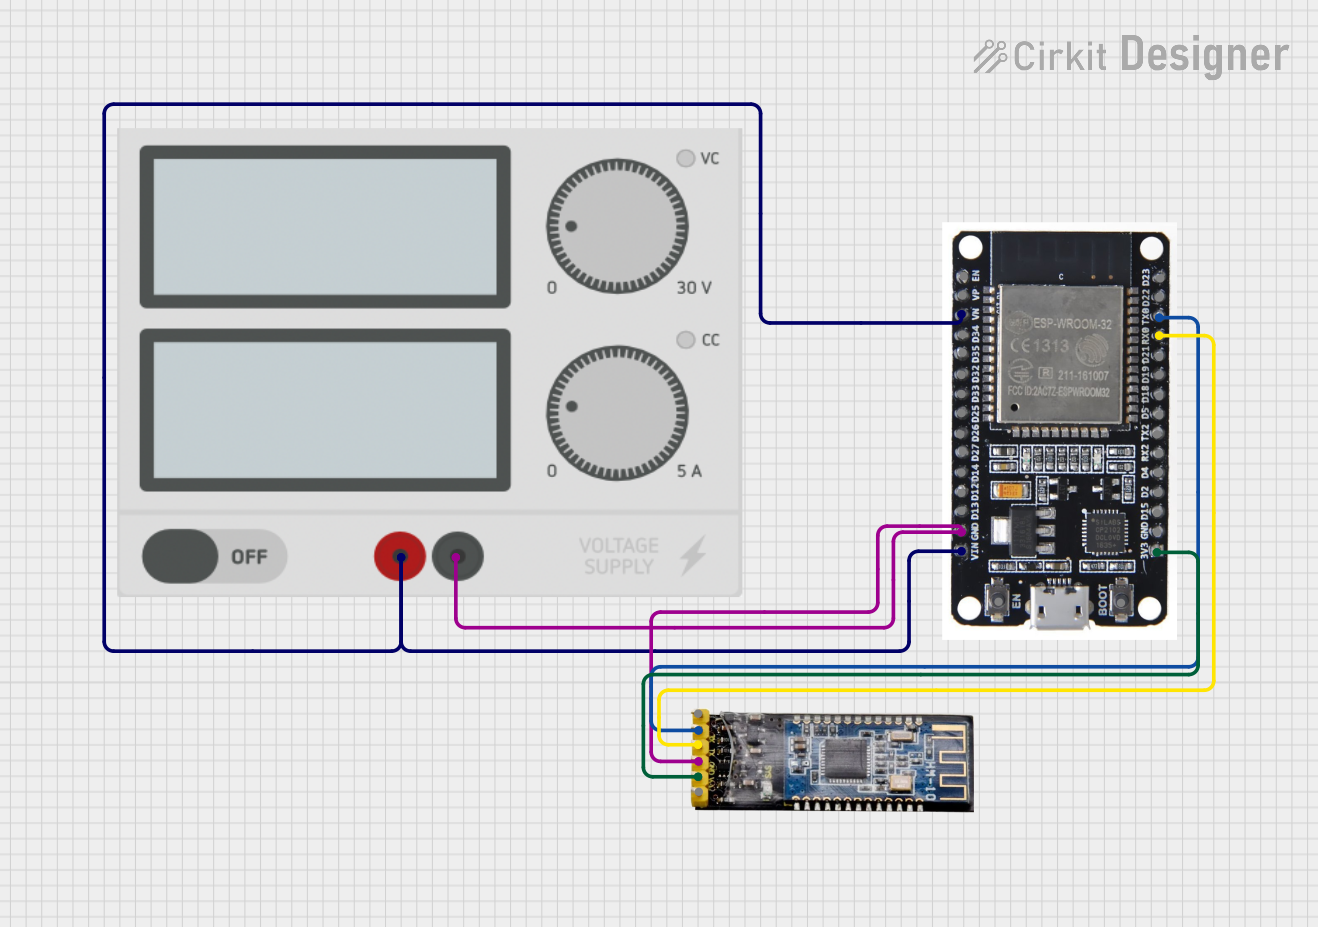 Open Project in Cirkit Designer
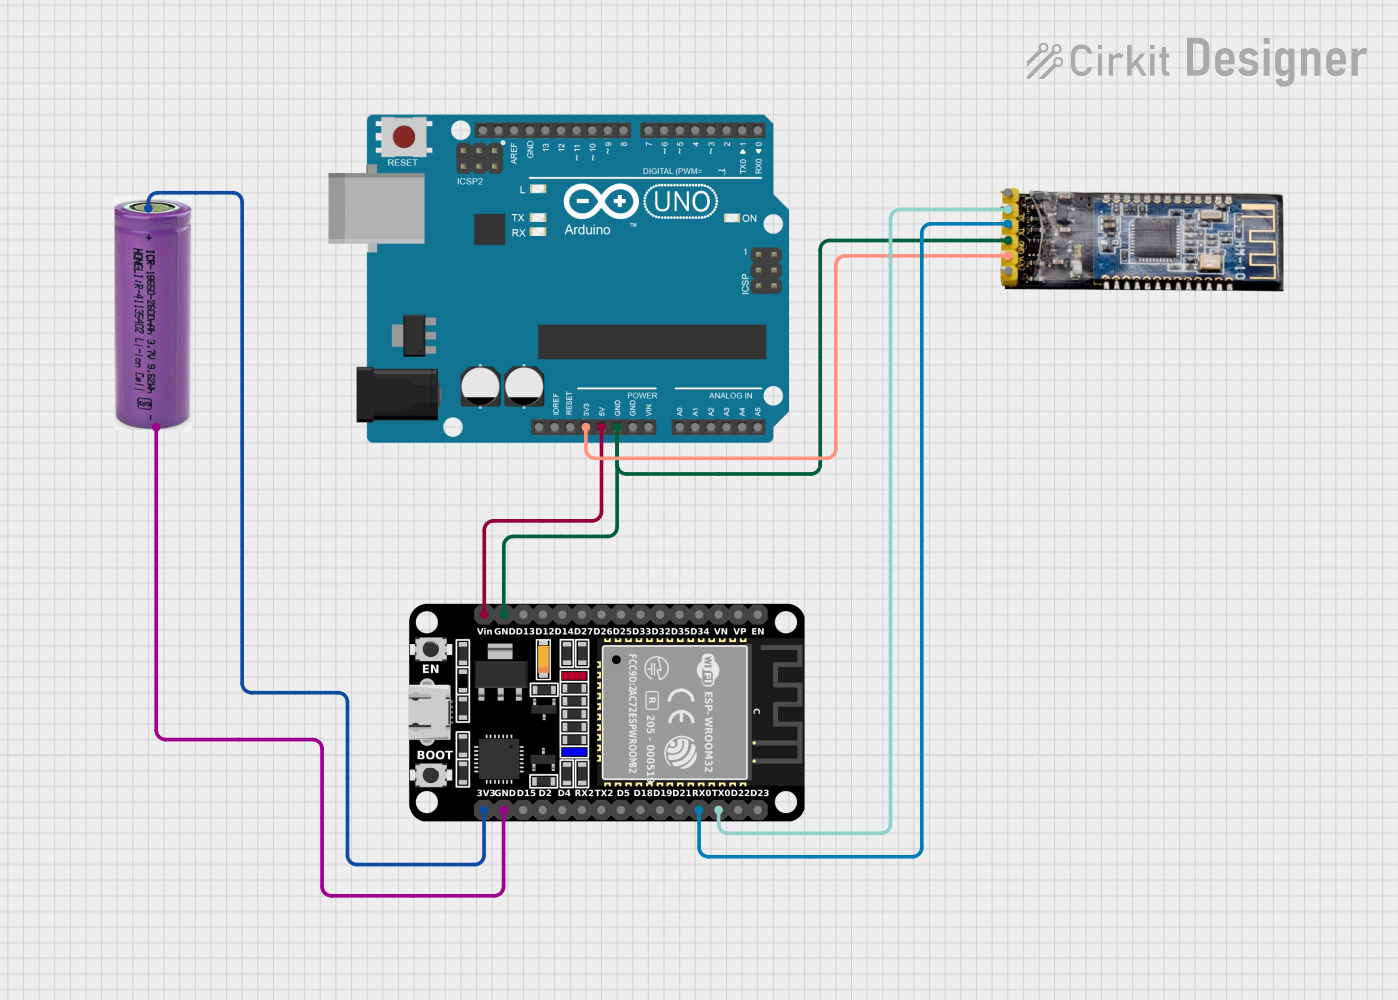 Open Project in Cirkit Designer
Explore Projects Built with HM-10 Bluetooth Module
Open Project in Cirkit DesignerOpen Project in Cirkit DesignerOpen Project in Cirkit DesignerOpen Project in Cirkit DesignerCommon Applications and Use Cases
- Wireless communication in IoT devices
- Remote control of microcontroller-based systems
- Data logging and monitoring via smartphones
- Home automation systems
- Wearable devices and health monitoring systems
Technical Specifications
The following table outlines the key technical details of the HM-10 Bluetooth Module:
| Parameter | Specification |
|---|---|
| Manufacturer | DSD Tech |
| Part ID | HM-10 Bluetooth Module |
| Bluetooth Version | Bluetooth 4.0 (BLE) |
| Operating Voltage | 3.3V to 6V |
| Operating Current | 8 mA (active), 50 µA (standby) |
| Communication Protocol | UART (Universal Asynchronous Receiver-Transmitter) |
| Baud Rate (Default) | 9600 bps |
| Transmission Range | Up to 100 meters (in open space) |
| Dimensions | 26.9mm x 13mm x 2.2mm |
| Operating Temperature | -20°C to +75°C |
Pin Configuration and Descriptions
The HM-10 module has 6 pins, as described in the table below:
| Pin | Name | Description |
|---|---|---|
| 1 | VCC | Power supply pin. Connect to 3.3V to 6V. |
| 2 | GND | Ground pin. Connect to the ground of the circuit. |
| 3 | TXD | Transmit pin. Sends serial data to the connected microcontroller or device. |
| 4 | RXD | Receive pin. Receives serial data from the connected microcontroller or device. |
| 5 | STATE | Indicates the connection status (HIGH when connected, LOW when disconnected). |
| 6 | EN (Key) | Enable pin. Used to enter AT command mode when pulled HIGH. |
Usage Instructions
How to Use the HM-10 Bluetooth Module in a Circuit
- Power the Module: Connect the VCC pin to a 3.3V to 6V power source and the GND pin to the ground.
- Connect to a Microcontroller:
- Connect the TXD pin of the HM-10 to the RX pin of the microcontroller.
- Connect the RXD pin of the HM-10 to the TX pin of the microcontroller.
- Use a voltage divider or level shifter if the microcontroller operates at 5V logic levels to avoid damaging the module.
- Pair the Module:
- Use a Bluetooth-enabled device (e.g., smartphone) to search for the HM-10 module.
- The default name of the module is typically "HMSoft," and the default pairing code is "123456" or "000000."
- Send and Receive Data:
- Use a serial communication interface (e.g., Arduino Serial Monitor) to send and receive data between the microcontroller and the paired device.
Important Considerations and Best Practices
- Ensure proper voltage levels: The HM-10 operates at 3.3V logic levels. Use a level shifter or resistor divider for 5V systems.
- Avoid placing the module near sources of electromagnetic interference (EMI) to maintain a stable connection.
- Use AT commands to configure the module (e.g., change the name, baud rate, or pairing code). Enter AT command mode by pulling the EN pin HIGH before powering the module.
Example: Connecting HM-10 to Arduino UNO
Below is an example of how to use the HM-10 module with an Arduino UNO to send and receive data:
Circuit Connections
- HM-10 VCC → Arduino 5V
- HM-10 GND → Arduino GND
- HM-10 TXD → Arduino RX (Pin 0)
- HM-10 RXD → Arduino TX (Pin 1) (Use a voltage divider for RXD if needed)
Arduino Code
#include <SoftwareSerial.h>

// Define RX and TX pins for SoftwareSerial
SoftwareSerial BTSerial(10, 11); // RX = Pin 10, TX = Pin 11

void setup() {
  Serial.begin(9600); // Start Serial Monitor communication
  BTSerial.begin(9600); // Start Bluetooth communication at 9600 baud rate

  Serial.println("HM-10 Bluetooth Module Test");
  Serial.println("Send data from Serial Monitor to communicate with HM-10.");
}

void loop() {
  // Check if data is available from the Bluetooth module
  if (BTSerial.available()) {
    char c = BTSerial.read(); // Read the incoming data
    Serial.write(c); // Forward the data to the Serial Monitor
  }

  // Check if data is available from the Serial Monitor
  if (Serial.available()) {
    char c = Serial.read(); // Read the incoming data
    BTSerial.write(c); // Forward the data to the Bluetooth module
  }
}
Troubleshooting and FAQs
Common Issues and Solutions
Module Not Detected by Bluetooth Device:
- Ensure the module is powered correctly and the VCC and GND connections are secure.
- Check if the module is in pairing mode (LED should blink rapidly).
- Verify that the Bluetooth device supports BLE (Bluetooth 4.0).
No Data Transmission:
- Confirm that the TXD and RXD pins are connected correctly.
- Check the baud rate settings. The default is 9600 bps.
- Ensure the microcontroller and HM-10 module share a common ground.
AT Commands Not Working:
- Ensure the EN pin is pulled HIGH before powering the module to enter AT command mode.
- Use a serial terminal with "No Line Ending" or "Carriage Return" settings.
FAQs
Q: Can the HM-10 module connect to classic Bluetooth devices?
A: No, the HM-10 supports only Bluetooth Low Energy (BLE) and cannot connect to classic Bluetooth devices.
Q: How can I change the module's name or pairing code?
A: Use AT commands. For example:
- To change the name:
AT+NAMEnewname - To change the pairing code:
AT+PASSnewcode
Q: What is the maximum range of the HM-10 module?
A: The module can achieve a range of up to 100 meters in open space, but obstacles and interference may reduce this range.
By following this documentation, you can effectively integrate the HM-10 Bluetooth Module into your projects and troubleshoot common issues.