
How to Use Raspberry Pi 4B: Examples, Pinouts, and Specs
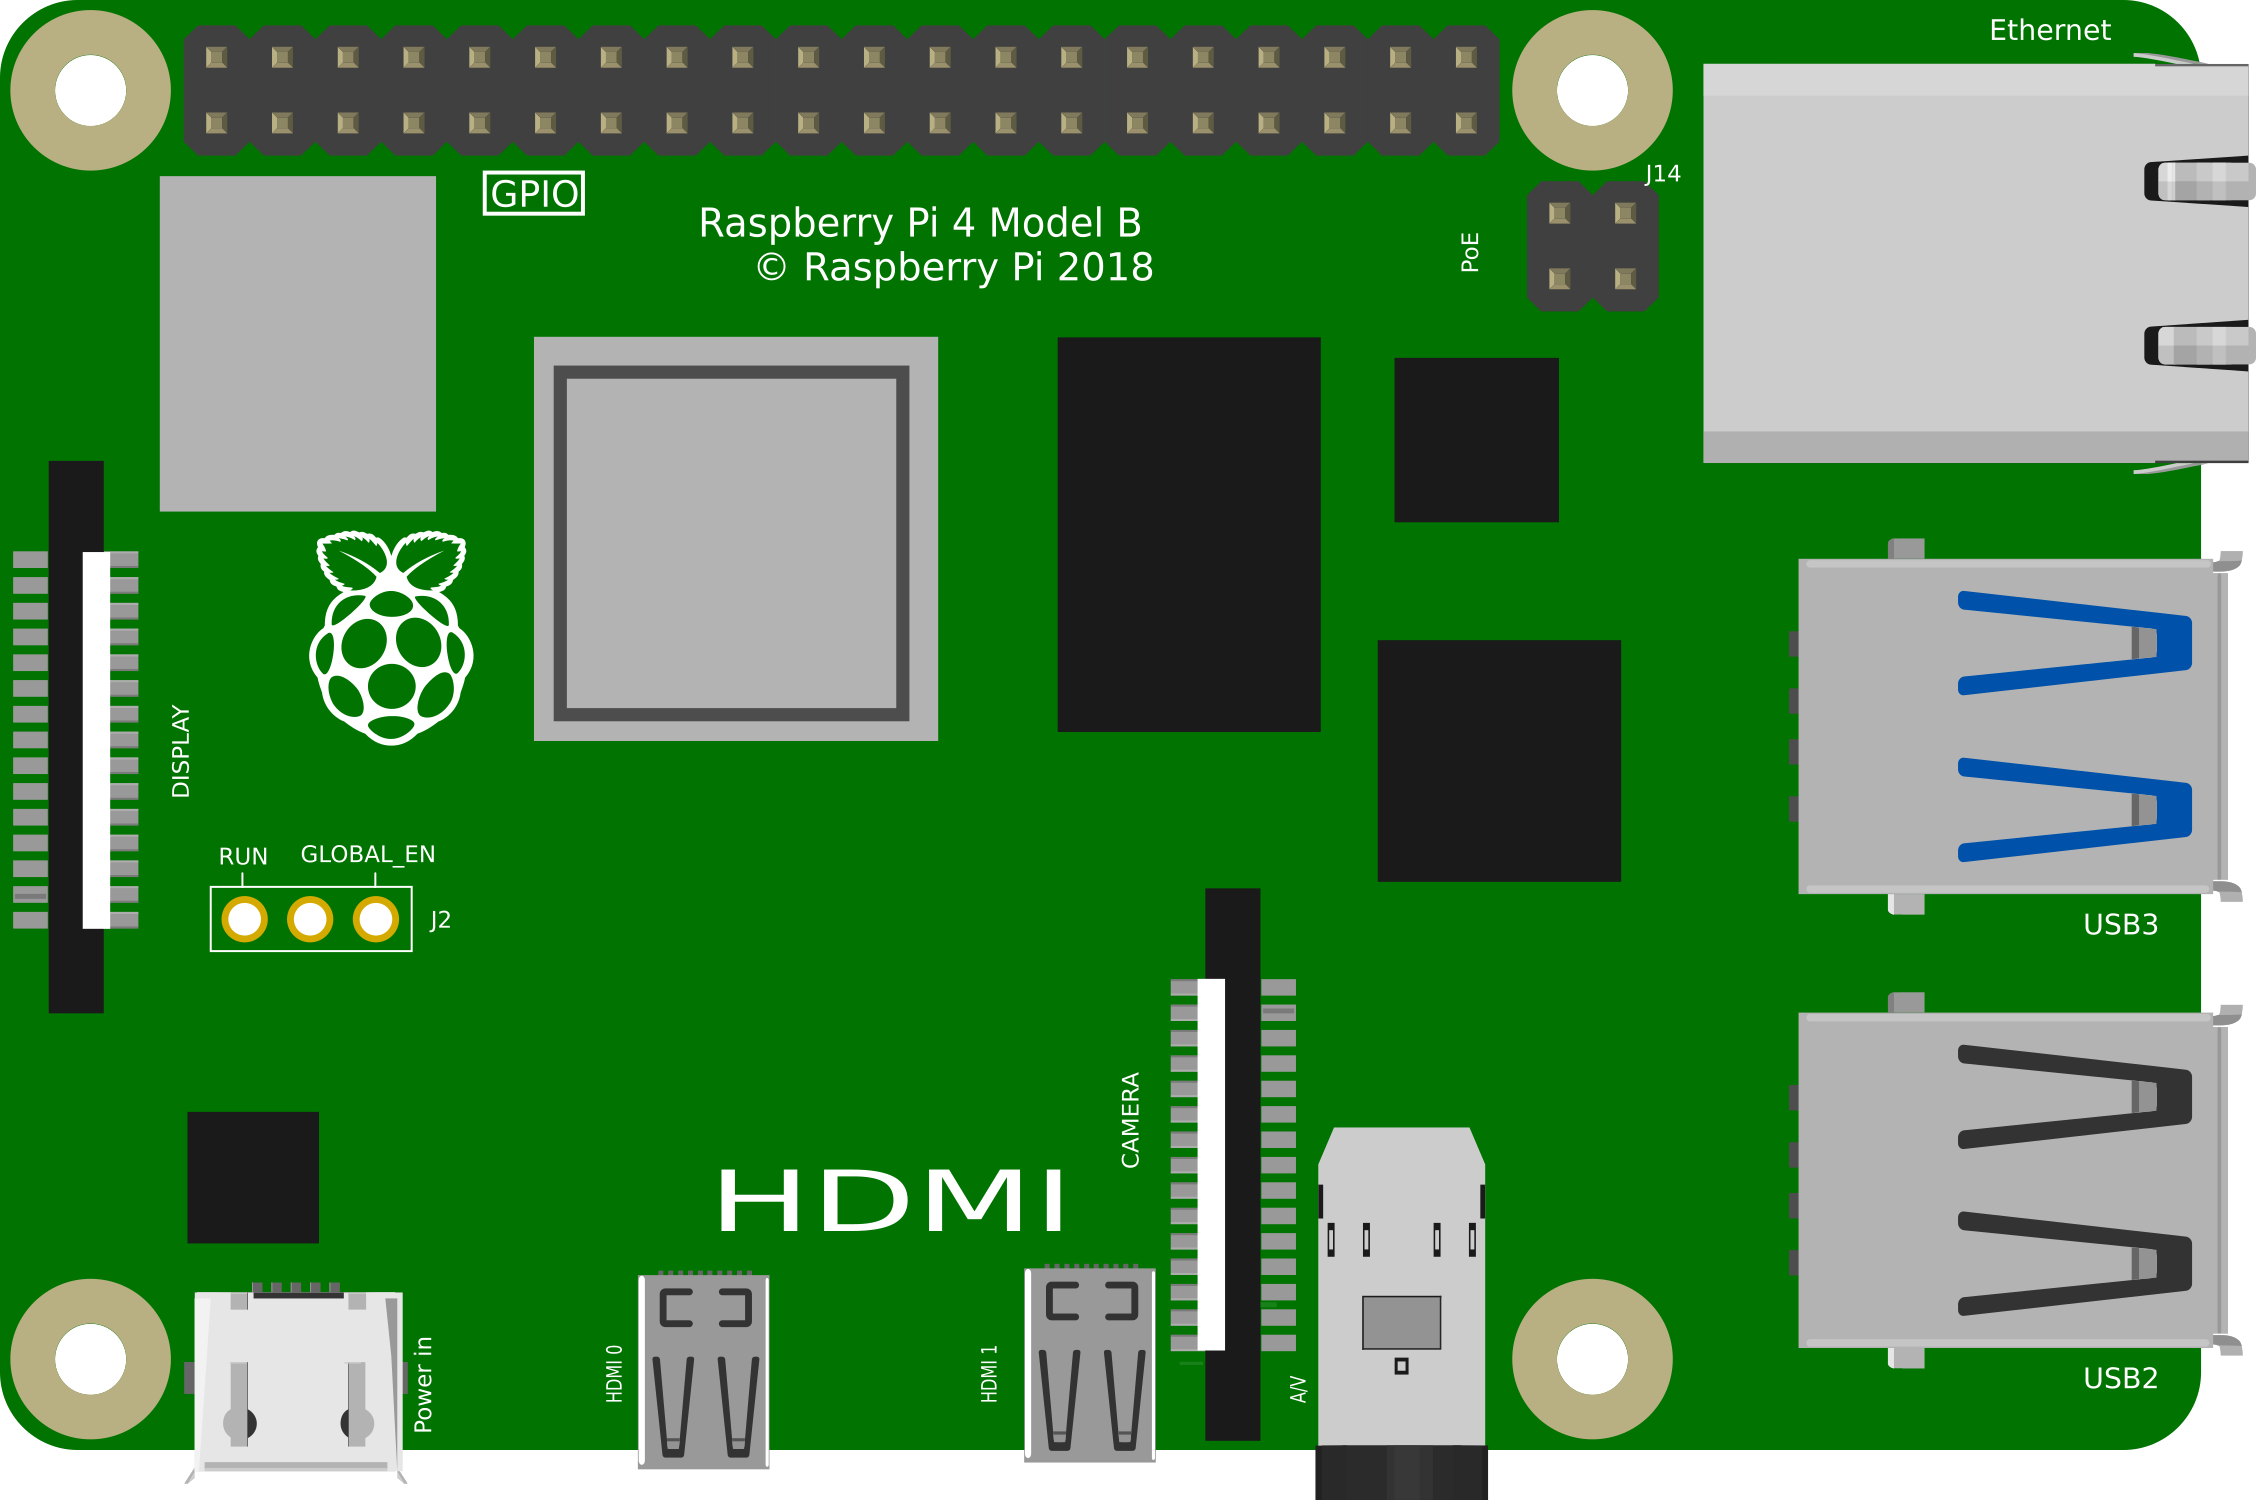
 Design with Raspberry Pi 4B in Cirkit Designer
Introduction
The Raspberry Pi 4 Model B is the latest addition to the popular Raspberry Pi range of computers. It offers significant improvements in processor speed, multimedia performance, memory, and connectivity compared to the previous-generation Raspberry Pi 3 Model B+. The Raspberry Pi 4B is a versatile single-board computer that can be used for a variety of applications, from educational projects to sophisticated home automation and IoT devices. Its enhanced capabilities make it suitable for use as a desktop computer, media center, server, or the brain of custom electronics projects.
Explore Projects Built with Raspberry Pi 4B
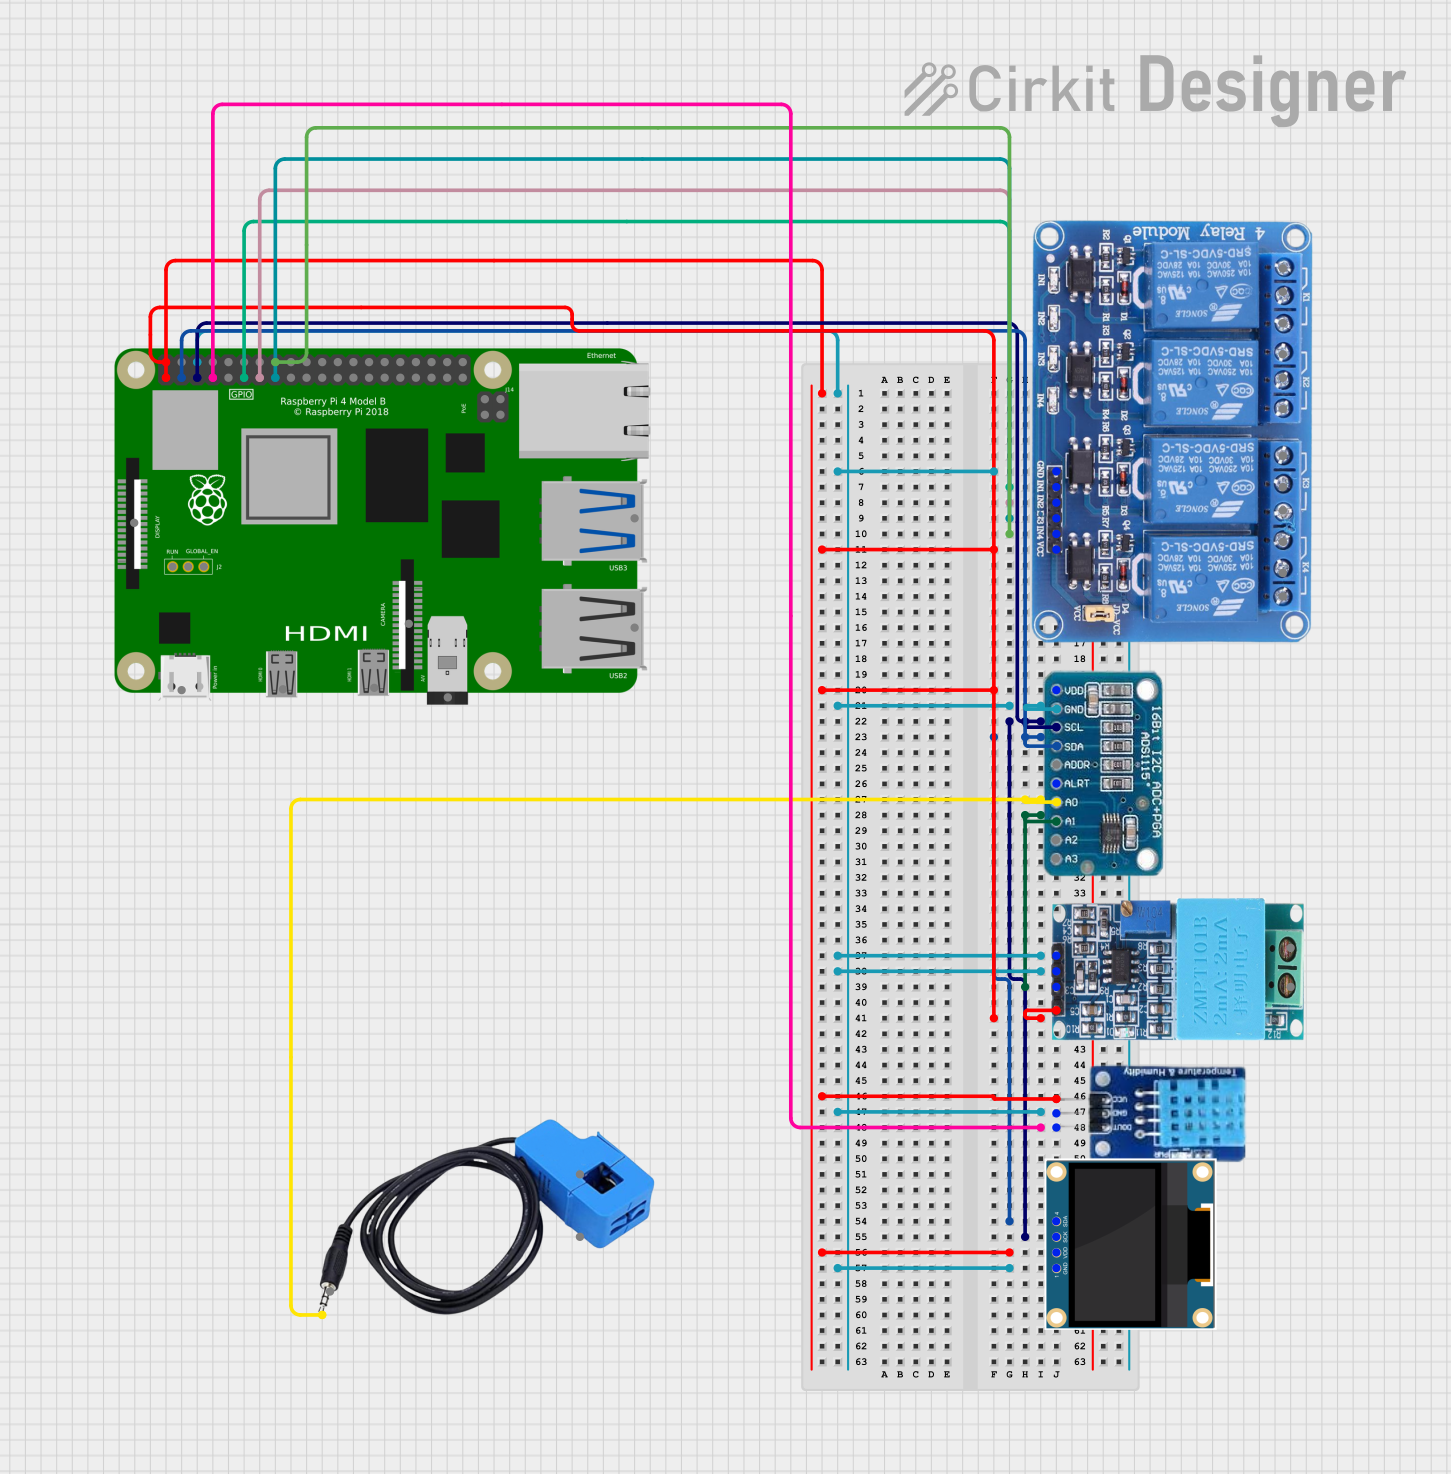
 Open Project in Cirkit Designer
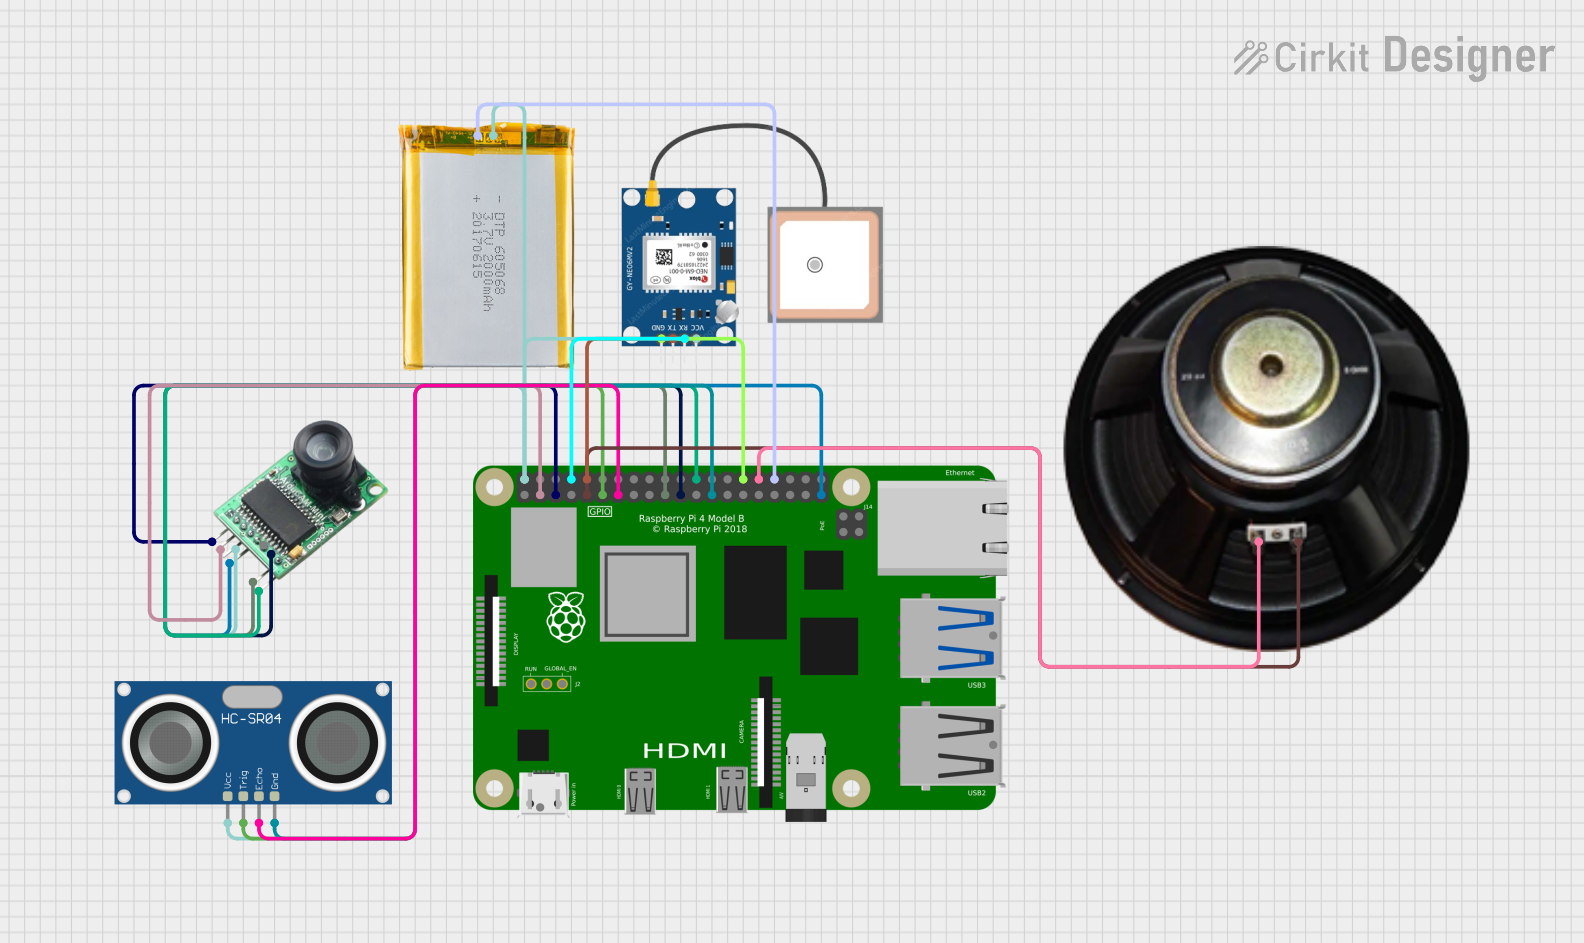
 Open Project in Cirkit Designer
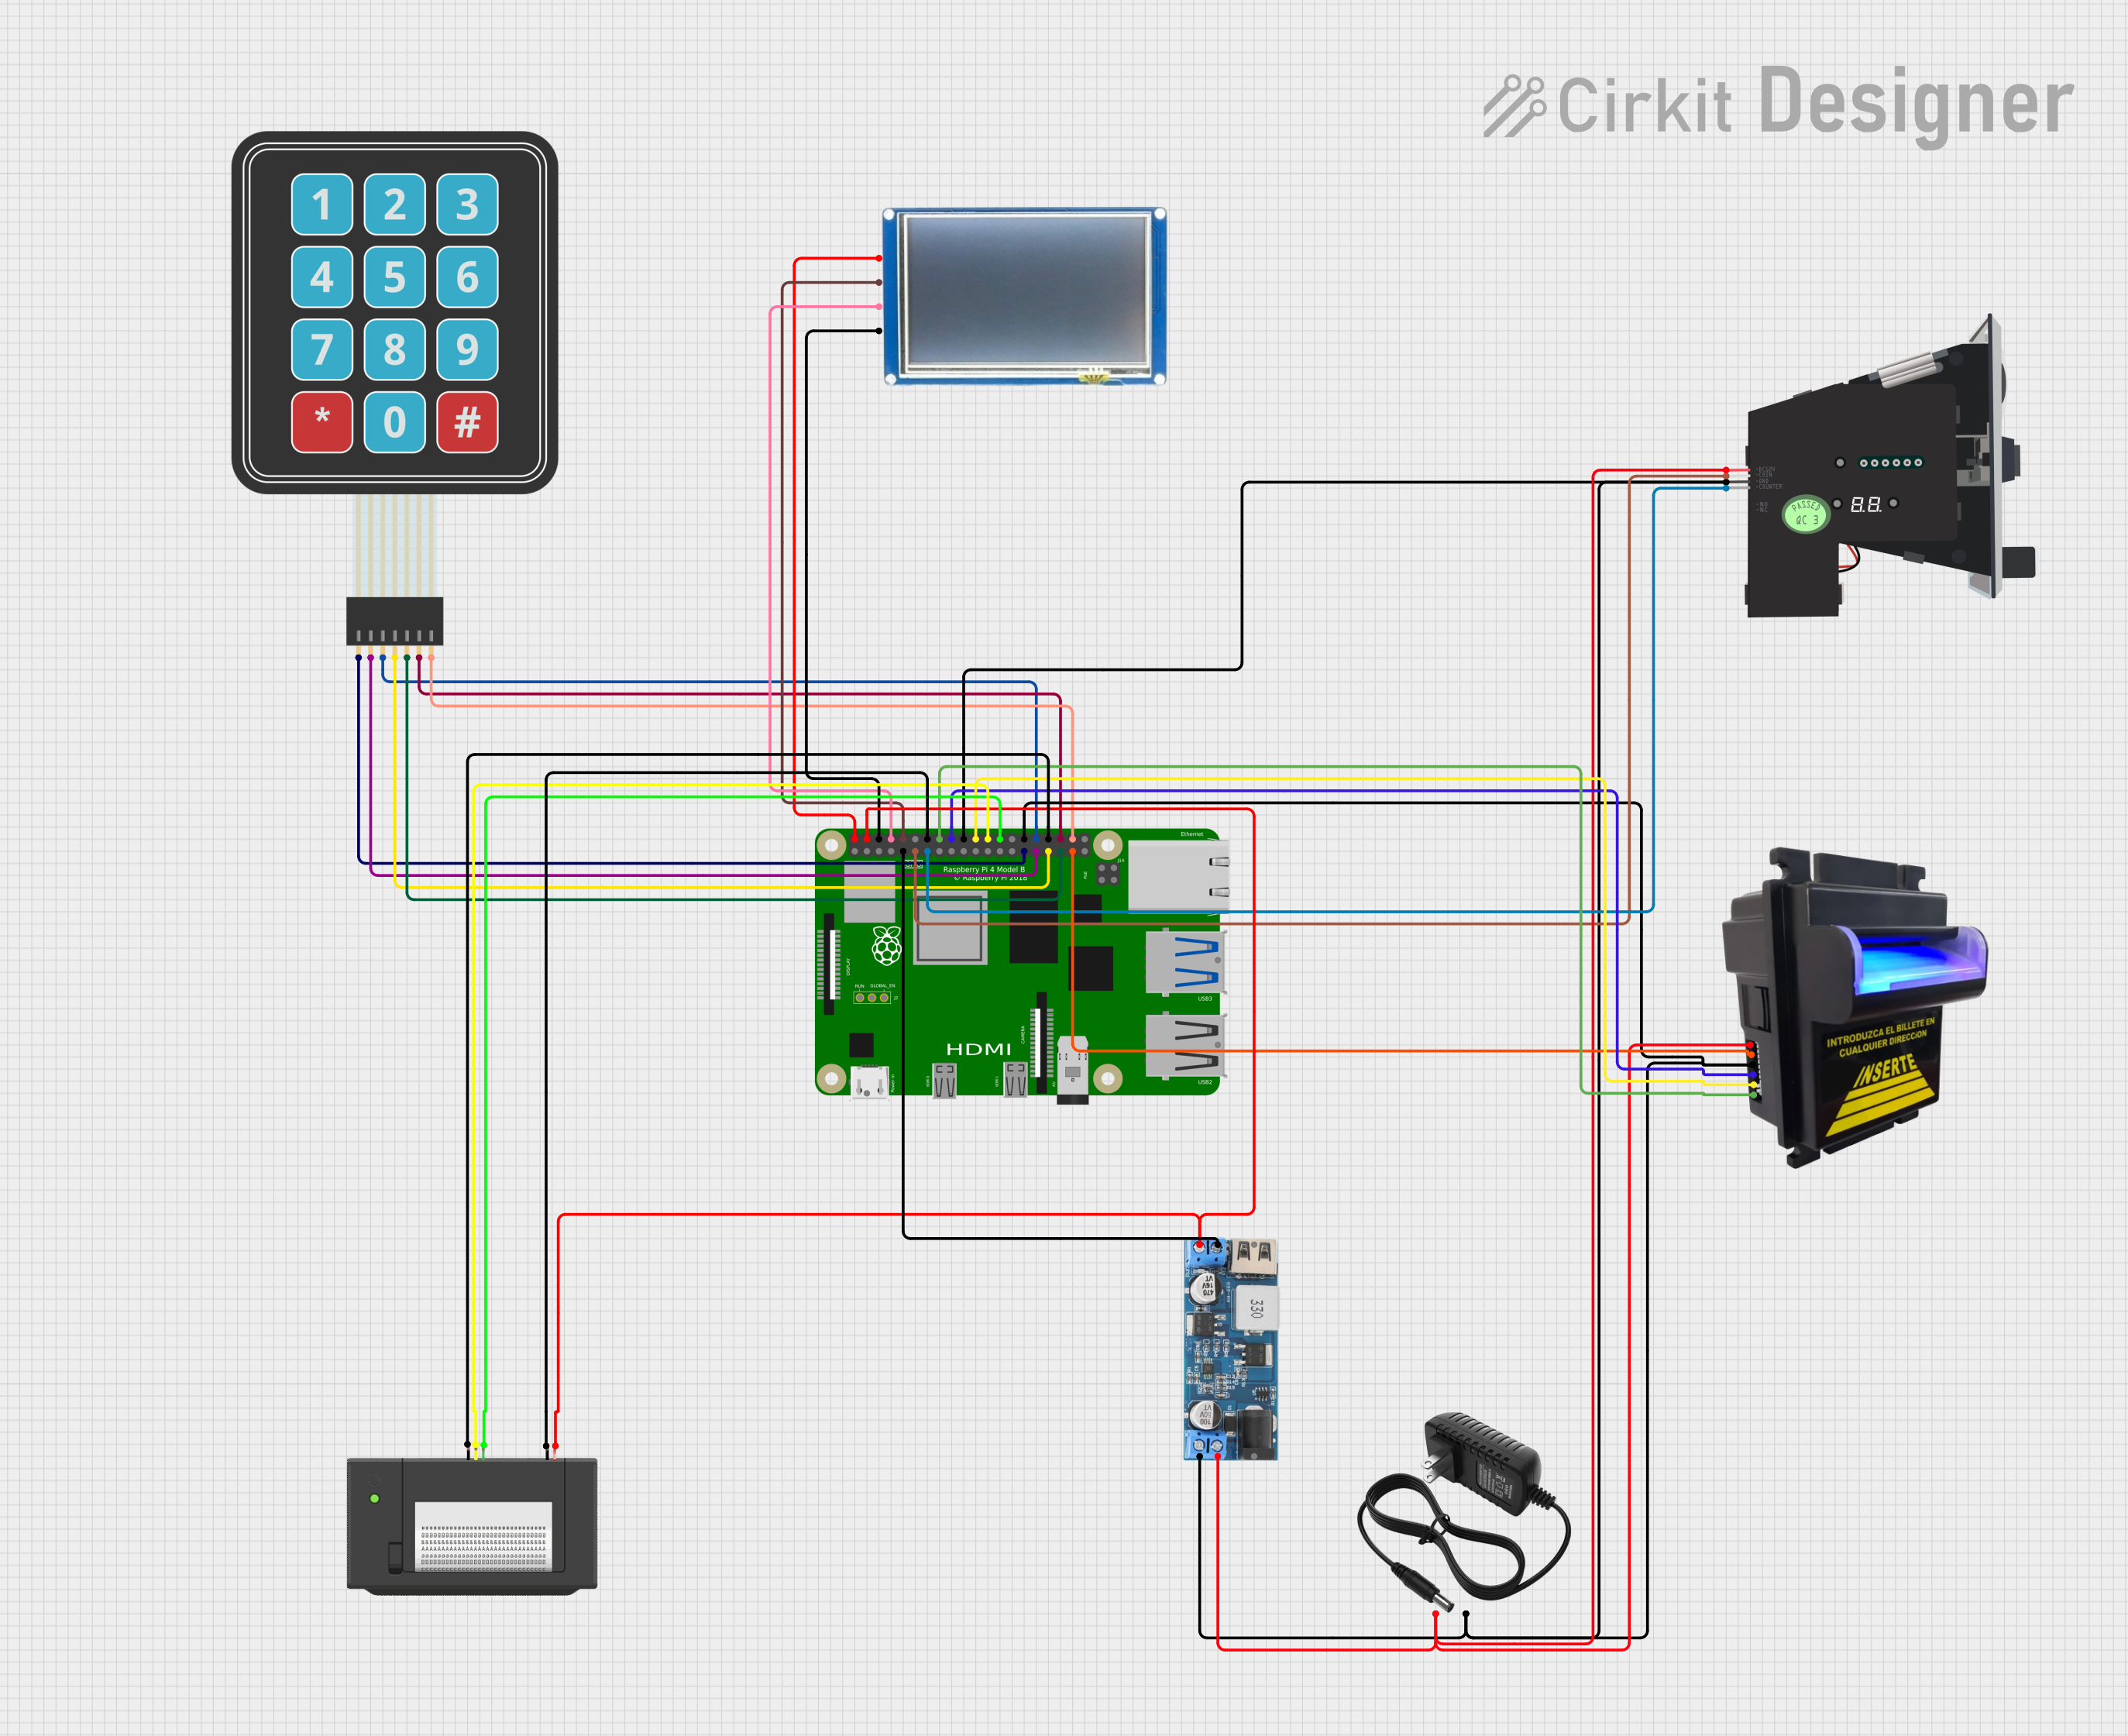
 Open Project in Cirkit Designer
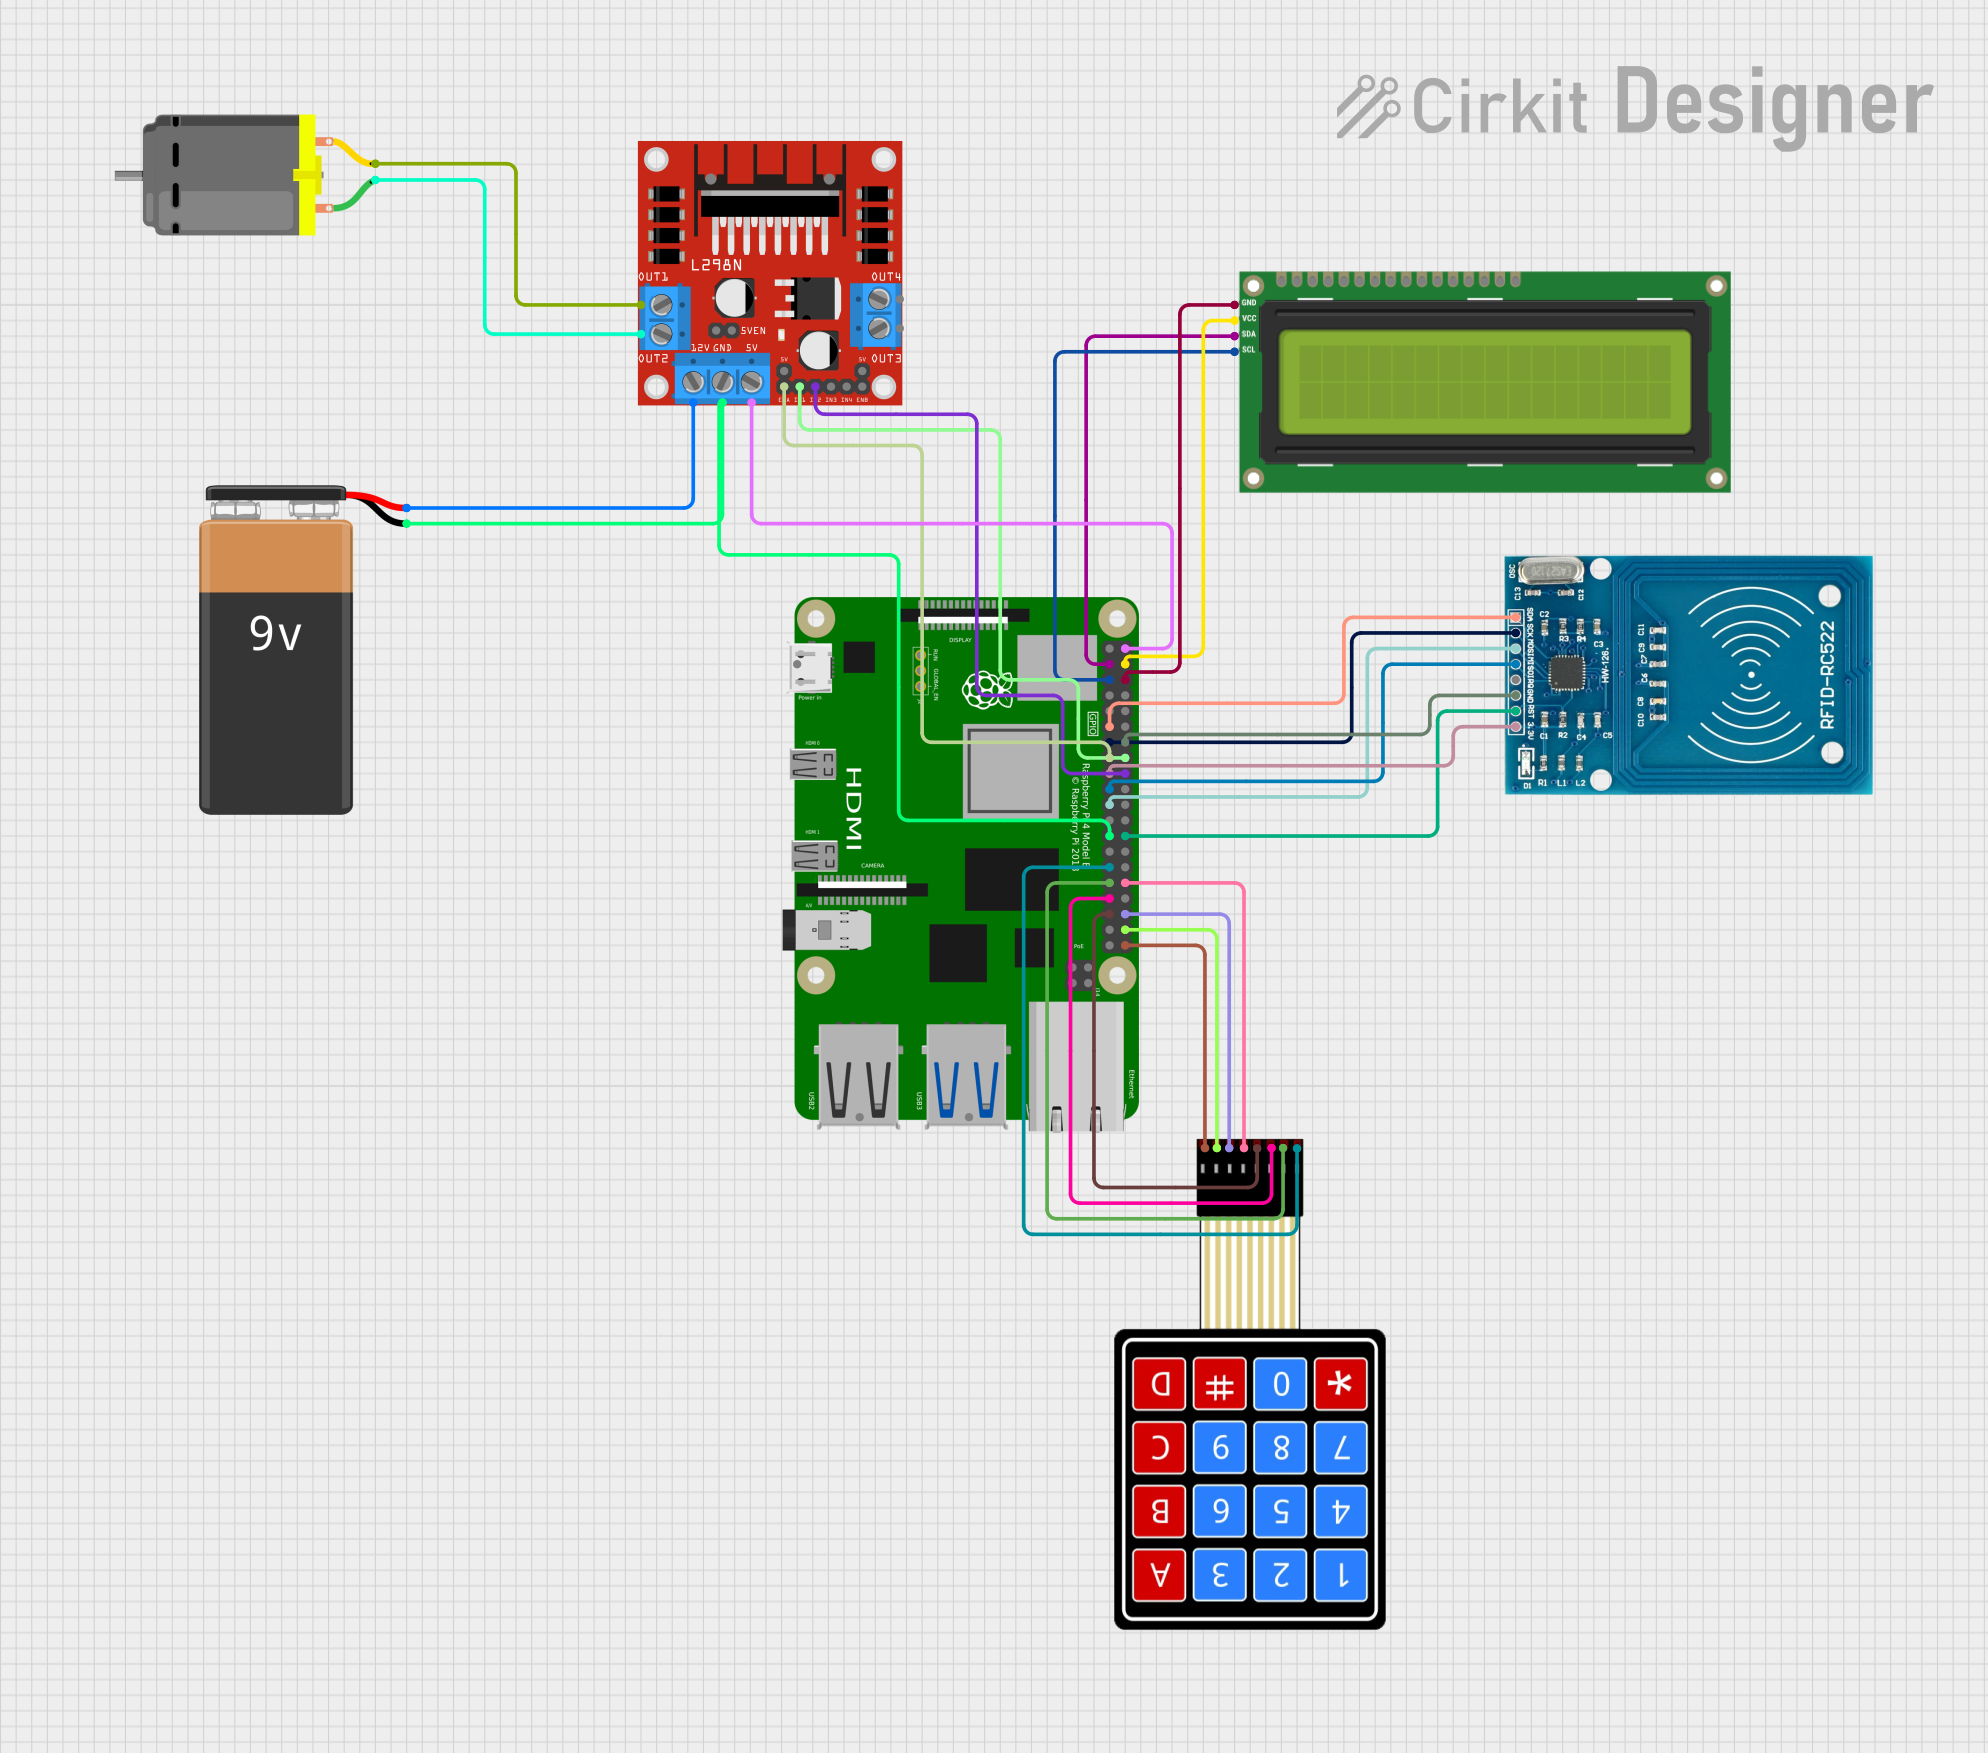
 Open Project in Cirkit Designer
Explore Projects Built with Raspberry Pi 4B

 Open Project in Cirkit Designer
 Open Project in Cirkit Designer
 Open Project in Cirkit Designer
 Open Project in Cirkit Designer
Common Applications and Use Cases
- Educational Projects: Teaching programming, computer science, and electronics.
- Home Automation: Smart home devices and systems.
- Media Centers: Running media server software like Plex or Kodi.
- IoT Applications: Building Internet of Things devices and systems.
- Desktop Replacement: Use as a low-cost, energy-efficient desktop computer.
- DIY Projects: Custom robotics, weather stations, and more.
Technical Specifications
Key Technical Details
- Processor: Broadcom BCM2711, Quad-core Cortex-A72 (ARM v8) 64-bit SoC @ 1.5GHz
- Memory: 2GB, 4GB, or 8GB LPDDR4-3200 SDRAM (depending on model)
- Connectivity:
- Gigabit Ethernet
- 2.4 GHz and 5.0 GHz IEEE 802.11b/g/n/ac wireless LAN
- Bluetooth 5.0, BLE
- Dual-band wireless LAN
- GPIO: Standard 40-pin GPIO header (fully backward-compatible with previous boards)
- Video & Sound:
- 2 × micro HDMI ports (up to 4kp60 supported)
- 2-lane MIPI DSI display port
- 2-lane MIPI CSI camera port
- 4-pole stereo audio and composite video port
- Multimedia: H.265 (4kp60 decode), H.264 (1080p60 decode, 1080p30 encode)
- Storage: Micro-SD card slot for loading operating system and data storage
- Power: 5V DC via USB-C connector (minimum 3A*)
- Operating Temperature: 0 – 50 degrees Celsius ambient
* A proper power supply is crucial for reliable operation.
Pin Configuration and Descriptions
| Pin Number | Description | Pin Number | Description |
|---|---|---|---|
| 1 | 3V3 Power | 2 | 5V Power |
| 3 | GPIO 2 (SDA1, I2C) | 4 | 5V Power |
| 5 | GPIO 3 (SCL1, I2C) | 6 | Ground |
| 7 | GPIO 4 (GPCLK0) | 8 | GPIO 14 (TXD0, UART) |
| 9 | Ground | 10 | GPIO 15 (RXD0, UART) |
| ... | ... | ... | ... |
| 39 | Ground | 40 | GPIO 21 (PCM_DOUT) |
Note: This table shows a subset of the GPIO pins for brevity. Refer to the official GPIO pinout diagram for complete details.
Usage Instructions
Setting Up the Raspberry Pi 4B
Prepare the Micro-SD Card:
- Download the latest version of Raspberry Pi OS (formerly Raspbian) or another compatible operating system.
- Use software like BalenaEtcher to flash the OS image onto the Micro-SD card.
Connect Peripherals:
- Attach a keyboard, mouse, and monitor to the Raspberry Pi via the USB ports and micro HDMI ports.
- If using Ethernet, connect the cable to the Ethernet port.
Power Up:
- Insert the Micro-SD card into the slot on the Raspberry Pi.
- Connect the USB-C power supply to power up the Raspberry Pi.
Important Considerations and Best Practices
- Power Supply: Use an official Raspberry Pi power supply or a power supply that meets the minimum power requirements.
- Heat Management: Employ heat sinks or a cooling fan if the Raspberry Pi is under heavy load to prevent overheating.
- Software Updates: Regularly update the operating system and software to ensure security and stability.
- Static Electricity: Handle the Raspberry Pi with care to avoid damage from static electricity.
Troubleshooting and FAQs
Common Issues
- Raspberry Pi not booting: Ensure the Micro-SD card is properly flashed and inserted. Check the power supply and cables.
- Overheating: If the Pi is running hot, consider using heat sinks, a fan, or improving ventilation.
- Network Issues: Verify the Ethernet cable or Wi-Fi settings if there are connectivity problems.
Solutions and Tips
- Red LED Flashing: This usually indicates a problem with the power supply. Make sure you are using a compatible power supply.
- Green LED Not Flashing: If the green LED does not flash during boot, the Micro-SD card may not be correctly imaged.
- No Video Output: Check the HDMI connections and ensure the monitor is set to the correct input.
FAQs
Q: Can I use any USB-C charger with the Raspberry Pi 4B? A: No, you should use a USB-C charger that provides at least 3A of current for stable operation.
Q: How do I access the GPIO pins programmatically? A: You can access the GPIO pins using libraries like RPi.GPIO or GPIO Zero in Python.
Q: Can I run Windows on the Raspberry Pi 4B? A: The Raspberry Pi 4B does not support the full version of Windows. However, there is a version of Windows 10 IoT Core that is compatible with the Raspberry Pi.
Q: What should I do if my Raspberry Pi 4B is not recognizing USB devices? A: Ensure that the Raspberry Pi is adequately powered and that the USB devices are compatible. Some devices may require a powered USB hub.
For more detailed troubleshooting, consult the official Raspberry Pi forums and documentation.
This documentation is provided for informational purposes only and is subject to change without notice.