How to Use 9V battery: Examples, Pinouts, and Specs
Introduction
A 9V battery is a compact power source commonly used in a wide range of electronic devices such as smoke detectors, multimeters, and portable electronic devices. Its rectangular shape and snap connectors make it easily recognizable and user-friendly. The 9V battery is valued for its reliability and consistent voltage output, making it suitable for applications that require a stable power supply.
Explore Projects Built with 9V battery

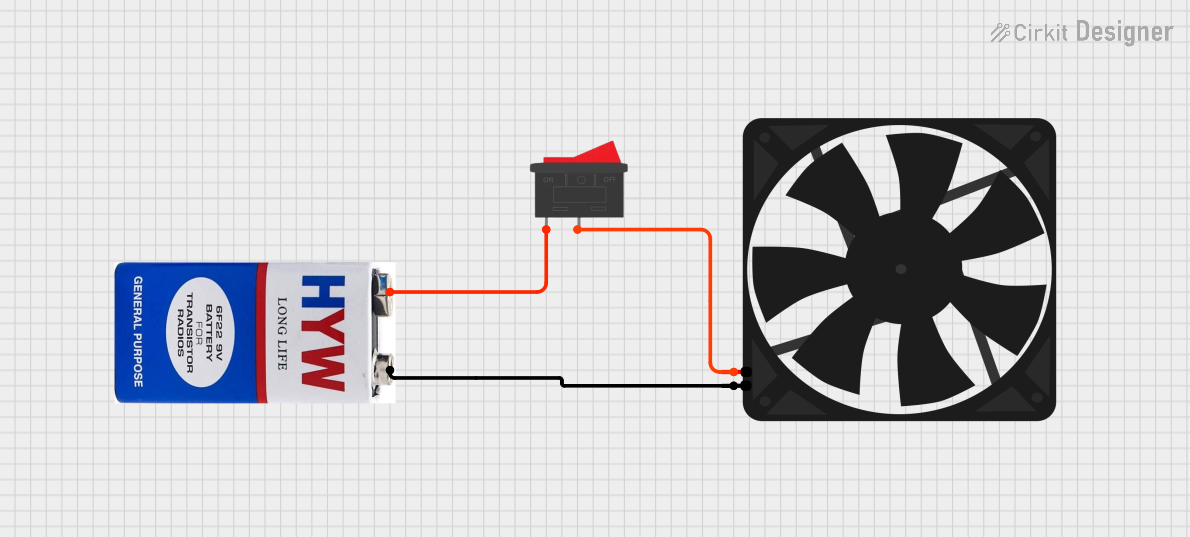
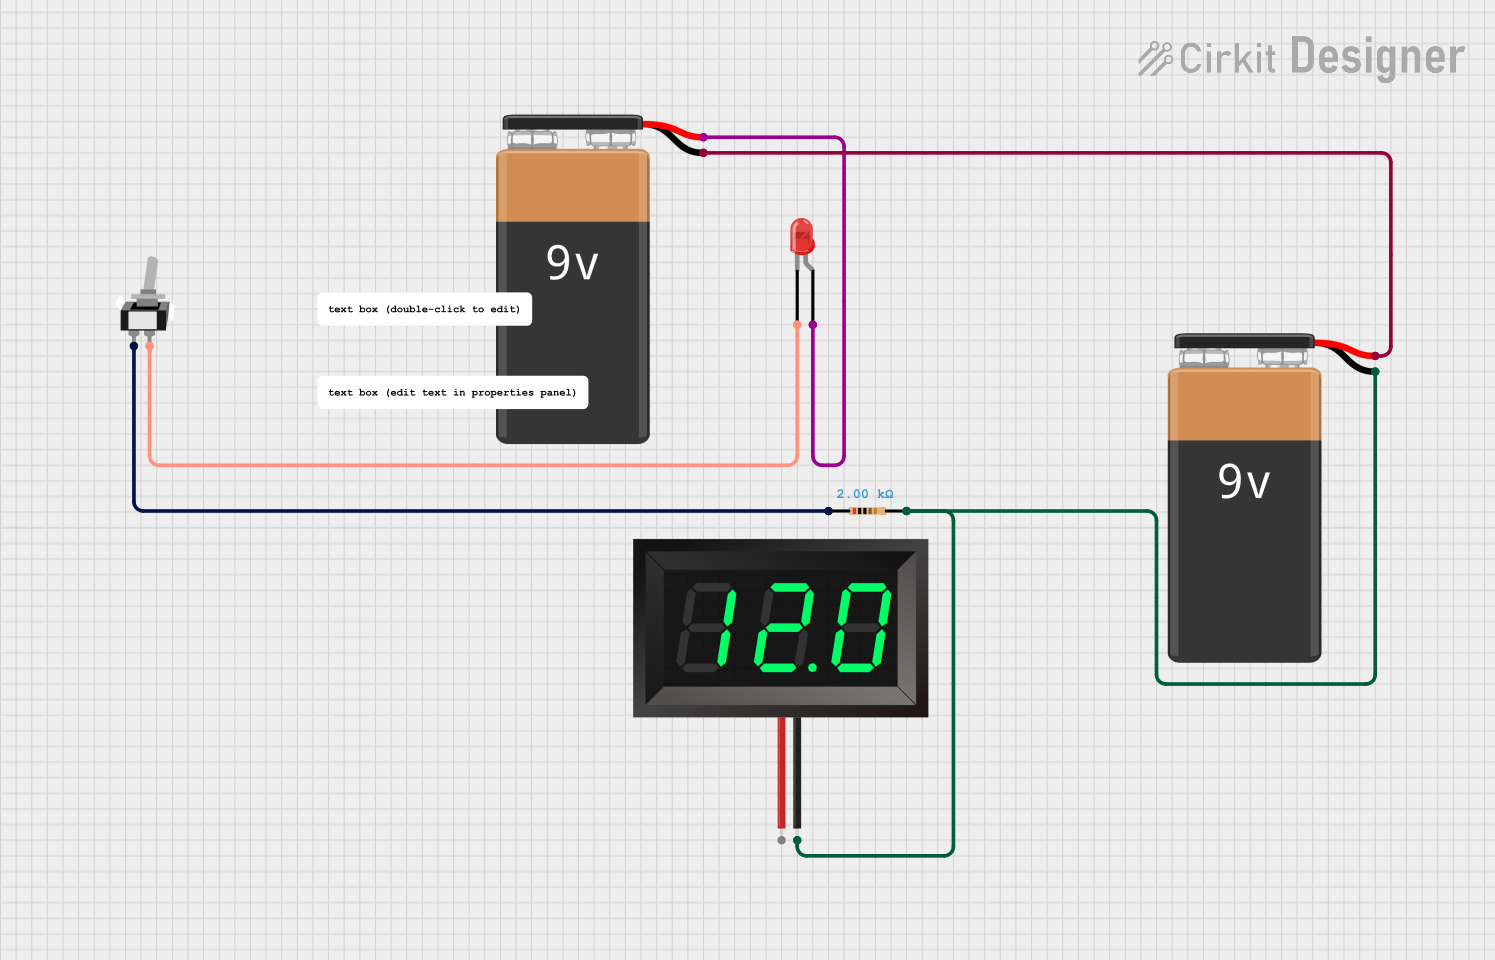
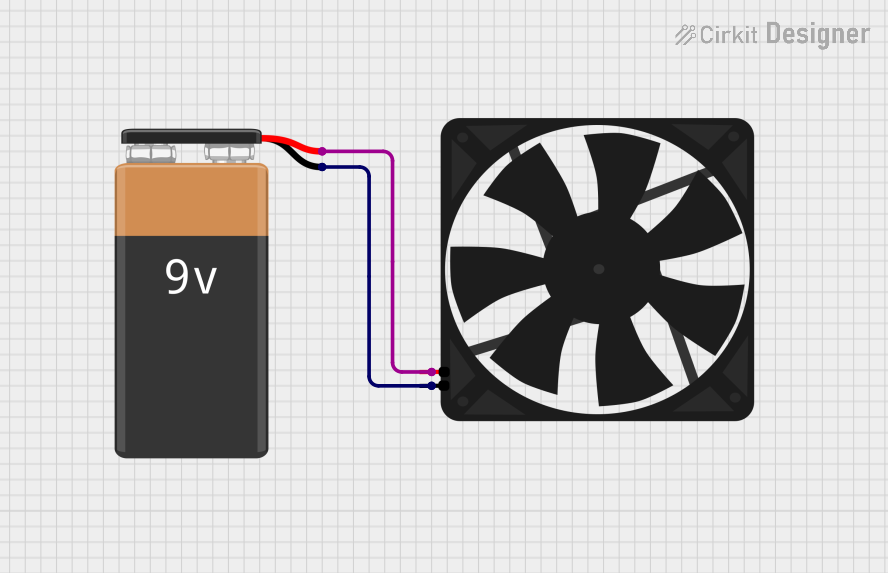
Explore Projects Built with 9V battery
Technical Specifications
General Characteristics
- Nominal Voltage: 9V
- Chemistry: Alkaline, NiMH (Nickel-Metal Hydride), or Lithium
- Capacity: Varies by chemistry and manufacturer (Alkaline: ~500mAh, NiMH: ~200-300mAh, Lithium: ~1200mAh)
- Shelf Life: Typically 5 years for Alkaline, 3 years for NiMH, and 10 years for Lithium
- Operating Temperature Range: -20°C to 60°C (may vary by battery chemistry)
Pin Configuration and Descriptions
| Pin | Description |
|---|---|
| + | Positive terminal (smaller, typically marked with a "+" sign) |
| - | Negative terminal (larger, typically marked with a "-" sign) |
Usage Instructions
Installing the Battery
- Identify the positive and negative terminals on the 9V battery.
- Align the battery terminals with the corresponding contacts in the device.
- Press the battery onto the contacts until it snaps into place securely.
Circuit Integration
- Polarity: Ensure the correct polarity when connecting the battery to a circuit. Reversing polarity can damage electronic components.
- Voltage Regulation: If the circuit requires a regulated voltage, use a voltage regulator to maintain a consistent output.
- Current Limiting: Incorporate a current-limiting resistor or fuse to protect against short circuits or overcurrent conditions.
Best Practices
- Store batteries at room temperature in a dry environment.
- Do not attempt to recharge non-rechargeable 9V batteries.
- Check the battery's expiration date and replace it if it's past its shelf life.
- Dispose of used batteries properly according to local regulations.
Troubleshooting and FAQs
Common Issues
- Device not powering on: Check the battery's charge with a multimeter and ensure proper installation.
- Low battery life: Ensure the device's power requirements match the battery's capacity. Replace the battery if necessary.
- Leakage or corrosion: Remove the battery immediately and clean the device's contacts. Use gloves to handle a leaking battery.
FAQs
Q: Can I use a 9V battery with an Arduino UNO? A: Yes, you can power an Arduino UNO with a 9V battery through the VIN pin or the DC power jack.
Q: How do I know when to replace my 9V battery? A: Replace the battery when the device powered by it shows signs of low power, or periodically check the voltage with a multimeter.
Q: Is it safe to connect multiple 9V batteries in series or parallel? A: Connecting in series increases voltage, which may exceed device ratings. Connecting in parallel increases capacity but requires batteries of the same type and age.
Example Arduino UNO Code
// This example demonstrates how to power an Arduino UNO with a 9V battery
// and read the battery voltage through an analog pin.

int batteryPin = A0; // Analog pin connected to voltage divider output

void setup() {
  Serial.begin(9600);
}

void loop() {
  int sensorValue = analogRead(batteryPin); // Read the analog value
  float voltage = sensorValue * (9.0 / 1023.0); // Convert to battery voltage
  Serial.println(voltage); // Print the voltage to the Serial Monitor
  delay(1000); // Wait for 1 second before reading again
}
Note: The above code assumes a voltage divider is used to step down the 9V battery voltage to a safe level for the Arduino analog pin (which has a maximum of 5V). Always ensure that the input voltage to any Arduino pin does not exceed its maximum rating.