How to Use Beam Sensors Curtains: Examples, Pinouts, and Specs
Introduction
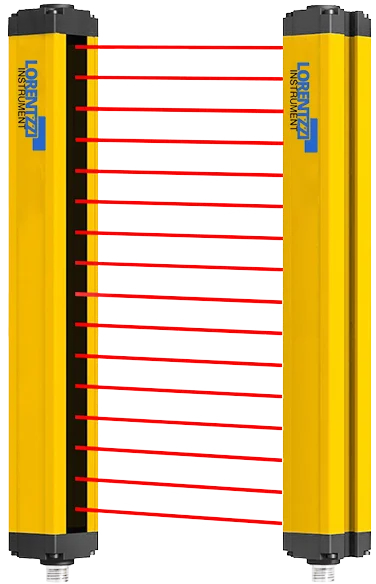
Beam sensor curtains are electronic devices designed to detect the interruption of infrared (IR) beams across a defined area. These sensors consist of an array of IR transmitters and receivers arranged in a curtain-like configuration. When an object or person passes through the curtain, the interruption of one or more beams triggers a signal.
Beam sensor curtains are commonly used in:
- Security systems (e.g., intrusion detection, perimeter monitoring)
- Automatic doors and elevators
- Industrial automation (e.g., object detection on conveyor belts)
- Safety systems (e.g., preventing accidents with machinery)
Explore Projects Built with Beam Sensors Curtains
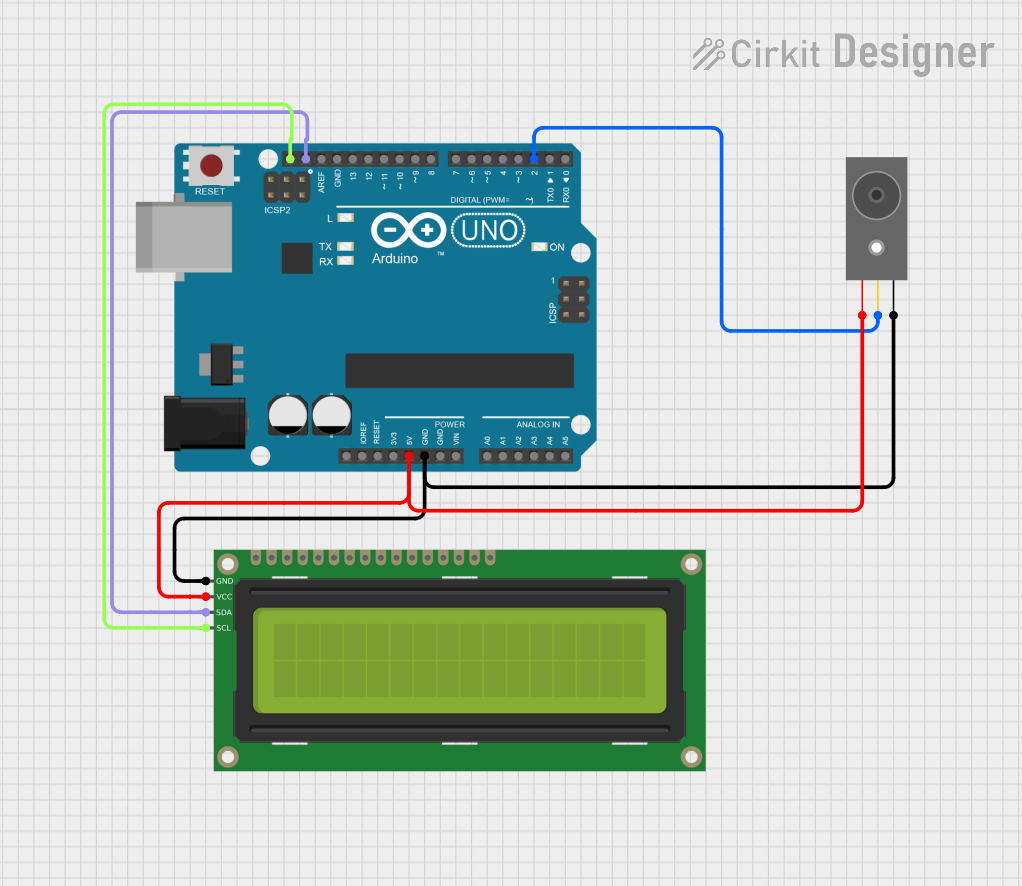
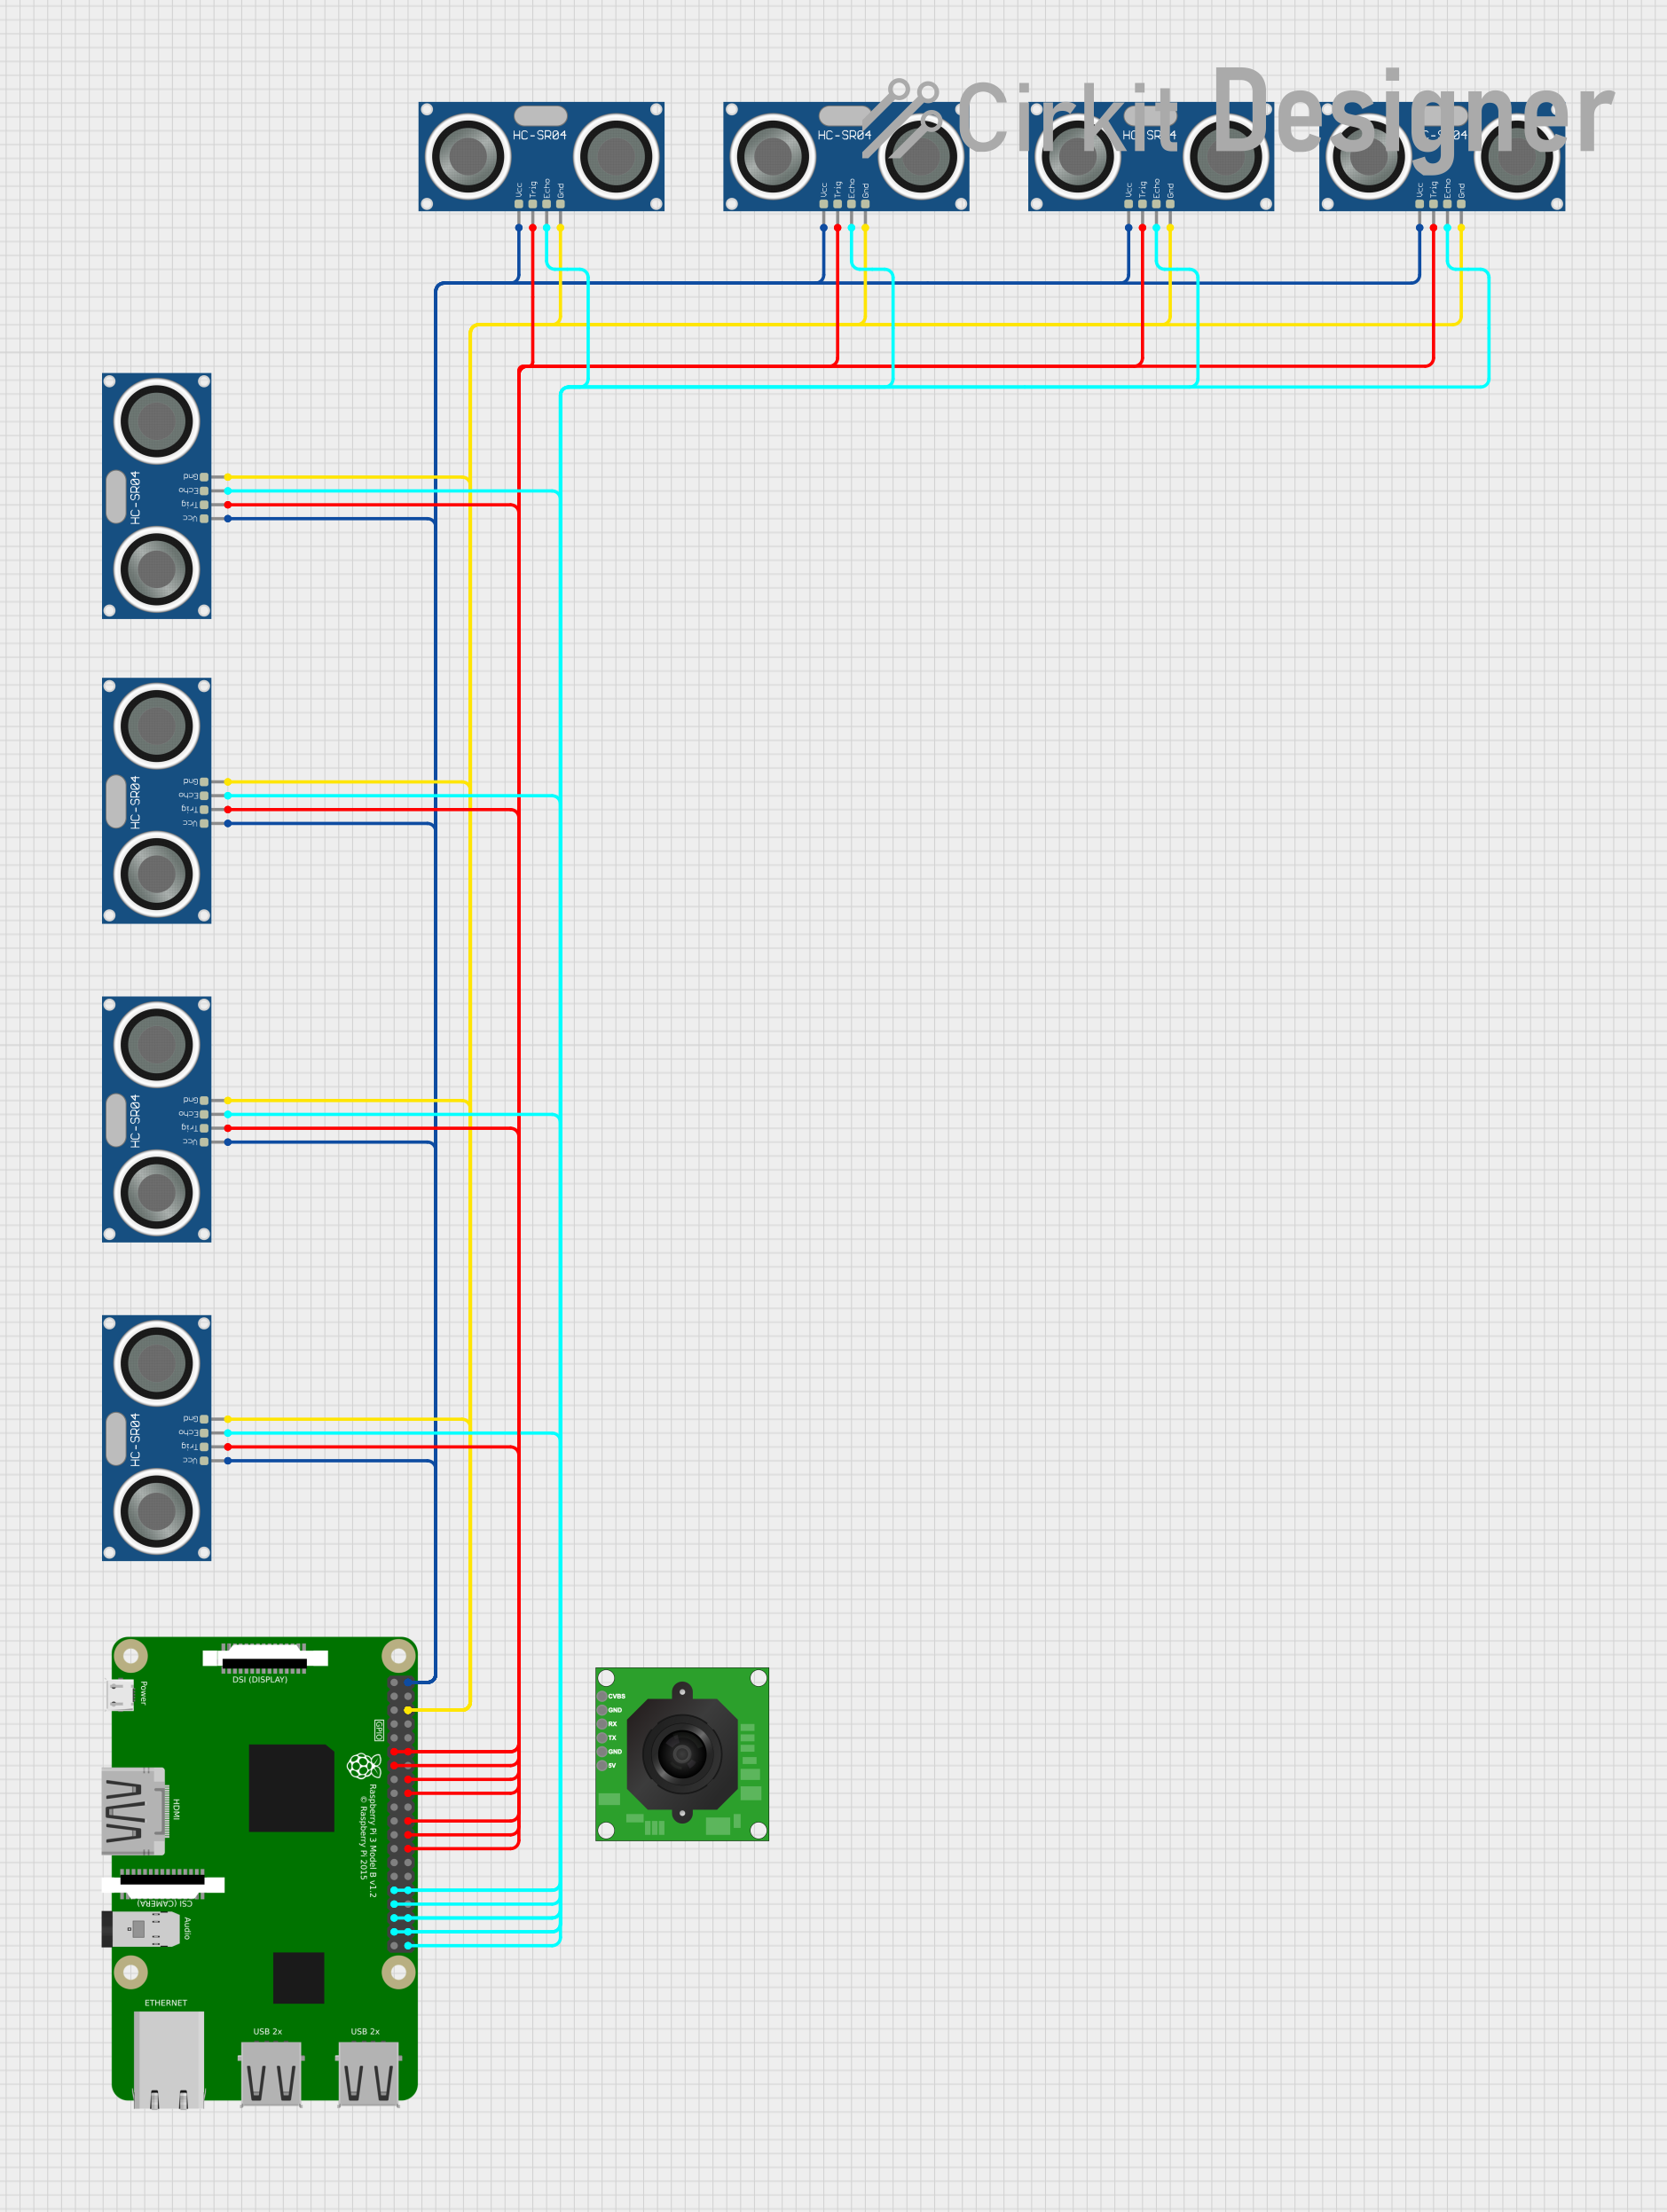
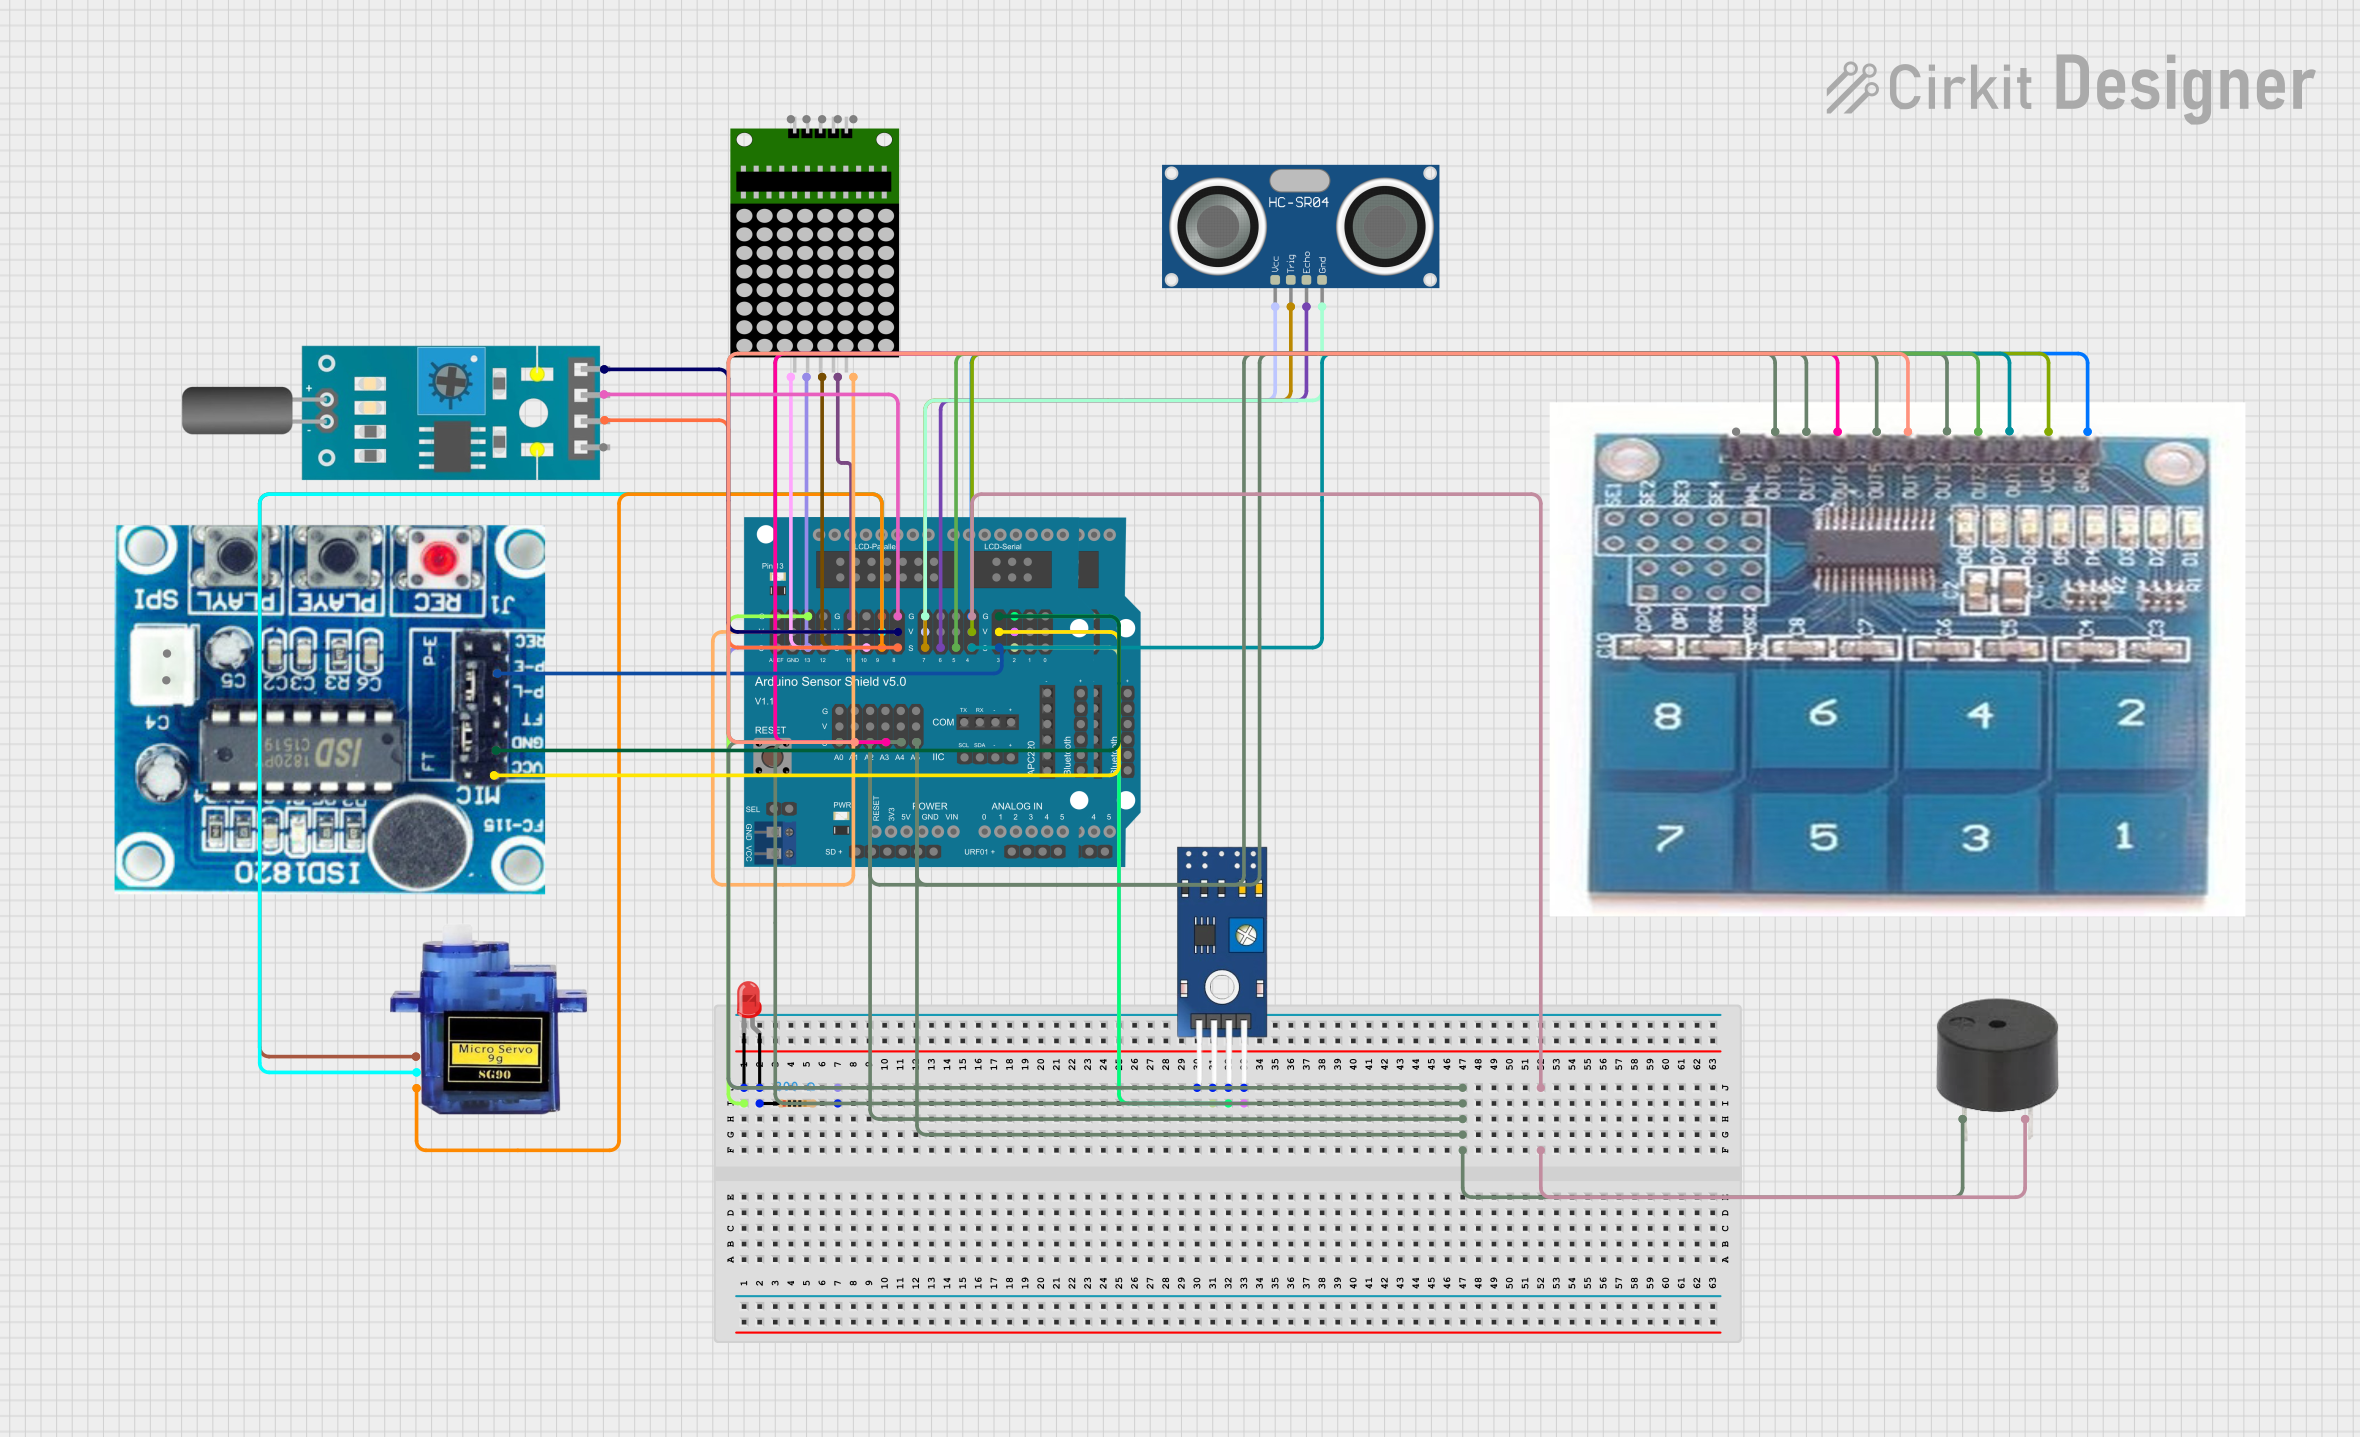

Explore Projects Built with Beam Sensors Curtains
Technical Specifications
Below are the key technical details for a typical beam sensor curtain:
| Parameter | Value |
|---|---|
| Operating Voltage | 12V DC (typical) |
| Current Consumption | 100-300 mA (depending on the model) |
| Detection Range | 0.5m to 10m (varies by model) |
| Number of Beams | 4 to 16 beams (depending on configuration) |
| Beam Wavelength | 940 nm (infrared) |
| Response Time | < 20 ms |
| Output Type | Digital (High/Low) or Relay Output |
| Operating Temperature | -10°C to 50°C |
| Dimensions | Varies by model (e.g., 30cm x 5cm x 3cm) |
Pin Configuration and Descriptions
The pinout for a typical beam sensor curtain is as follows:
| Pin | Name | Description |
|---|---|---|
| 1 | VCC | Power supply input (typically 12V DC) |
| 2 | GND | Ground connection |
| 3 | OUT | Digital output signal (High when beams are uninterrupted, Low when interrupted) |
| 4 | NC/NO (Optional) | Relay output for triggering external devices (Normally Closed/Normally Open) |
Usage Instructions
How to Use the Component in a Circuit
- Power the Sensor: Connect the
VCCpin to a 12V DC power source and theGNDpin to the ground of your circuit. - Connect the Output: Use the
OUTpin to interface with a microcontroller (e.g., Arduino) or other digital input devices. The output will toggle between High and Low based on beam interruptions. - Relay Output (Optional): If your model includes a relay output, connect it to external devices (e.g., alarms or motors) as per the Normally Closed (NC) or Normally Open (NO) configuration.
- Mounting: Install the transmitter and receiver units opposite each other, ensuring proper alignment of the beams. Use the alignment indicators (if available) for precise setup.
Important Considerations and Best Practices
- Alignment: Ensure the transmitter and receiver units are perfectly aligned for optimal performance. Misalignment can cause false triggers.
- Environmental Factors: Avoid placing the sensor in direct sunlight or near strong IR sources, as these can interfere with detection.
- Power Supply: Use a stable and regulated 12V DC power source to prevent malfunctions.
- Testing: Test the system after installation by interrupting the beams with an object to verify proper operation.
Example Code for Arduino UNO
Below is an example of how to interface a beam sensor curtain with an Arduino UNO:
// Define the pin connected to the sensor's output
const int sensorPin = 2;  // Digital pin 2
const int ledPin = 13;    // Built-in LED for status indication

void setup() {
  pinMode(sensorPin, INPUT);  // Set sensor pin as input
  pinMode(ledPin, OUTPUT);    // Set LED pin as output
  Serial.begin(9600);         // Initialize serial communication
}

void loop() {
  int sensorState = digitalRead(sensorPin);  // Read the sensor's output

  if (sensorState == LOW) {
    // Beam interrupted
    digitalWrite(ledPin, HIGH);  // Turn on LED
    Serial.println("Beam interrupted!");
  } else {
    // Beam uninterrupted
    digitalWrite(ledPin, LOW);   // Turn off LED
    Serial.println("Beam clear.");
  }

  delay(100);  // Small delay for stability
}
Troubleshooting and FAQs
Common Issues and Solutions
Sensor Not Detecting Interruptions
- Cause: Misalignment of transmitter and receiver.
- Solution: Re-align the units and ensure they are directly facing each other.
False Triggers
- Cause: Environmental interference (e.g., sunlight, reflective surfaces).
- Solution: Install the sensor in a shaded area or use shielding to block external IR sources.
No Output Signal
- Cause: Incorrect wiring or insufficient power supply.
- Solution: Double-check the wiring and ensure a stable 12V DC power source.
Relay Not Activating
- Cause: Incorrect relay configuration or load connection.
- Solution: Verify the relay's NC/NO configuration and ensure the load is properly connected.
FAQs
Q: Can I use a beam sensor curtain with a 5V power supply?
A: Most beam sensor curtains require 12V DC for proper operation. Using a 5V supply may result in malfunction or no operation.
Q: How do I extend the detection range?
A: The detection range is determined by the sensor's design. For longer ranges, use a model specifically designed for extended distances.
Q: Can I use multiple beam sensor curtains in the same area?
A: Yes, but ensure that the beams from different units do not cross or interfere with each other. Use models with different modulation frequencies if interference occurs.
Q: Is the sensor waterproof?
A: Some models are weatherproof, but not all. Check the manufacturer's specifications for outdoor use.