How to Use Dynamixel X-Series Motor: Examples, Pinouts, and Specs
Introduction
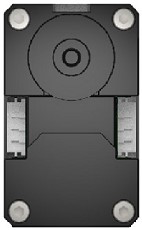
The Dynamixel X-Series Motor (Model: XC430-W240-T), manufactured by Robotis, is a high-performance servo motor designed for robotics and automation applications. It features advanced control capabilities, integrated feedback systems, and support for multiple communication protocols, making it ideal for precise movement and positioning tasks. This motor is widely used in robotic arms, humanoid robots, industrial automation, and research projects.
Explore Projects Built with Dynamixel X-Series Motor

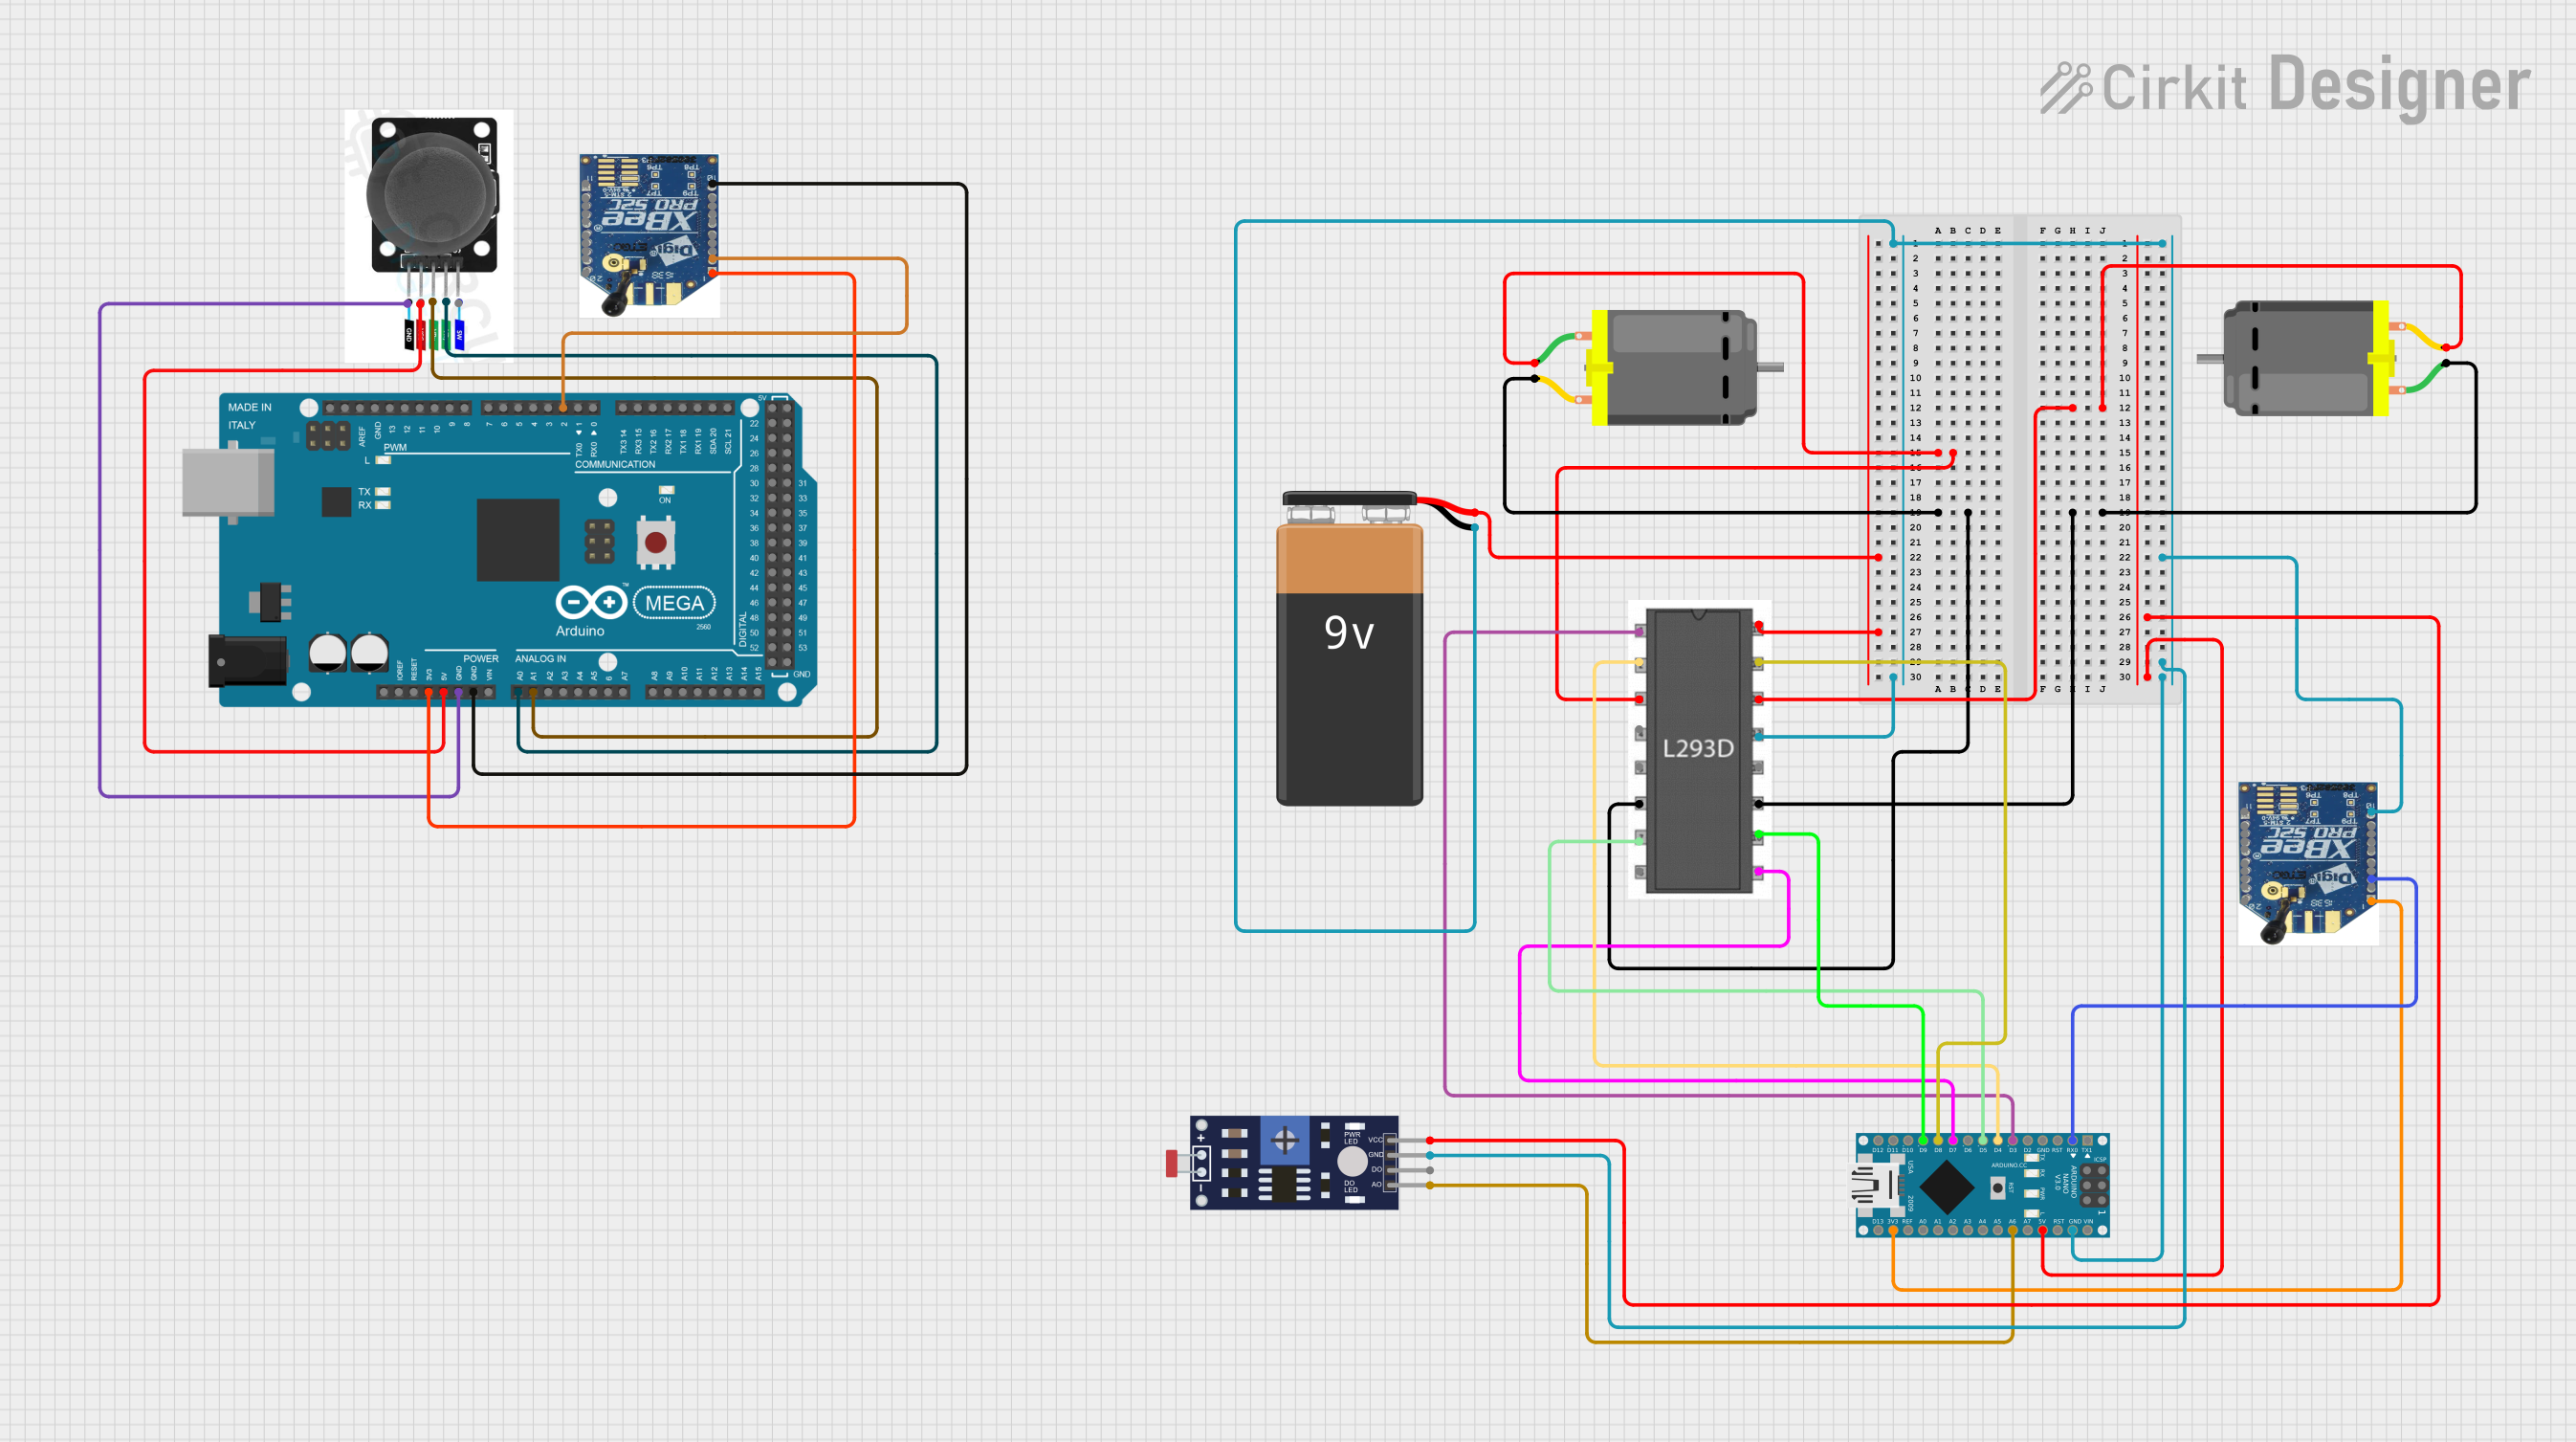
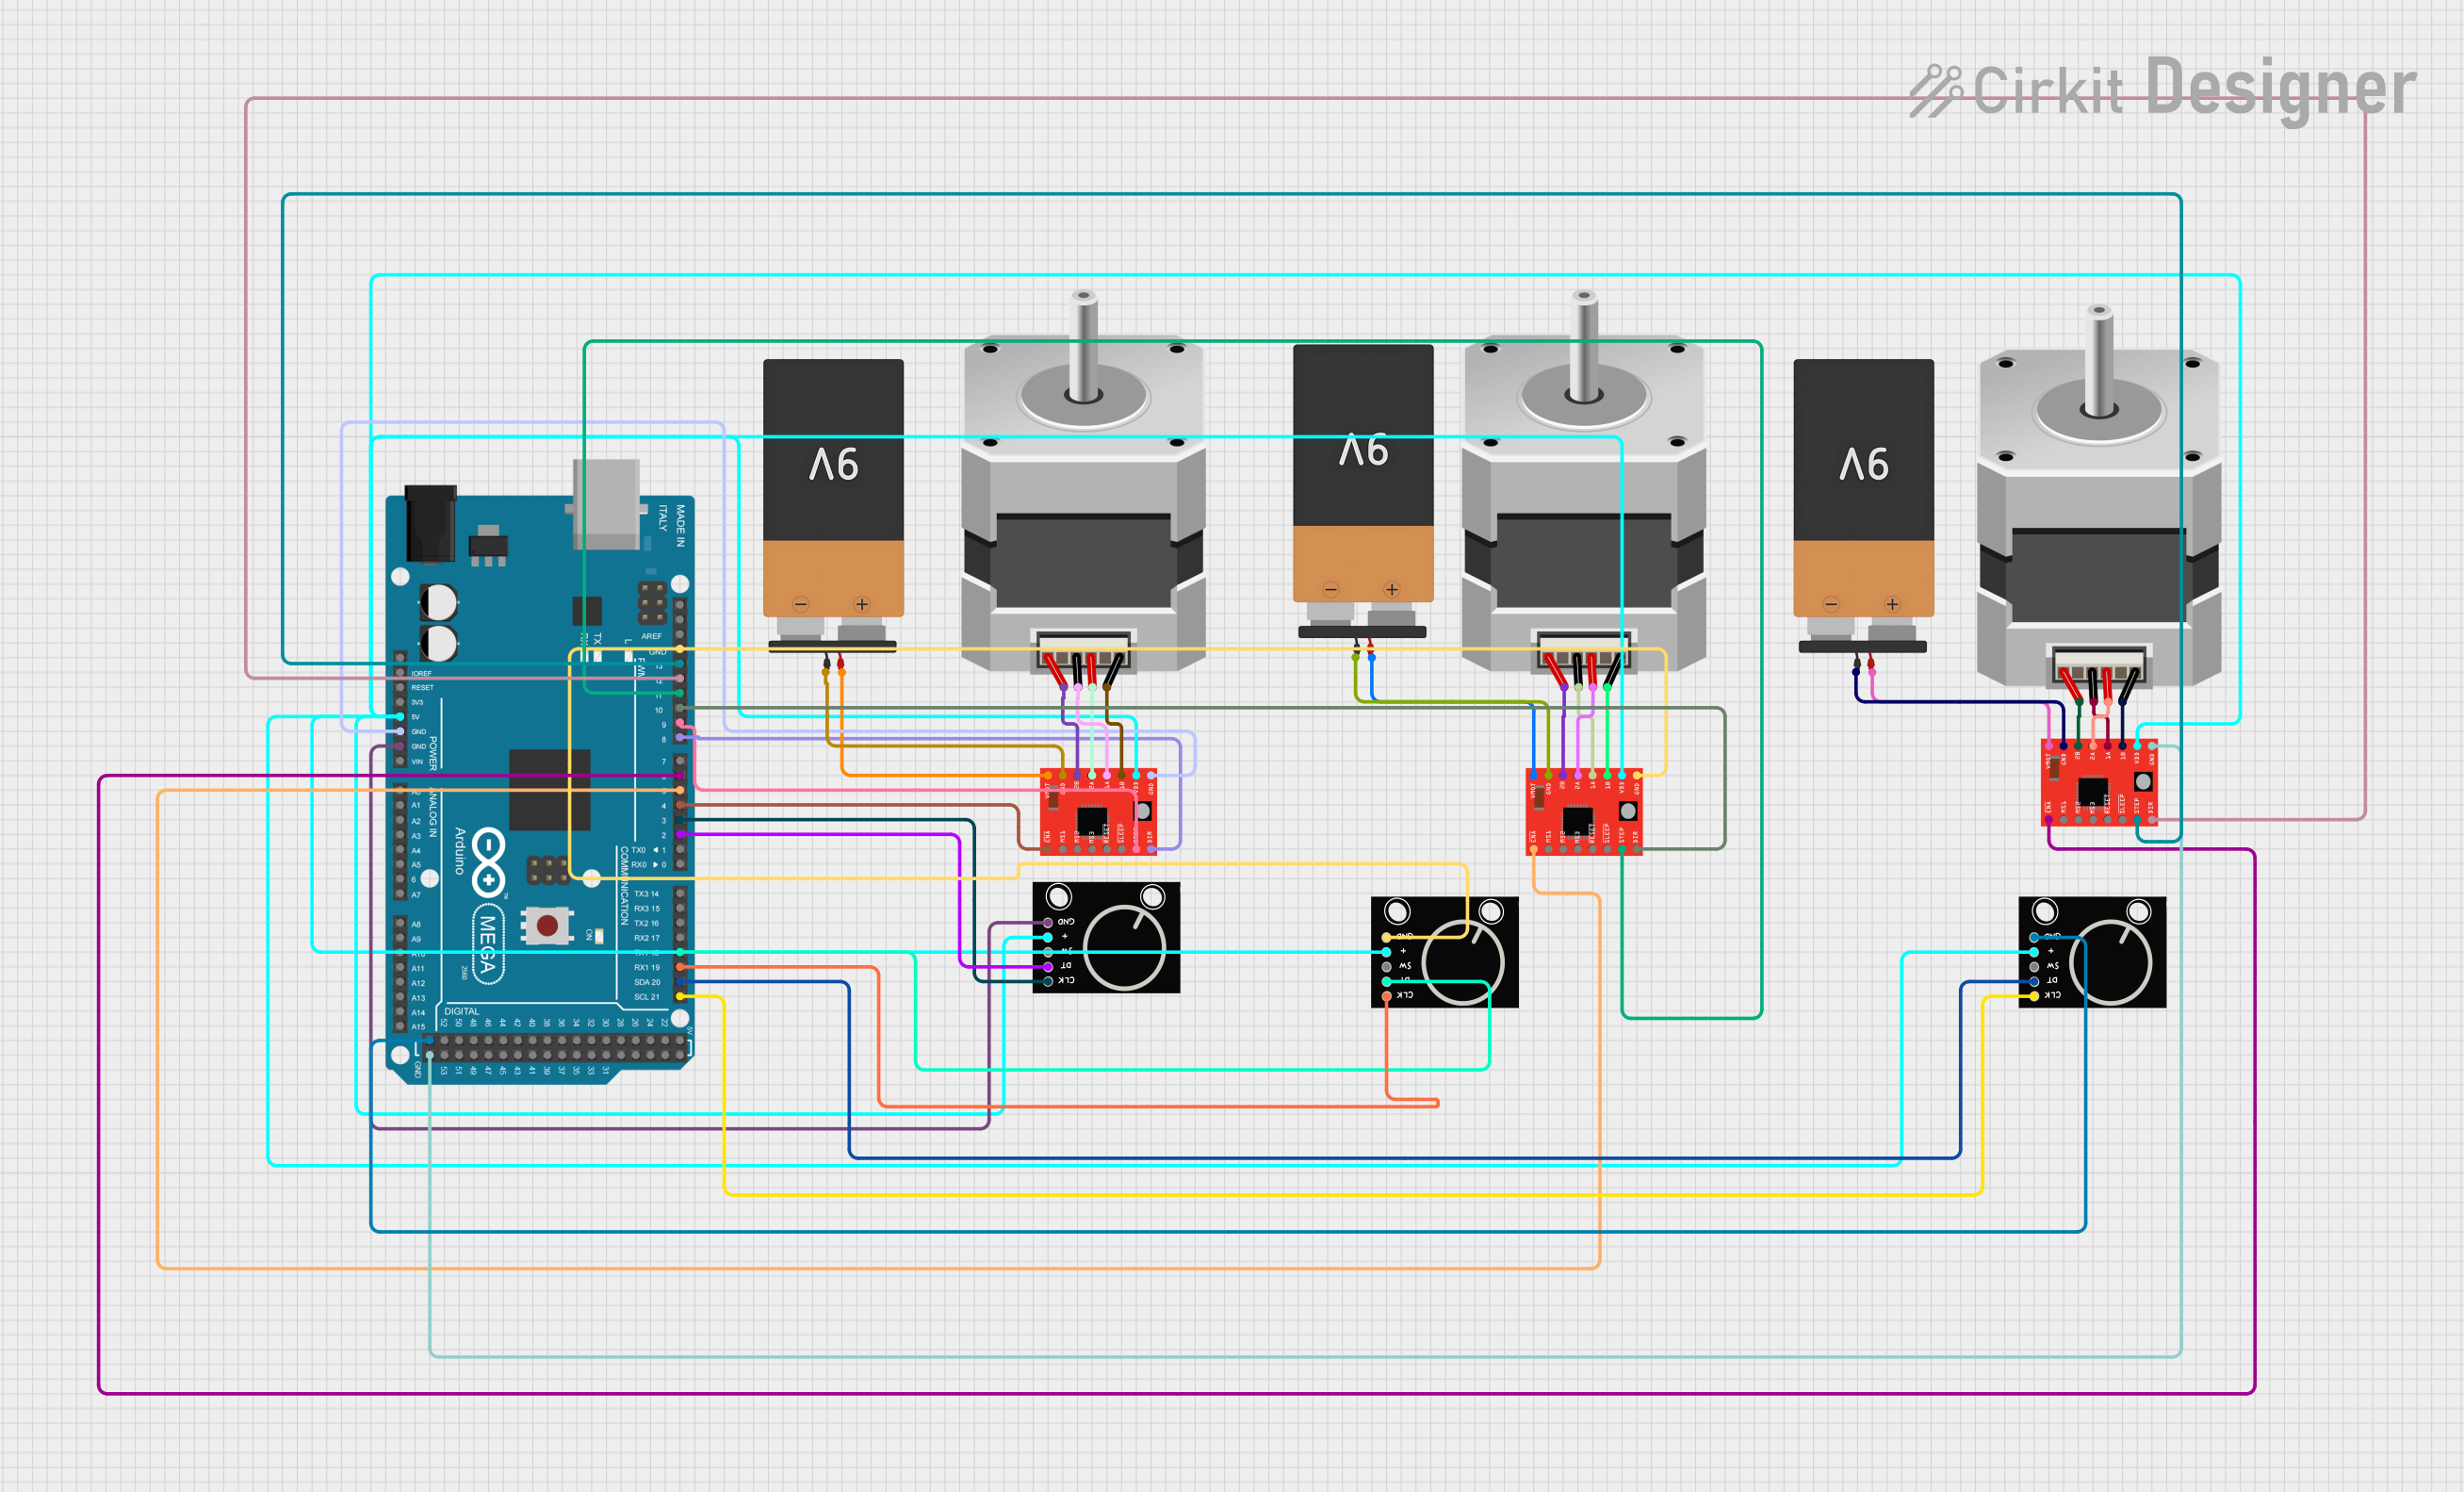
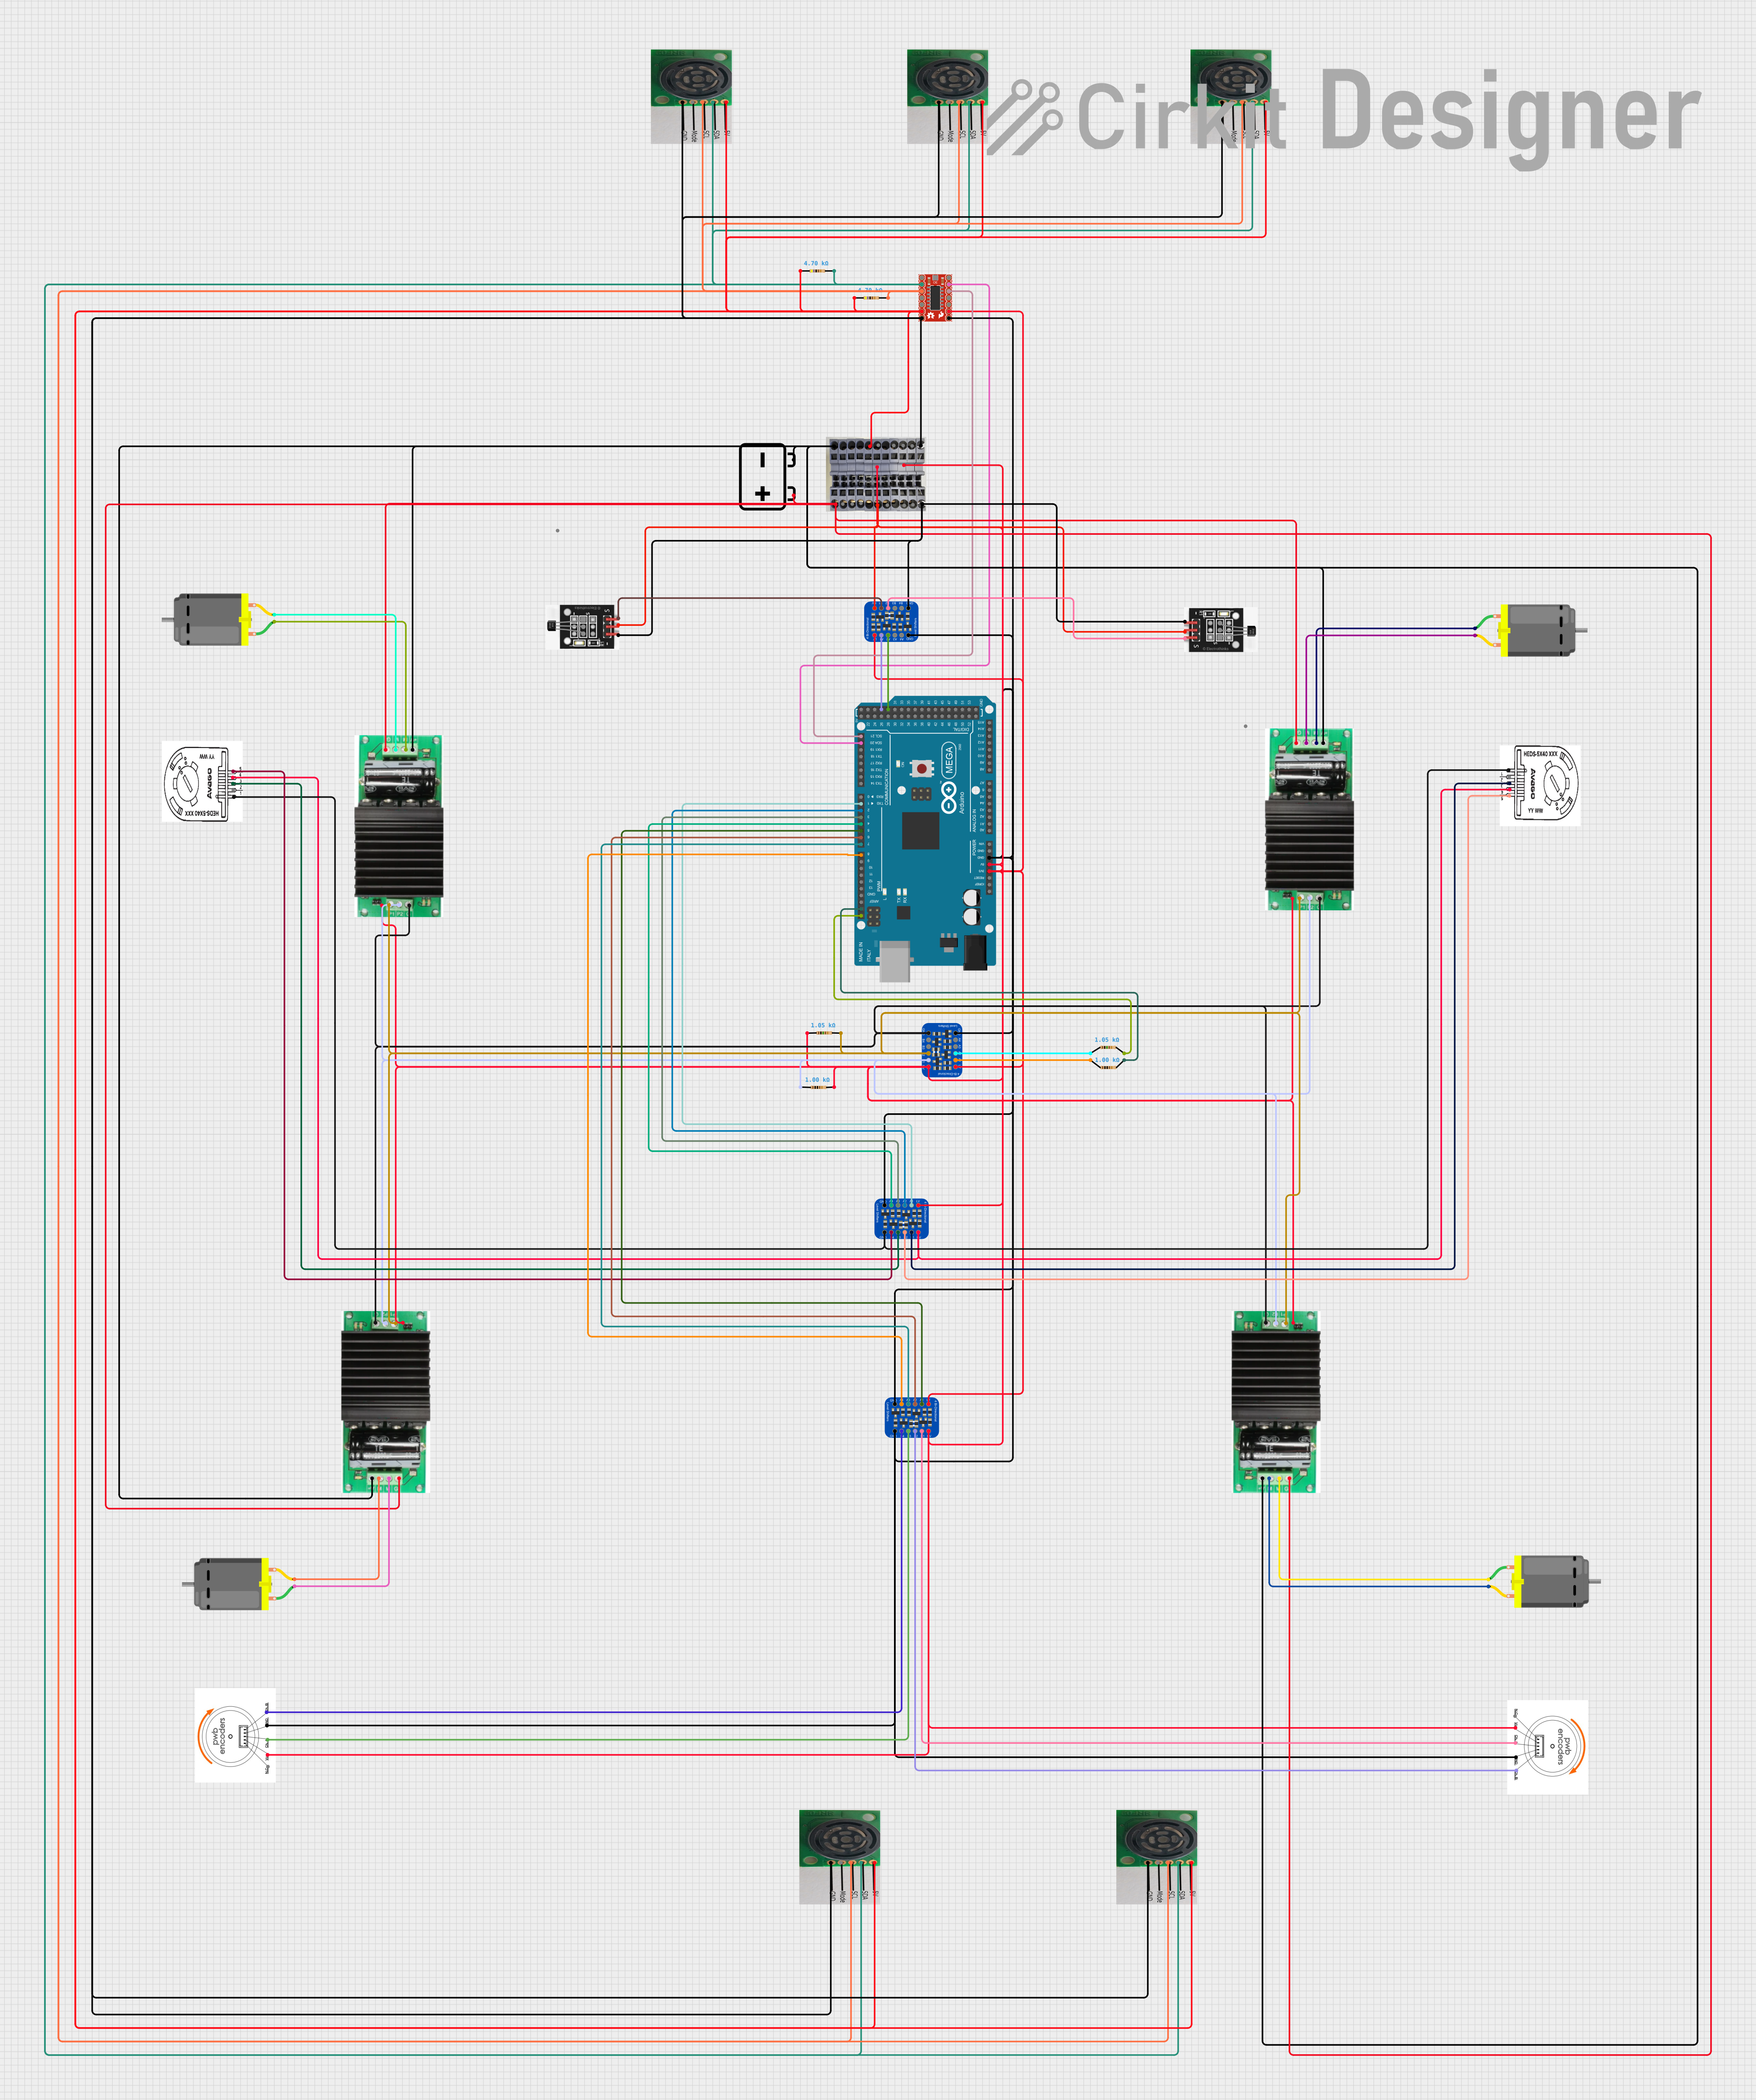
Explore Projects Built with Dynamixel X-Series Motor
Common Applications
- Robotic arms and manipulators
- Humanoid robots
- Autonomous vehicles
- Industrial automation systems
- Research and prototyping in robotics
Technical Specifications
Key Specifications
| Parameter | Value |
|---|---|
| Operating Voltage | 10.0V to 14.8V (Recommended: 12V) |
| Stall Torque | 4.1 Nm at 12V |
| No-Load Speed | 46 RPM at 12V |
| Communication Protocol | TTL (UART-based) |
| Resolution | 360° / 4096 steps (0.088°/step) |
| Control Modes | Position, Velocity, PWM, Current |
| Feedback | Position, Velocity, Current, Temperature |
| Operating Temperature | -5°C to 80°C |
| Dimensions | 28.5mm x 46.5mm x 34mm |
| Weight | 82g |
Pin Configuration and Descriptions
The XC430-W240-T uses a 4-pin connector for communication and power. The pinout is as follows:
| Pin Number | Name | Description |
|---|---|---|
| 1 | VDD | Power supply (10.0V to 14.8V) |
| 2 | GND | Ground |
| 3 | D+ (Data+) | Communication data line (TTL) |
| 4 | D- (Data-) | Communication data line (TTL) |
Usage Instructions
How to Use the XC430-W240-T in a Circuit
- Power Supply: Ensure the motor is powered with a stable voltage between 10.0V and 14.8V. A 12V DC power supply is recommended for optimal performance.
- Communication: Use a TTL-compatible UART interface to communicate with the motor. A USB-to-TTL converter or a Robotis U2D2 adapter can be used to connect the motor to a PC or microcontroller.
- Daisy-Chaining: The Dynamixel X-Series supports daisy-chaining, allowing multiple motors to be connected in series using the same communication bus.
- Control Software: Use the Robotis Dynamixel Wizard 2.0 software or write custom code to control the motor. Libraries for Arduino and other platforms are available.
Important Considerations and Best Practices
- Voltage Regulation: Use a regulated power supply to avoid damaging the motor.
- Heat Management: The motor may heat up during operation. Ensure proper ventilation or cooling if used in high-load applications.
- ID Configuration: Each motor in a daisy-chained setup must have a unique ID. Use the Dynamixel Wizard software to configure IDs.
- Baud Rate: Ensure the communication baud rate matches between the motor and the controller. The default baud rate is 57600 bps.
Example: Controlling the Motor with Arduino UNO
Below is an example of how to control the XC430-W240-T using an Arduino UNO and the Dynamixel2Arduino library.
#include <Dynamixel2Arduino.h>

// Define the pin for the TTL communication
#define DYNAMIXEL_SERIAL Serial1
#define DYNAMIXEL_DIR_PIN 2

// Create a Dynamixel2Arduino object
Dynamixel2Arduino dxl(DYNAMIXEL_SERIAL, DYNAMIXEL_DIR_PIN);

void setup() {
  // Initialize serial communication for debugging
  Serial.begin(115200);
  while (!Serial);

  // Initialize the Dynamixel communication
  dxl.begin(57600); // Set baud rate to 57600 bps
  dxl.setPortProtocolVersion(2.0); // Use protocol version 2.0

  // Set the motor ID (default is 1)
  const uint8_t DXL_ID = 1;

  // Enable torque on the motor
  if (dxl.torqueOn(DXL_ID)) {
    Serial.println("Torque enabled!");
  } else {
    Serial.println("Failed to enable torque.");
  }

  // Move the motor to a position (e.g., 2048 = 180°)
  dxl.setGoalPosition(DXL_ID, 2048);
  Serial.println("Motor moved to position 2048.");
}

void loop() {
  // Add your custom control logic here
}
Notes:
- Ensure the Arduino UNO is connected to the motor via a TTL-to-Serial adapter.
- The
DYNAMIXEL_DIR_PINis used to control the direction of communication.
Troubleshooting and FAQs
Common Issues and Solutions
Motor Not Responding
- Cause: Incorrect wiring or power supply.
- Solution: Verify the power supply voltage and check the wiring connections.
Communication Errors
- Cause: Mismatched baud rate or protocol version.
- Solution: Ensure the baud rate and protocol version are correctly configured in the software.
Overheating
- Cause: Prolonged high-load operation.
- Solution: Reduce the load or provide additional cooling.
Motor Jittering
- Cause: Electrical noise or unstable power supply.
- Solution: Use a filtered power supply and ensure proper grounding.
FAQs
Q: Can I use the XC430-W240-T with a Raspberry Pi?
- A: Yes, the motor can be controlled using a Raspberry Pi with a USB-to-TTL adapter and the appropriate libraries.
Q: What is the maximum number of motors I can daisy-chain?
- A: Up to 254 motors can be daisy-chained, provided the power supply can handle the total current draw.
Q: How do I reset the motor to factory settings?
- A: Use the Dynamixel Wizard 2.0 software to perform a factory reset.
Q: Can I use a battery to power the motor?
- A: Yes, as long as the battery provides a stable voltage between 10.0V and 14.8V.
This concludes the documentation for the Dynamixel X-Series Motor (XC430-W240-T). For further assistance, refer to the official Robotis user manual or support resources.