
How to Use AJ-SR04M: Examples, Pinouts, and Specs
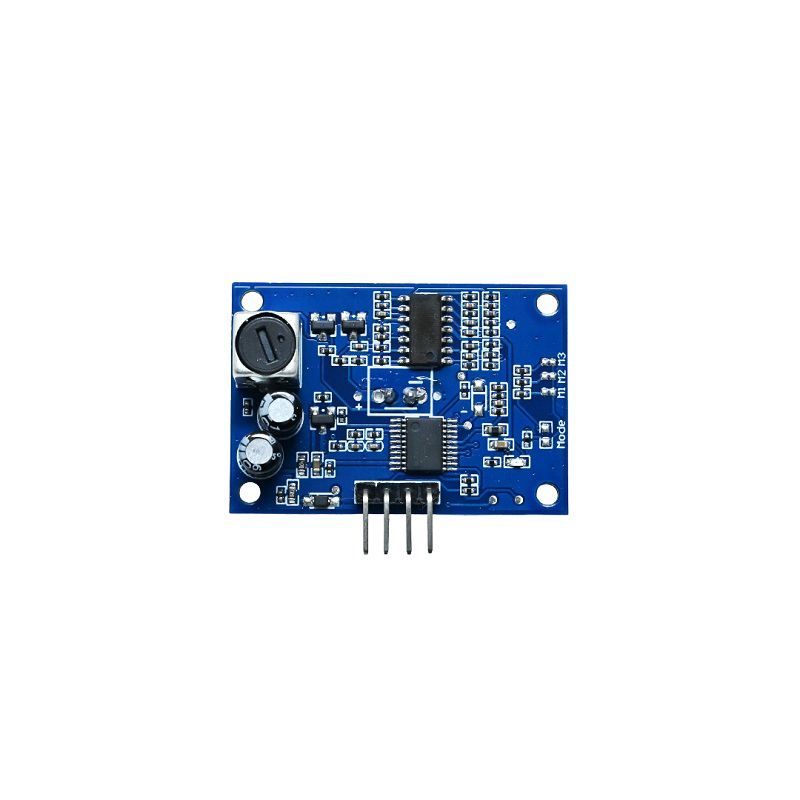
 Design with AJ-SR04M in Cirkit Designer
Introduction
The AJ-SR04M is an ultrasonic distance sensor designed to measure distances by emitting ultrasonic waves and calculating the time it takes for the echo to return. This sensor is widely used in robotics, automation, and IoT applications for tasks such as obstacle detection, distance measurement, and level sensing. Its robust design and reliable performance make it suitable for both indoor and outdoor environments.
Explore Projects Built with AJ-SR04M
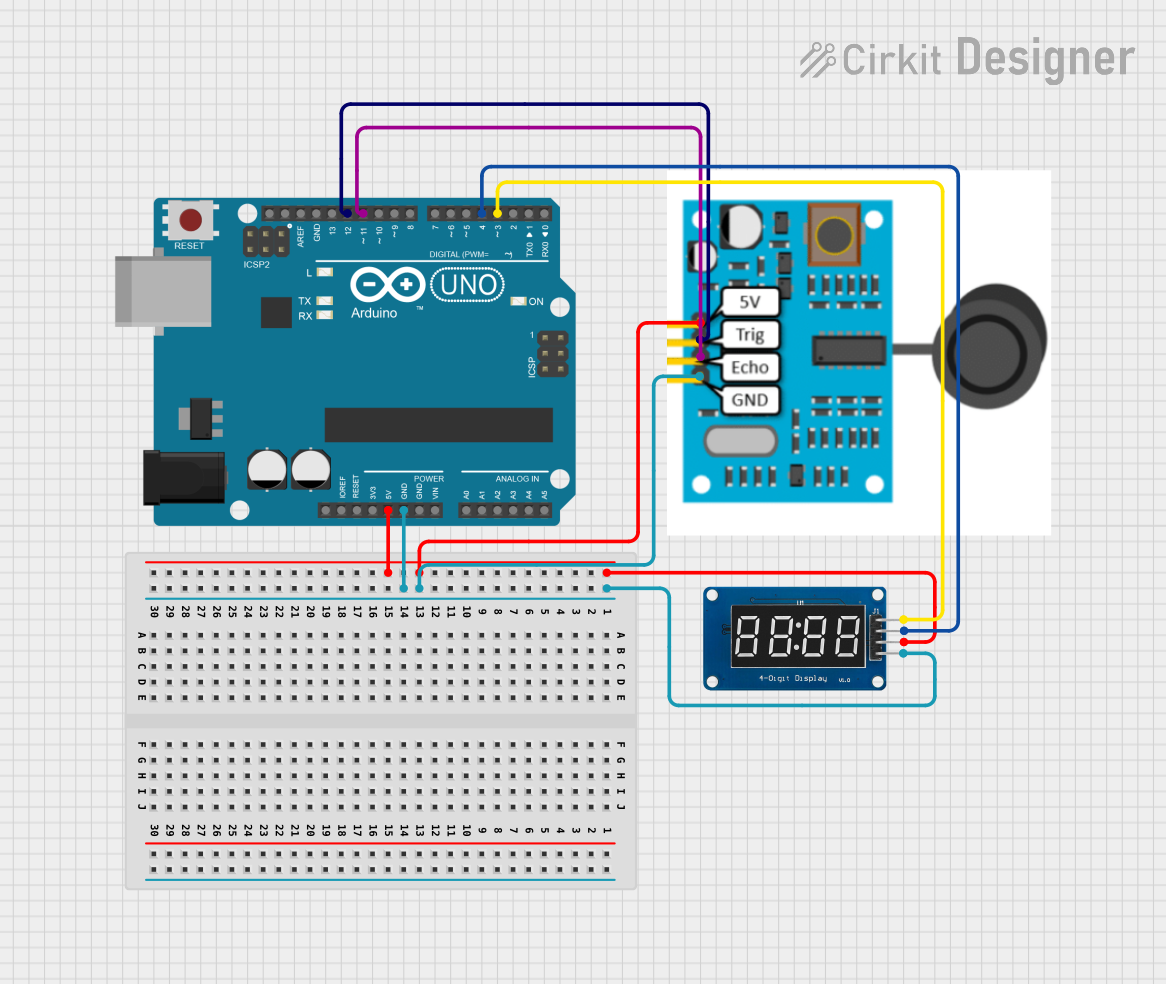 Open Project in Cirkit Designer
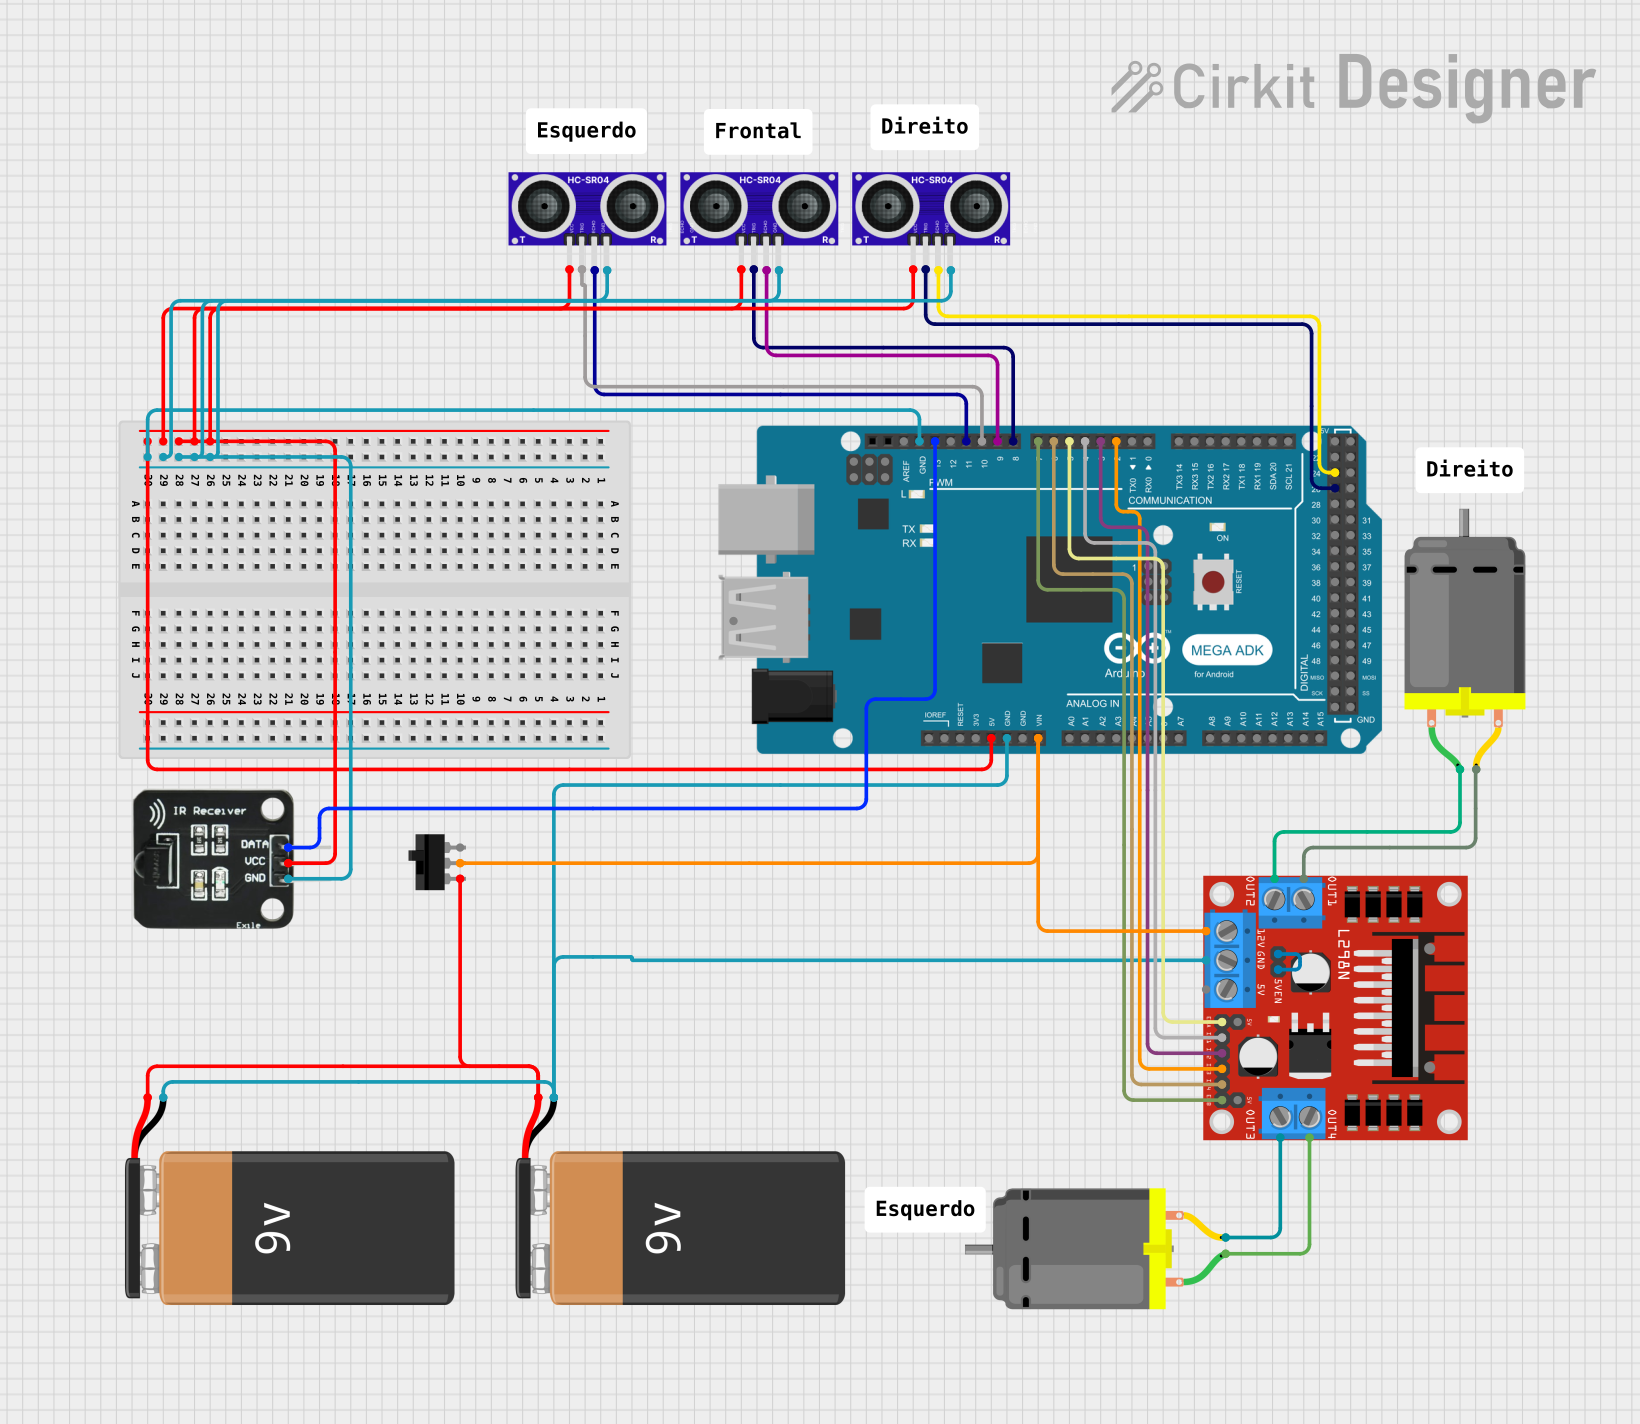 Open Project in Cirkit Designer
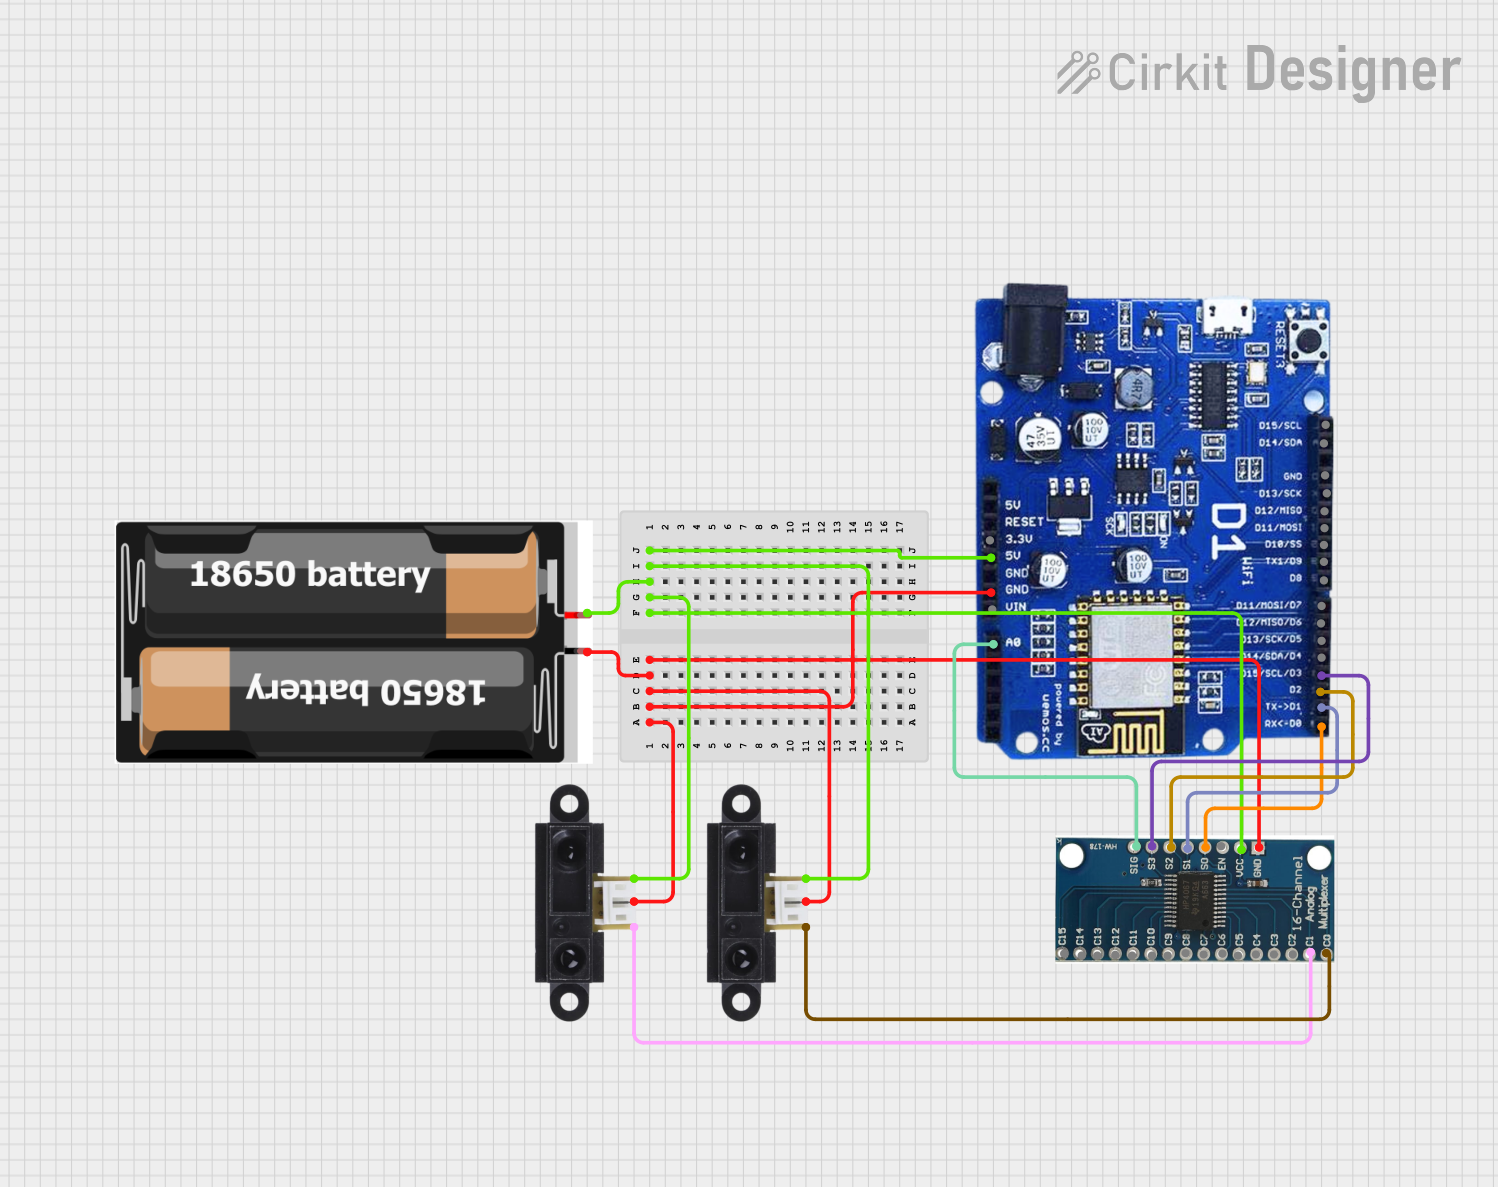 Open Project in Cirkit Designer
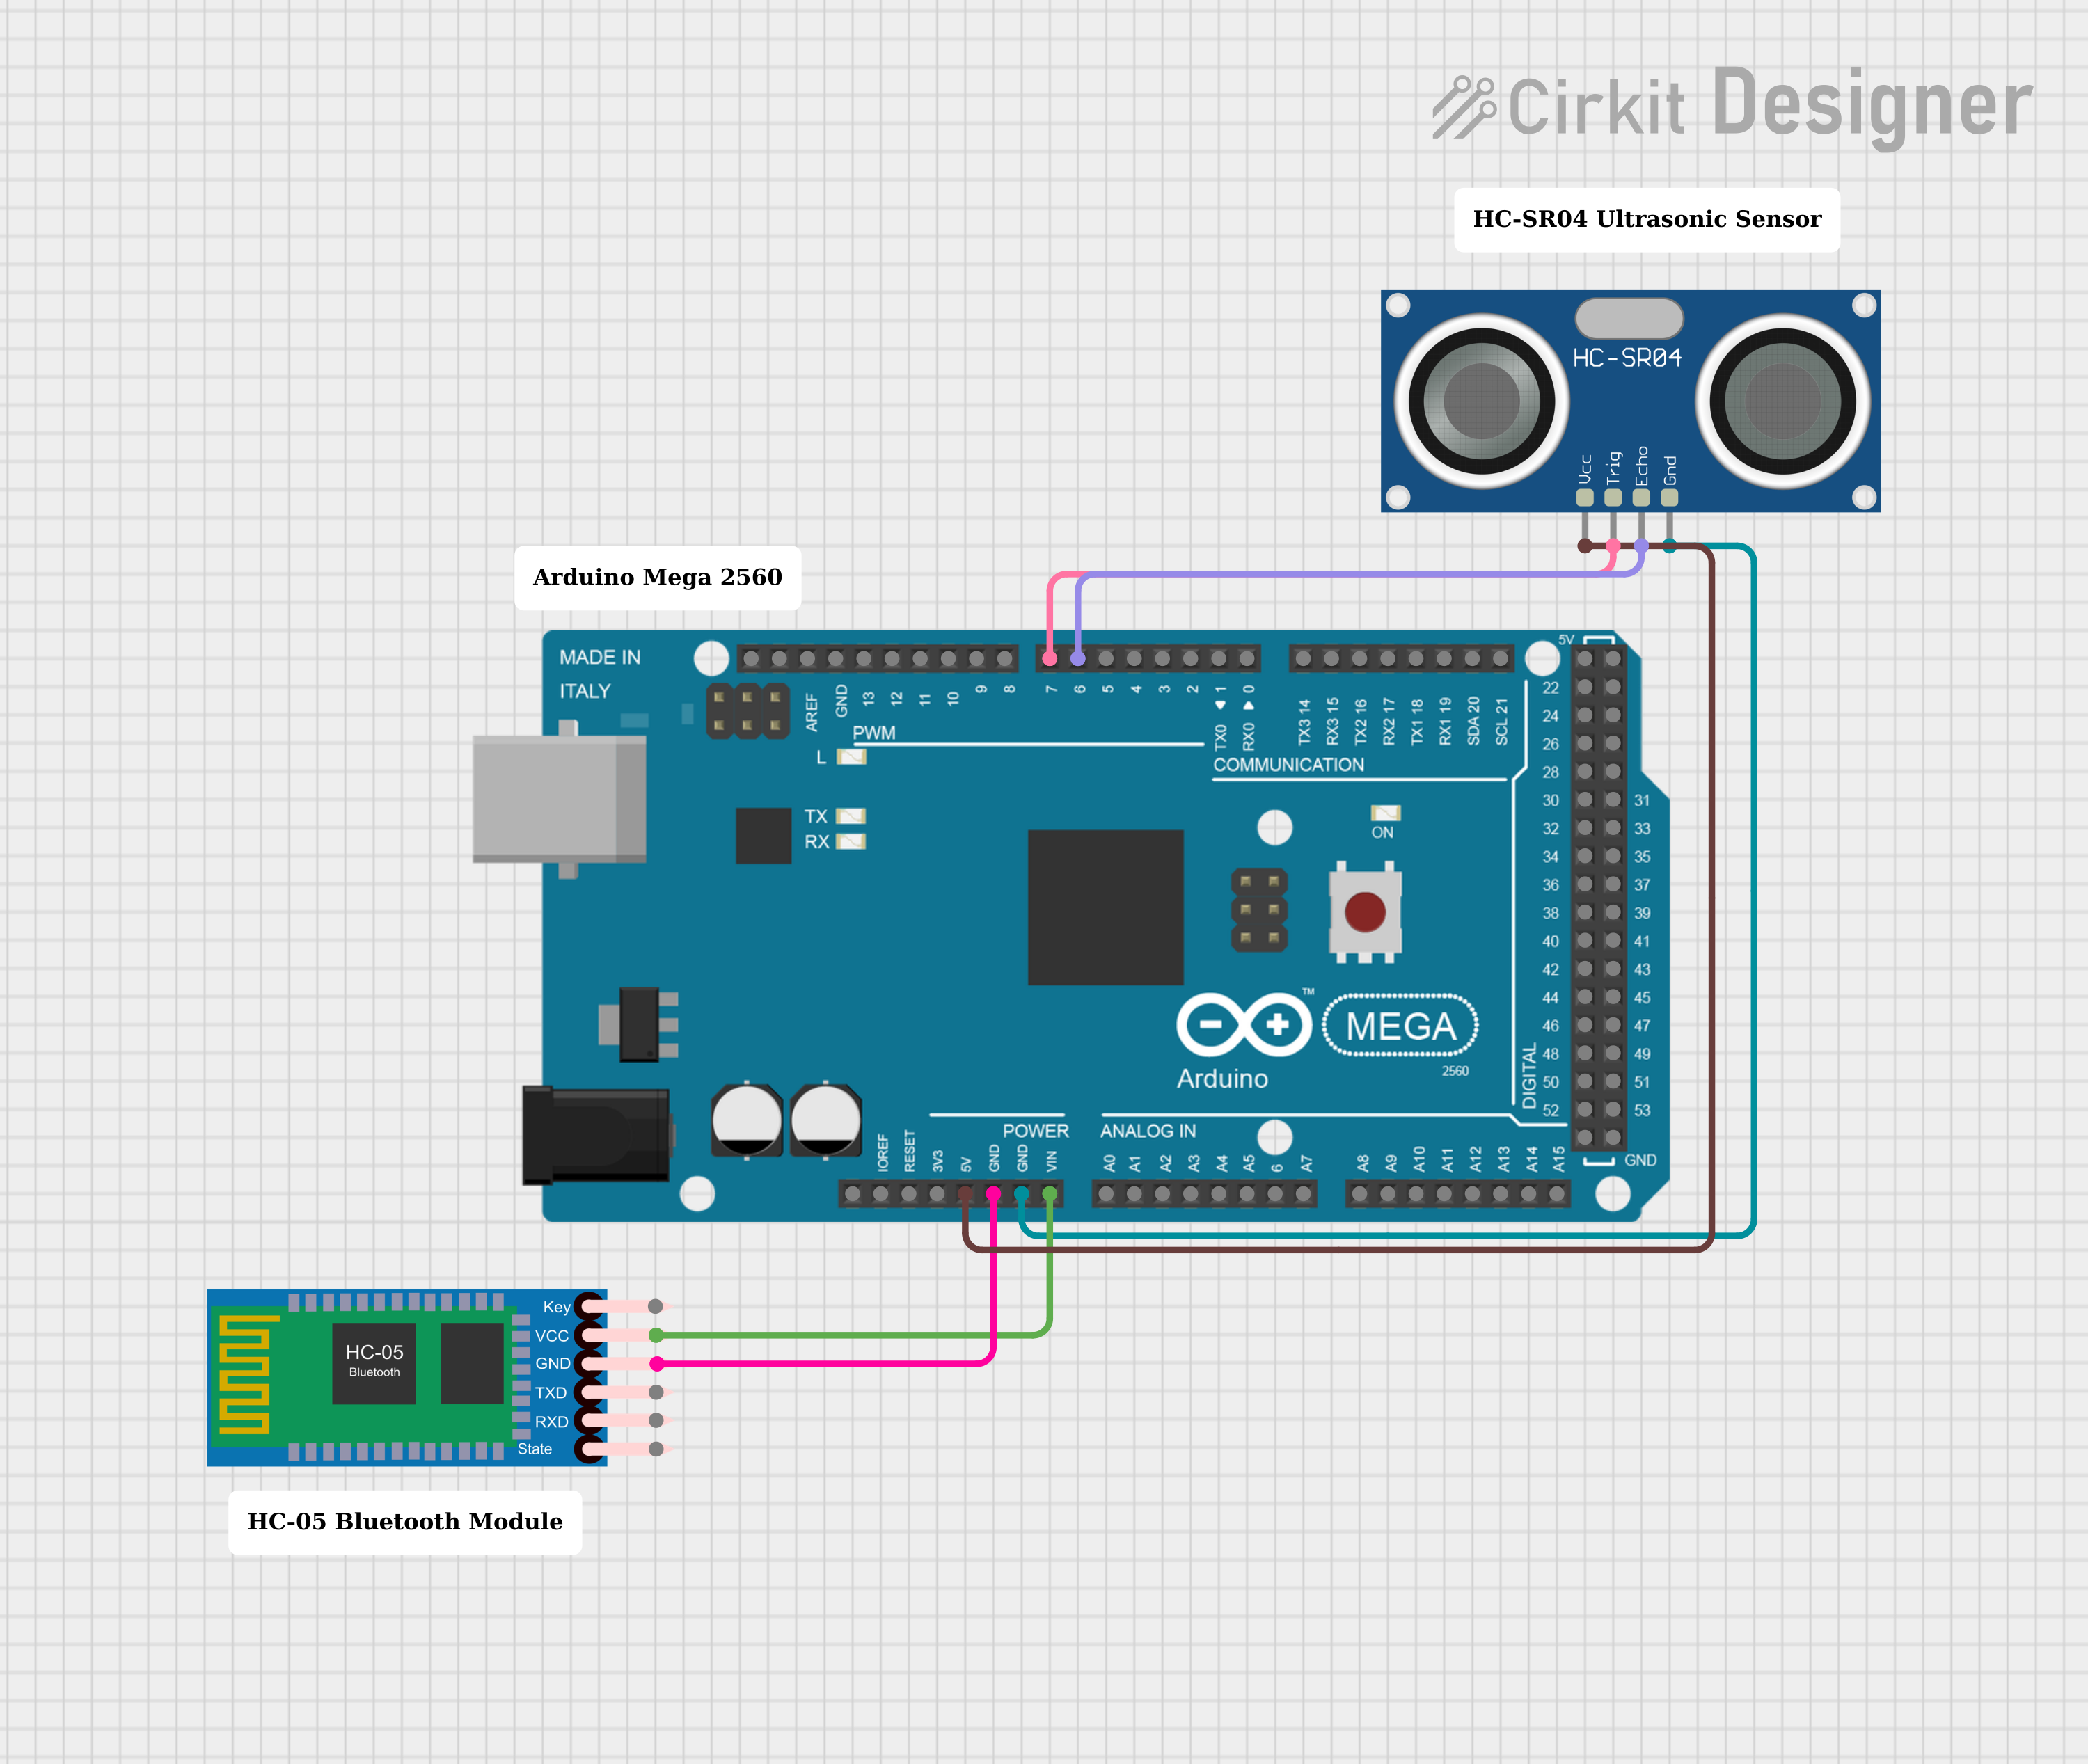 Open Project in Cirkit Designer
Explore Projects Built with AJ-SR04M
Open Project in Cirkit DesignerOpen Project in Cirkit DesignerOpen Project in Cirkit DesignerOpen Project in Cirkit DesignerCommon Applications
- Obstacle detection in robotics
- Distance measurement in automation systems
- Liquid level sensing in tanks
- Proximity detection in security systems
- Smart parking systems
Technical Specifications
The AJ-SR04M offers precise distance measurement capabilities with a durable and water-resistant design. Below are its key technical details:
| Parameter | Value |
|---|---|
| Operating Voltage | 5V DC |
| Operating Current | ≤ 15mA |
| Measuring Range | 2cm to 450cm |
| Accuracy | ±3mm |
| Operating Frequency | 40kHz |
| Output Signal | High/Low digital pulse |
| Trigger Input Signal | 10µs TTL pulse |
| Echo Output Signal | Pulse width proportional to distance |
| Operating Temperature | -15°C to +60°C |
| Dimensions | 45mm x 20mm x 15mm |
| Waterproof Rating | IP65 |
Pin Configuration
The AJ-SR04M has four pins for interfacing with microcontrollers or other devices. The table below describes each pin:
| Pin | Name | Description |
|---|---|---|
| 1 | VCC | Power supply input (5V DC) |
| 2 | Trig | Trigger pin: Sends a 10µs pulse to initiate measurement |
| 3 | Echo | Echo pin: Outputs a pulse width proportional to distance |
| 4 | GND | Ground connection |
Usage Instructions
How to Use the AJ-SR04M in a Circuit
- Power the Sensor: Connect the VCC pin to a 5V DC power source and the GND pin to ground.
- Trigger the Sensor: Send a 10µs HIGH pulse to the Trig pin to initiate a measurement.
- Read the Echo: Measure the duration of the HIGH pulse on the Echo pin. The pulse width corresponds to the time taken for the ultrasonic wave to travel to the object and back.
- Calculate Distance: Use the formula below to calculate the distance: [ \text{Distance (cm)} = \frac{\text{Pulse Width (µs)}}{58} ] The divisor (58) accounts for the speed of sound in air.
Important Considerations
- Ensure the sensor is mounted securely and aligned properly for accurate measurements.
- Avoid placing the sensor near ultrasonic noise sources, as this may interfere with readings.
- Use a capacitor (e.g., 10µF) across the VCC and GND pins to stabilize the power supply.
- For outdoor use, ensure the sensor's IP65-rated enclosure is intact to maintain water resistance.
Example Code for Arduino UNO
Below is an example of how to interface the AJ-SR04M with an Arduino UNO to measure distance:
// Define pin connections
const int trigPin = 9; // Trigger pin connected to digital pin 9
const int echoPin = 10; // Echo pin connected to digital pin 10

void setup() {
  pinMode(trigPin, OUTPUT); // Set trigPin as an output
  pinMode(echoPin, INPUT);  // Set echoPin as an input
  Serial.begin(9600);       // Initialize serial communication at 9600 baud
}

void loop() {
  // Send a 10µs HIGH pulse to the Trig pin
  digitalWrite(trigPin, LOW);
  delayMicroseconds(2);
  digitalWrite(trigPin, HIGH);
  delayMicroseconds(10);
  digitalWrite(trigPin, LOW);

  // Measure the duration of the HIGH pulse on the Echo pin
  long duration = pulseIn(echoPin, HIGH);

  // Calculate the distance in centimeters
  float distance = duration / 58.0;

  // Print the distance to the Serial Monitor
  Serial.print("Distance: ");
  Serial.print(distance);
  Serial.println(" cm");

  delay(500); // Wait for 500ms before the next measurement
}
Best Practices
- Use short, shielded wires for connections to minimize noise.
- If measuring distances beyond 2 meters, ensure there are no obstructions in the sensor's path.
- For precise measurements, calibrate the sensor in the intended environment.
Troubleshooting and FAQs
Common Issues and Solutions
No Output from the Echo Pin
- Cause: The Trig pin is not receiving a proper 10µs pulse.
- Solution: Verify the Trig pin connection and ensure the microcontroller is sending the correct pulse.
Inaccurate Distance Measurements
- Cause: Environmental factors such as temperature or obstacles.
- Solution: Calibrate the sensor and ensure it is aligned properly. Avoid reflective surfaces near the sensor.
Fluctuating Readings
- Cause: Electrical noise or unstable power supply.
- Solution: Add a decoupling capacitor (e.g., 10µF) across the VCC and GND pins.
Sensor Not Working Outdoors
- Cause: Water ingress or extreme temperatures.
- Solution: Check the sensor's enclosure for damage and ensure it is within the operating temperature range.
FAQs
Q: Can the AJ-SR04M detect transparent objects?
A: Ultrasonic sensors may struggle with transparent objects like glass, as they can absorb or refract ultrasonic waves. For such cases, consider alternative sensing technologies.
Q: What is the maximum effective range of the AJ-SR04M?
A: The sensor can measure distances up to 450cm, but accuracy may decrease at longer ranges.
Q: Can I use the AJ-SR04M with a 3.3V microcontroller?
A: The AJ-SR04M requires a 5V power supply. If using a 3.3V microcontroller, a level shifter is recommended for safe operation.
Q: How do I improve measurement accuracy?
A: Ensure the sensor is mounted securely, avoid environmental noise, and calibrate the sensor in the intended environment.
This concludes the documentation for the AJ-SR04M ultrasonic distance sensor.