
How to Use Set battery (7v): Examples, Pinouts, and Specs
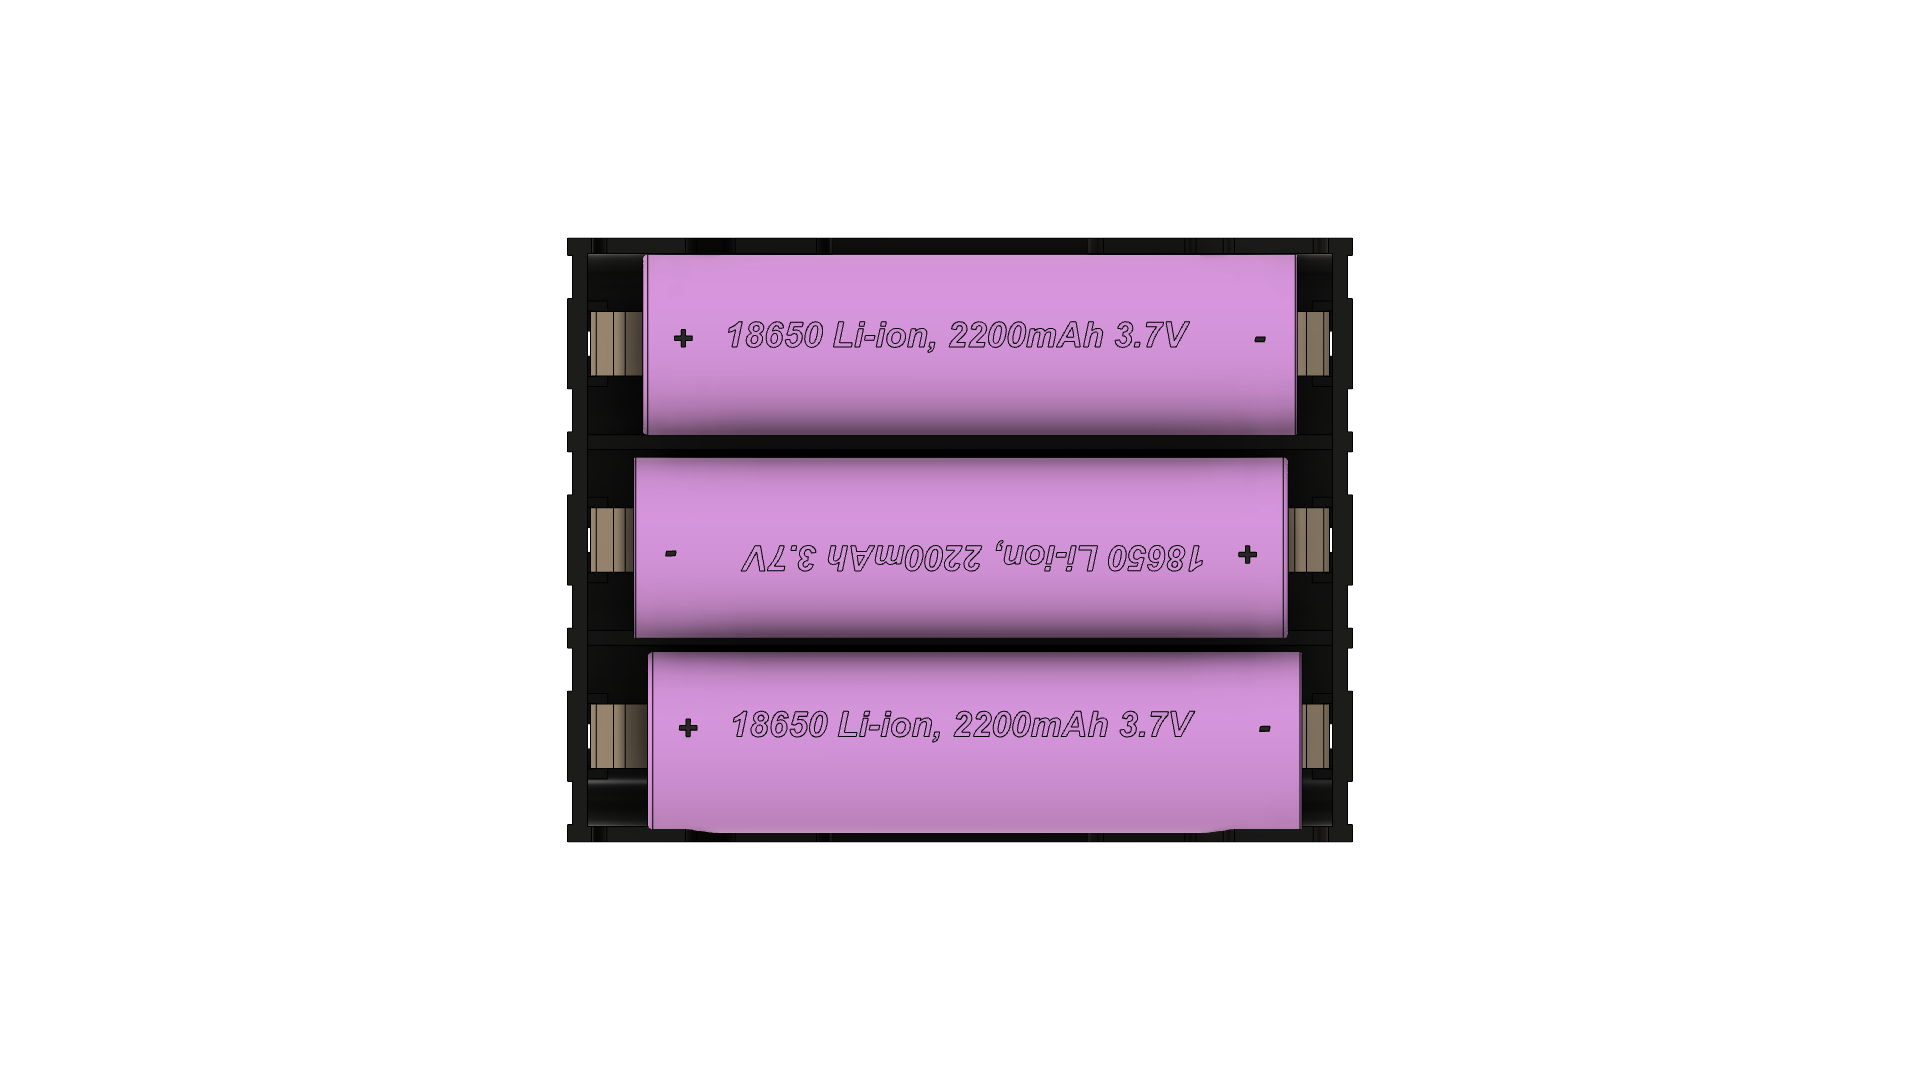
 Design with Set battery (7v) in Cirkit Designer
Introduction
The 7V battery is a power source that provides a nominal voltage of 7 volts. It is available in both rechargeable and non-rechargeable variants, making it versatile for a wide range of applications. This battery is commonly used to power electronic circuits, portable devices, robotics, and other low-power systems. Its compact size and reliable voltage output make it a popular choice for hobbyists and professionals alike.
Explore Projects Built with Set battery (7v)
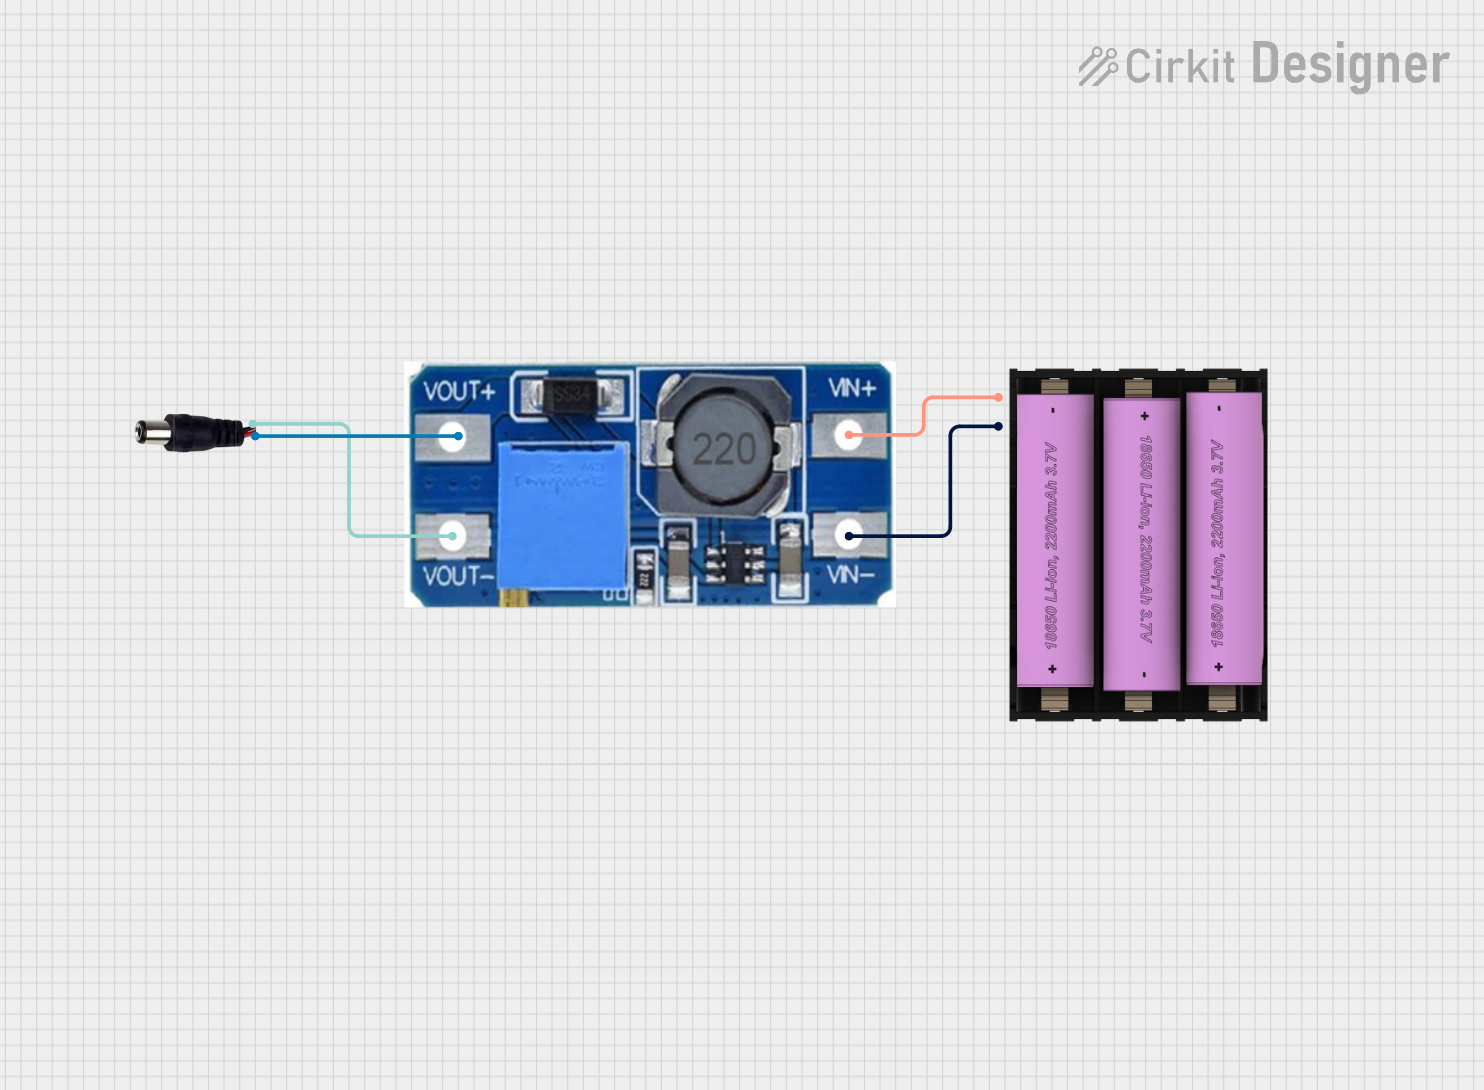 Open Project in Cirkit Designer
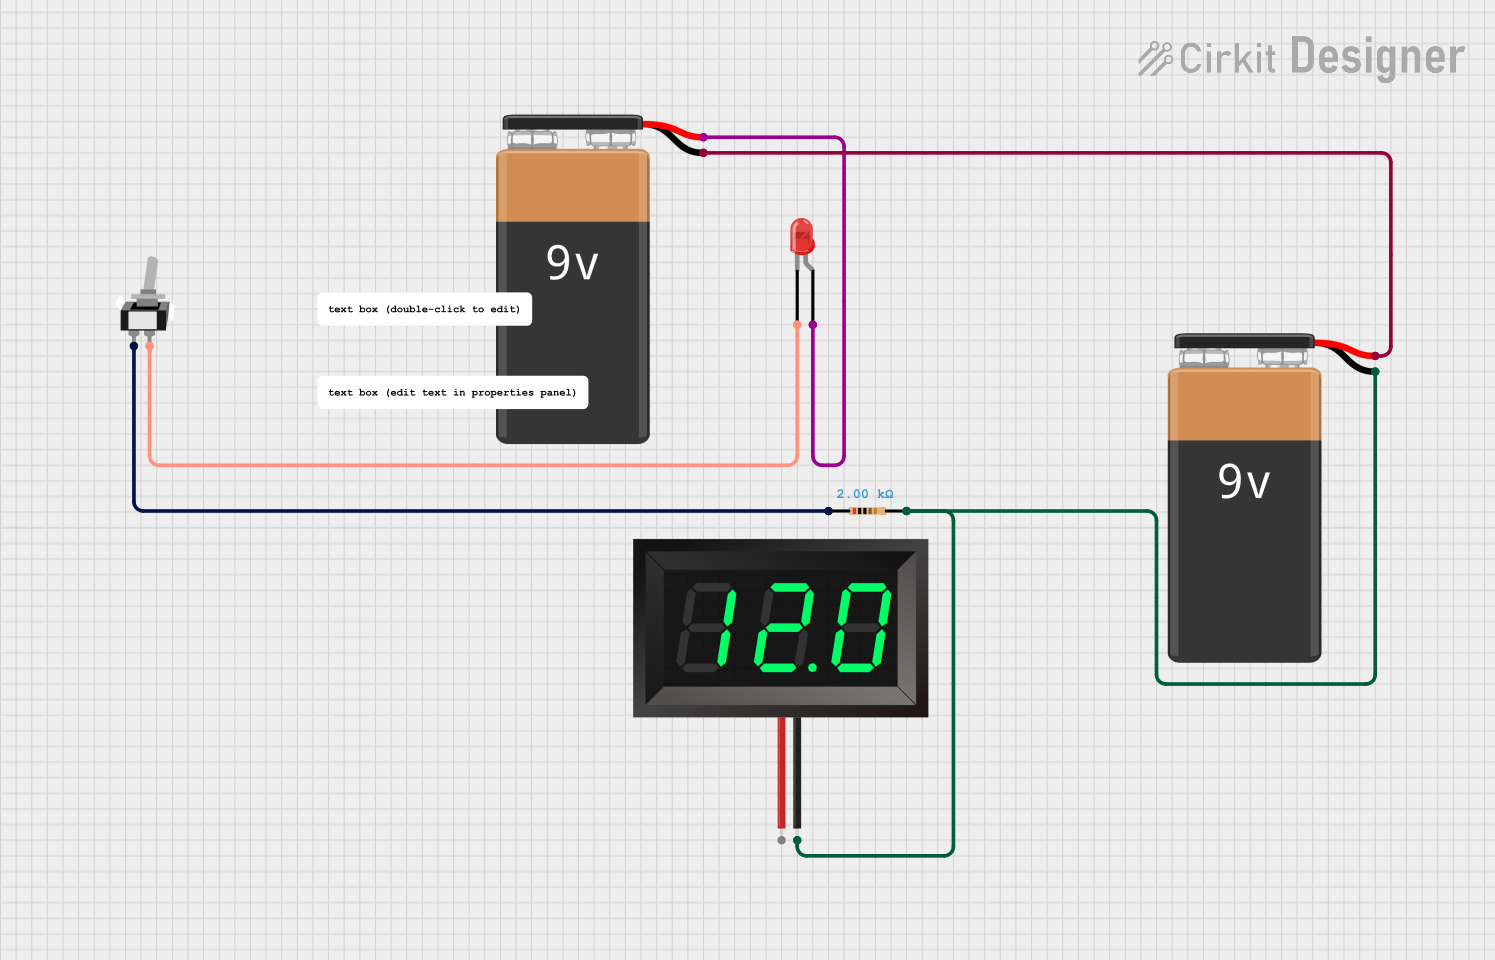 Open Project in Cirkit Designer
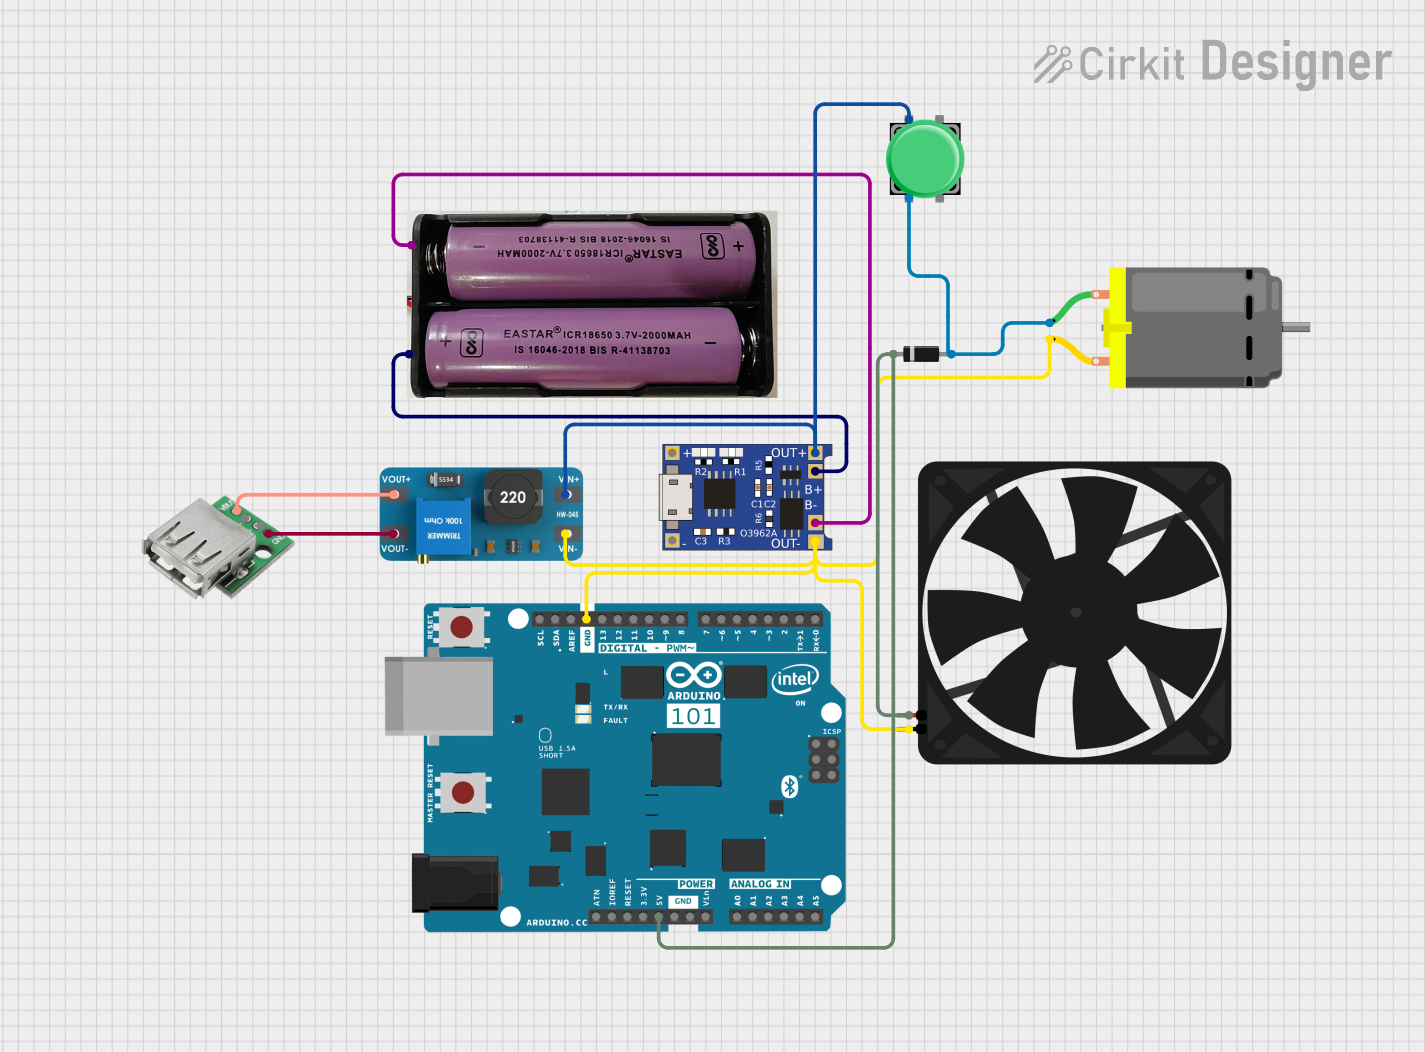 Open Project in Cirkit Designer
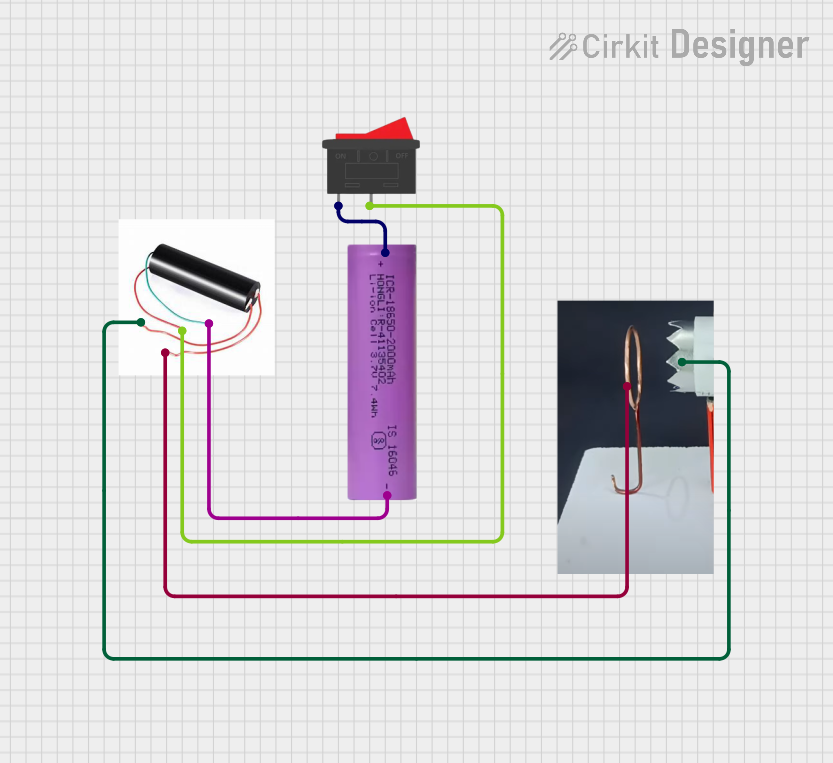 Open Project in Cirkit Designer
Explore Projects Built with Set battery (7v)
Open Project in Cirkit DesignerOpen Project in Cirkit DesignerOpen Project in Cirkit DesignerOpen Project in Cirkit DesignerCommon Applications
- Powering small electronic circuits and modules
- Robotics and automation projects
- Portable devices such as handheld tools or gadgets
- Backup power for microcontroller-based systems
- Educational and DIY electronics projects
Technical Specifications
Below are the key technical details for a typical 7V battery. Note that specifications may vary slightly depending on the manufacturer and type (rechargeable or non-rechargeable).
| Parameter | Specification |
|---|---|
| Nominal Voltage | 7V |
| Capacity | 500mAh to 5000mAh (varies by model) |
| Chemistry | Lithium-ion, NiMH, or Alkaline |
| Rechargeable | Yes (for Li-ion/NiMH types) |
| Maximum Discharge Current | 1A to 10A (depends on model) |
| Operating Temperature | -20°C to 60°C |
| Dimensions | Varies (e.g., cylindrical or prismatic) |
| Weight | Varies (e.g., 50g to 200g) |
Pin Configuration and Descriptions
For batteries with terminals or connectors, the pin configuration is typically as follows:
| Pin/Terminal | Description |
|---|---|
| Positive (+) | Supplies the positive voltage (7V) |
| Negative (-) | Ground or return path for the circuit |
For batteries with built-in connectors (e.g., JST or barrel connectors), ensure proper polarity when connecting to avoid damage to the circuit.
Usage Instructions
How to Use the 7V Battery in a Circuit
- Check Compatibility: Ensure the device or circuit is designed to operate at 7V. Verify the current requirements to ensure the battery can supply sufficient power.
- Connect Properly: Identify the positive (+) and negative (-) terminals of the battery. Connect them to the corresponding terminals of your circuit or device.
- Use a Voltage Regulator (if needed): If your circuit requires a lower voltage, use a voltage regulator (e.g., LM7805 for 5V output) to step down the voltage safely.
- Rechargeable Batteries: For rechargeable variants, use a compatible charger with the correct voltage and current ratings. Avoid overcharging or deep discharging to prolong battery life.
Important Considerations
- Polarity: Always double-check the polarity before connecting the battery to avoid damaging your circuit.
- Current Draw: Ensure the circuit does not draw more current than the battery's maximum discharge rating.
- Storage: Store the battery in a cool, dry place when not in use. For rechargeable batteries, maintain a partial charge during long-term storage.
- Safety: Avoid short-circuiting the terminals, exposing the battery to high temperatures, or puncturing the casing.
Example: Using a 7V Battery with an Arduino UNO
The Arduino UNO operates at 5V, so a voltage regulator is required to step down the 7V battery output. Below is an example circuit and code to power an LED using a 7V battery and an Arduino UNO.
Circuit Setup
- Connect the positive terminal of the 7V battery to the input of a 7805 voltage regulator.
- Connect the output of the 7805 regulator to the Arduino UNO's 5V pin.
- Connect the ground terminal of the battery to the Arduino's GND pin.
- Connect an LED to pin 13 of the Arduino UNO with a 220-ohm resistor in series.
Arduino Code
// Simple code to blink an LED connected to pin 13
void setup() {
  pinMode(13, OUTPUT); // Set pin 13 as an output
}

void loop() {
  digitalWrite(13, HIGH); // Turn the LED on
  delay(1000);            // Wait for 1 second
  digitalWrite(13, LOW);  // Turn the LED off
  delay(1000);            // Wait for 1 second
}
Troubleshooting and FAQs
Common Issues
Battery Drains Quickly
- Cause: Excessive current draw or a faulty battery.
- Solution: Check the circuit's current requirements and ensure they are within the battery's capacity. Replace the battery if it is old or damaged.
Device Does Not Power On
- Cause: Incorrect polarity or loose connections.
- Solution: Verify the polarity and ensure all connections are secure.
Battery Overheats
- Cause: Short circuit or excessive current draw.
- Solution: Disconnect the battery immediately. Inspect the circuit for shorts or reduce the load.
Rechargeable Battery Does Not Charge
- Cause: Incompatible charger or damaged battery.
- Solution: Use a charger designed for the specific battery type. Replace the battery if it no longer holds a charge.
FAQs
Q: Can I use a 7V battery to power a 5V device directly?
A: No, you should use a voltage regulator to step down the voltage to 5V to avoid damaging the device.
Q: How do I know if my 7V battery is rechargeable?
A: Check the label or datasheet. Rechargeable batteries are typically marked as "Li-ion" or "NiMH," while non-rechargeable ones are often labeled "Alkaline."
Q: What is the best way to extend the life of a rechargeable 7V battery?
A: Avoid overcharging, deep discharging, and exposing the battery to extreme temperatures. Use a compatible charger and store the battery partially charged when not in use.
Q: Can I connect multiple 7V batteries in series or parallel?
A: Yes, but ensure proper balancing and safety precautions. Connecting in series increases voltage, while connecting in parallel increases capacity.