Cirkit Designer Logo
Cirkit Designer
Your all-in-one circuit design IDE
Home / 
Component Documentation

How to Use PC Power Supply: Examples, Pinouts, and Specs

Image of PC Power Supply
Cirkit Designer LogoDesign with PC Power Supply in Cirkit Designer

Introduction

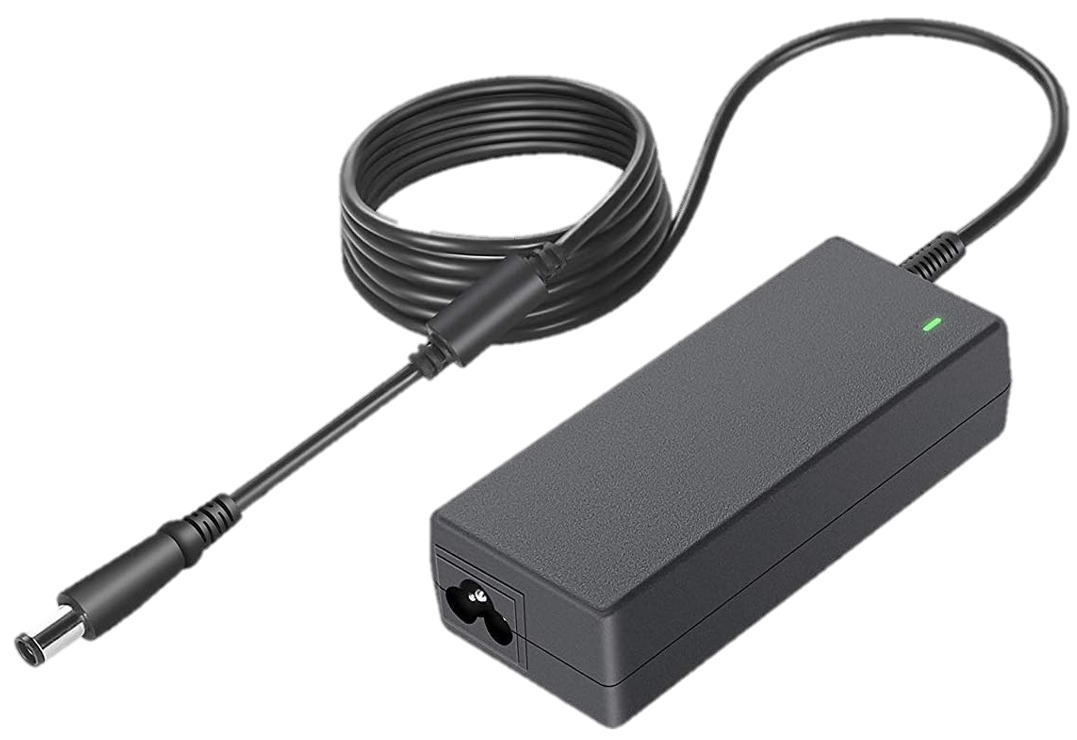
The Dell 90W PSU is an essential component for powering Dell desktop computers. It converts the AC power from the wall outlet into the DC power required by the computer's internal components. This power supply unit (PSU) is designed to deliver stable and reliable power, ensuring the smooth operation of the computer. Common applications include use in office desktops, home computers, and workstations that require a 90-watt power supply.

Explore Projects Built with PC Power Supply

Use Cirkit Designer to design, explore, and prototype these projects online. Some projects support real-time simulation. Click "Open Project" to start designing instantly!
Optiplex Micro and PoE Camera Surveillance System with Ethernet Switching
Image of Engine Mounts Wiring: A project utilizing PC Power Supply in a practical application
This circuit describes a networked system where an Optiplex Micro computer is powered by a PC Power Supply and connected to a PC Screen via HDMI for display output. The computer is networked through an Ethernet Switch, which also connects to two PoE Cameras and a Toyopuc PLC. The Ethernet Switch is powered by a PoE PSU 48V DC, and all AC-powered devices are connected to a common 220V AC source.
Cirkit Designer LogoOpen Project in Cirkit Designer
USB-Powered DC Gear Motor with LED Indicator
Image of Hand Crank mobile charger : A project utilizing PC Power Supply in a practical application
This circuit appears to be a power supply unit with a bridge rectifier connected to a DC gear motor, indicating it is designed to convert AC to DC power for the motor. An electrolytic capacitor is used for smoothing the DC output, and a 7805 voltage regulator is included to provide a stable 5V output. Additionally, there is an LED with a series resistor, likely serving as a power indicator light.
Cirkit Designer LogoOpen Project in Cirkit Designer
AC to DC Power Supply with 7-Segment Voltage Display
Image of BEE PBL: A project utilizing PC Power Supply in a practical application
This circuit is a regulated power supply that converts 220V AC to a lower, stable DC voltage. It includes a step-down transformer, bridge rectifier, voltage regulator, and filtering capacitors. A 7-segment display indicates the output voltage, which can be adjusted using a potentiometer.
Cirkit Designer LogoOpen Project in Cirkit Designer
AC to DC Power Supply with Transformer and Bridge Rectifier
Image of BRIDGE RECTIFIER: A project utilizing PC Power Supply in a practical application
This circuit is a basic AC to DC power supply that steps down 220V AC to a lower voltage using a transformer, rectifies it to DC using a bridge rectifier made of diodes, and smooths the output with an electrolytic capacitor. A rocker switch is used to turn the power supply on and off.
Cirkit Designer LogoOpen Project in Cirkit Designer

Explore Projects Built with PC Power Supply

Use Cirkit Designer to design, explore, and prototype these projects online. Some projects support real-time simulation. Click "Open Project" to start designing instantly!
Image of Engine Mounts Wiring: A project utilizing PC Power Supply in a practical application
Optiplex Micro and PoE Camera Surveillance System with Ethernet Switching
This circuit describes a networked system where an Optiplex Micro computer is powered by a PC Power Supply and connected to a PC Screen via HDMI for display output. The computer is networked through an Ethernet Switch, which also connects to two PoE Cameras and a Toyopuc PLC. The Ethernet Switch is powered by a PoE PSU 48V DC, and all AC-powered devices are connected to a common 220V AC source.
Cirkit Designer LogoOpen Project in Cirkit Designer
Image of Hand Crank mobile charger : A project utilizing PC Power Supply in a practical application
USB-Powered DC Gear Motor with LED Indicator
This circuit appears to be a power supply unit with a bridge rectifier connected to a DC gear motor, indicating it is designed to convert AC to DC power for the motor. An electrolytic capacitor is used for smoothing the DC output, and a 7805 voltage regulator is included to provide a stable 5V output. Additionally, there is an LED with a series resistor, likely serving as a power indicator light.
Cirkit Designer LogoOpen Project in Cirkit Designer
Image of BEE PBL: A project utilizing PC Power Supply in a practical application
AC to DC Power Supply with 7-Segment Voltage Display
This circuit is a regulated power supply that converts 220V AC to a lower, stable DC voltage. It includes a step-down transformer, bridge rectifier, voltage regulator, and filtering capacitors. A 7-segment display indicates the output voltage, which can be adjusted using a potentiometer.
Cirkit Designer LogoOpen Project in Cirkit Designer
Image of BRIDGE RECTIFIER: A project utilizing PC Power Supply in a practical application
AC to DC Power Supply with Transformer and Bridge Rectifier
This circuit is a basic AC to DC power supply that steps down 220V AC to a lower voltage using a transformer, rectifies it to DC using a bridge rectifier made of diodes, and smooths the output with an electrolytic capacitor. A rocker switch is used to turn the power supply on and off.
Cirkit Designer LogoOpen Project in Cirkit Designer

Technical Specifications

Key Technical Details

  • Power Output: 90 Watts
  • Input Voltage: 100-240V AC
  • Output Voltage: Multiple DC outputs (3.3V, 5V, 12V, etc.)
  • Frequency: 50-60 Hz
  • Efficiency: Typically 80% or higher
  • Cooling: Integrated fan for thermal management
  • Certifications: Energy Star, RoHS compliant

Pin Configuration and Descriptions

Pin Number Color Description Voltage (V)
1 Orange +3.3V 3.3
2 Brown +3.3V Sense 3.3
3 Red +5V 5
4 Purple +5V Standby 5
5 Gray Power Good Signal 0/5
6 Black Ground 0
7 Black Ground 0
8 White -5V (Optional, may be absent) -5
9 Blue -12V -12
10 Yellow +12V 12
11 Green Power On Signal 0/5
12 Black Ground 0
13 Black Ground 0
14 Black Ground 0
15 Red +5V 5
16 Black Ground 0
17 Black Ground 0
18 Blue Power Supply On (PS_ON) 0/5
19 Orange +3.3V 3.3
20 Orange +3.3V 3.3
21 Red +5V 5
22 Red +5V 5
23 Red +5V 5
24 Yellow +12V 12

Note: The pinout provided is for a standard ATX power supply. Dell 90W PSU may have a proprietary connector and pinout. Always refer to the manufacturer's documentation for the exact pin configuration.

Usage Instructions

How to Use the Component in a Circuit

  1. Installation: Secure the PSU in the designated area of the computer case using screws provided with the chassis or PSU.
  2. Connection: Connect the main power connector to the motherboard. Ensure the clip on the power connector clicks into place.
  3. Peripheral Power: Connect the additional power connectors to the hard drives, optical drives, and other peripherals as required.
  4. Power On: Once all connections are made, use the computer's power button to turn on the system. The PSU is controlled by the motherboard and will power up automatically.

Important Considerations and Best Practices

  • Load Balancing: Ensure that the load is balanced across the different voltage rails to prevent overloading any single rail.
  • Cable Management: Proper cable management helps improve airflow and cooling within the case.
  • Upgrades: When upgrading components, ensure the PSU can handle the additional power requirements.
  • Safety: Do not open the PSU casing as it contains high voltages that can be dangerous.

Troubleshooting and FAQs

Common Issues

  • Computer Won't Start: Check that the PSU is switched on and that all cables are securely connected.
  • Intermittent Shutdowns: This may indicate an overheating issue or a failing PSU. Ensure the internal fan is functioning and that the PSU is not clogged with dust.
  • Noise: Unusual noises from the PSU fan may suggest a failing fan or obstruction.

Solutions and Tips for Troubleshooting

  • Power Good Signal: Use a multimeter to check the 'Power Good' signal from the PSU. A delay or absence of this signal can indicate a PSU issue.
  • Paperclip Test: With the PSU disconnected from all components, use a paperclip to short the green wire (Power On) to any black wire (Ground) on the main connector. If the PSU fan does not spin, the PSU may be defective.

FAQs

Q: Can I use the Dell 90W PSU with non-Dell computers? A: It depends on the connector type. If the PSU has a standard ATX connector, it may be compatible with non-Dell motherboards that require similar power specifications.

Q: What should I do if my PSU is not providing enough power for my system? A: You may need to upgrade to a PSU with a higher wattage rating to support your system's power requirements.

Q: How can I tell if my PSU is energy efficient? A: Look for 80 PLUS certification, which indicates high energy efficiency.

Note: This documentation is for informational purposes only. Always consult the manufacturer's official documentation and follow safety guidelines when working with electronic components.