
How to Use Fitting Lampu: Examples, Pinouts, and Specs
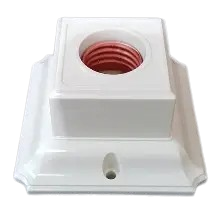
 Design with Fitting Lampu in Cirkit Designer
Introduction
The Fitting Lampu (commonly referred to as a lamp holder) is a device designed to securely hold and connect a light bulb to an electrical circuit. Manufactured by Generic with the part ID E27 Socket, this component ensures the safe and reliable operation of light bulbs in various applications. It is compatible with standard E27 screw-type bulbs, making it a versatile and widely used component in residential, commercial, and industrial lighting systems.
Explore Projects Built with Fitting Lampu
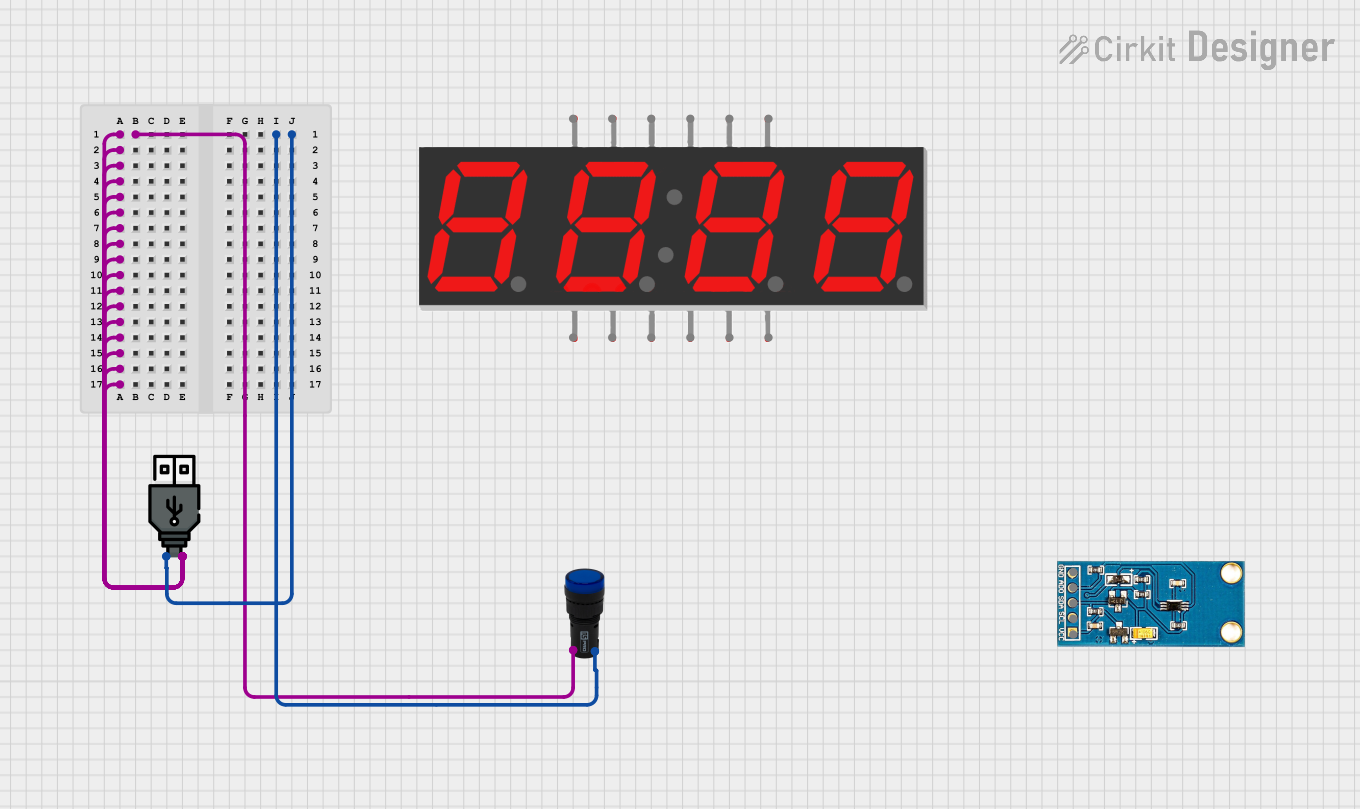 Open Project in Cirkit Designer
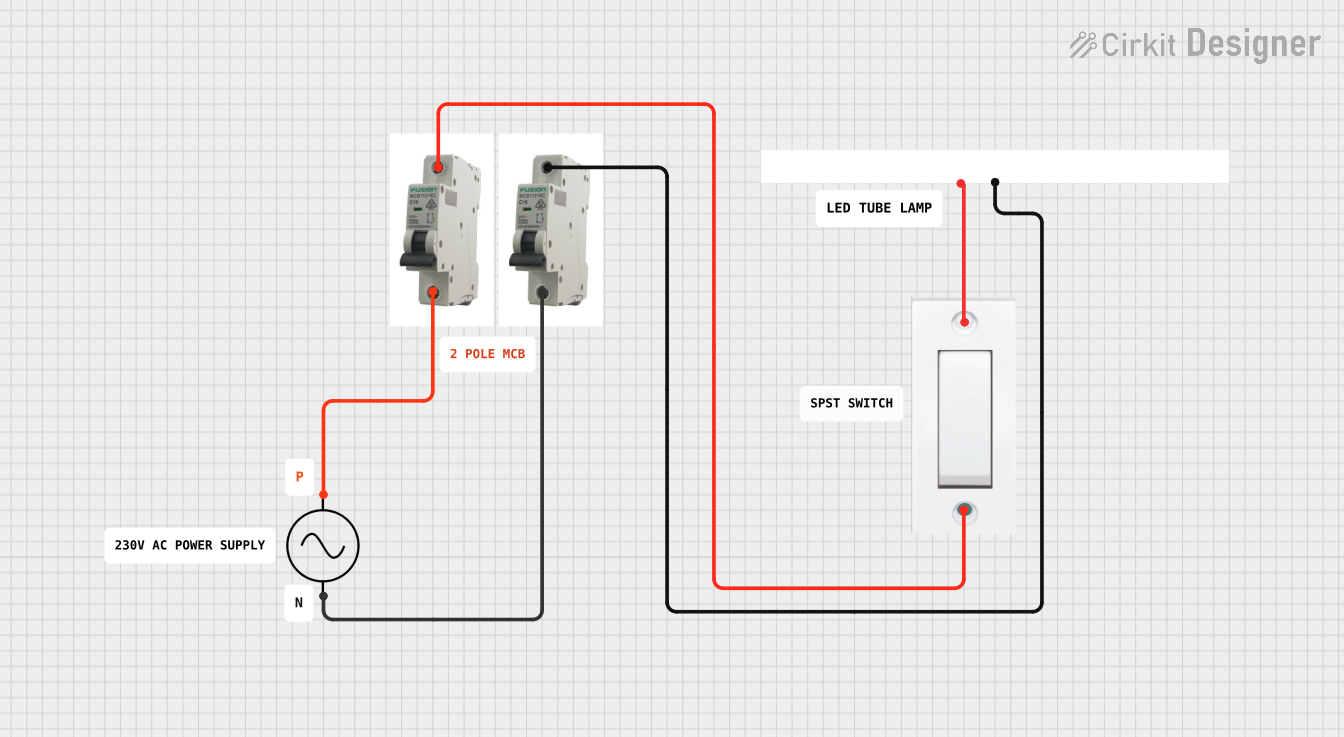 Open Project in Cirkit Designer
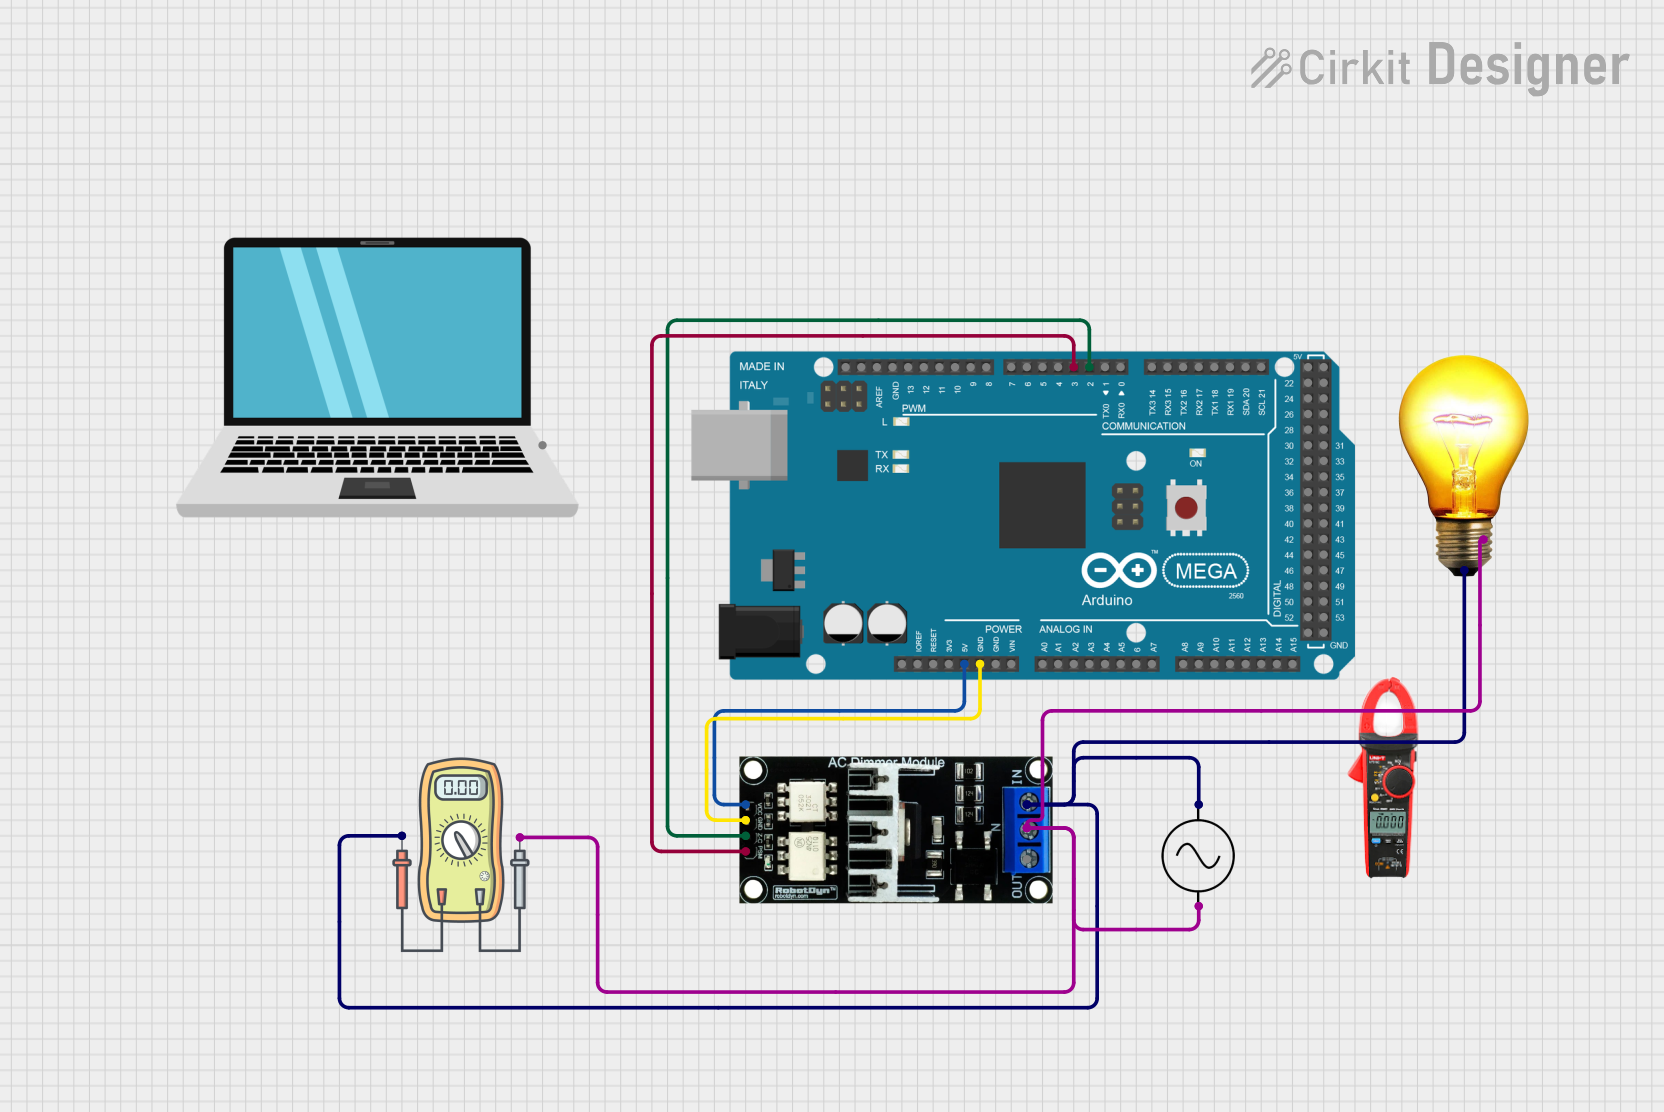 Open Project in Cirkit Designer
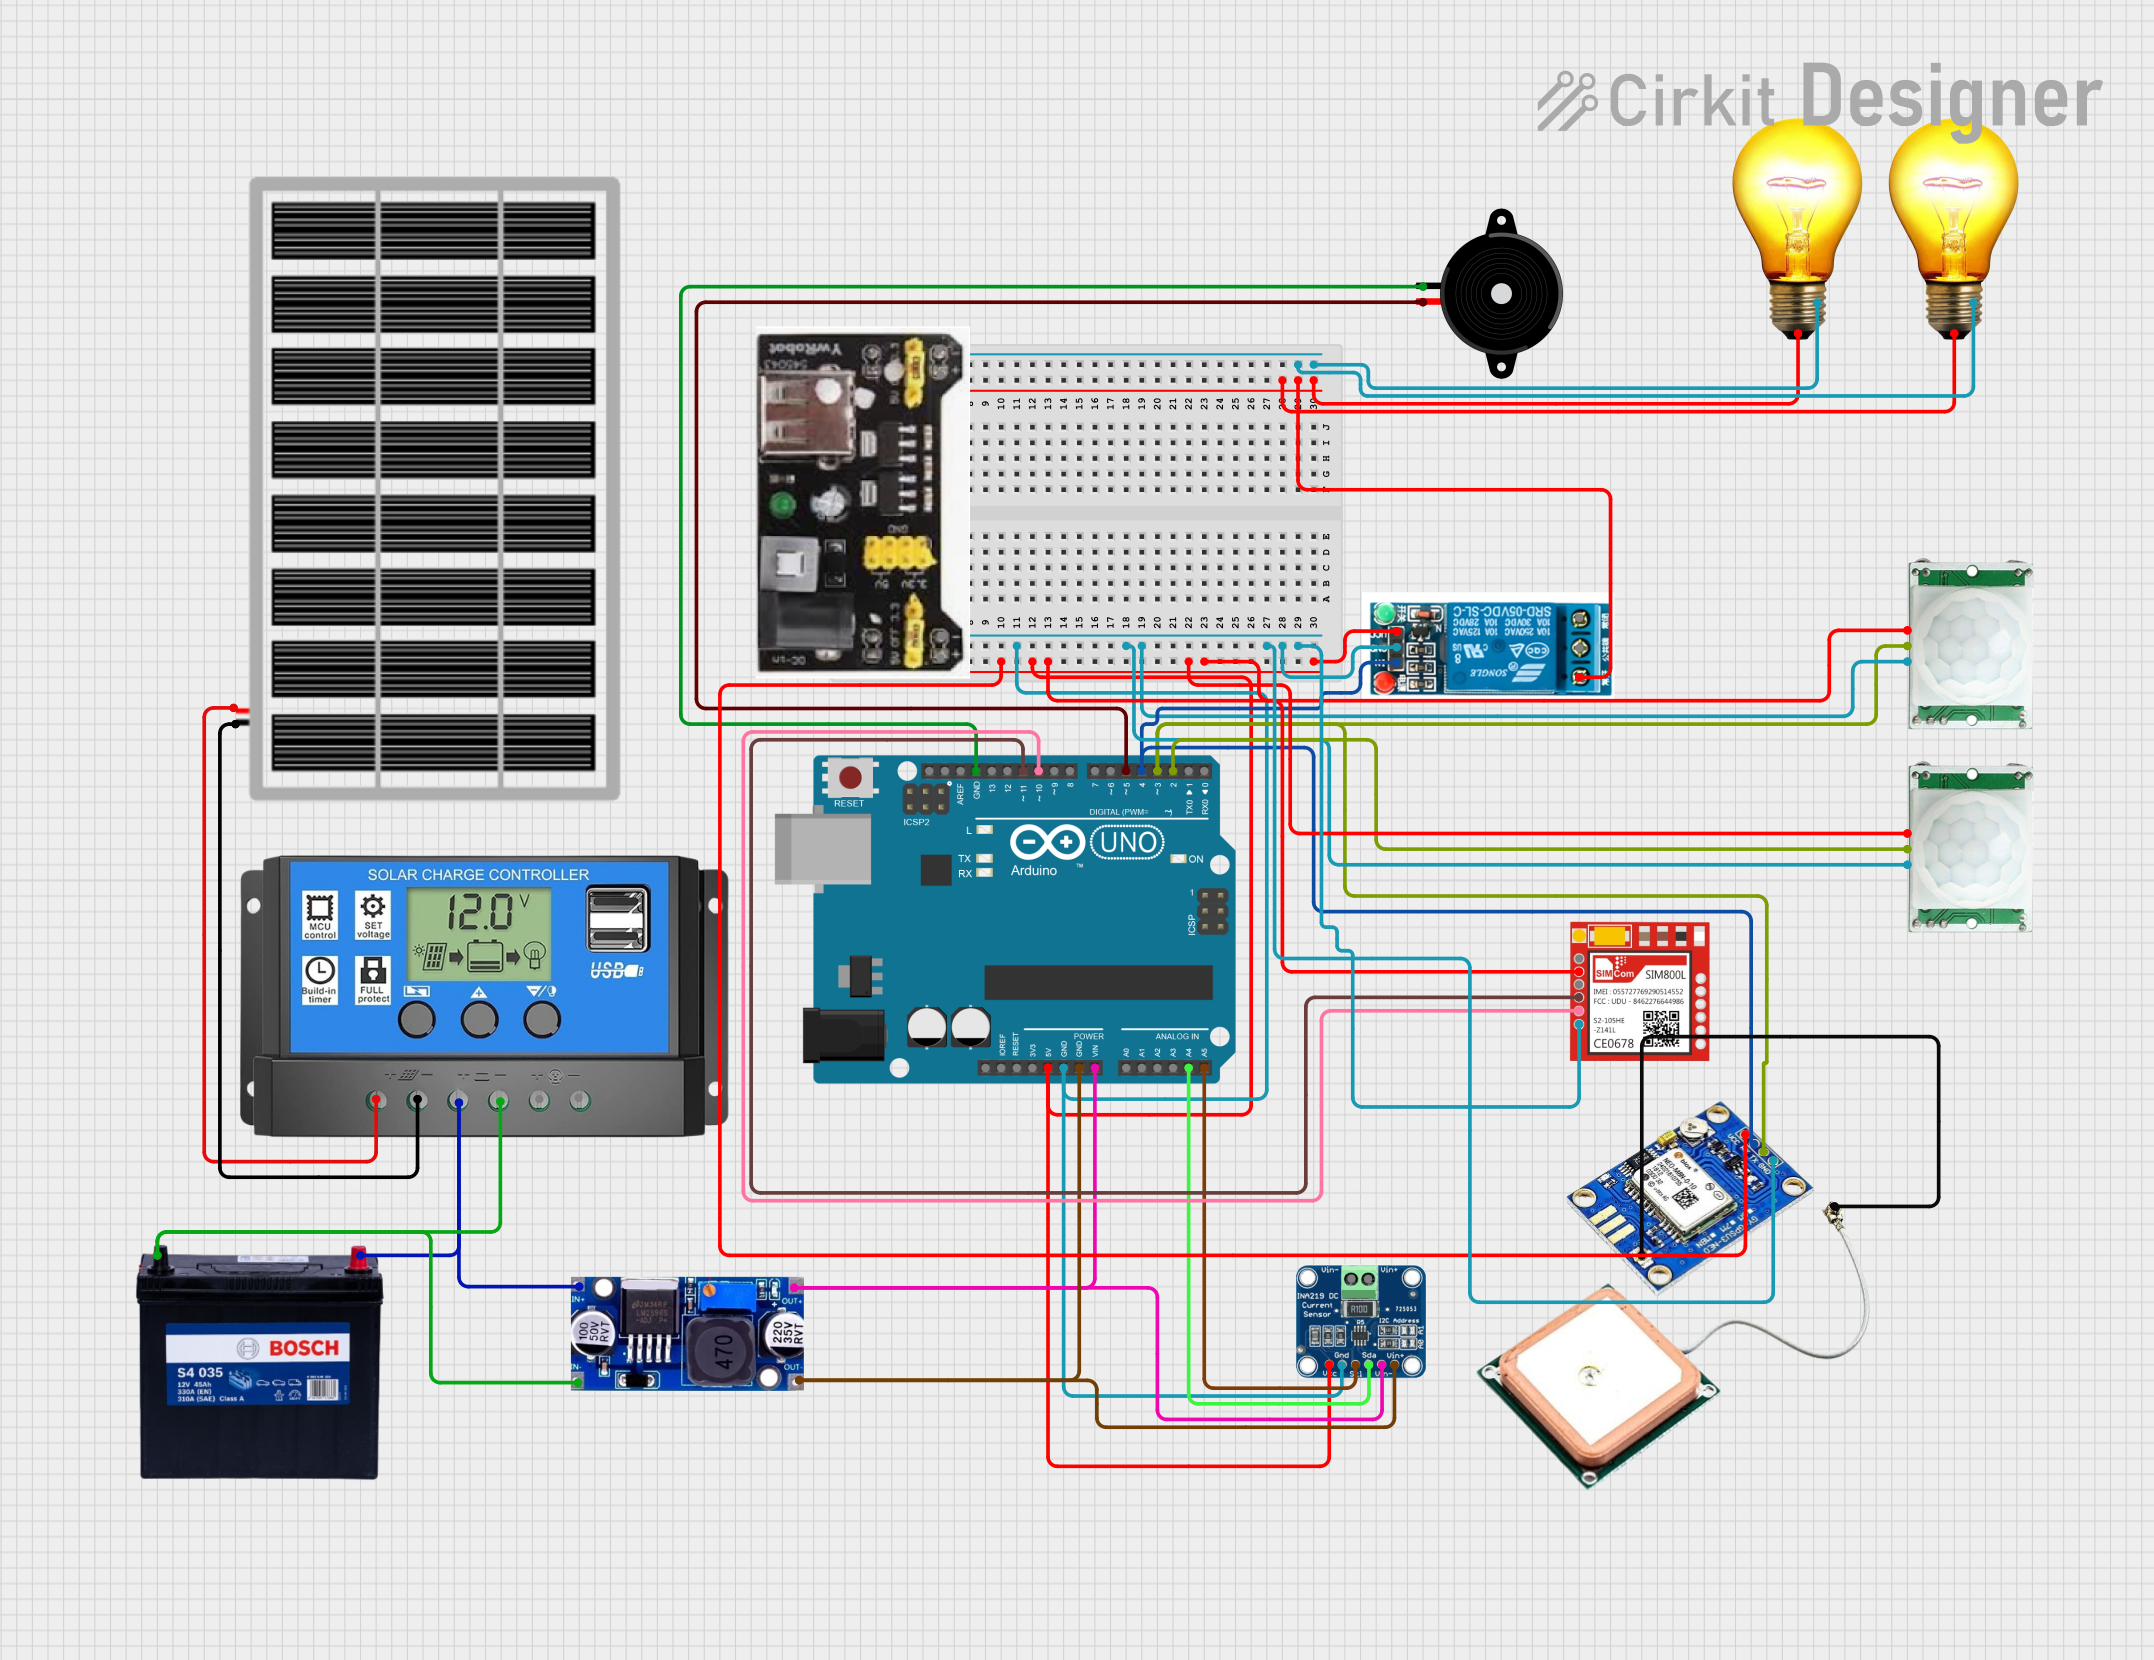 Open Project in Cirkit Designer
Explore Projects Built with Fitting Lampu
Open Project in Cirkit DesignerOpen Project in Cirkit DesignerOpen Project in Cirkit DesignerOpen Project in Cirkit DesignerCommon Applications and Use Cases
- Residential Lighting: Used in homes for ceiling lights, table lamps, and wall-mounted fixtures.
- Commercial Lighting: Found in offices, retail spaces, and public buildings.
- Industrial Lighting: Utilized in factories and warehouses for high-intensity lighting.
- DIY Projects: Popular among hobbyists for custom lighting setups and creative projects.
Technical Specifications
The following table outlines the key technical details of the Fitting Lampu (E27 Socket):
| Parameter | Specification |
|---|---|
| Manufacturer | Generic |
| Part ID | E27 Socket |
| Bulb Compatibility | E27 screw-type bulbs |
| Rated Voltage | 110V - 250V AC |
| Rated Current | Up to 4A |
| Material | Heat-resistant plastic or ceramic |
| Mounting Type | Screw or clip-on |
| Dimensions | Varies (typically ~40mm diameter) |
| Operating Temperature | -20°C to 85°C |
Pin Configuration and Descriptions
The Fitting Lampu does not have traditional pins but instead features two electrical terminals for connection. The table below describes these terminals:
| Terminal | Description |
|---|---|
| Live (L) | Connects to the live wire of the AC circuit |
| Neutral (N) | Connects to the neutral wire of the AC circuit |
Usage Instructions
How to Use the Component in a Circuit
Preparation:
- Ensure the power supply is turned off before handling the Fitting Lampu.
- Verify that the bulb you intend to use is compatible with the E27 socket and within the rated voltage and current limits.
Wiring:
- Connect the Live (L) terminal of the Fitting Lampu to the live wire of the AC power source.
- Connect the Neutral (N) terminal to the neutral wire of the AC power source.
- Use insulated wires and ensure all connections are secure to prevent short circuits.
Mounting:
- Secure the Fitting Lampu to the desired surface using screws or clips, depending on the mounting type.
- Ensure the socket is positioned to allow easy installation and removal of the bulb.
Testing:
- Insert the bulb into the socket by screwing it in gently but firmly.
- Turn on the power supply and verify that the bulb lights up.
Important Considerations and Best Practices
- Safety First: Always disconnect the power supply before installing or servicing the Fitting Lampu.
- Heat Management: If using high-wattage bulbs, ensure adequate ventilation to prevent overheating.
- Wire Gauge: Use wires with appropriate thickness to handle the current without overheating.
- Secure Connections: Loose connections can lead to arcing and potential fire hazards.
Example: Connecting to an Arduino UNO
While the Fitting Lampu is primarily an AC component, it can be controlled indirectly using an Arduino UNO and a relay module. Below is an example code snippet to control the Fitting Lampu via a relay:
// Example: Controlling a Fitting Lampu (E27 Socket) with Arduino UNO
// This code toggles the lamp on and off every 2 seconds using a relay module.

const int relayPin = 7; // Pin connected to the relay module

void setup() {
  pinMode(relayPin, OUTPUT); // Set the relay pin as an output
  digitalWrite(relayPin, LOW); // Ensure the relay is off initially
}

void loop() {
  digitalWrite(relayPin, HIGH); // Turn the relay (and lamp) on
  delay(2000); // Wait for 2 seconds
  digitalWrite(relayPin, LOW); // Turn the relay (and lamp) off
  delay(2000); // Wait for 2 seconds
}
Note: Ensure the relay module is rated for the voltage and current of the Fitting Lampu. The Arduino controls the relay, which in turn switches the AC power to the lamp.
Troubleshooting and FAQs
Common Issues Users Might Face
Bulb Does Not Light Up:
- Cause: Loose connections or faulty wiring.
- Solution: Double-check all connections and ensure the bulb is properly screwed into the socket.
Overheating:
- Cause: Using a bulb with a wattage higher than the socket's rating.
- Solution: Use a bulb within the rated wattage and ensure proper ventilation.
Flickering Light:
- Cause: Poor electrical contact or unstable power supply.
- Solution: Tighten connections and verify the stability of the power source.
Socket Damage:
- Cause: Prolonged use with high-wattage bulbs or physical stress.
- Solution: Replace the damaged socket and avoid exceeding the rated specifications.
Solutions and Tips for Troubleshooting
- Use a multimeter to check for continuity and proper voltage at the terminals.
- Inspect the socket for visible damage, such as cracks or burn marks.
- If using with an Arduino and relay, ensure the relay module is functioning correctly and receiving proper signals.
By following this documentation, users can safely and effectively utilize the Fitting Lampu (E27 Socket) in their lighting projects and applications.