A 4 channel relay module is an electronic device designed to control up to four high-power electrical loads using low-power control signals. This module is an essential component in various applications such as home automation systems, robotics, and industrial control systems. It acts as an electrically operated switch, which can be controlled by a microcontroller like an Arduino UNO.
Explore Projects Built with 4 channel relay module
Use Cirkit Designer to design, explore, and prototype these projects online. Some projects support real-time simulation. Click "Open Project" to start designing instantly!
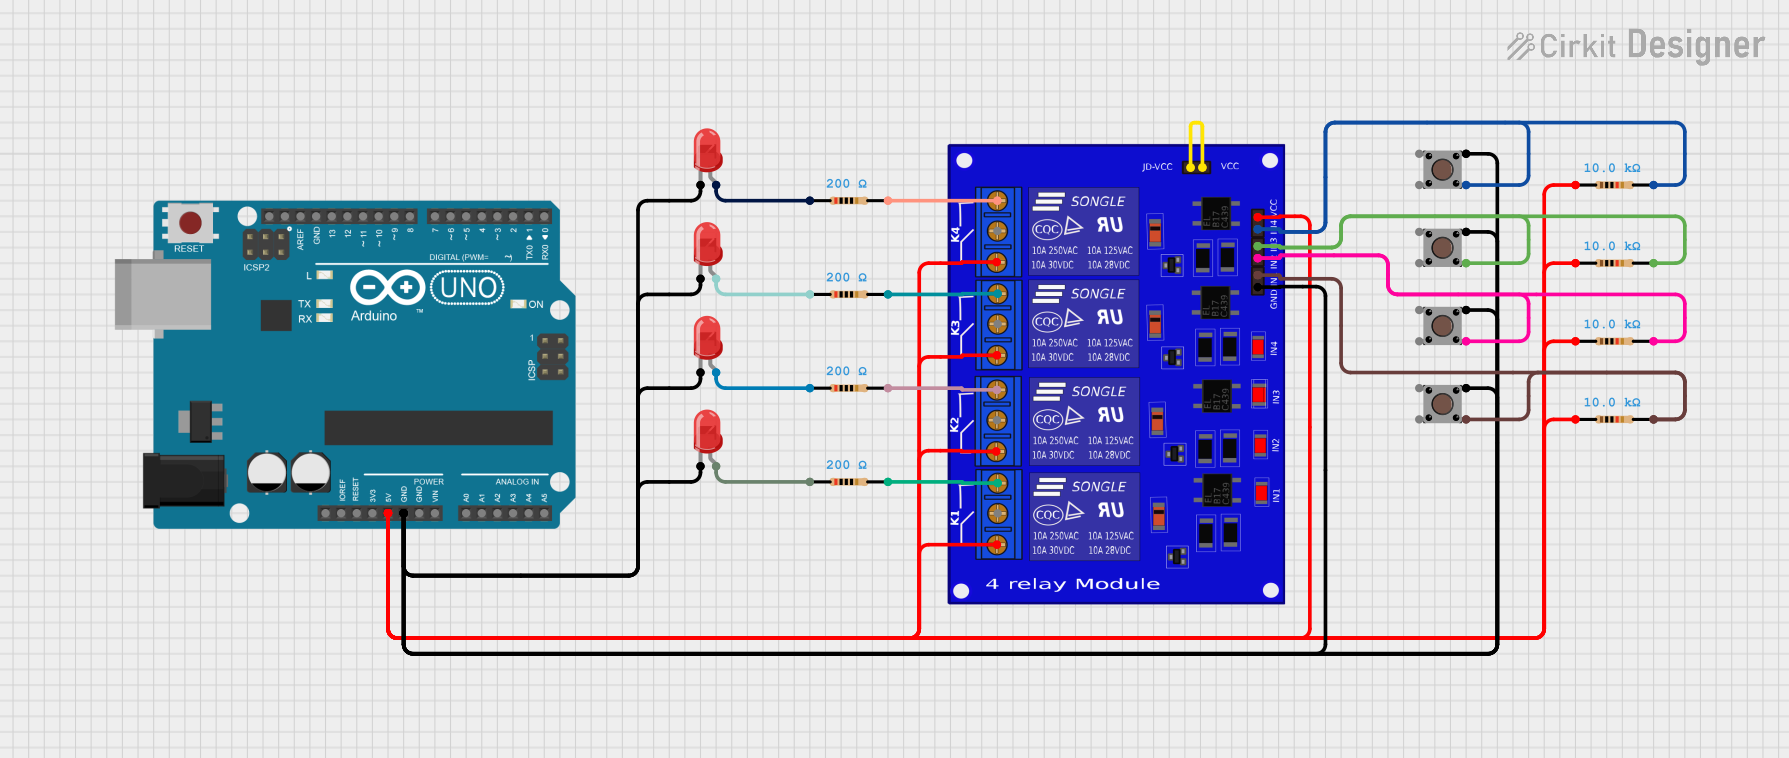
This circuit utilizes a 4-channel relay module controlled by an Arduino UNO, allowing for the switching of multiple devices based on input from several pushbuttons. Each pushbutton can activate a corresponding relay channel, which can be used to control various loads, while LEDs provide visual feedback for the relay states.
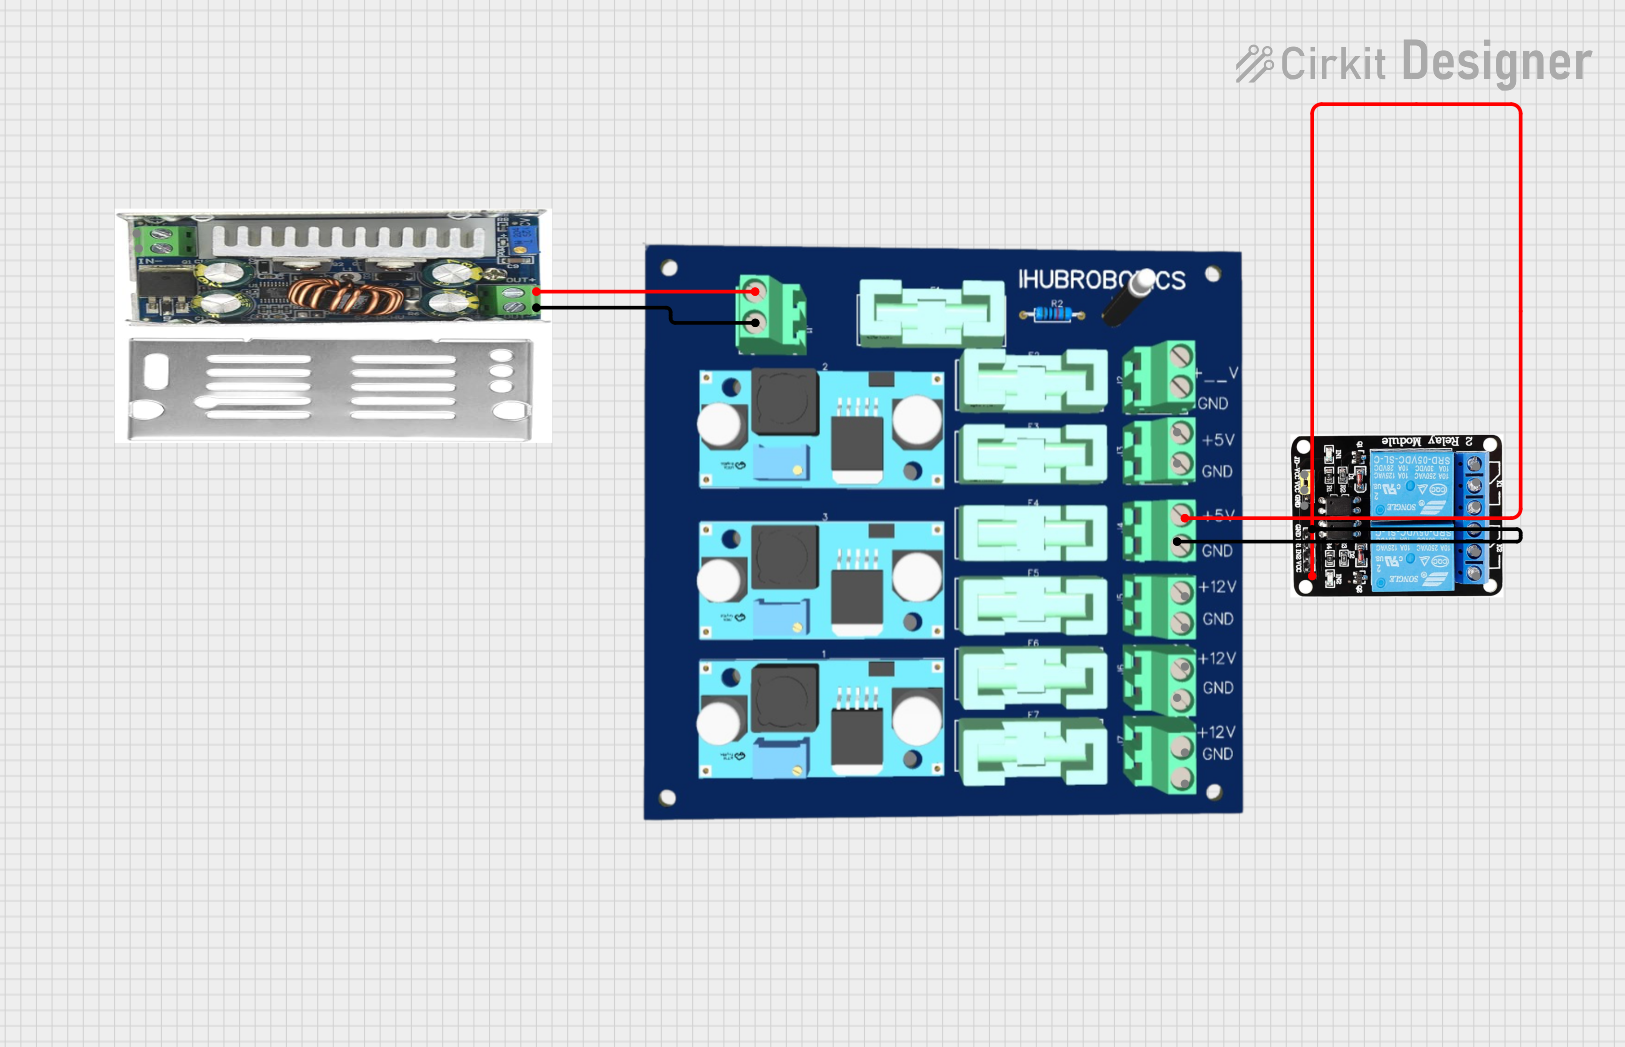
This circuit consists of a DC-DC converter powering a 6-channel power module, which in turn supplies 5V to a 2-relay module. The power module distributes the converted voltage to the relay module, enabling it to control external devices.
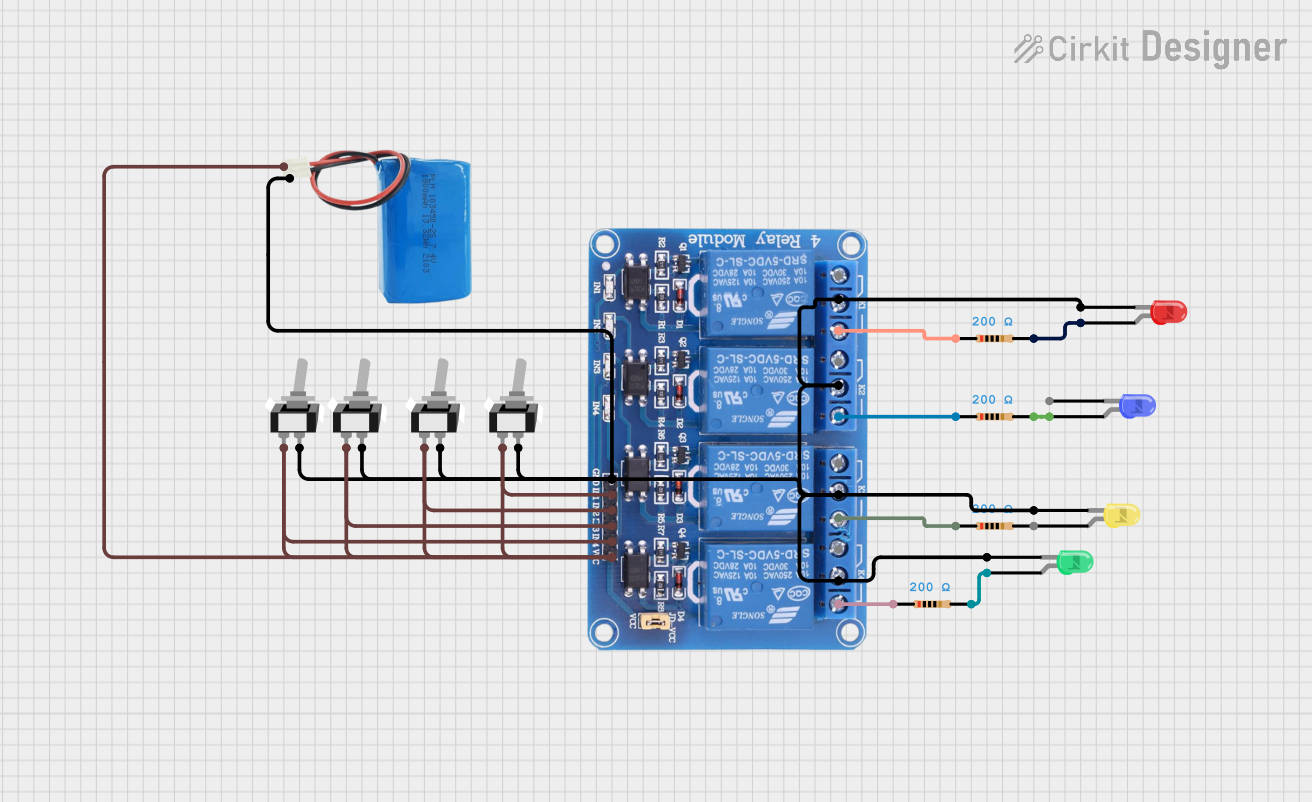
This circuit consists of a 5V battery powering a 4-channel relay module, which controls four LEDs (red, yellow, green, and blue) through individual resistors. Each relay channel is activated by a corresponding SPST toggle switch, allowing manual control of the LEDs.
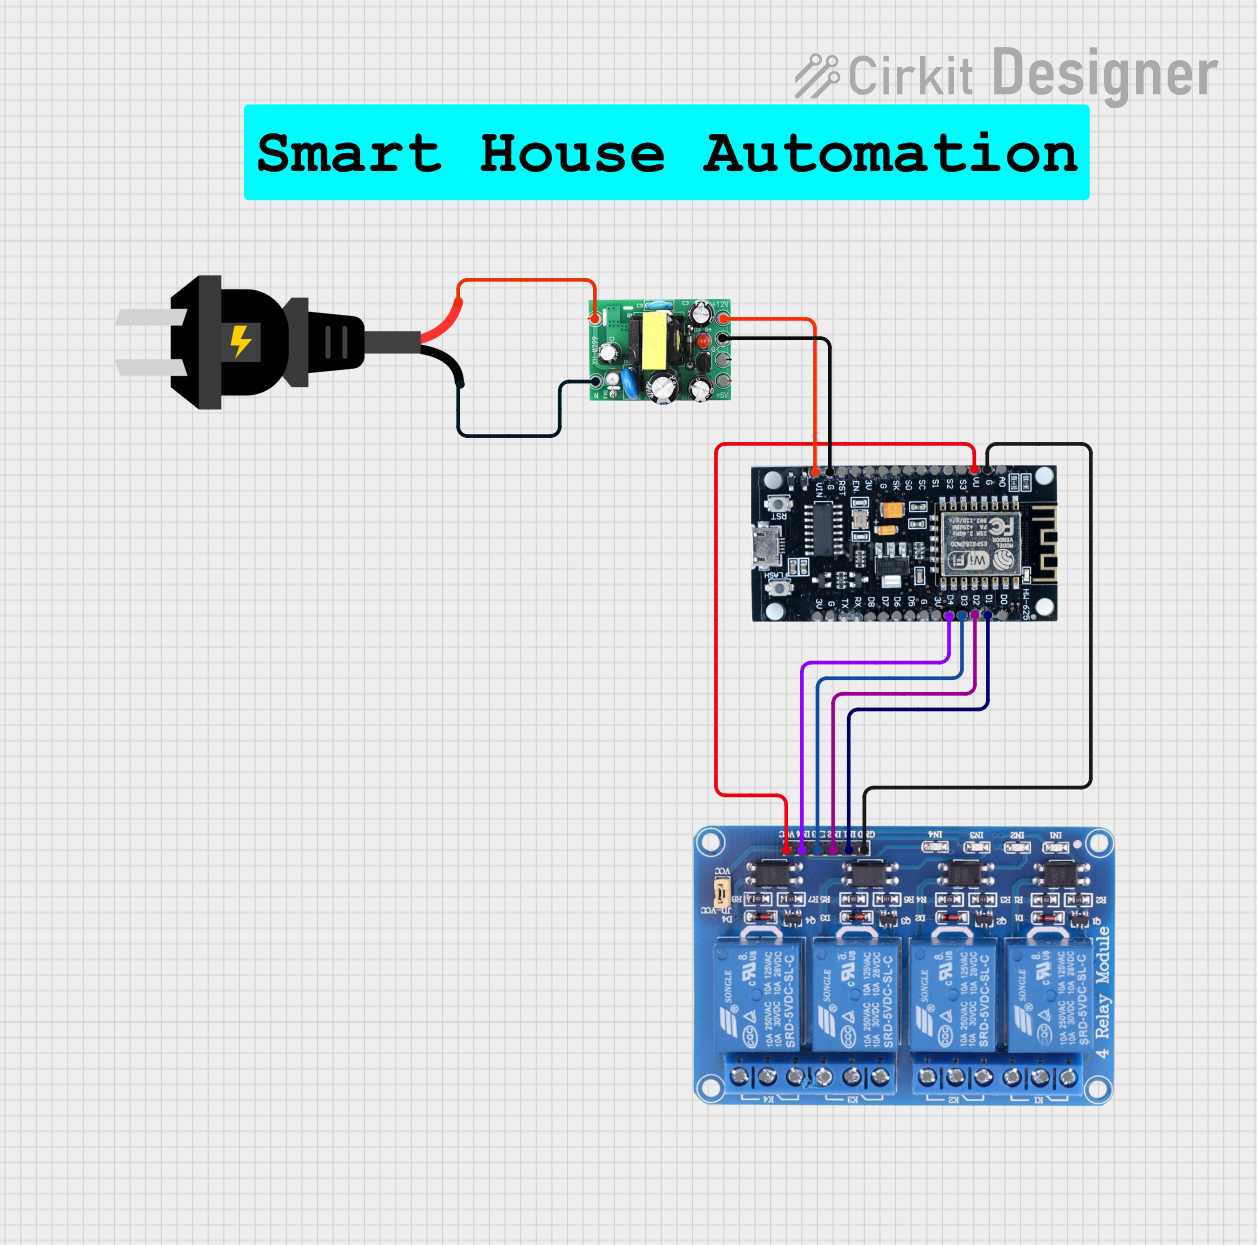
This circuit uses an ESP8266 microcontroller to control a 4-channel relay module, which can switch various loads. The ESP8266 is powered by a 12V DC supply converted from an AC source, and it interfaces with the relay module to control the relays via its digital output pins.
Home automation (e.g., controlling lights, fans, and other household appliances)
Robotics (e.g., controlling motors, actuators)
Industrial controls (e.g., turning on/off machinery, process control)
Remote control systems
Technical Specifications
Key Technical Details
Operating Voltage (VCC): 5V DC
Trigger Voltage (IN1-IN4): 0-5V DC
Max Switching Voltage: 250V AC / 30V DC
Max Switching Current: 10A per channel
Relay Life: 100,000 cycles (typical)
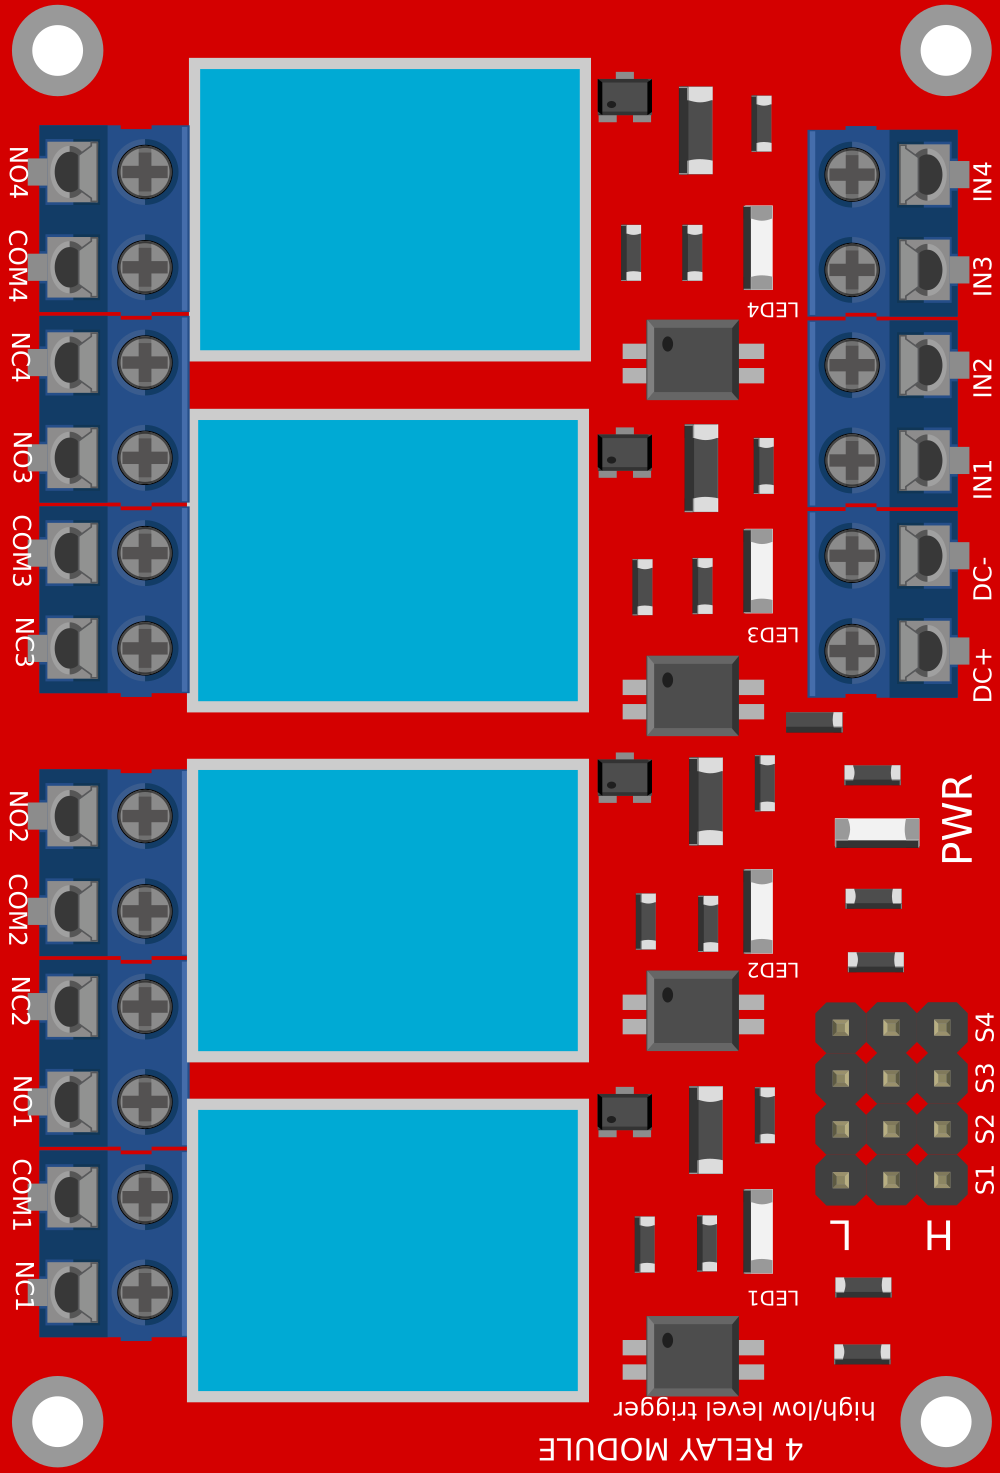
Pin Configuration and Descriptions
Pin Name
Description
VCC
Connect to 5V power supply
GND
Connect to ground
IN1
Control signal for Relay 1 (active LOW/HIGH)
IN2
Control signal for Relay 2 (active LOW/HIGH)
IN3
Control signal for Relay 3 (active LOW/HIGH)
IN4
Control signal for Relay 4 (active LOW/HIGH)
NO1-NO4
Normally Open contact for Relays 1-4
NC1-NC4
Normally Closed contact for Relays 1-4
COM1-COM4
Common contact for Relays 1-4
Usage Instructions
How to Use the Component in a Circuit
Powering the Module:
Connect the VCC pin to a 5V power supply.
Connect the GND pin to the ground of the power supply.
Connecting Control Signals:
Connect IN1 to IN4 pins to the digital outputs of a microcontroller (e.g., Arduino UNO).
Connecting Loads:
Connect the device you want to control to the NO (Normally Open) or NC (Normally Closed) and COM (Common) pins of the relay.
Important Considerations and Best Practices
Ensure the power supply can deliver sufficient current for all relays to operate simultaneously if needed.
Do not exceed the maximum voltage and current ratings of the relays.
Use flyback diodes across inductive loads to prevent back EMF damage.
Consider using opto-isolation between the control circuit and the relay module to protect the microcontroller from voltage spikes.
Example Code for Arduino UNO
// Define relay control pins
const int relay1 = 2;
const int relay2 = 3;
const int relay3 = 4;
const int relay4 = 5;

void setup() {
  // Set relay pins as outputs
  pinMode(relay1, OUTPUT);
  pinMode(relay2, OUTPUT);
  pinMode(relay3, OUTPUT);
  pinMode(relay4, OUTPUT);
}

void loop() {
  // Turn on all relays
  digitalWrite(relay1, HIGH);
  digitalWrite(relay2, HIGH);
  digitalWrite(relay3, HIGH);
  digitalWrite(relay4, HIGH);
  delay(1000); // Wait for 1 second

  // Turn off all relays
  digitalWrite(relay1, LOW);
  digitalWrite(relay2, LOW);
  digitalWrite(relay3, LOW);
  digitalWrite(relay4, LOW);
  delay(1000); // Wait for 1 second
}
Troubleshooting and FAQs
Common Issues
Relay not activating: Check the control signal voltage and connections.
Intermittent operation: Verify power supply stability and relay wiring.
Noise issues: Use snubber circuits or flyback diodes for inductive loads.
Solutions and Tips for Troubleshooting
Ensure that the input signal is within the specified range (0-5V DC).
Check for loose connections or soldering issues on the relay module.
If using inductive loads, make sure flyback diodes are installed correctly.
Test each relay independently to isolate the issue.
FAQs
Q: Can I control the relay module with a 3.3V signal?
A: Some relay modules can be triggered with 3.3V, but it's essential to check the specific module's requirements.
Q: Is it safe to control AC mains with this relay module?
A: Yes, but it should be done by a qualified electrician and with proper safety measures in place.
Q: Can I use PWM to control the relay?
A: Relays are not designed for PWM control and should only be used for on/off control.
Q: How do I know if the relay is in NO or NC mode?
A: The relay is in NO mode when the control signal is HIGH (or LOW if designed as active LOW), and in NC mode when the control signal is not applied.

 Open Project in Cirkit Designer