How to Use ESP32 Breakout COMPACT: Examples, Pinouts, and Specs
Introduction
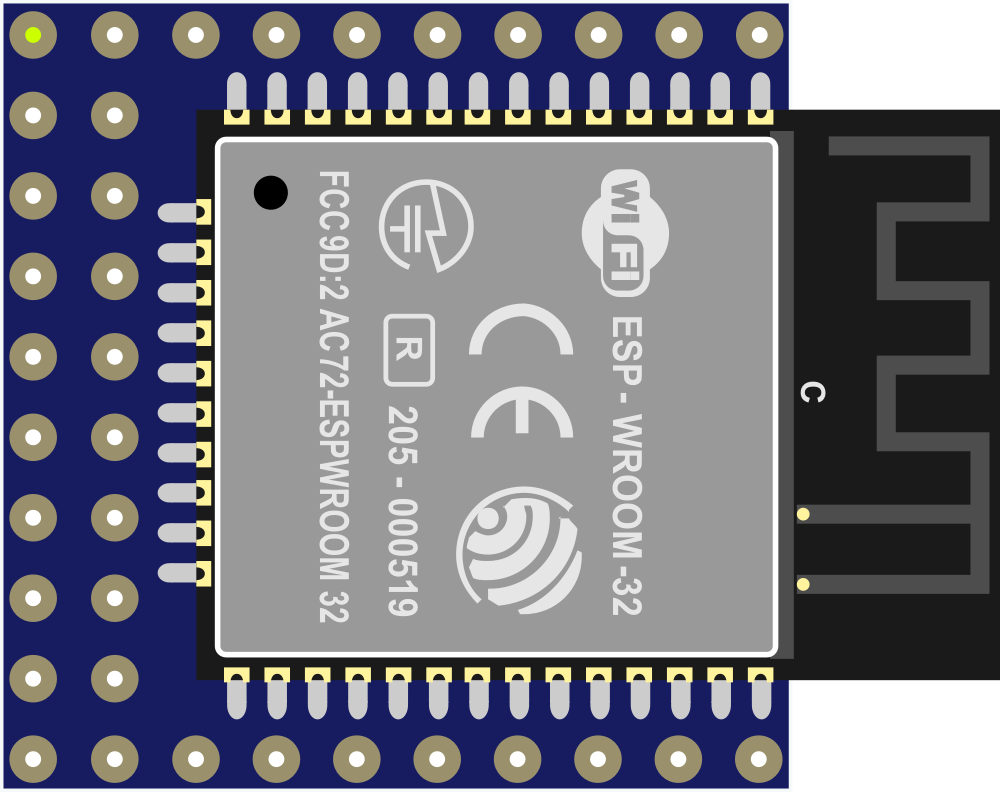
The ESP32 Breakout COMPACT is a versatile and powerful development board that harnesses the capabilities of the ESP32 microcontroller. This compact board is designed for Internet of Things (IoT) applications, thanks to its integrated Wi-Fi and Bluetooth connectivity. It is suitable for a wide range of uses, from home automation to industrial control systems. The board's array of GPIO pins and built-in interfaces make it an excellent choice for prototyping and small-scale production.
Explore Projects Built with ESP32 Breakout COMPACT


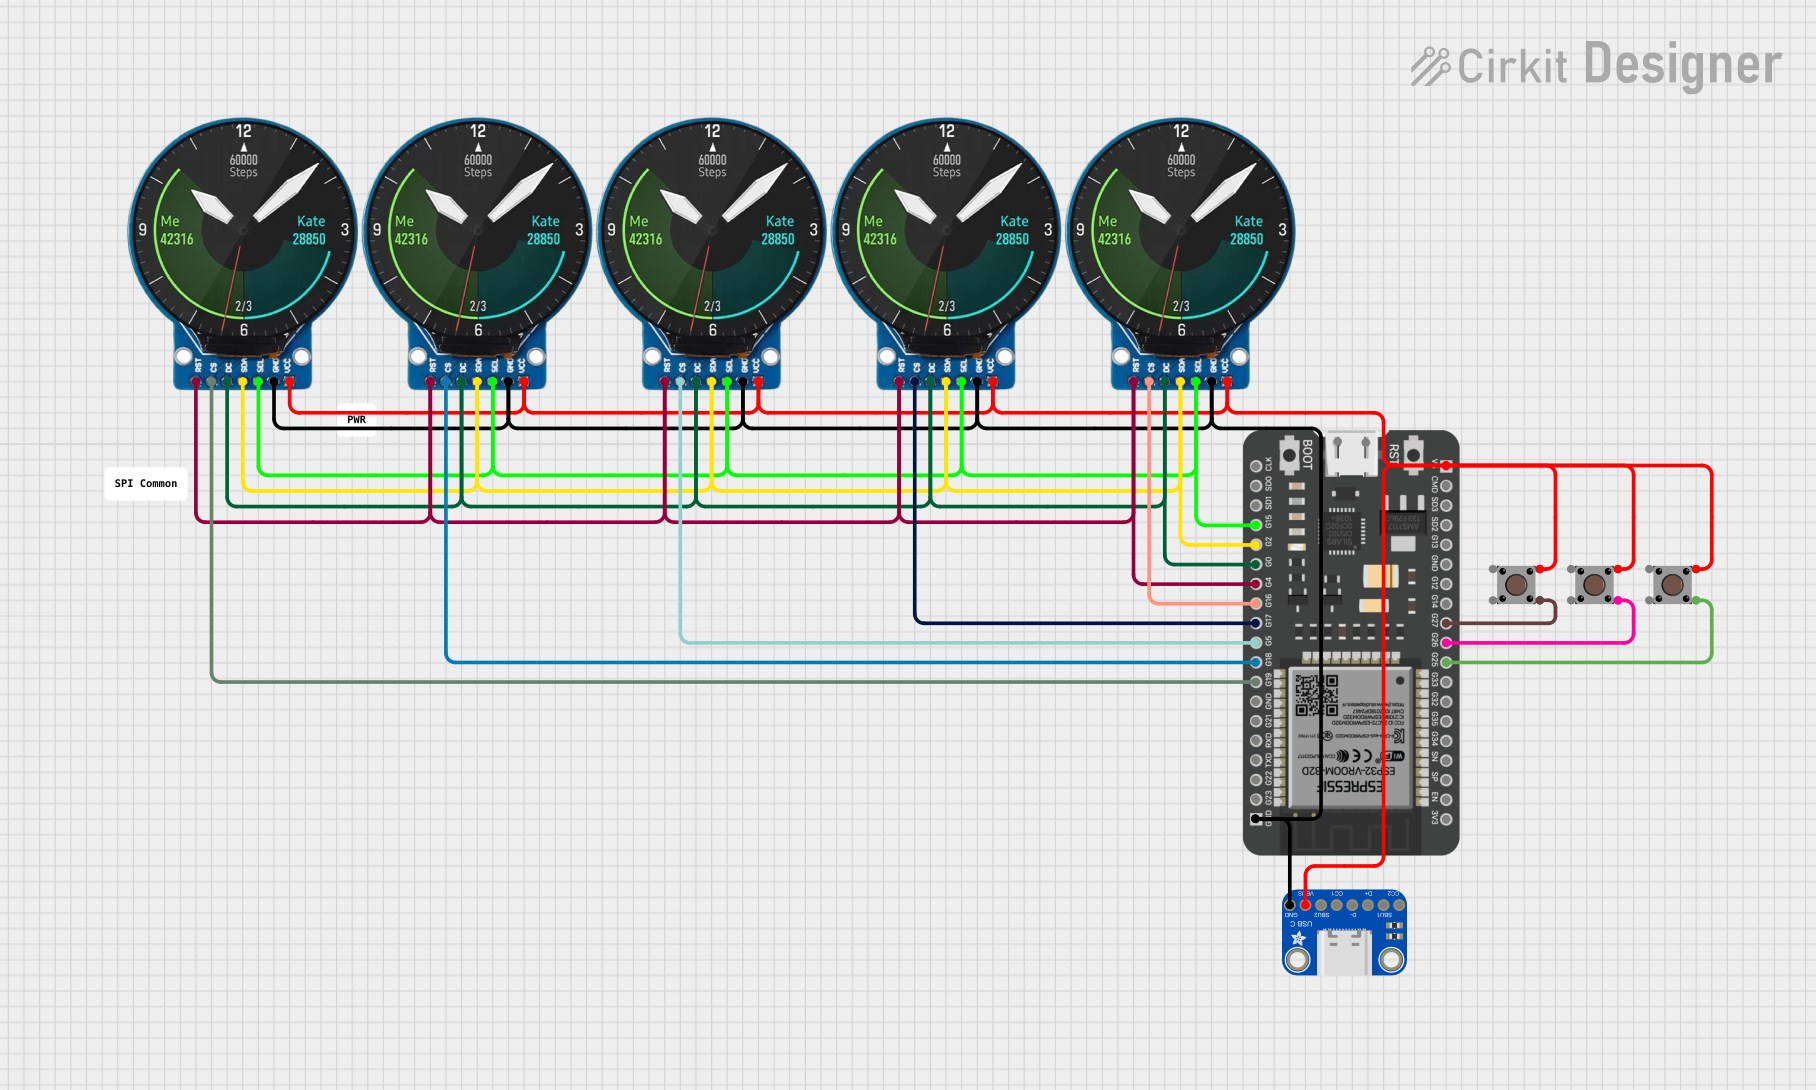
Explore Projects Built with ESP32 Breakout COMPACT
Technical Specifications
Key Features
- Microcontroller: ESP32
- Wi-Fi: 802.11 b/g/n
- Bluetooth: v4.2 BR/EDR and BLE
- Operating Voltage: 3.3V
- Input Voltage: 5V via USB or Vin pin
- Digital I/O Pins: 22
- Analog Input Pins: 6 (ADC channels)
- Flash Memory: 4 MB
- SRAM: 520 KB
- Clock Speed: Up to 240 MHz
Pin Configuration
| Pin Number | Function | Description |
|---|---|---|
| 1 | GND | Ground |
| 2 | 3V3 | 3.3V power supply |
| 3 | EN | Reset pin (active low) |
| 4 | VP | GPIO36, ADC1 Channel 0, Sensor VP |
| 5 | VN | GPIO39, ADC1 Channel 3, Sensor VN |
| 6 | D34 | GPIO34, ADC1 Channel 6, Input only |
| ... | ... | ... |
| n | TX0 | GPIO1, U0TXD, Transmit pin of serial UART0 |
| n+1 | RX0 | GPIO3, U0RXD, Receive pin of serial UART0 |
Note: This table is not exhaustive. Refer to the ESP32 datasheet for the full pinout.
Usage Instructions
Integrating with a Circuit
To use the ESP32 Breakout COMPACT in a circuit:
- Connect the board to your computer via the micro USB port.
- Ensure that the board is recognized by your computer and the appropriate drivers are installed.
- Use the 3V3 and GND pins to power the board and establish a common ground with other components.
- Connect external devices to the GPIO pins as required for your application.
- Program the ESP32 using the Arduino IDE or other suitable development environments.
Best Practices
- Always ensure that the power supply is within the recommended voltage range to prevent damage.
- Use a logic level converter if you need to interface with 5V components.
- Avoid drawing more than 12 mA from any GPIO pin.
- When using Wi-Fi or Bluetooth, consider the placement of the board to minimize signal interference.
Example Code for Arduino UNO
Here is a simple example of how to blink an LED using the ESP32 Breakout COMPACT with an Arduino UNO:
// Define the LED pin
const int LED_PIN = 2; // Use GPIO2 for the LED

// Setup function runs once at the start
void setup() {
  // Initialize the LED pin as an output
  pinMode(LED_PIN, OUTPUT);
}

// Loop function runs repeatedly
void loop() {
  digitalWrite(LED_PIN, HIGH); // Turn the LED on
  delay(1000);                // Wait for a second
  digitalWrite(LED_PIN, LOW);  // Turn the LED off
  delay(1000);                // Wait for a second
}
Note: Before uploading the code, select the correct board (ESP32) and port in the Arduino IDE.
Troubleshooting and FAQs
Common Issues
- Board not recognized: Ensure that the USB drivers for the ESP32 are installed on your computer.
- Unable to upload code: Check the USB cable and port. Make sure the correct board and port are selected in the IDE.
- Wi-Fi/Bluetooth not working: Verify that the antenna is not obstructed and that the correct libraries and code are used for connectivity.
FAQs
Q: Can I power the ESP32 Breakout COMPACT with a battery? A: Yes, you can power the board with a battery connected to the Vin pin, provided it supplies a voltage within the recommended range.
Q: How do I connect to Wi-Fi?
A: Use the WiFi.h library included with the ESP32 Arduino core to connect to Wi-Fi networks. You will need to use the WiFi.begin(ssid, password) function within your code.
Q: What is the maximum current draw from the 3V3 pin? A: The maximum current draw from the 3V3 pin should not exceed 500 mA.
For more detailed troubleshooting, refer to the ESP32 datasheet and the community forums dedicated to ESP32 development.