How to Use 9v battery: Examples, Pinouts, and Specs
9-Volt Battery Documentation
1. Introduction
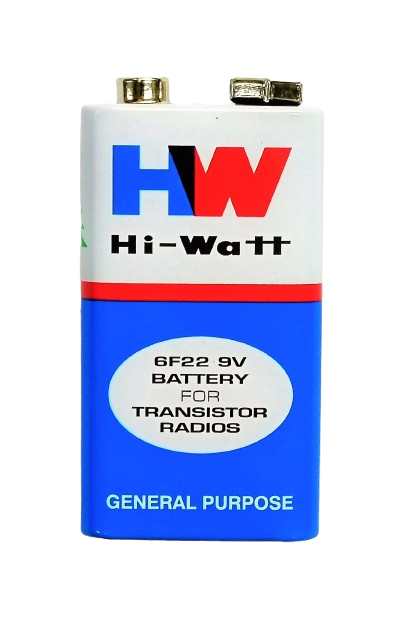
The 9-volt battery is a compact and versatile power source commonly used in small electronic devices. It provides a nominal voltage of 9 volts and is widely recognized for its rectangular shape with a pair of snap connectors on the top. This battery is a staple in many applications due to its reliability, portability, and ease of use.
Common Applications:
- Smoke detectors
- Remote controls
- Portable radios
- Multimeters
- Arduino and other microcontroller projects
- Toys and small gadgets
The 9-volt battery is an essential component for hobbyists, engineers, and everyday users, offering a convenient power solution for low-power devices.
2. Technical Specifications
Below are the key technical details and pin configuration of a standard 9-volt battery:
Key Technical Details
| Parameter | Value |
|---|---|
| Nominal Voltage | 9V |
| Chemistry | Alkaline, Lithium, or Zinc-Carbon |
| Capacity | 400–600 mAh (Alkaline) |
| Dimensions | 48.5 mm × 26.5 mm × 17.5 mm |
| Weight | ~45 g (Alkaline) |
| Operating Temperature | -20°C to 55°C |
| Shelf Life | 3–5 years (Alkaline) |
Pin Configuration
The 9-volt battery has two terminals located on the top of the battery:
| Terminal | Description |
|---|---|
| Positive (+) | Supplies the positive voltage (9V) |
| Negative (-) | Ground or return path |
The terminals are designed for snap connectors, making it easy to connect the battery to a circuit or device.
3. Usage Instructions
How to Use the 9-Volt Battery in a Circuit
- Identify the Terminals: Locate the positive (+) and negative (-) terminals on the battery.
- Connect to a Battery Snap Connector: Use a 9-volt battery snap connector to securely attach the battery to your circuit. The red wire corresponds to the positive terminal, and the black wire corresponds to the negative terminal.
- Integrate into the Circuit: Connect the red wire to the positive voltage rail of your circuit and the black wire to the ground rail.
- Check Polarity: Ensure the polarity is correct before powering the circuit to avoid damage to components.
Important Considerations and Best Practices
- Voltage Regulation: If your circuit requires a voltage lower than 9V, use a voltage regulator (e.g., LM7805 for 5V output).
- Current Draw: Ensure the total current draw of your circuit does not exceed the battery's capacity to avoid rapid depletion.
- Battery Life: Disconnect the battery when not in use to conserve energy.
- Avoid Short Circuits: Never short the terminals of the battery, as this can cause overheating or damage.
- Disposal: Dispose of used batteries responsibly, following local recycling guidelines.
4. Example: Using a 9-Volt Battery with an Arduino UNO
The 9-volt battery can be used to power an Arduino UNO via its Vin pin. Below is an example of how to connect the battery and a simple Arduino sketch to blink an LED.
Circuit Diagram
- Connect the red wire of the battery snap connector to the Vin pin of the Arduino.
- Connect the black wire of the battery snap connector to the GND pin of the Arduino.
- Connect an LED to pin 13 of the Arduino with a 220-ohm resistor in series.
Arduino Code
// Simple LED Blink Example
// This code blinks an LED connected to pin 13 of the Arduino UNO.
// Ensure the 9V battery is connected to the Arduino's Vin and GND pins.

void setup() {
  pinMode(13, OUTPUT); // Set pin 13 as an output pin
}

void loop() {
  digitalWrite(13, HIGH); // Turn the LED on
  delay(1000);            // Wait for 1 second
  digitalWrite(13, LOW);  // Turn the LED off
  delay(1000);            // Wait for 1 second
}
5. Troubleshooting and FAQs
Common Issues and Solutions
| Issue | Possible Cause | Solution |
|---|---|---|
| Device does not power on | Battery is depleted | Replace the battery with a new one. |
| Circuit not functioning properly | Incorrect polarity connection | Verify and correct the polarity. |
| Battery heats up during use | Excessive current draw or short circuit | Check for short circuits or reduce load. |
| Arduino resets intermittently | Insufficient current from the battery | Use a fresh battery or a higher-capacity power source. |
FAQs
Q1: Can I recharge a 9-volt battery?
A1: Only rechargeable 9-volt batteries (e.g., NiMH or Li-ion) can be recharged. Standard alkaline or zinc-carbon batteries are not rechargeable.
Q2: How long does a 9-volt battery last?
A2: Battery life depends on the device's current draw. For example, a 500 mAh alkaline battery powering a 10 mA device can last approximately 50 hours.
Q3: Can I use a 9-volt battery to power a 5V device?
A3: Yes, but you must use a voltage regulator (e.g., LM7805) to step down the voltage to 5V.
Q4: Is it safe to leave a 9-volt battery connected to a circuit?
A4: It is safe as long as the circuit is designed to handle the battery's voltage and current. However, disconnect the battery when not in use to prevent unnecessary drain.
This documentation provides a comprehensive guide to understanding, using, and troubleshooting a 9-volt battery. Whether you're a beginner or an experienced user, the 9-volt battery remains a reliable and essential power source for countless applications.
Explore Projects Built with 9v battery

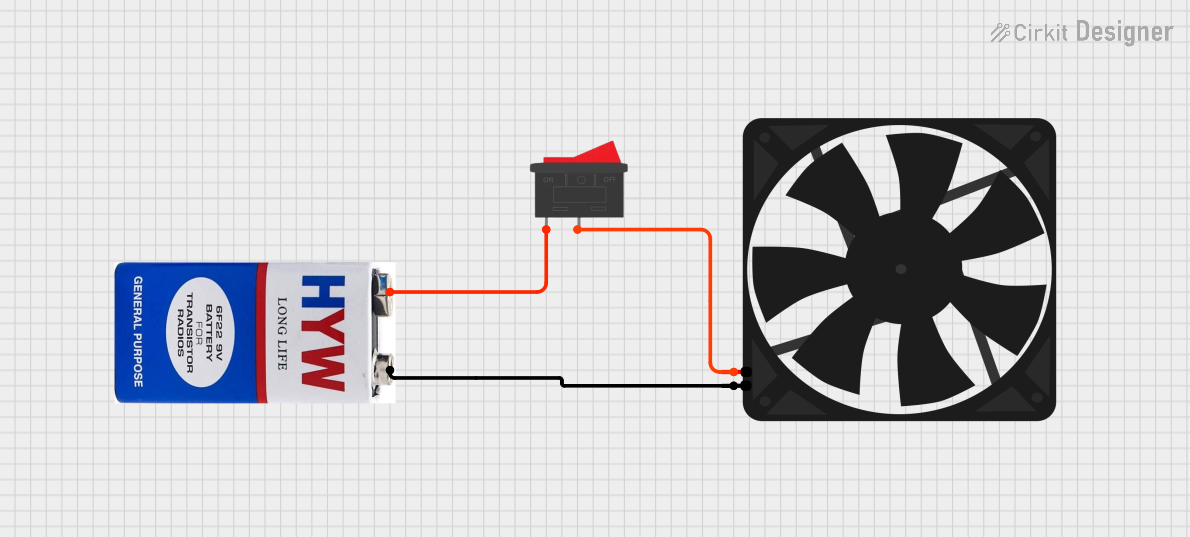
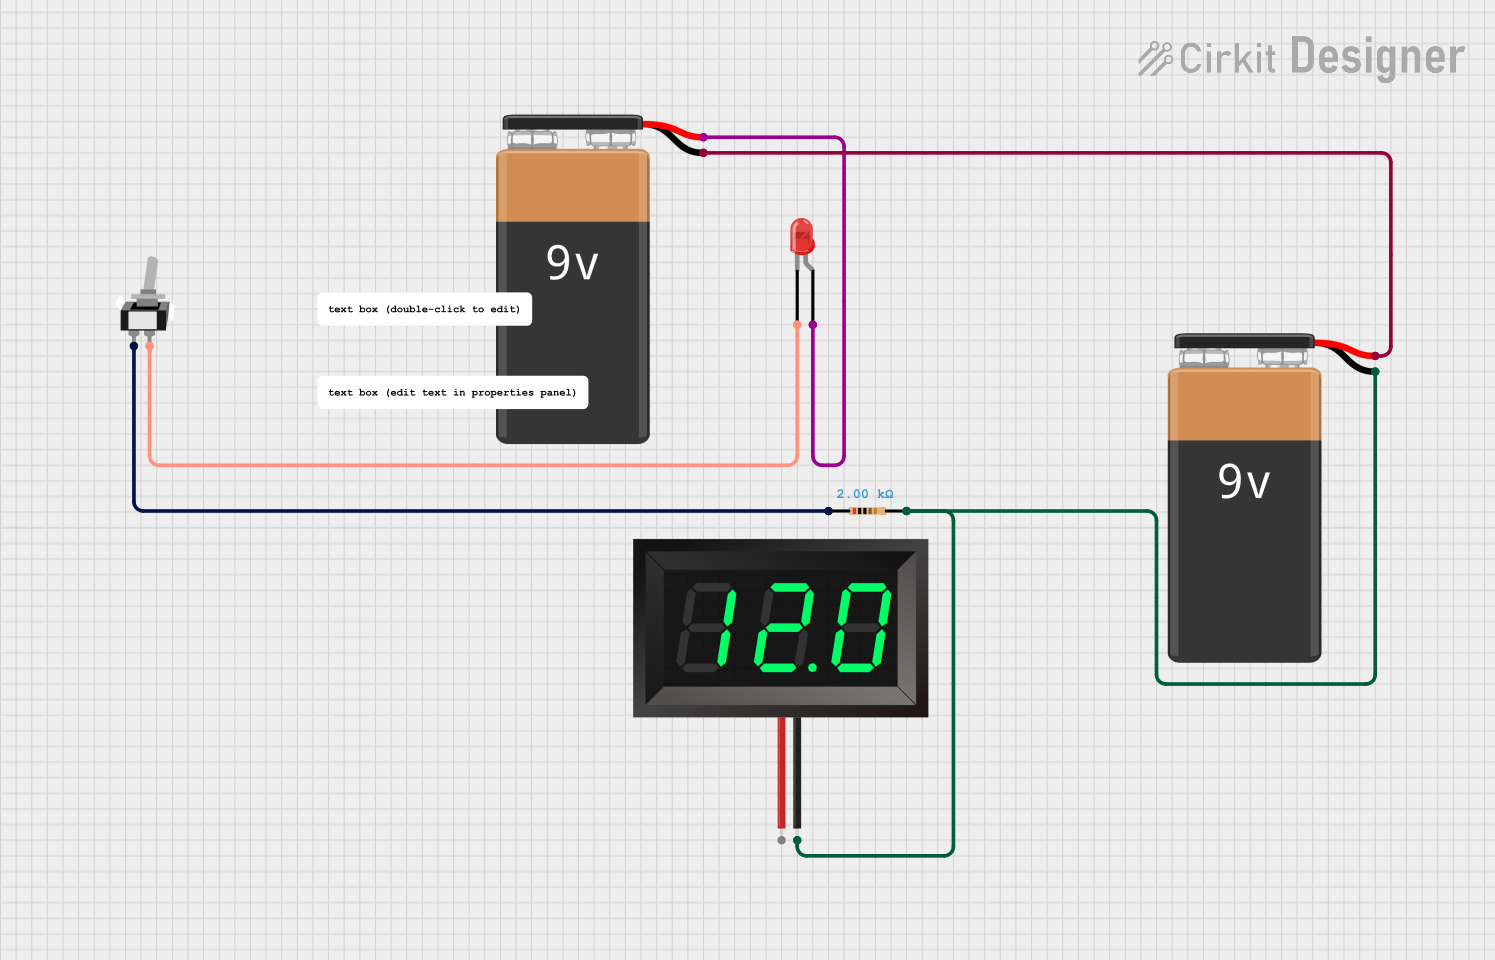
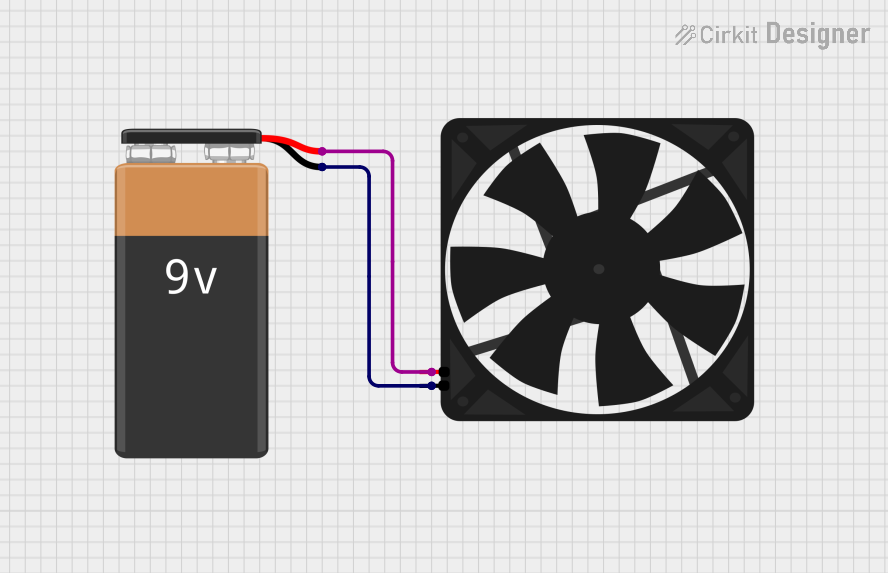
Explore Projects Built with 9v battery