The RioRand 350 W 6-60 V PWM DC motor controller is a versatile and efficient device designed for precise speed control of DC motors. It utilizes Pulse Width Modulation (PWM) technology to regulate motor speed while maintaining high efficiency and low power loss. This controller is ideal for applications requiring adjustable motor speeds, such as electric fans, conveyor belts, and robotics.
Explore Projects Built with RioRand 350 W 6-60 V PWM DC
Use Cirkit Designer to design, explore, and prototype these projects online. Some projects support real-time simulation. Click "Open Project" to start designing instantly!
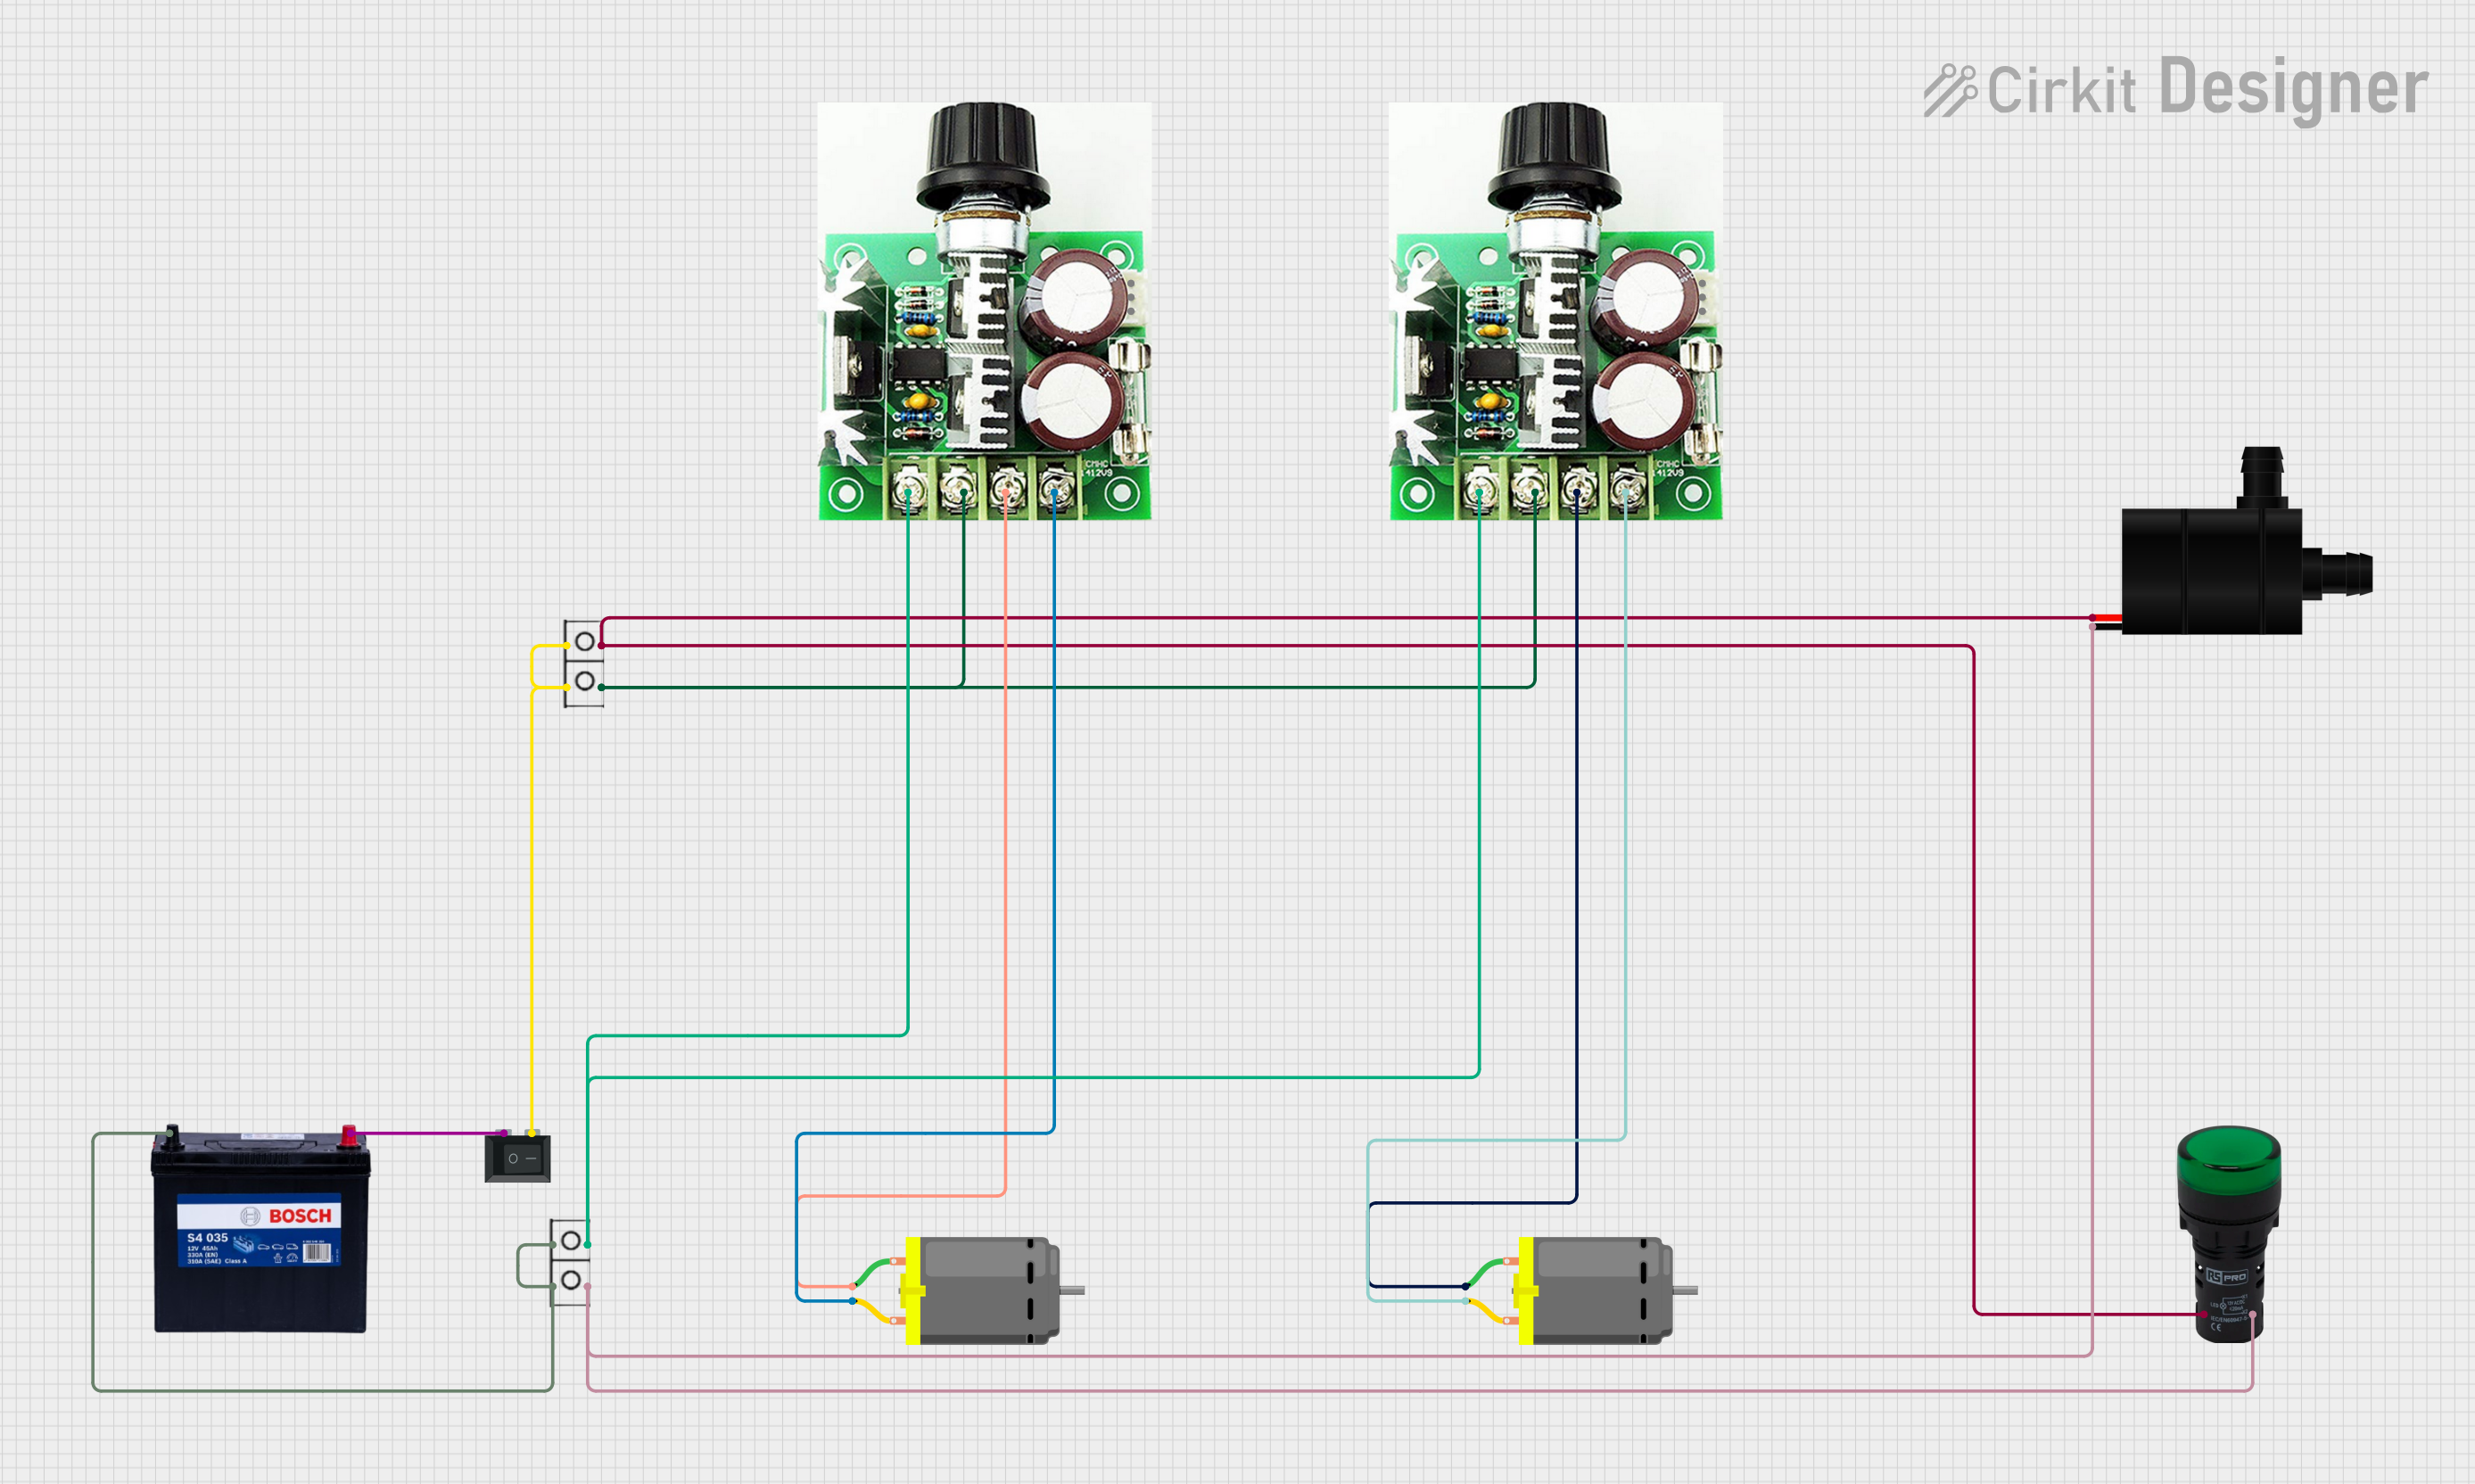
This circuit includes a 12V 200Ah battery that powers a water pump and two DC motors, each controlled by a separate 12v~40v 10A PWM DC motor speed controller. A rocker switch (SPST) is used to control the power flow to the water pump and a pilot lamp indicates when the pump is powered. The DC motors' speed can be adjusted by the PWM controllers, and wire connectors are used to organize the connections between components.
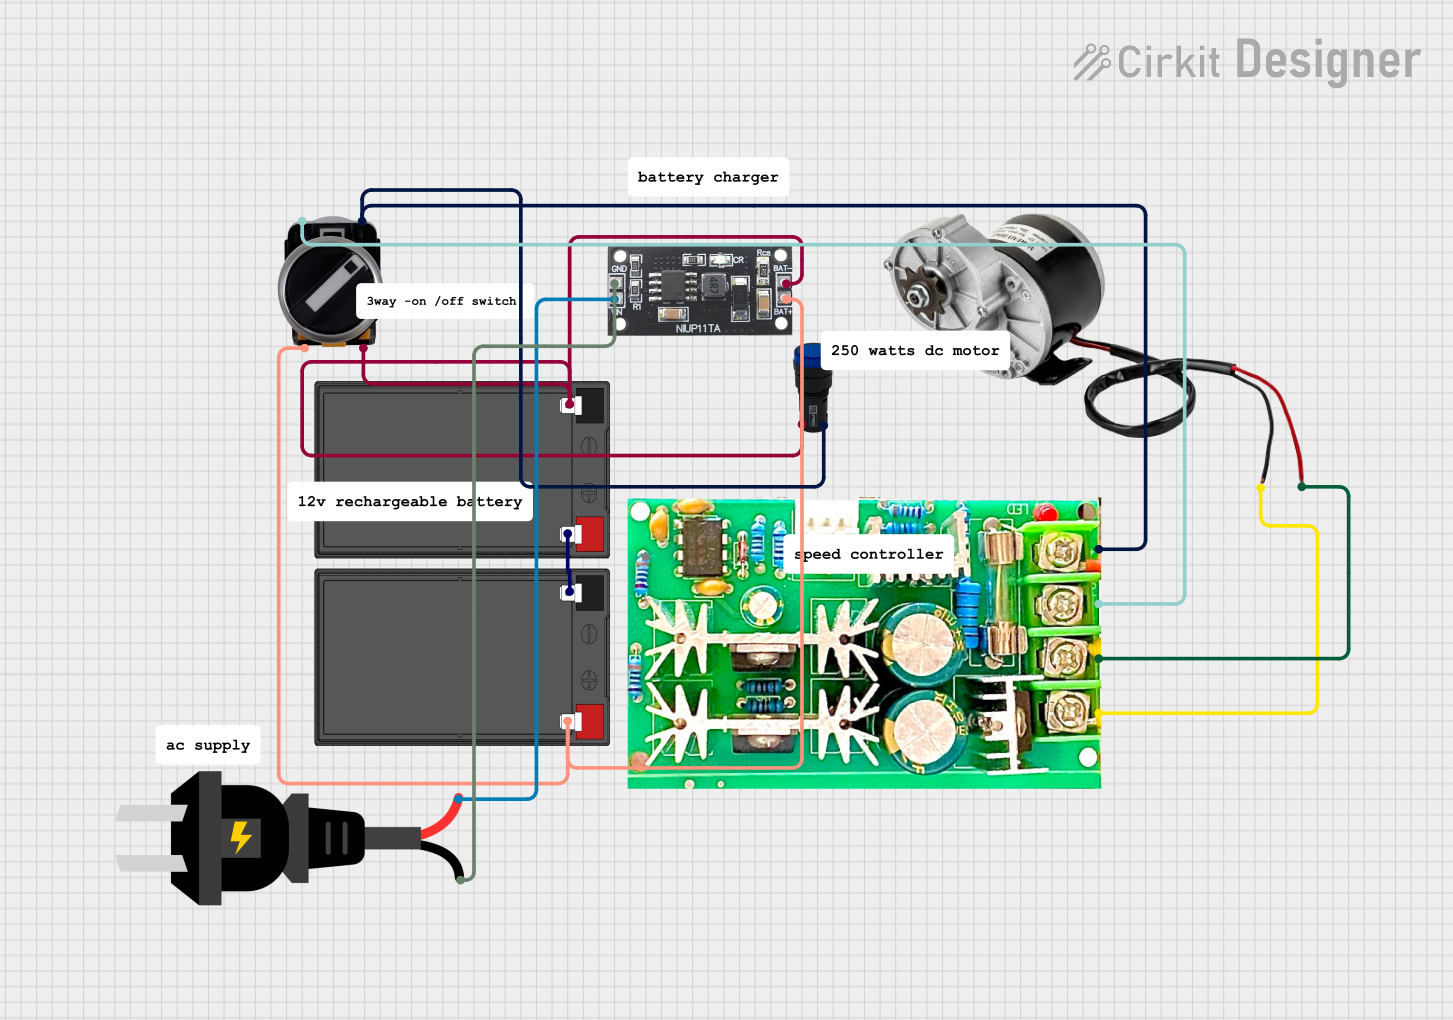
This circuit is a motor control system powered by two 12V batteries connected in series, with a 3-position switch to control a PWM motor speed controller. The system includes a pilot lamp for status indication and a NI-MH battery charger powered by an AC source.
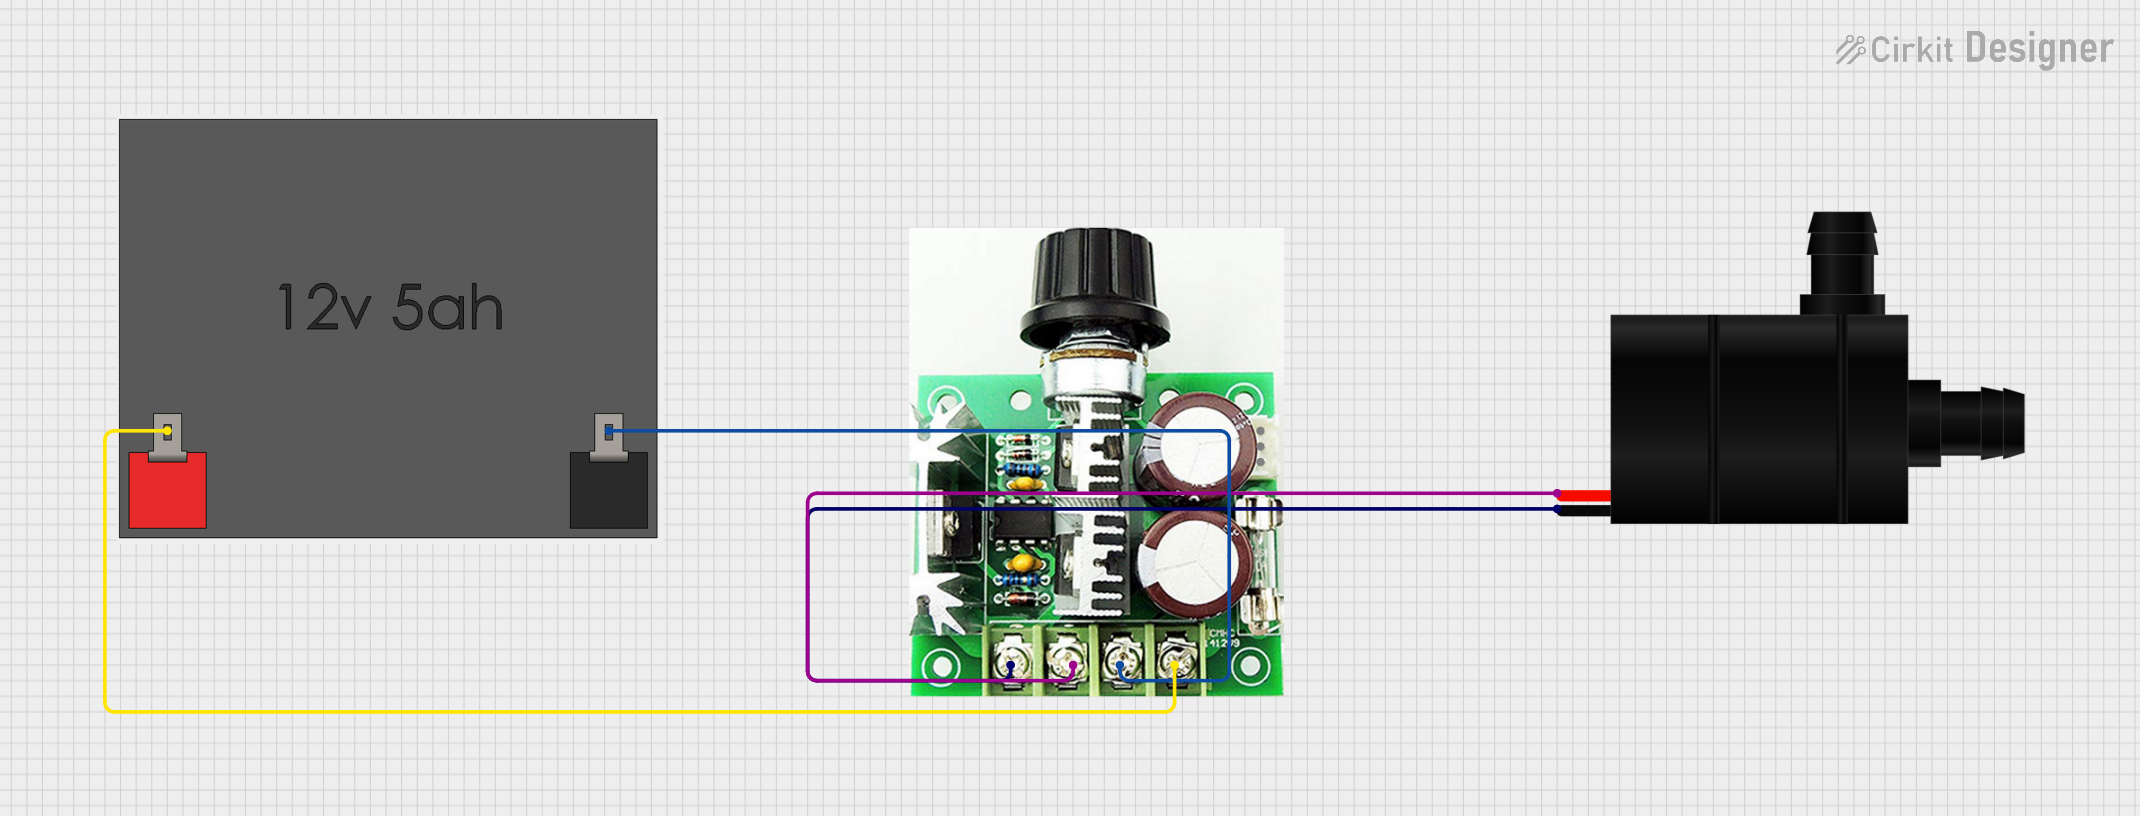
This circuit is designed to control the speed of a water pump using a PWM DC motor speed controller. The 12V5Ah battery provides power to the speed controller, which in turn regulates the power supplied to the water pump, allowing for adjustable flow rates. There is no microcontroller code provided, indicating that the speed control is likely adjusted manually via the PWM controller.
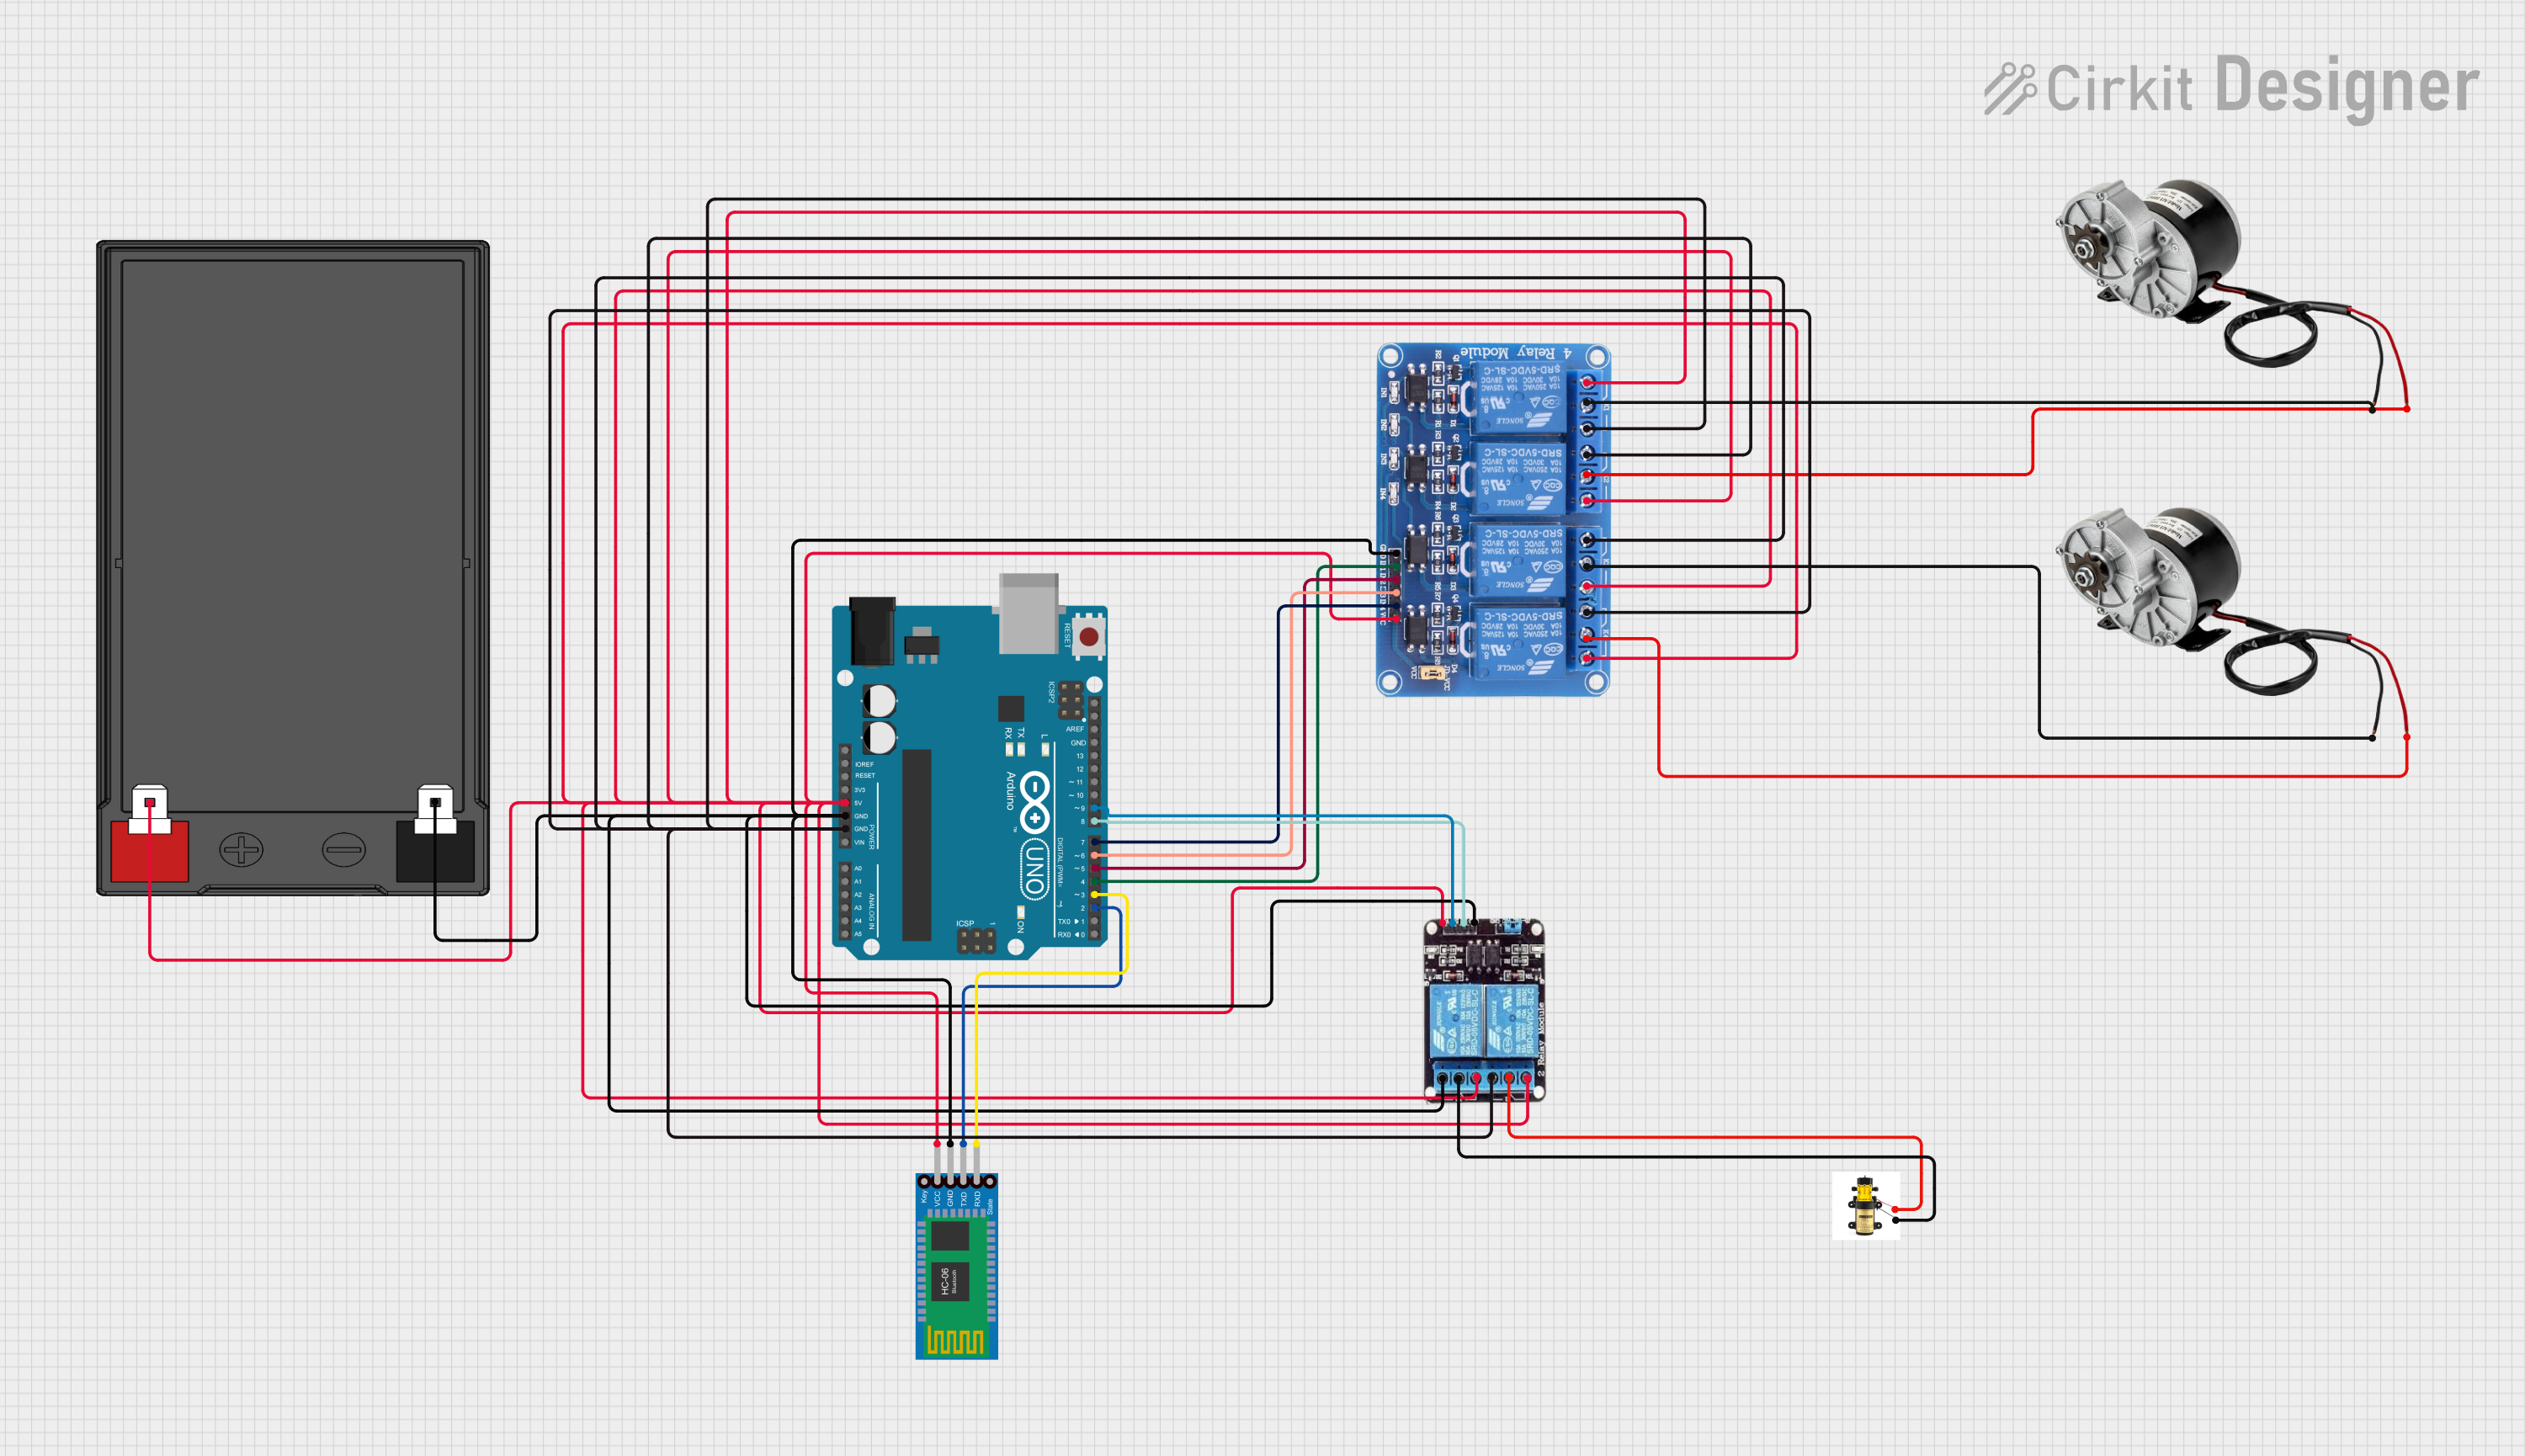
This circuit is designed to control a line maker robot with two DC motors for movement and a pump for line marking. It features an Arduino UNO microcontroller for logic control, interfaced with a Bluetooth HC-06 module for wireless communication, and uses relays to switch the high-power components. The Arduino can operate in manual mode with button inputs or semi-automatic mode, receiving commands via Bluetooth to control the motors and pump.
Speed control for DC motors in industrial and hobbyist projects
Robotics and automation systems
Electric fans, pumps, and conveyor belts
Adjustable lighting systems (dimming control for LEDs)
DIY electronics projects requiring motor speed regulation
Technical Specifications
The RioRand 350 W 6-60 V PWM DC motor controller is designed to handle a wide range of DC motor applications. Below are its key technical details:
Key Technical Details
Parameter
Specification
Input Voltage Range
6 V to 60 V DC
Maximum Power Output
350 W
Maximum Current
20 A
Control Method
Pulse Width Modulation (PWM)
PWM Frequency
15 kHz
Speed Adjustment Range
0% to 100%
Operating Temperature
-20°C to 40°C
Dimensions
60 mm x 55 mm x 28 mm
Weight
70 g
Pin Configuration and Descriptions
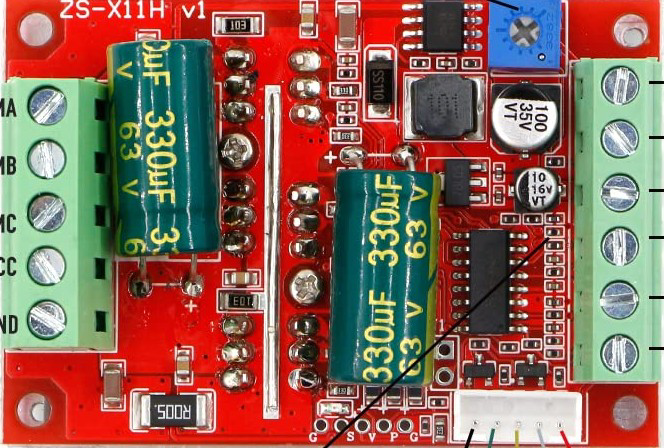
The RioRand PWM DC motor controller has a simple interface for connecting power, motor, and control inputs. Below is the pin configuration:
Pin Name
Description
VIN+
Positive input voltage (6 V to 60 V DC)
VIN-
Negative input voltage (ground)
MOTOR+
Positive terminal for the DC motor
MOTOR-
Negative terminal for the DC motor
Potentiometer
External knob for speed adjustment (0% to 100%)
Usage Instructions
How to Use the Component in a Circuit
Connect the Power Supply:
Attach the positive terminal of your DC power supply to the VIN+ pin.
Connect the negative terminal of your DC power supply to the VIN- pin.
Ensure the input voltage is within the range of 6 V to 60 V DC.
Connect the DC Motor:
Connect the positive terminal of the DC motor to the MOTOR+ pin.
Connect the negative terminal of the DC motor to the MOTOR- pin.
Adjust the Speed:
Use the external potentiometer knob to adjust the motor speed. Turning the knob clockwise increases the speed, while turning it counterclockwise decreases the speed.
Power On:
Once all connections are secure, power on the circuit. The motor speed can now be controlled using the potentiometer.
Important Considerations and Best Practices
Voltage Compatibility: Ensure the input voltage matches the motor's operating voltage and stays within the controller's 6 V to 60 V range.
Current Limitations: Do not exceed the maximum current rating of 20 A to avoid damaging the controller.
Heat Dissipation: For prolonged use at high power, ensure proper ventilation or use a heatsink to prevent overheating.
Polarity: Double-check the polarity of all connections to avoid short circuits or damage to the controller.
Load Testing: Test the motor with a light load before full operation to ensure proper functionality.
Example: Connecting to an Arduino UNO
The RioRand PWM DC motor controller can be used with an Arduino UNO for automated motor control. Below is an example code snippet to control motor speed using a PWM signal from the Arduino:
// Example: Controlling RioRand PWM DC motor controller with Arduino UNO
// Connect Arduino PWM pin (e.g., D9) to the potentiometer input of the controller

const int pwmPin = 9; // PWM output pin connected to the controller

void setup() {
  pinMode(pwmPin, OUTPUT); // Set the PWM pin as an output
}

void loop() {
  for (int speed = 0; speed <= 255; speed++) {
    analogWrite(pwmPin, speed); // Gradually increase motor speed
    delay(20); // Wait 20 ms for smooth acceleration
  }
  delay(1000); // Hold at full speed for 1 second

  for (int speed = 255; speed >= 0; speed--) {
    analogWrite(pwmPin, speed); // Gradually decrease motor speed
    delay(20); // Wait 20 ms for smooth deceleration
  }
  delay(1000); // Hold at zero speed for 1 second
}
Troubleshooting and FAQs
Common Issues and Solutions
Motor Does Not Start:
Cause: Incorrect wiring or insufficient input voltage.
Solution: Verify all connections and ensure the input voltage is within the specified range.
Motor Runs at Full Speed Only:
Cause: Faulty potentiometer or incorrect PWM signal.
Solution: Check the potentiometer connection or verify the PWM signal from the Arduino.
Controller Overheats:
Cause: Prolonged operation at high current without proper cooling.
Solution: Add a heatsink or improve ventilation around the controller.
Motor Speed is Unstable:
Cause: Electrical noise or loose connections.
Solution: Use proper shielding for wires and ensure all connections are secure.
FAQs
Can I use this controller with a 12 V motor?
Yes, the controller supports a wide voltage range (6 V to 60 V), including 12 V motors.
What type of potentiometer is used?
The controller comes with a pre-installed potentiometer for speed adjustment.
Can I control the motor speed programmatically?
Yes, you can use a microcontroller like Arduino to send a PWM signal to the controller.
Is reverse motor direction supported?
No, this controller does not support reversing motor direction. You will need an H-bridge circuit for that functionality.

 Open Project in Cirkit Designer