
How to Use XBEE-1: Examples, Pinouts, and Specs

 Design with XBEE-1 in Cirkit Designer
Introduction
The XBEE-1 is a wireless communication module designed to facilitate short-range communication using the Zigbee protocol. It is widely used in Internet of Things (IoT) applications due to its low power consumption, robust communication capabilities, and ease of integration into various systems. The module is ideal for creating wireless sensor networks, home automation systems, and industrial monitoring solutions.
Explore Projects Built with XBEE-1
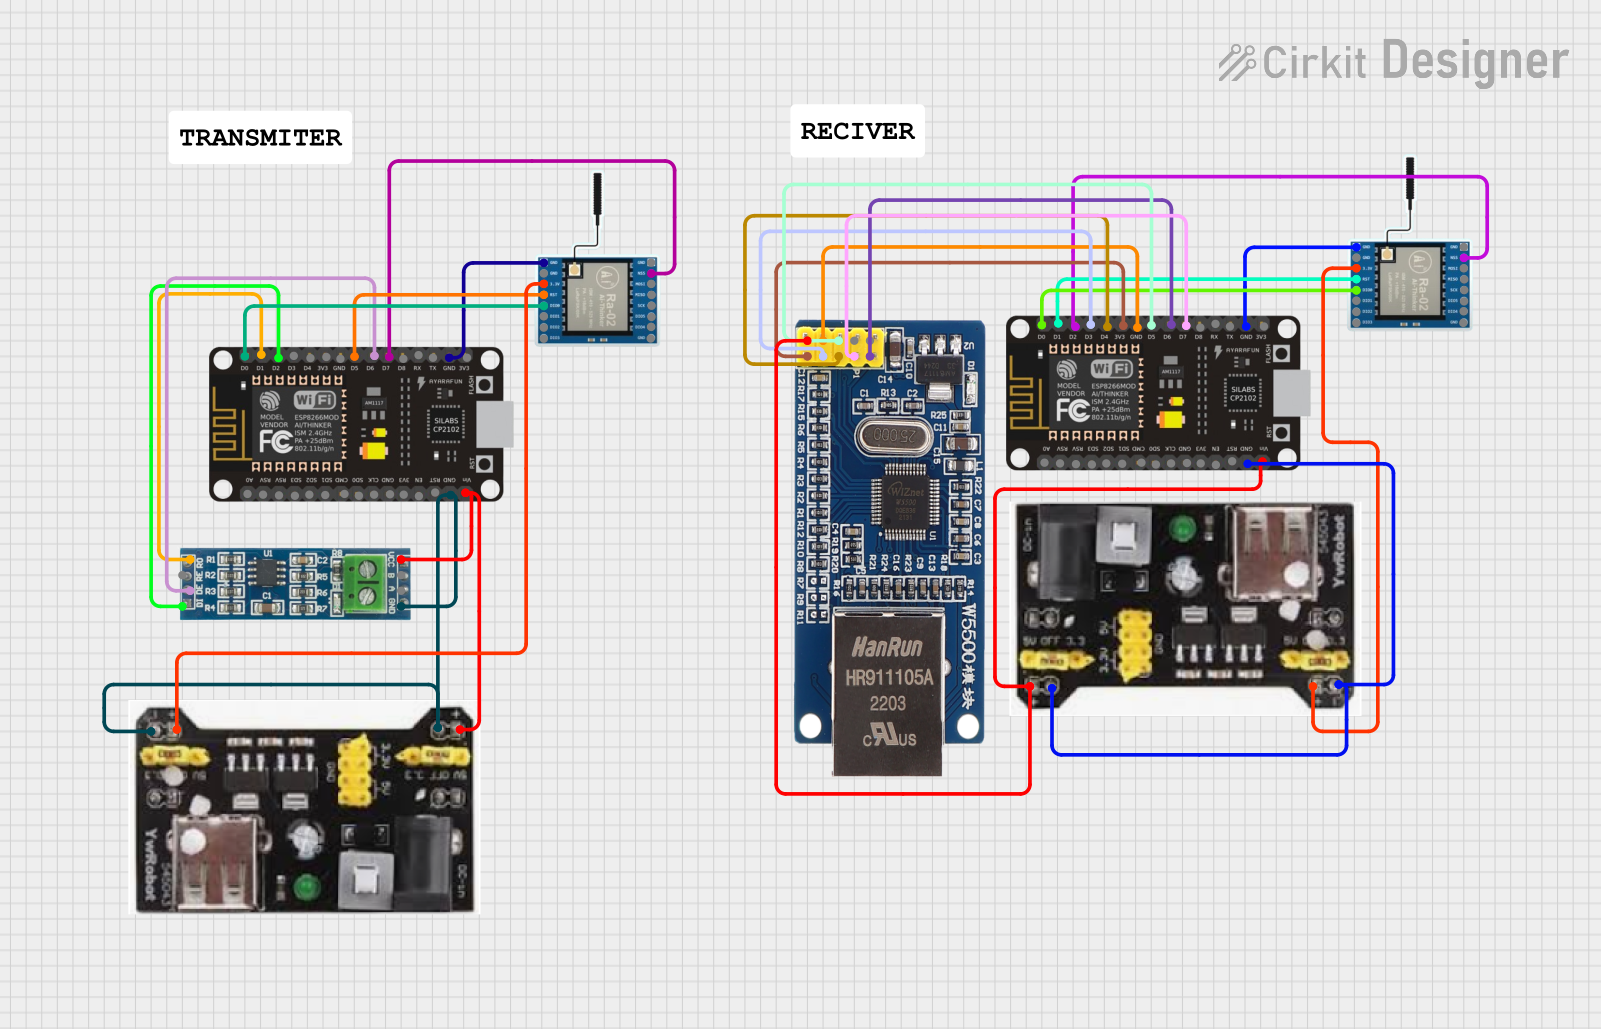 Open Project in Cirkit Designer
 Open Project in Cirkit Designer
 Open Project in Cirkit Designer
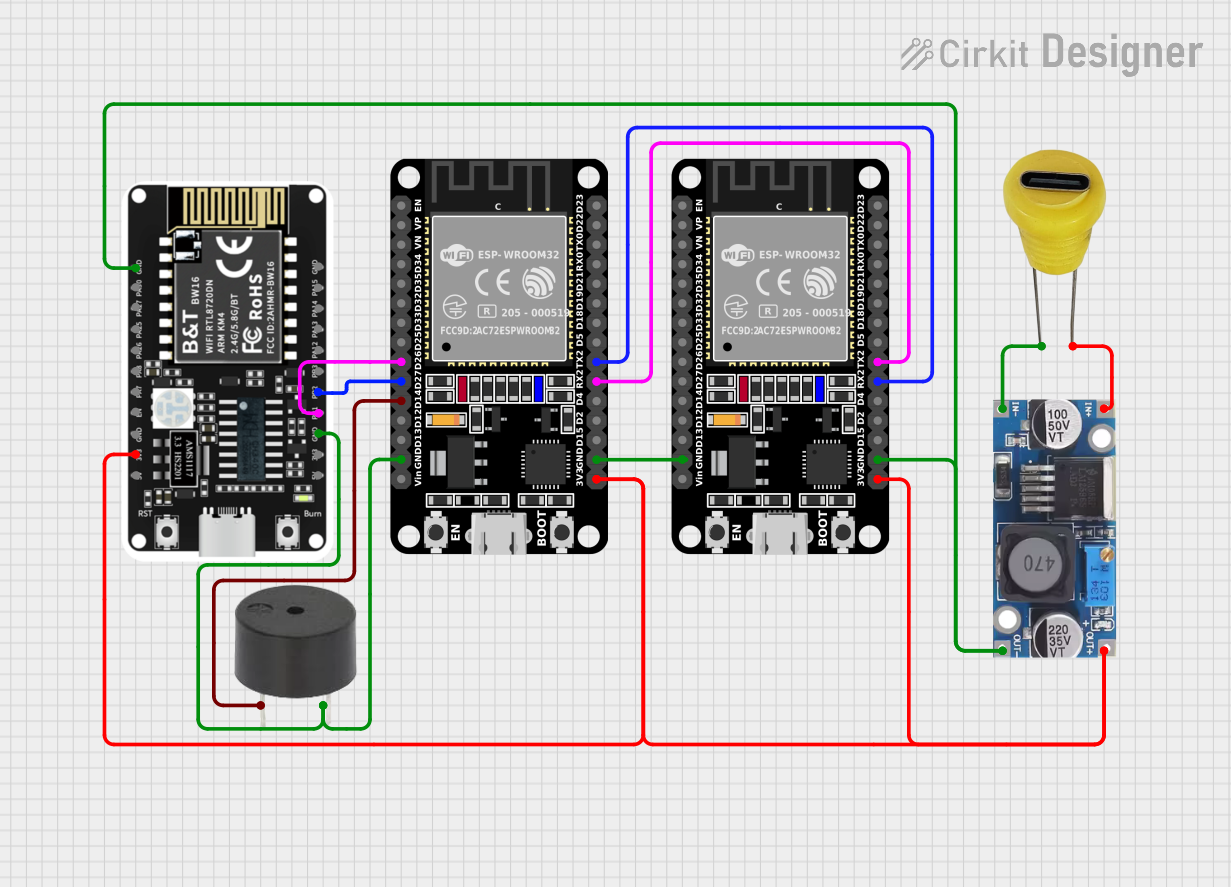 Open Project in Cirkit Designer
Explore Projects Built with XBEE-1
Open Project in Cirkit DesignerOpen Project in Cirkit DesignerOpen Project in Cirkit DesignerOpen Project in Cirkit DesignerCommon Applications
- Wireless sensor networks
- Home automation and smart devices
- Industrial monitoring and control systems
- Remote data collection
- Robotics and drone communication
Technical Specifications
Key Technical Details
| Parameter | Value |
|---|---|
| Communication Protocol | Zigbee (IEEE 802.15.4) |
| Operating Voltage | 2.8V to 3.3V |
| Transmit Power | 1 mW (0 dBm) |
| Data Rate | Up to 250 kbps |
| Frequency Band | 2.4 GHz ISM |
| Range | Up to 100 meters (indoor) |
| Power Consumption | 45 mA (transmit), 50 µA (sleep) |
| Operating Temperature | -40°C to +85°C |
| Dimensions | 24.38 mm x 27.61 mm x 2.79 mm |
Pin Configuration and Descriptions
The XBEE-1 module has a 20-pin configuration. Below is the pinout and description:
| Pin Number | Pin Name | Description |
|---|---|---|
| 1 | VCC | Power supply input (2.8V to 3.3V). |
| 2 | DOUT | UART Data Out. Transmits serial data to the host microcontroller. |
| 3 | DIN | UART Data In. Receives serial data from the host microcontroller. |
| 4 | DIO12 | Digital I/O pin 12. Configurable as input or output. |
| 5 | RESET | Reset pin. Active low. Resets the module when pulled low. |
| 6 | RSSI | Signal strength indicator. Outputs PWM signal proportional to RSSI. |
| 7 | DIO10 | Digital I/O pin 10. Configurable as input or output. |
| 8 | GND | Ground. Connect to the system ground. |
| 9 | DIO11 | Digital I/O pin 11. Configurable as input or output. |
| 10 | DIO9 | Digital I/O pin 9. Configurable as input or output. |
| 11 | DIO8 | Digital I/O pin 8. Configurable as input or output. |
| 12 | DIO7 | Digital I/O pin 7. Configurable as input or output. |
| 13 | DIO6 | Digital I/O pin 6. Configurable as input or output. |
| 14 | DIO5 | Digital I/O pin 5. Configurable as input or output. |
| 15 | DIO4 | Digital I/O pin 4. Configurable as input or output. |
| 16 | DIO3 | Digital I/O pin 3. Configurable as input or output. |
| 17 | DIO2 | Digital I/O pin 2. Configurable as input or output. |
| 18 | DIO1 | Digital I/O pin 1. Configurable as input or output. |
| 19 | DIO0 | Digital I/O pin 0. Configurable as input or output. |
| 20 | NC | Not connected. Leave unconnected. |
Usage Instructions
How to Use the XBEE-1 in a Circuit
- Power Supply: Connect the VCC pin to a regulated 3.3V power source and the GND pin to the system ground.
- UART Communication: Connect the DOUT pin to the RX pin of your microcontroller and the DIN pin to the TX pin of your microcontroller.
- Reset: Optionally, connect the RESET pin to a GPIO pin on your microcontroller for manual or software-controlled resets.
- Antenna: Ensure the module has a proper antenna for optimal communication range.
- Configuration: Use XCTU software or AT commands to configure the XBEE-1 module for your specific application (e.g., setting PAN ID, baud rate, etc.).
Important Considerations
- Voltage Levels: Ensure all connected devices operate at 3.3V logic levels to avoid damaging the module.
- Antenna Placement: Place the antenna in an open area, away from metal objects, to maximize signal strength.
- Sleep Mode: Use the sleep mode feature to reduce power consumption in battery-powered applications.
- Firmware Updates: Keep the module's firmware updated for improved performance and bug fixes.
Example: Connecting XBEE-1 to Arduino UNO
Below is an example of how to connect the XBEE-1 to an Arduino UNO and send data wirelessly.
Wiring Diagram
| XBEE-1 Pin | Arduino UNO Pin |
|---|---|
| VCC | 3.3V |
| GND | GND |
| DOUT | RX (Pin 0) |
| DIN | TX (Pin 1) |
Arduino Code
#include <SoftwareSerial.h>

// Define RX and TX pins for SoftwareSerial
SoftwareSerial XBee(2, 3); // RX = Pin 2, TX = Pin 3

void setup() {
  Serial.begin(9600); // Start Serial Monitor at 9600 baud
  XBee.begin(9600);   // Start communication with XBEE-1 at 9600 baud

  Serial.println("XBEE-1 Communication Initialized");
}

void loop() {
  // Send data to XBEE-1
  XBee.println("Hello, XBEE-1!");

  // Check if data is received from XBEE-1
  if (XBee.available()) {
    String receivedData = XBee.readString();
    Serial.print("Received: ");
    Serial.println(receivedData);
  }

  delay(1000); // Wait for 1 second
}
Troubleshooting and FAQs
Common Issues and Solutions
No Communication Between Devices
- Ensure the XBEE-1 modules are configured with the same PAN ID and channel.
- Verify the baud rate settings match between the XBEE-1 and the microcontroller.
Short Communication Range
- Check the antenna connection and placement.
- Avoid obstacles and interference from other 2.4 GHz devices.
Module Not Responding
- Verify the power supply voltage is within the specified range (2.8V to 3.3V).
- Check the RESET pin connection and ensure it is not held low.
Data Corruption
- Use proper shielding and grounding to minimize noise.
- Ensure the UART baud rate is correctly configured.
FAQs
Q: Can the XBEE-1 communicate with non-Zigbee devices?
A: No, the XBEE-1 is designed to communicate using the Zigbee protocol and is not compatible with non-Zigbee devices.
Q: How do I update the firmware on the XBEE-1?
A: Use the XCTU software provided by Digi International to update the firmware via a USB-to-serial adapter.
Q: Can I use the XBEE-1 with a 5V microcontroller?
A: Yes, but you must use a level shifter or voltage divider to convert the 5V logic levels to 3.3V.
Q: What is the maximum number of devices in a Zigbee network?
A: A Zigbee network can support up to 65,000 devices, depending on the network configuration.