
How to Use NPK Soil Sensor: Examples, Pinouts, and Specs
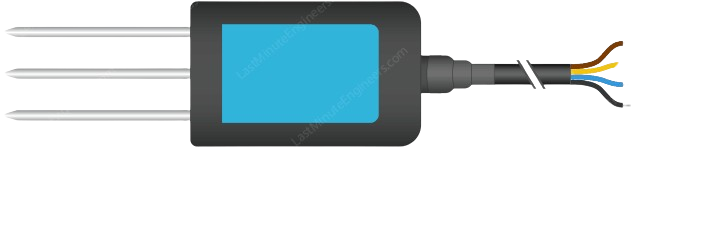
 Design with NPK Soil Sensor in Cirkit Designer
Introduction
The NPK Soil Sensor (Manufacturer Part ID: npk_soil_sensor) is a device designed to measure the levels of nitrogen (N), phosphorus (P), and potassium (K) in the soil. These three nutrients are critical for plant growth and soil fertility. By providing real-time data on soil nutrient levels, this sensor helps farmers, gardeners, and researchers optimize fertilization strategies, improve crop yields, and maintain sustainable agricultural practices.
Explore Projects Built with NPK Soil Sensor
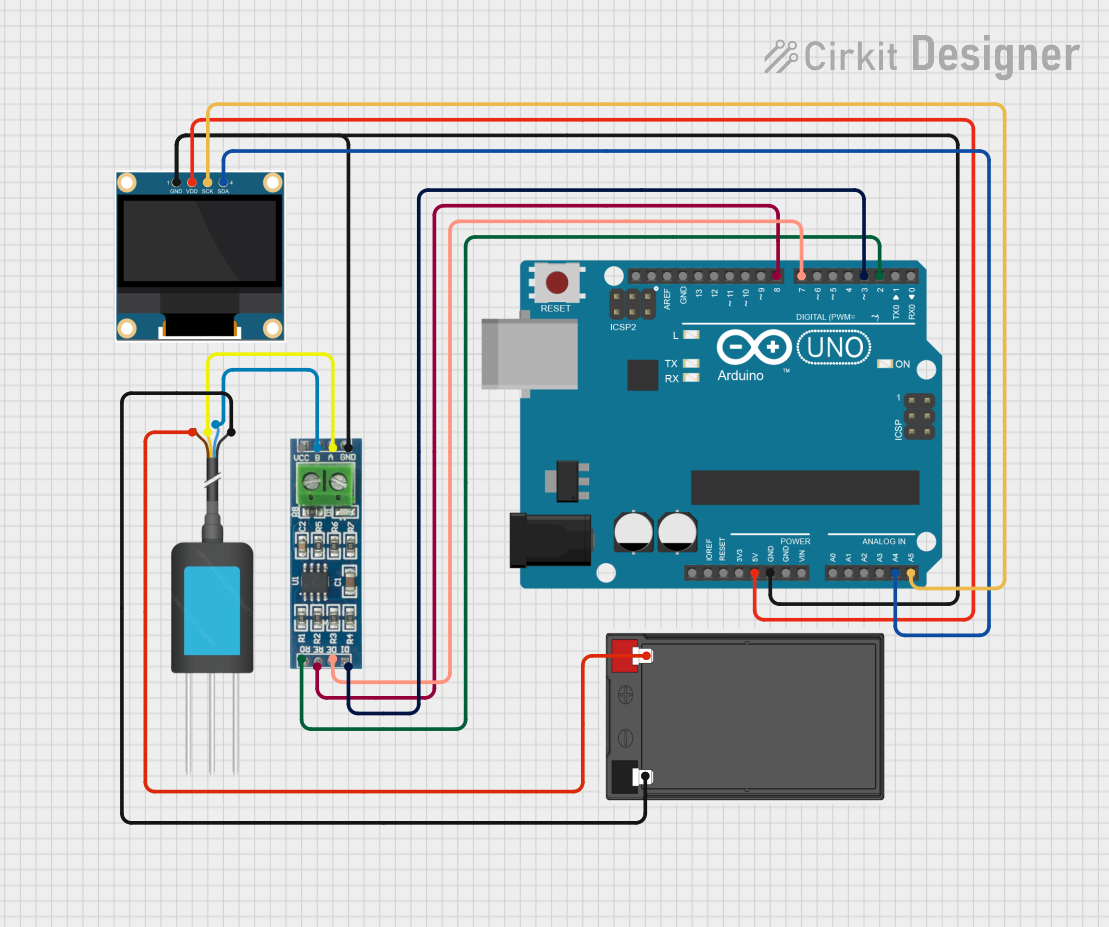 Open Project in Cirkit Designer
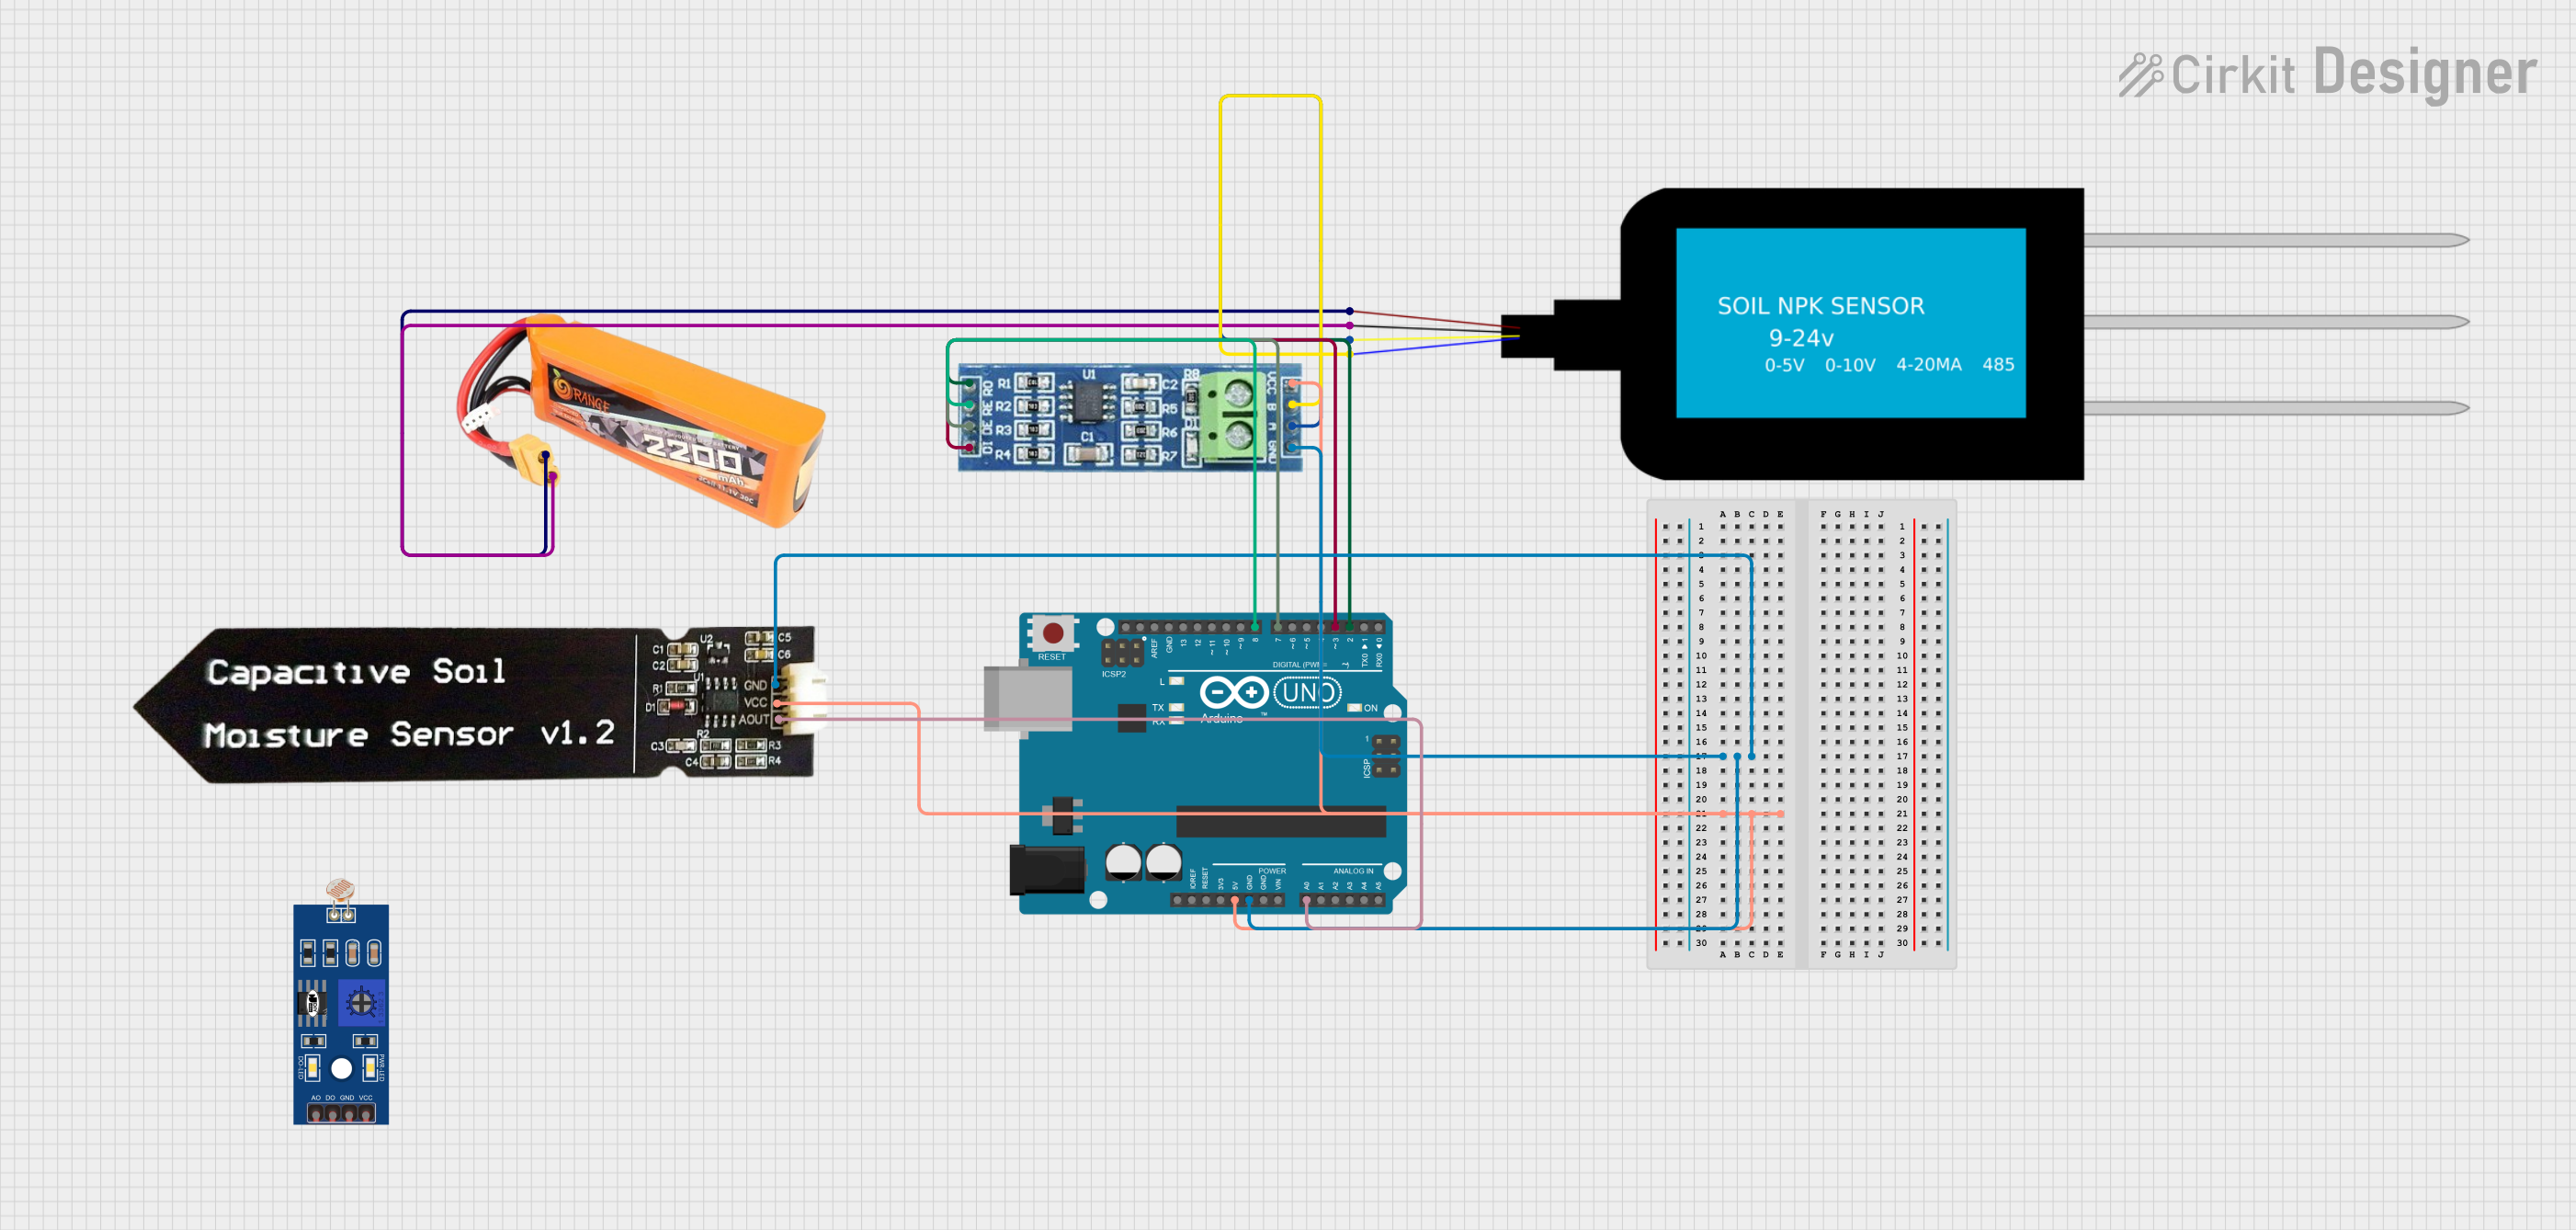 Open Project in Cirkit Designer
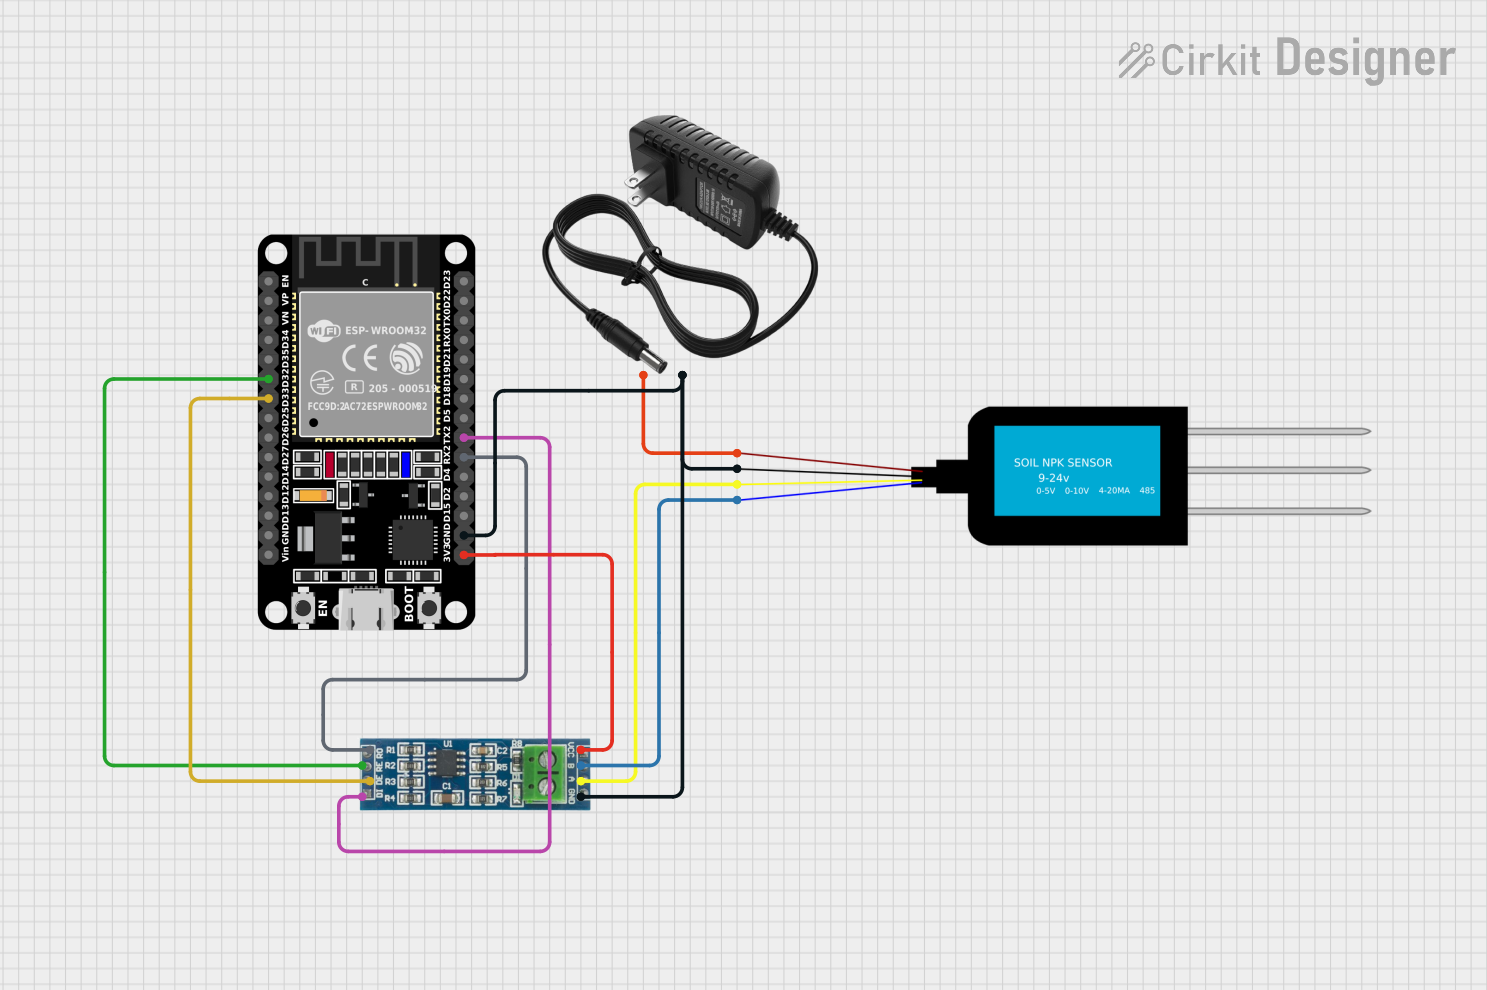 Open Project in Cirkit Designer
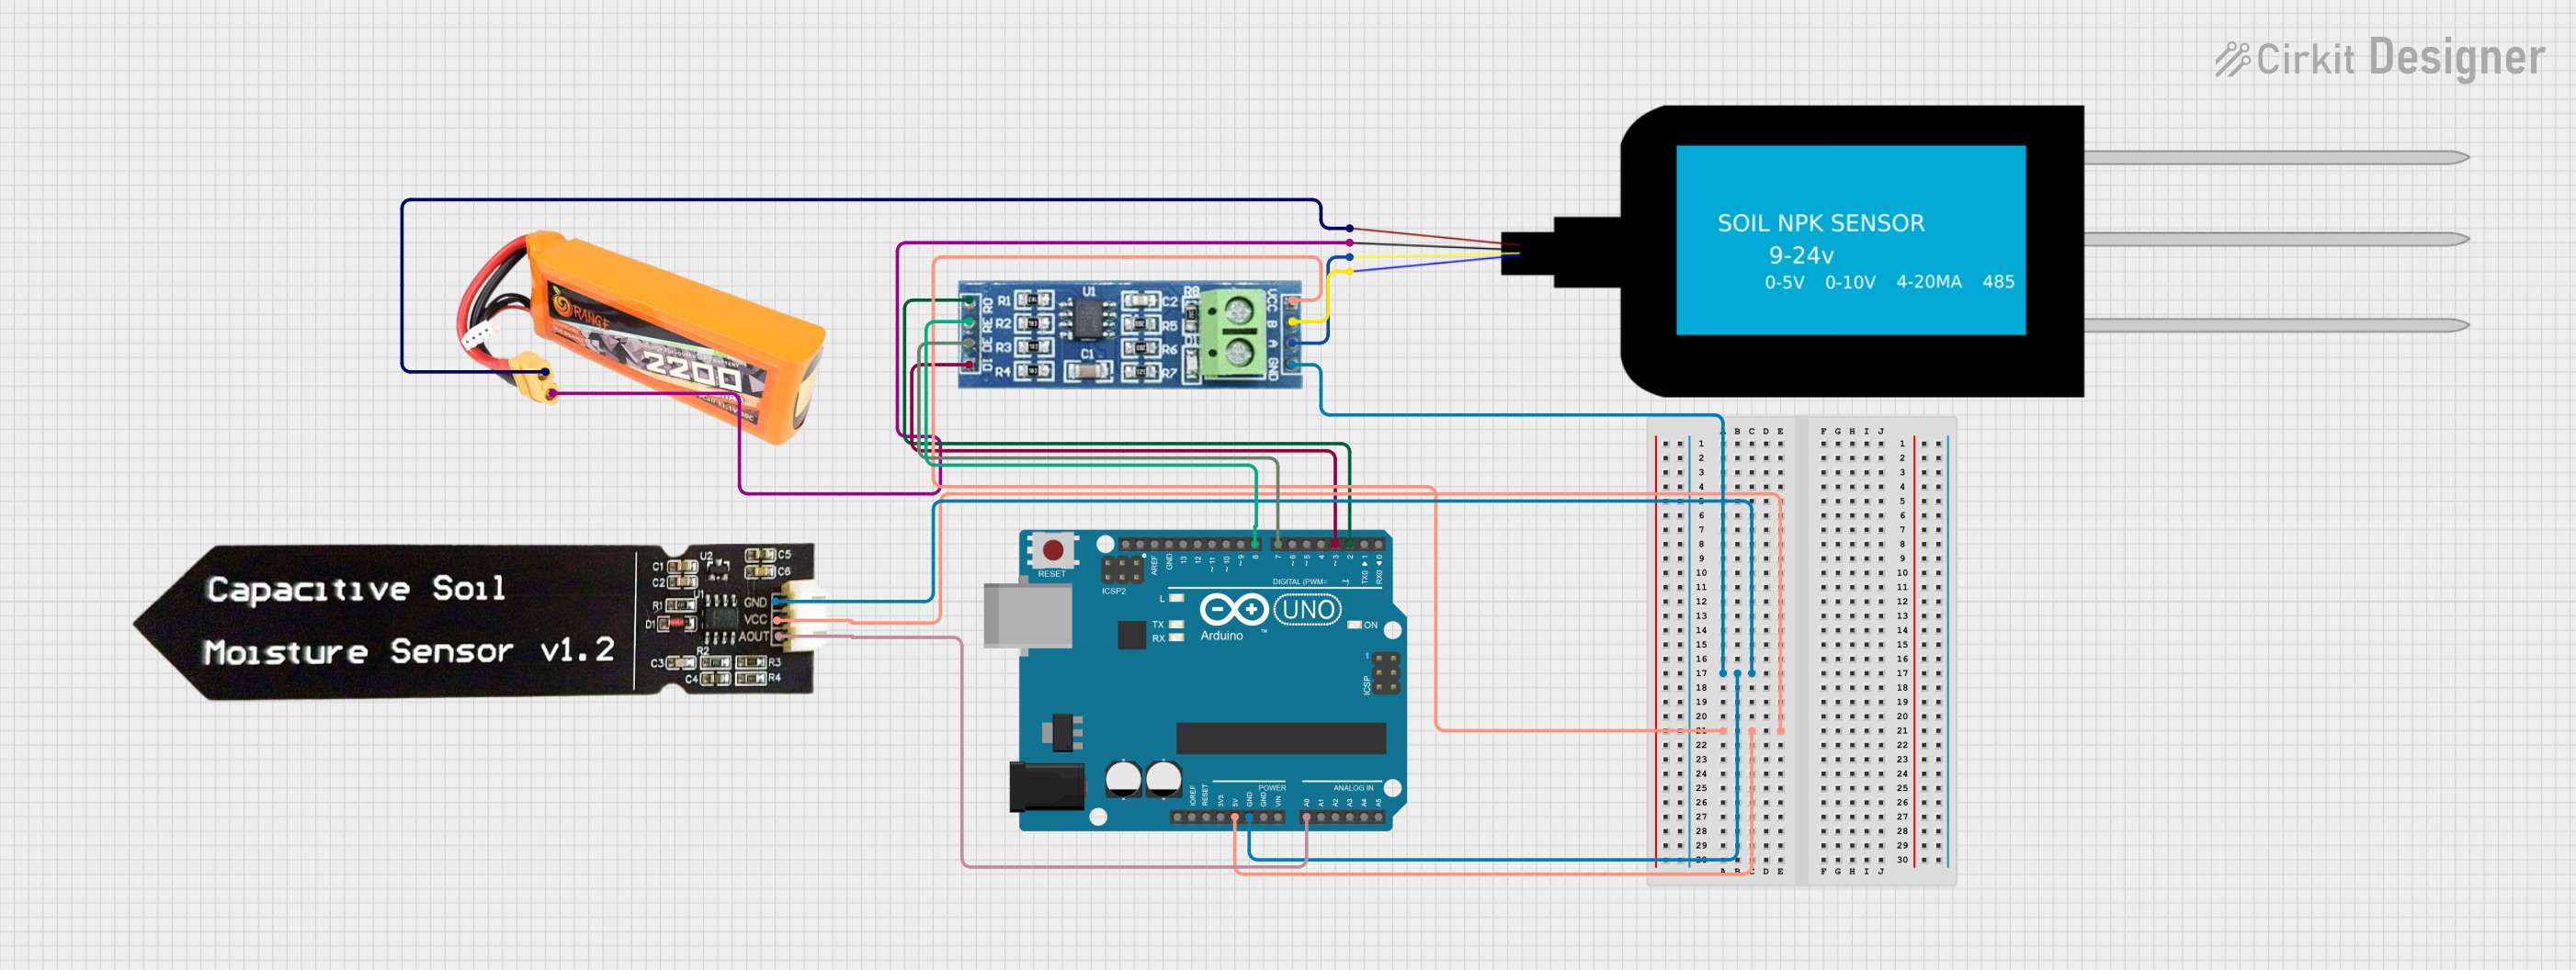 Open Project in Cirkit Designer
Explore Projects Built with NPK Soil Sensor
Open Project in Cirkit DesignerOpen Project in Cirkit DesignerOpen Project in Cirkit DesignerOpen Project in Cirkit DesignerCommon Applications and Use Cases
- Precision agriculture for monitoring soil fertility.
- Gardening and horticulture to optimize plant growth.
- Soil analysis in research and educational projects.
- Automated irrigation and fertilization systems.
- Environmental monitoring and soil health assessment.
Technical Specifications
The following table outlines the key technical details of the NPK Soil Sensor:
| Parameter | Specification |
|---|---|
| Operating Voltage | 5V DC |
| Operating Current | ≤ 50mA |
| Measurement Range | 0–1999 mg/kg (for N, P, and K) |
| Output Signal | Analog voltage (0–3.3V) |
| Response Time | ≤ 2 seconds |
| Operating Temperature | -20°C to 60°C |
| Humidity Range | 5%–95% RH (non-condensing) |
| Sensor Lifespan | ≥ 1 year (depending on usage) |
Pin Configuration and Descriptions
The NPK Soil Sensor has a 4-pin interface. The pin configuration is as follows:
| Pin | Name | Description |
|---|---|---|
| 1 | VCC | Power supply input (5V DC) |
| 2 | GND | Ground connection |
| 3 | AOUT | Analog output signal representing NPK levels |
| 4 | DOUT | Digital output (optional, for threshold detection) |
Usage Instructions
How to Use the Component in a Circuit
- Power the Sensor: Connect the
VCCpin to a 5V DC power source and theGNDpin to ground. - Connect the Output:
- For analog readings, connect the
AOUTpin to an analog input pin on your microcontroller (e.g., Arduino). - Optionally, use the
DOUTpin for digital threshold-based detection.
- For analog readings, connect the
- Insert the Sensor: Place the sensor probes into the soil at the desired depth. Ensure the probes are clean and free of debris for accurate readings.
- Read the Data: Use an analog-to-digital converter (ADC) on your microcontroller to interpret the voltage signal from the
AOUTpin. The voltage corresponds to the concentration of nitrogen, phosphorus, and potassium in the soil.
Important Considerations and Best Practices
- Calibration: Calibrate the sensor periodically using known soil samples to ensure accurate readings.
- Placement: Avoid placing the sensor in rocky or overly compacted soil, as this may damage the probes.
- Cleaning: Clean the probes with a soft cloth after each use to prevent residue buildup.
- Power Supply: Use a stable 5V DC power source to avoid fluctuations in readings.
- Environmental Conditions: Do not expose the sensor to extreme temperatures or prolonged moisture to extend its lifespan.
Example Code for Arduino UNO
Below is an example of how to interface the NPK Soil Sensor with an Arduino UNO to read analog values:
// Define the analog pin connected to the AOUT pin of the NPK Soil Sensor
const int npkSensorPin = A0;

void setup() {
  Serial.begin(9600); // Initialize serial communication at 9600 baud
  pinMode(npkSensorPin, INPUT); // Set the sensor pin as input
}

void loop() {
  // Read the analog value from the sensor
  int sensorValue = analogRead(npkSensorPin);

  // Convert the analog value to voltage (assuming a 5V reference)
  float voltage = sensorValue * (5.0 / 1023.0);

  // Print the raw sensor value and voltage to the Serial Monitor
  Serial.print("Sensor Value: ");
  Serial.print(sensorValue);
  Serial.print(" | Voltage: ");
  Serial.println(voltage);

  // Add a delay to avoid flooding the Serial Monitor
  delay(1000);
}
Notes on the Code
- The
analogRead()function reads the raw sensor value (0–1023) from the analog pin. - The voltage is calculated based on a 5V reference. Adjust this if using a different reference voltage.
- Use the voltage readings to interpret NPK levels based on the sensor's calibration data.
Troubleshooting and FAQs
Common Issues and Solutions
No Output Signal:
- Ensure the sensor is powered correctly (5V to
VCCand ground toGND). - Check all connections for loose wires or poor soldering.
- Ensure the sensor is powered correctly (5V to
Inaccurate Readings:
- Clean the sensor probes to remove dirt or residue.
- Calibrate the sensor using soil samples with known NPK levels.
Fluctuating Readings:
- Use a stable power supply to avoid voltage fluctuations.
- Ensure the sensor is inserted firmly into the soil.
Sensor Not Responding:
- Verify that the microcontroller's analog pin is functioning correctly.
- Test the sensor with a multimeter to check for output voltage.
FAQs
Q: Can the sensor measure other soil parameters like pH or moisture?
A: No, this sensor is specifically designed to measure nitrogen, phosphorus, and potassium levels. For pH or moisture, use dedicated sensors.
Q: How often should the sensor be calibrated?
A: Calibration frequency depends on usage. For regular use, calibrate every 3–6 months or when accuracy is critical.
Q: Can the sensor be used in wet soil?
A: Yes, but avoid prolonged exposure to waterlogged soil to prevent damage to the probes.
Q: Is the sensor compatible with 3.3V microcontrollers?
A: The sensor requires a 5V power supply, but the analog output can be read by 3.3V ADCs. Use a level shifter if needed for digital output.
By following this documentation, users can effectively integrate the NPK Soil Sensor into their projects and achieve accurate soil nutrient measurements.