
How to Use Battery: Examples, Pinouts, and Specs
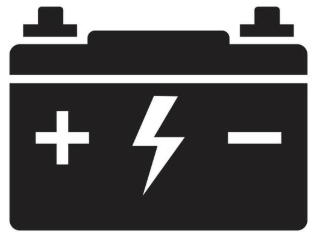
 Design with Battery in Cirkit Designer
Introduction
A battery is a device that stores electrical energy in chemical form and converts it into electrical energy to power electronic circuits. Batteries are essential components in a wide range of applications, from small portable devices to large-scale energy storage systems. They provide a reliable and portable source of power, making them indispensable in modern electronics.
Explore Projects Built with Battery
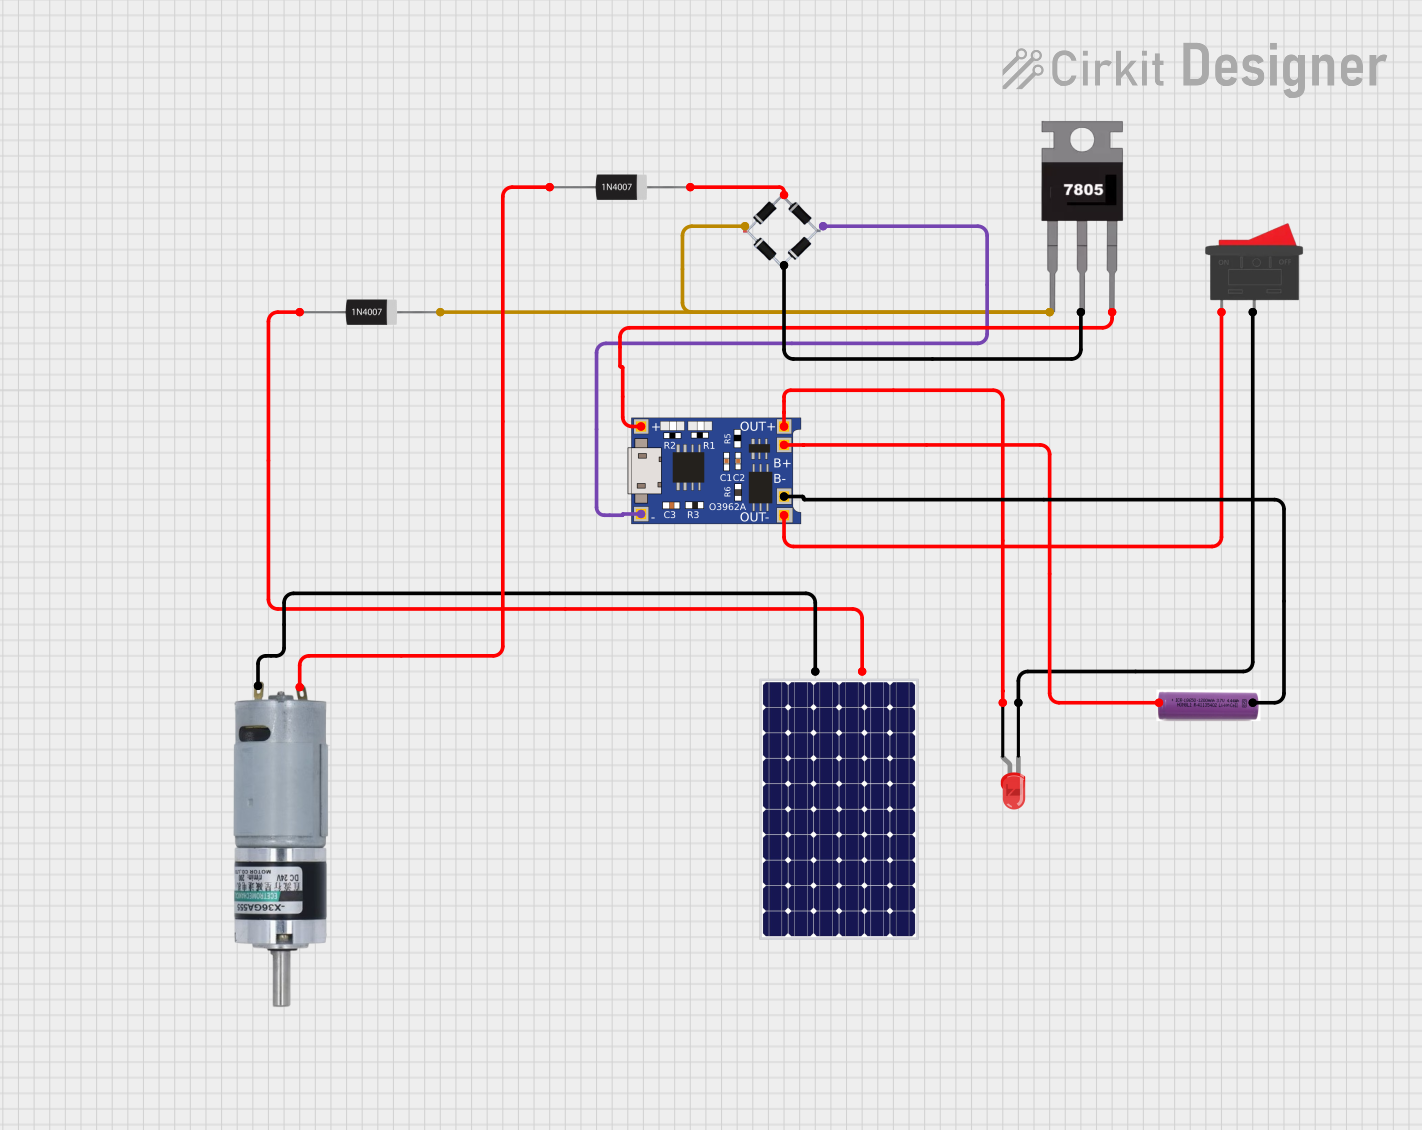
 Open Project in Cirkit Designer
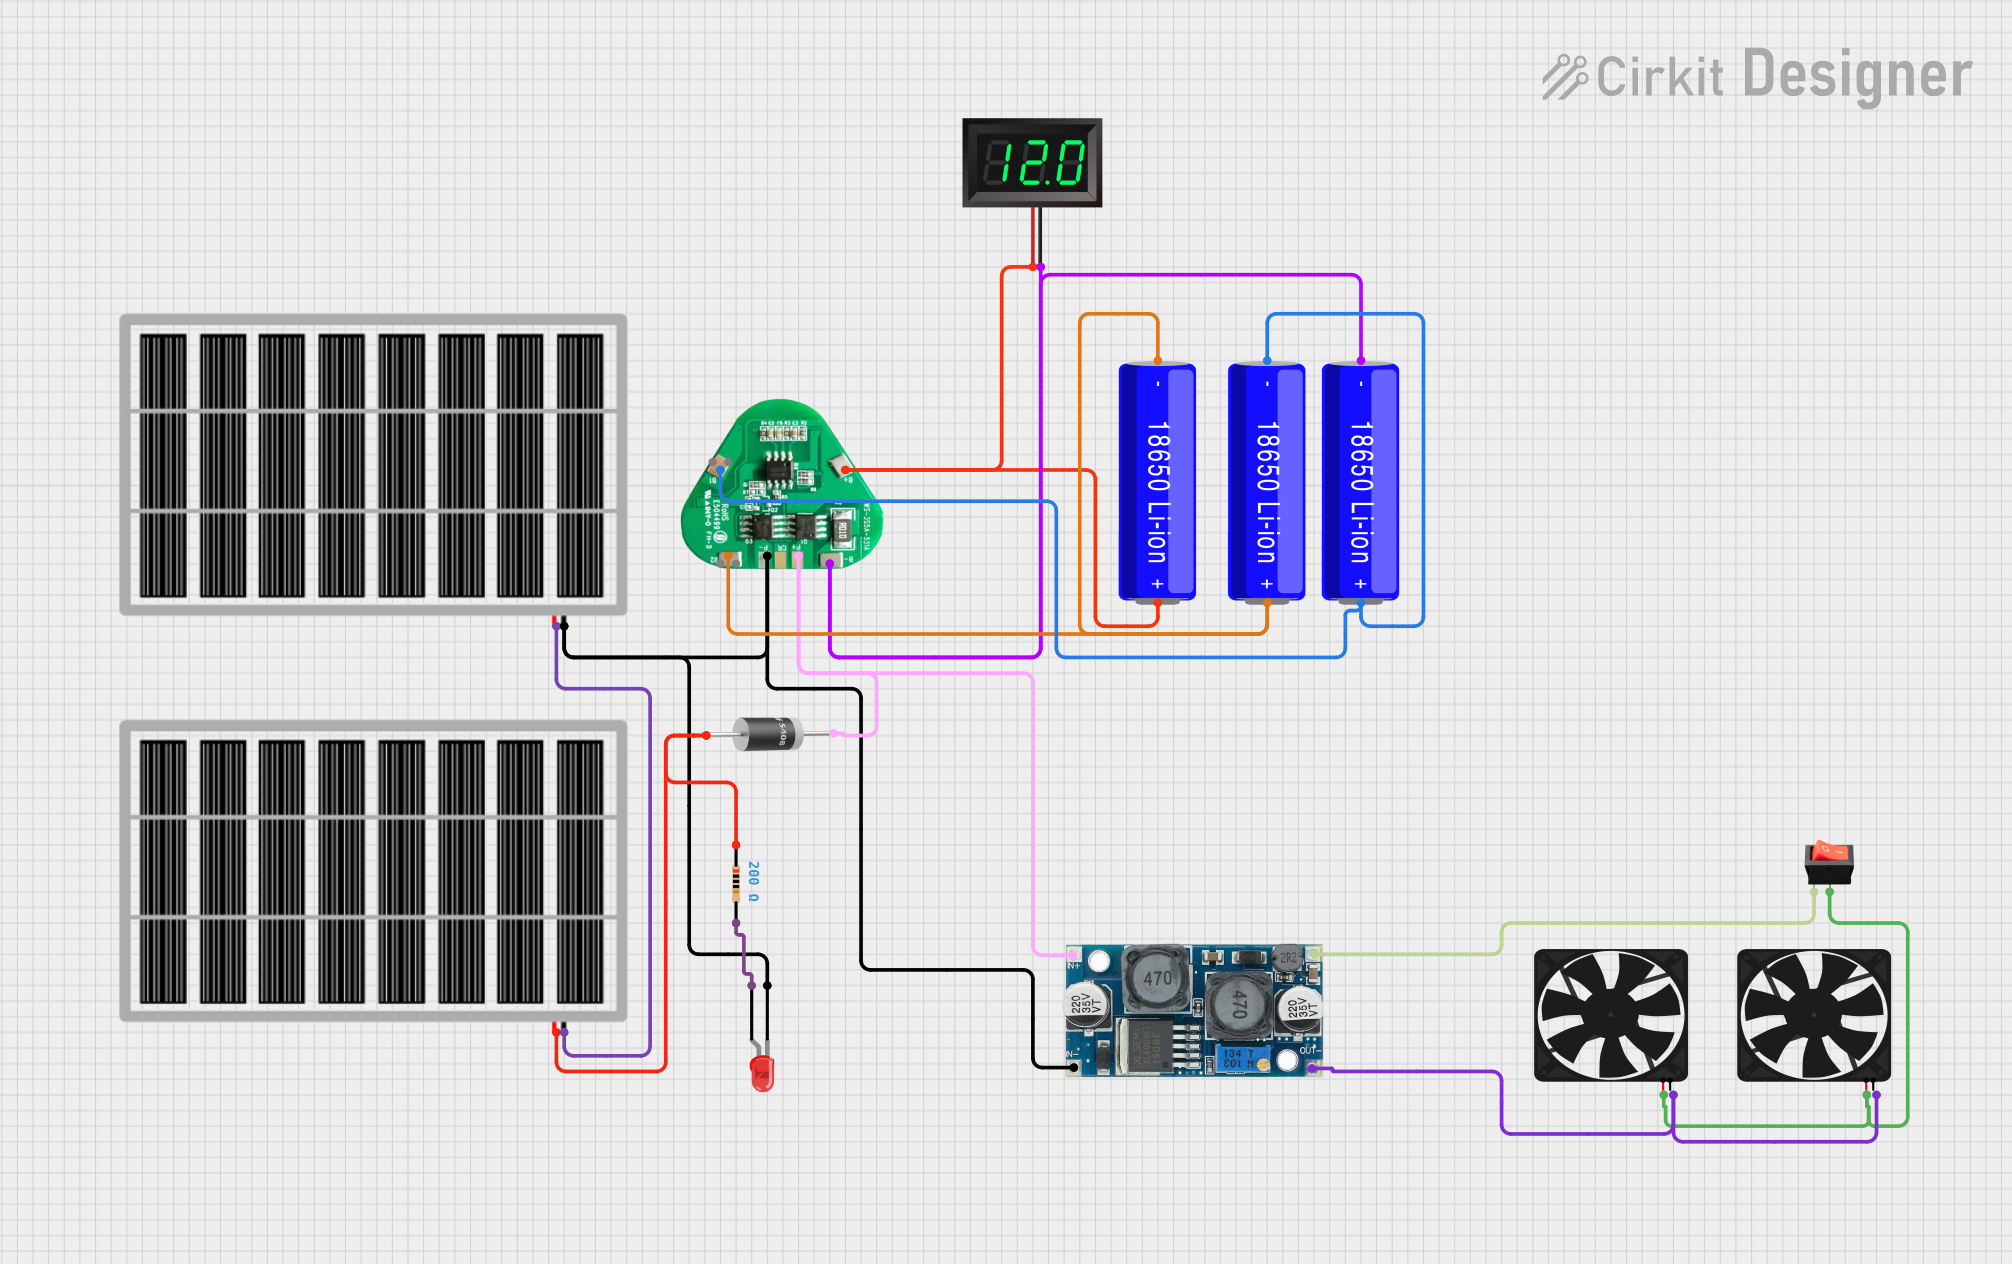
 Open Project in Cirkit Designer
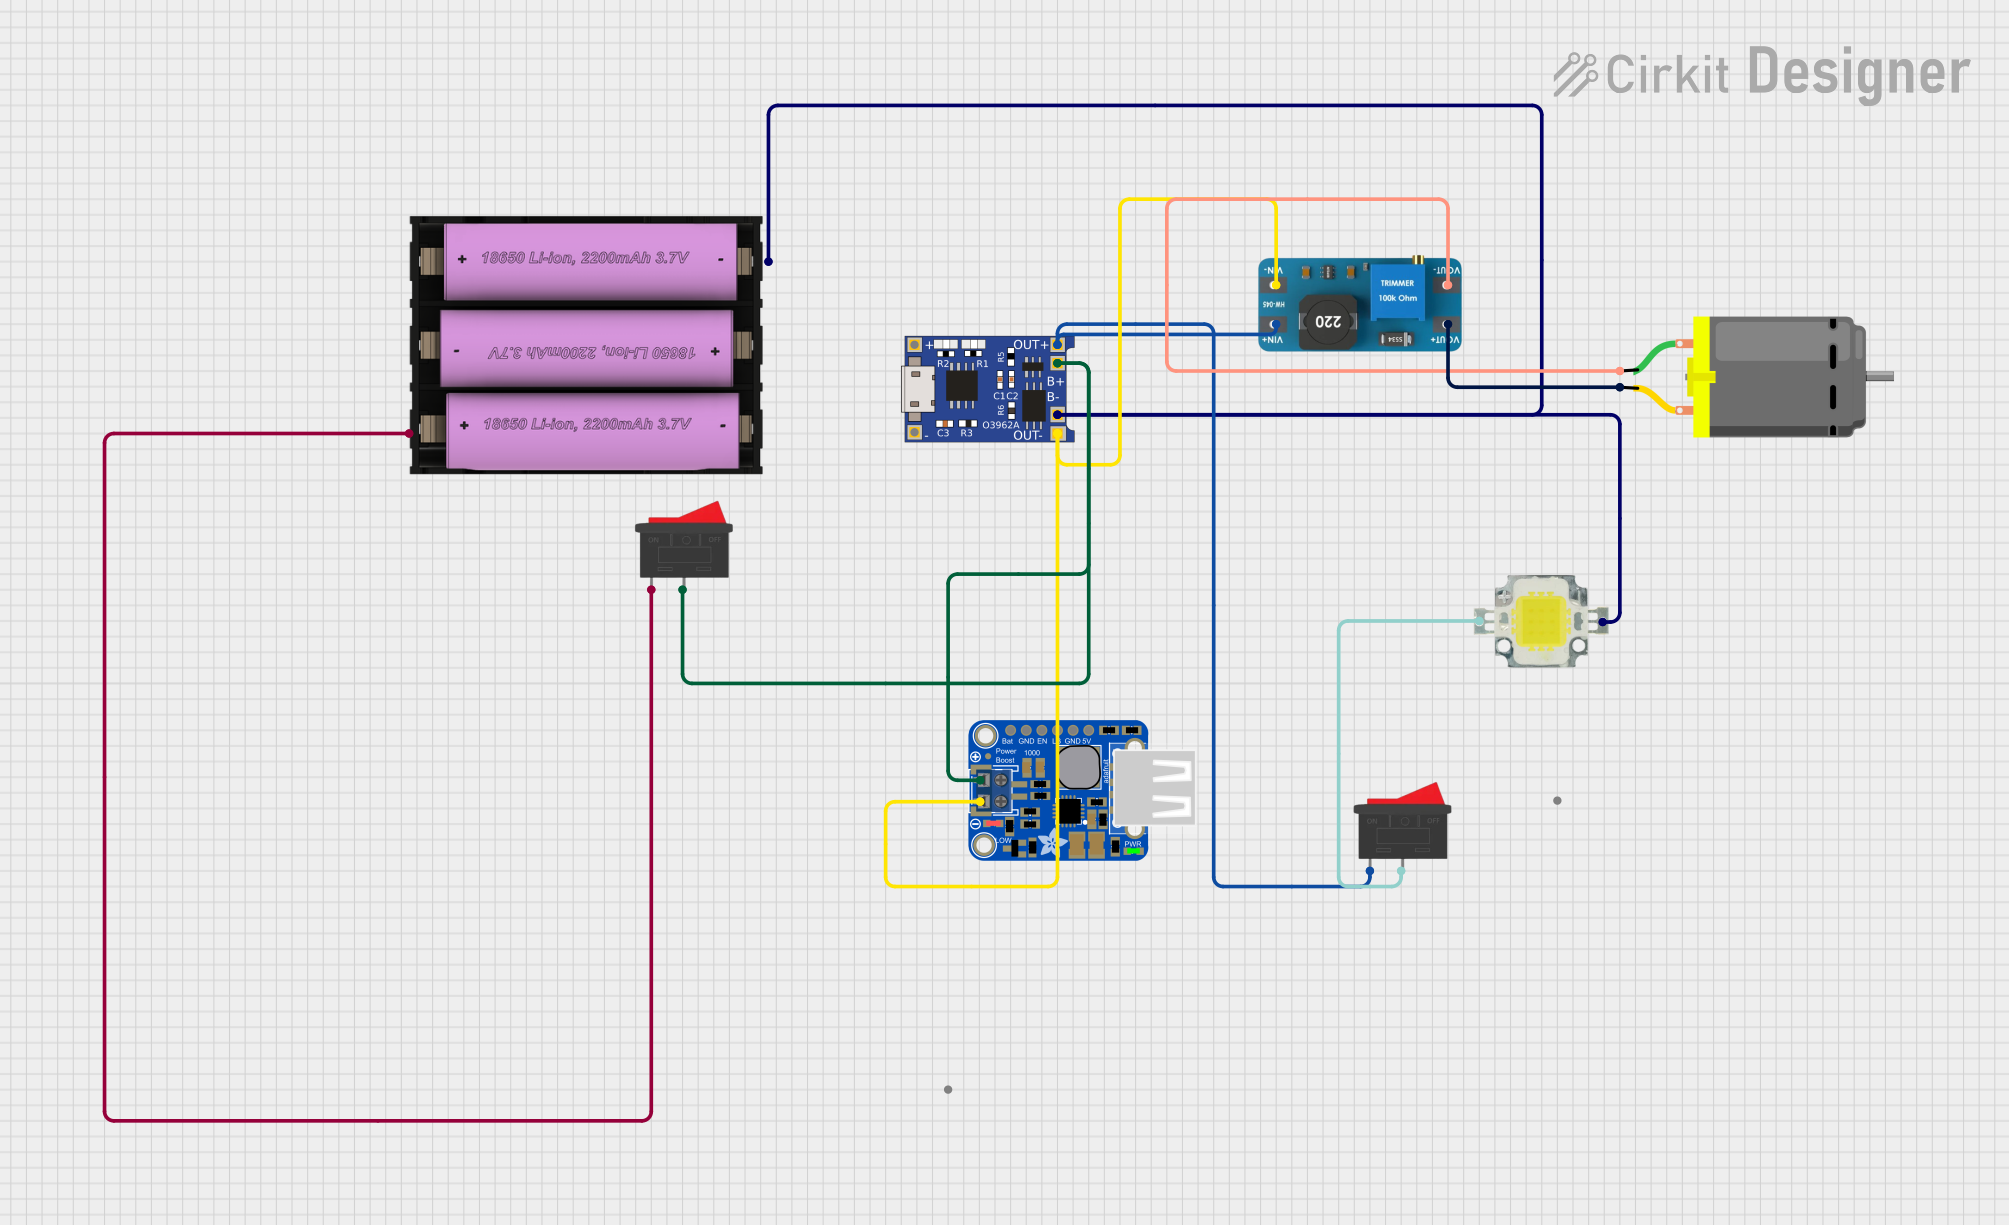
 Open Project in Cirkit Designer
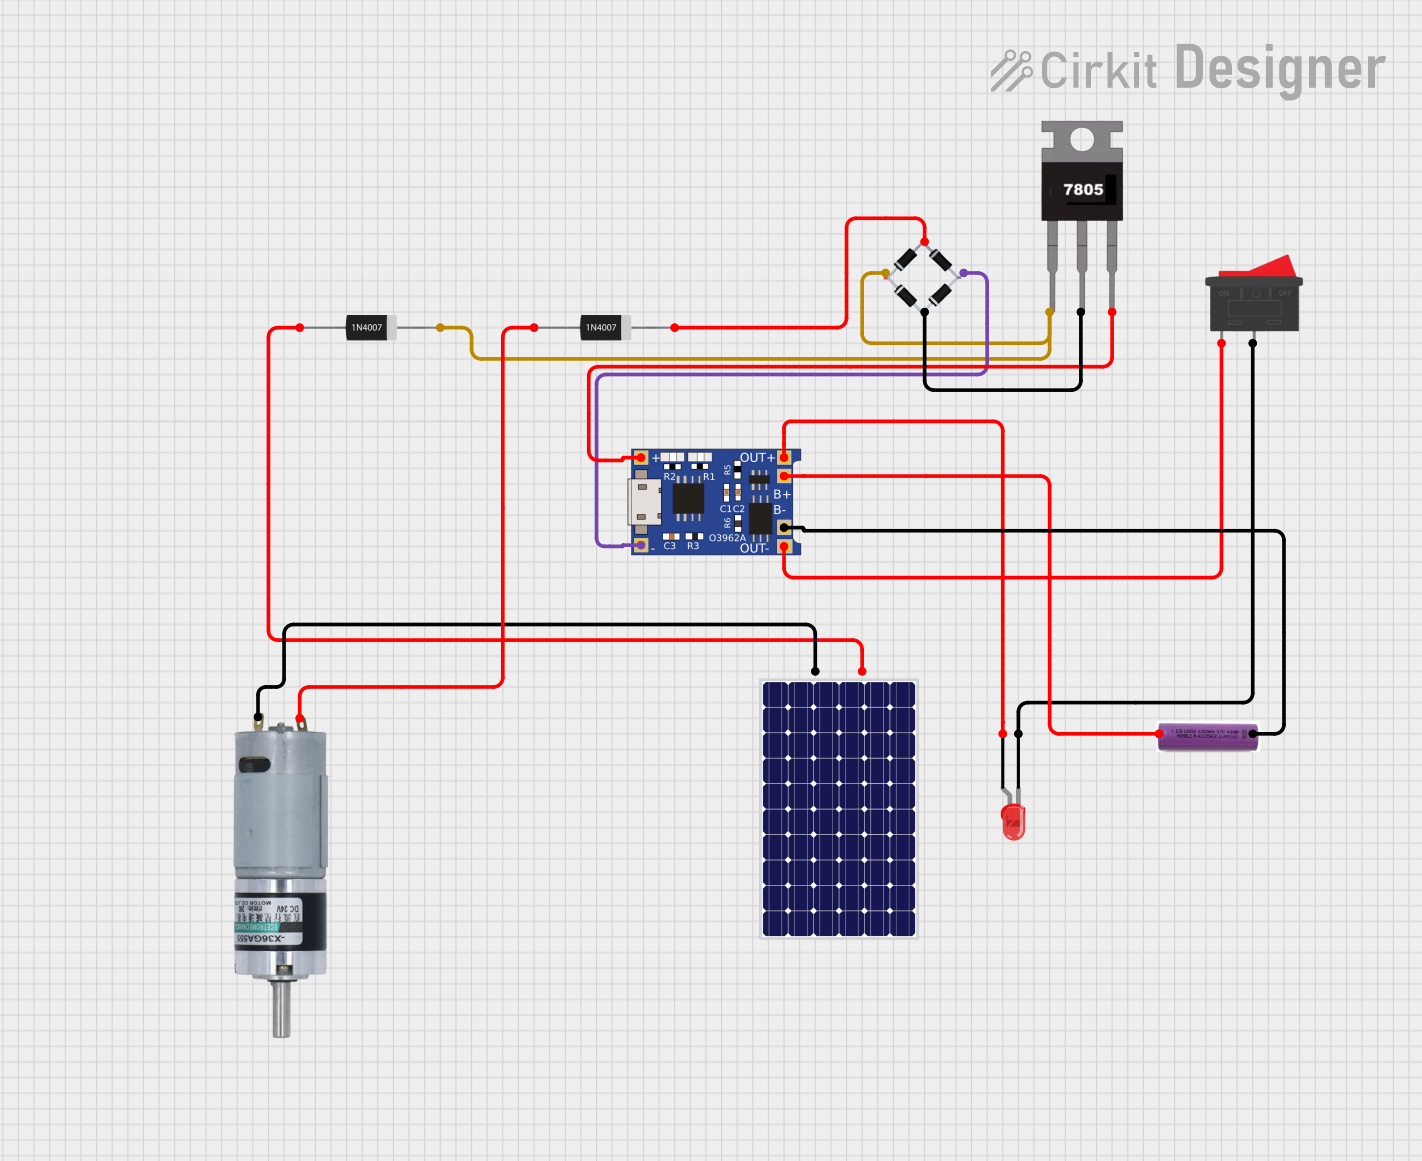
 Open Project in Cirkit Designer
Explore Projects Built with Battery

 Open Project in Cirkit Designer
 Open Project in Cirkit Designer
 Open Project in Cirkit Designer
 Open Project in Cirkit Designer
Common Applications and Use Cases
- Powering portable electronic devices (e.g., smartphones, laptops, and cameras)
- Backup power supplies for critical systems (e.g., UPS systems)
- Energy storage in renewable energy systems (e.g., solar panels and wind turbines)
- Automotive applications (e.g., car batteries and electric vehicles)
- Robotics and IoT devices
Technical Specifications
Below are the key technical details for the 12V battery:
| Parameter | Value |
|---|---|
| Manufacturer | NULL |
| Part ID | 12V |
| Nominal Voltage | 12V |
| Capacity | Varies (e.g., 1.2Ah, 7Ah, etc.) |
| Chemistry | Lead-acid, Lithium-ion, or other types |
| Operating Temperature | -20°C to 60°C (varies by type) |
| Maximum Discharge Current | Depends on capacity and type |
| Rechargeable | Yes |
| Dimensions | Varies by model |
| Weight | Varies by model |
Pin Configuration and Descriptions
Batteries typically have two terminals: positive (+) and negative (-). The table below describes these terminals:
| Pin/Terminal | Description |
|---|---|
| Positive (+) | The terminal where current flows out of the battery |
| Negative (-) | The terminal where current flows into the battery |
Usage Instructions
How to Use the Battery in a Circuit
- Identify the Terminals: Ensure you correctly identify the positive (+) and negative (-) terminals of the battery.
- Connect to the Load: Connect the positive terminal of the battery to the positive input of your circuit and the negative terminal to the ground or negative input.
- Use Proper Connectors: Use appropriate connectors or battery holders to ensure a secure and reliable connection.
- Monitor Voltage: Regularly monitor the battery voltage to avoid over-discharging, which can damage the battery.
- Recharge Safely: If the battery is rechargeable, use a compatible charger and follow the manufacturer's guidelines.
Important Considerations and Best Practices
- Polarity: Always connect the battery with the correct polarity to avoid damaging the circuit.
- Overcharging and Over-discharging: Use a battery management system (BMS) or a charge controller to prevent overcharging or over-discharging.
- Storage: Store the battery in a cool, dry place when not in use. Avoid exposing it to extreme temperatures.
- Safety: Do not short-circuit the terminals, puncture, or expose the battery to fire or water.
- Capacity Matching: Ensure the battery capacity matches the power requirements of your circuit.
Example: Connecting a 12V Battery to an Arduino UNO
Below is an example of how to power an Arduino UNO using a 12V battery:
- Connect the positive terminal of the 12V battery to the VIN pin on the Arduino UNO.
- Connect the negative terminal of the battery to the GND pin on the Arduino UNO.
// Example code for Arduino UNO powered by a 12V battery
// This code blinks an LED connected to pin 13

void setup() {
  pinMode(13, OUTPUT); // Set pin 13 as an output
}

void loop() {
  digitalWrite(13, HIGH); // Turn the LED on
  delay(1000);            // Wait for 1 second
  digitalWrite(13, LOW);  // Turn the LED off
  delay(1000);            // Wait for 1 second
}
Troubleshooting and FAQs
Common Issues and Solutions
Battery Not Powering the Circuit
- Cause: Incorrect polarity or loose connections.
- Solution: Double-check the connections and ensure the polarity is correct.
Battery Drains Quickly
- Cause: High current draw or an old/degraded battery.
- Solution: Use a battery with a higher capacity or replace the battery if it is old.
Overheating
- Cause: Overcharging or excessive current draw.
- Solution: Use a compatible charger and ensure the circuit does not exceed the battery's maximum discharge current.
Battery Voltage Drops Below Nominal
- Cause: Over-discharging or a faulty battery.
- Solution: Recharge the battery promptly and avoid deep discharges.
FAQs
Q: Can I use a 12V battery to power a 5V device?
A: No, you will need a voltage regulator or a DC-DC converter to step down the voltage to 5V.
Q: How do I know when the battery is fully charged?
A: Use a charger with an indicator light or monitor the voltage. For a 12V lead-acid battery, a fully charged voltage is typically around 12.6V to 13.8V.
Q: Can I connect multiple 12V batteries together?
A: Yes, you can connect them in series to increase voltage or in parallel to increase capacity. Ensure the batteries are of the same type and capacity.
Q: Is it safe to leave the battery connected to the charger?
A: Only if the charger has overcharge protection. Otherwise, disconnect the battery once it is fully charged.