How to Use TFT Display: Examples, Pinouts, and Specs
Introduction
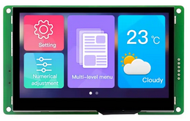
The DWIN DMG10600C070_03WTR is a 7-inch Thin-Film Transistor (TFT) display module designed for high-quality visual output. TFT technology enhances image quality by using thin-film transistors for each pixel, resulting in improved color reproduction, faster refresh rates, and better response times. This display is ideal for applications requiring a vibrant and responsive graphical interface.
Explore Projects Built with TFT Display


Explore Projects Built with TFT Display
Common Applications and Use Cases
- Industrial control panels
- Smart home devices
- Medical equipment displays
- Automotive dashboards
- Consumer electronics (e.g., kiosks, gaming devices)
Technical Specifications
Below are the key technical details for the DMG10600C070_03WTR:
General Specifications
| Parameter | Value |
|---|---|
| Display Type | TFT LCD |
| Screen Size | 7 inches |
| Resolution | 1024 x 600 pixels |
| Aspect Ratio | 16:9 |
| Viewing Angle | 85°/85°/85°/85° (L/R/U/D) |
| Brightness | 500 cd/m² |
| Contrast Ratio | 800:1 |
| Touch Panel | Capacitive (multi-touch) |
| Backlight | LED |
| Interface | UART (RS232/TTL) |
| Operating Temperature | -20°C to 70°C |
| Storage Temperature | -30°C to 80°C |
| Power Supply Voltage | 5V DC |
| Power Consumption | ≤ 3W |
Pin Configuration
The DMG10600C070_03WTR has a 2x10 pin header for interfacing. Below is the pinout:
| Pin Number | Pin Name | Description |
|---|---|---|
| 1 | VCC | Power supply (5V DC) |
| 2 | GND | Ground |
| 3 | TXD | UART Transmit Data |
| 4 | RXD | UART Receive Data |
| 5 | RTS | Request to Send (optional) |
| 6 | CTS | Clear to Send (optional) |
| 7 | RESET | Reset signal (active low) |
| 8 | NC | Not connected |
| 9 | NC | Not connected |
| 10 | NC | Not connected |
Usage Instructions
How to Use the Component in a Circuit
- Power Supply: Connect the VCC pin to a regulated 5V DC power source and the GND pin to ground.
- UART Communication: Use the TXD and RXD pins to establish serial communication with a microcontroller or PC. Ensure the baud rate matches the display's default setting (e.g., 115200 bps).
- Touch Panel: If using the capacitive touch feature, ensure the display is properly grounded to avoid interference.
- Reset: Connect the RESET pin to a GPIO pin on your microcontroller for manual or software-controlled resets.
Important Considerations and Best Practices
- Voltage Levels: Ensure the UART communication voltage levels are compatible (3.3V or 5V logic).
- Baud Rate: Configure the microcontroller's UART baud rate to match the display's default or configured rate.
- Mounting: Use appropriate mounting hardware to secure the display and avoid mechanical stress.
- ESD Protection: Handle the display in an ESD-safe environment to prevent damage to sensitive components.
Example: Connecting to an Arduino UNO
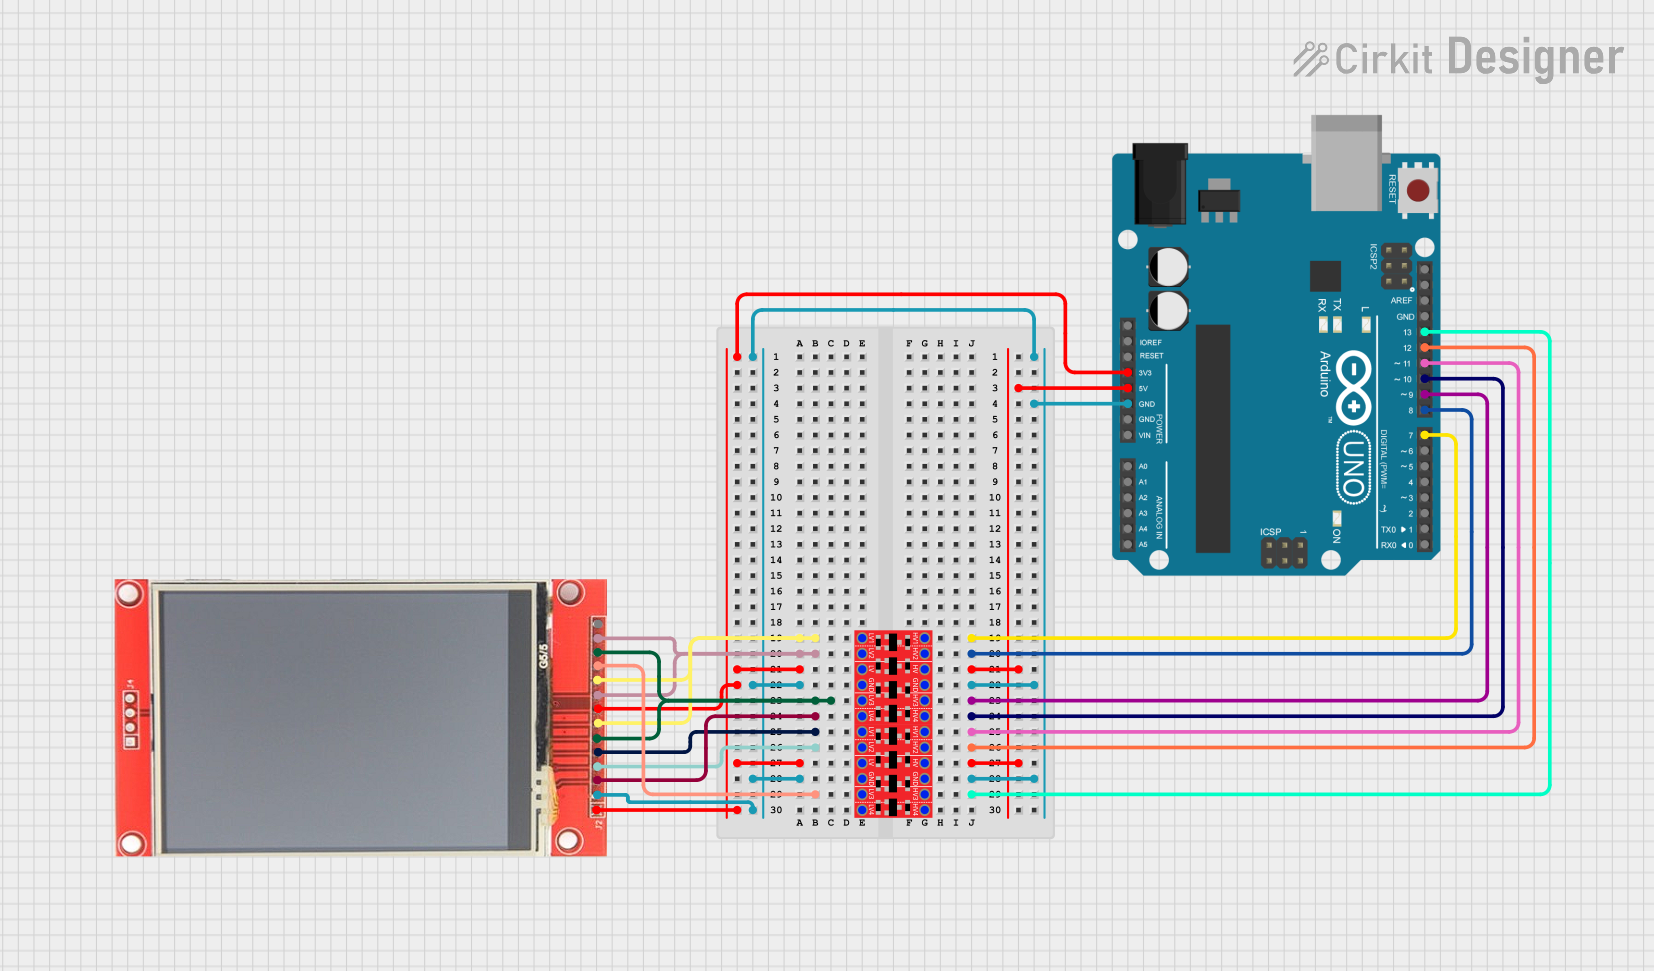
Below is an example of how to connect and use the DMG10600C070_03WTR with an Arduino UNO:
Wiring
| TFT Display Pin | Arduino UNO Pin |
|---|---|
| VCC | 5V |
| GND | GND |
| TXD | RX (Pin 0) |
| RXD | TX (Pin 1) |
| RESET | Digital Pin 7 |
Code Example
// Include necessary libraries
#include <SoftwareSerial.h>

// Define pins for UART communication
SoftwareSerial tftSerial(10, 11); // RX, TX

// Define reset pin
const int resetPin = 7;

void setup() {
  // Initialize serial communication with the TFT display
  tftSerial.begin(115200); // Set baud rate to 115200
  Serial.begin(115200);    // For debugging

  // Configure reset pin
  pinMode(resetPin, OUTPUT);
  digitalWrite(resetPin, HIGH); // Keep display active

  // Send initialization command to the display
  tftSerial.println("Display Initialized");
  Serial.println("TFT Display Ready");
}

void loop() {
  // Example: Send a command to the display
  tftSerial.println("Hello, TFT Display!");
  delay(1000); // Wait for 1 second
}
Troubleshooting and FAQs
Common Issues and Solutions
No Display Output
- Cause: Incorrect power supply or loose connections.
- Solution: Verify the power supply voltage (5V DC) and ensure all connections are secure.
Touch Panel Not Responding
- Cause: Improper grounding or interference.
- Solution: Ensure the display is properly grounded and free from electrical noise.
UART Communication Fails
- Cause: Mismatched baud rate or incorrect wiring.
- Solution: Check the baud rate settings and verify the TXD/RXD connections.
Display Flickering
- Cause: Insufficient power supply or unstable voltage.
- Solution: Use a stable 5V DC power source with adequate current capacity.
FAQs
Q1: Can I use this display with a 3.3V microcontroller?
A1: Yes, but you may need a level shifter for UART communication to ensure proper voltage compatibility.
Q2: How do I change the baud rate of the display?
A2: Refer to the manufacturer's documentation for instructions on sending configuration commands via UART.
Q3: Is the display sunlight-readable?
A3: The brightness of 500 cd/m² makes it suitable for indoor and some outdoor applications, but it may not be fully sunlight-readable.
Q4: Can I use this display with SPI or I2C?
A4: No, this display uses UART as its primary communication interface.