How to Use power window: Examples, Pinouts, and Specs
Introduction
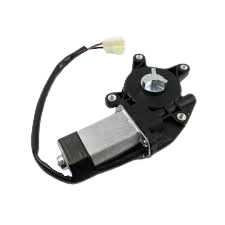
A power window is an electromechanical system found in modern vehicles that allows for the automatic raising and lowering of car windows. It replaces the traditional manual window crank handle with an electric motor, providing convenience and ease of use for vehicle occupants. Power windows are controlled by a switch that activates the motor, which in turn moves the window up or down via a regulator mechanism.
Explore Projects Built with power window
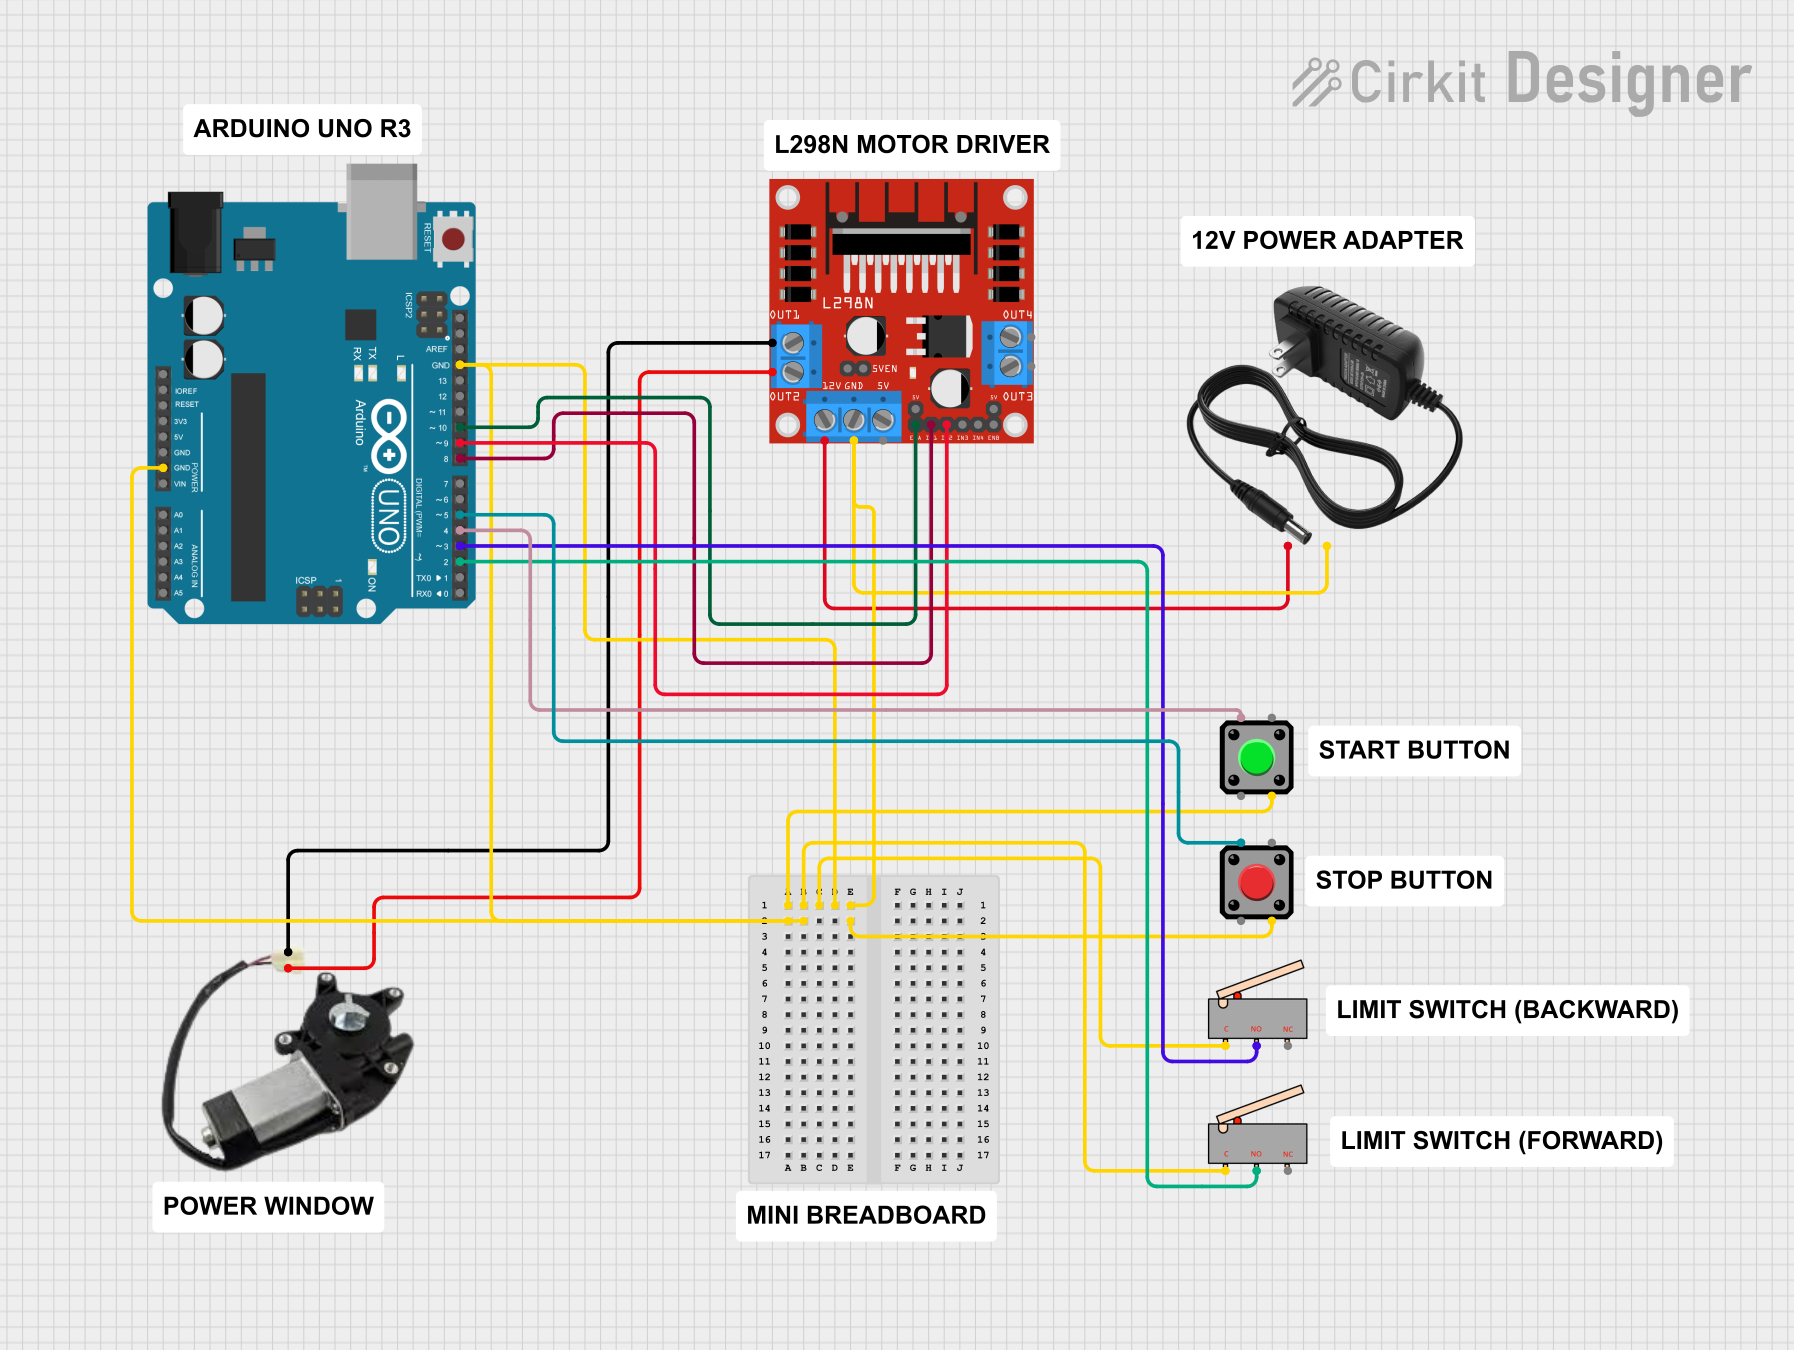

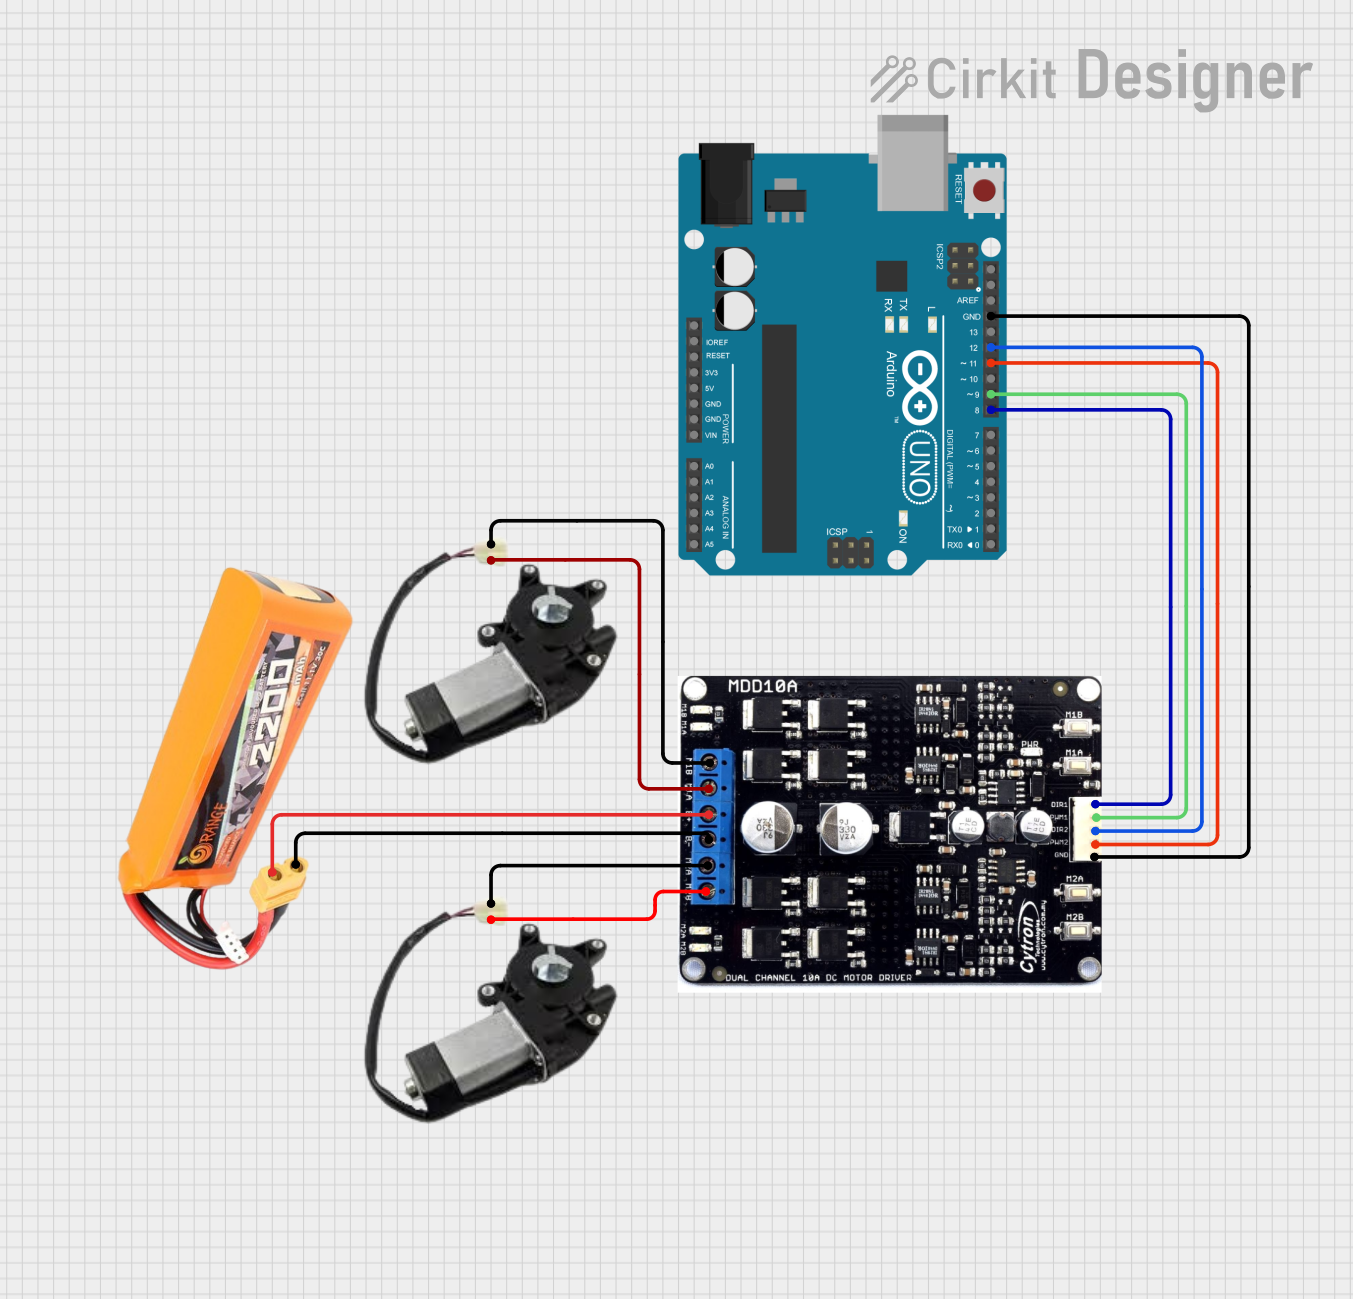

Explore Projects Built with power window
Common Applications and Use Cases
- Automotive windows in cars, trucks, and SUVs
- Sunroofs and moonroofs in vehicles
- Some aftermarket customization for older vehicles without original power windows
Technical Specifications
Key Technical Details
- Operating Voltage: Typically 12V DC in most vehicles
- Motor Type: Reversible DC motor
- Current Rating: Varies depending on motor size, typically between 3A to 6A under normal operation
- Power Consumption: Depends on motor rating and window resistance
Pin Configuration and Descriptions
| Pin Number | Description | Notes |
|---|---|---|
| 1 | Motor Positive (+) | Connects to positive voltage |
| 2 | Motor Negative (-) | Connects to ground |
| 3 | Switch Input Up | Activates motor for upward motion |
| 4 | Switch Input Down | Activates motor for downward motion |
| 5 | Feedback Signal (optional) | For position sensing (if available) |
Usage Instructions
How to Use the Component in a Circuit
- Power Supply: Ensure that the power window motor is connected to a 12V DC power supply, typically the vehicle's battery.
- Switch Connection: Connect the switch inputs to the corresponding pins on the motor. The switch will reverse polarity to the motor for up or down movement.
- Grounding: Properly ground the motor by connecting the negative pin to the vehicle's chassis or a dedicated ground line.
- Safety Mechanism: It is recommended to include a current sensing circuit to detect obstructions and prevent injury or damage.
Important Considerations and Best Practices
- Fuse Protection: Always include a fuse in series with the power window motor to prevent damage from overcurrent conditions.
- Wire Gauge: Use appropriate wire gauge to handle the current without overheating.
- Isolation: Ensure that the motor's electrical connections are insulated to prevent short circuits.
- Switch Quality: Use a high-quality switch that can handle the electrical load and frequent use.
Troubleshooting and FAQs
Common Issues Users Might Face
- Window Does Not Move: Check for blown fuses, faulty switches, or disconnected wires.
- Window Moves Slowly: This could indicate a dying motor, low battery voltage, or mechanical resistance in the regulator.
- Noisy Operation: Worn out components or lack of lubrication in the regulator mechanism.
Solutions and Tips for Troubleshooting
- Blown Fuse: Replace with a fuse of the same rating.
- Faulty Switch: Test the switch with a multimeter and replace if defective.
- Weak Battery: Ensure the vehicle's battery is fully charged and in good condition.
- Lubrication: Apply appropriate lubricant to the regulator mechanism if it's causing resistance.
FAQs
Q: Can I upgrade my manual windows to power windows?
- A: Yes, there are aftermarket kits available for converting manual windows to power windows.
Q: How do I reset the power window limits?
- A: Some vehicles require a reset procedure after disconnecting the battery or replacing window components. Refer to the vehicle's service manual for specific instructions.
Q: What should I do if the window gets stuck in one position?
- A: Check for obstructions in the window track, test the switch and motor for functionality, and ensure the regulator is not damaged.
Example Arduino Code for Testing a Power Window Motor
// This example assumes the use of an H-Bridge to control the power window motor
// and an Arduino UNO for control. The H-Bridge allows for direction control.

#include <Arduino.h>

const int motorPin1 = 3; // H-Bridge first control pin
const int motorPin2 = 4; // H-Bridge second control pin

void setup() {
  pinMode(motorPin1, OUTPUT);
  pinMode(motorPin2, OUTPUT);
}

void loop() {
  // Raise the window
  digitalWrite(motorPin1, HIGH);
  digitalWrite(motorPin2, LOW);
  delay(5000); // Adjust time according to the window's travel time

  // Stop the motor for 2 seconds
  digitalWrite(motorPin1, LOW);
  digitalWrite(motorPin2, LOW);
  delay(2000);

  // Lower the window
  digitalWrite(motorPin1, LOW);
  digitalWrite(motorPin2, HIGH);
  delay(5000); // Adjust time according to the window's travel time

  // Stop the motor for 2 seconds
  digitalWrite(motorPin1, LOW);
  digitalWrite(motorPin2, LOW);
  delay(2000);
}
Note: This code is for demonstration purposes and assumes the use of an H-Bridge compatible with the power window motor's current requirements. Always ensure that the electronic components used can handle the load of the automotive power window motor.