How to Use GY-530 VL53L0X Infrared Laser Sensor: Examples, Pinouts, and Specs
Introduction
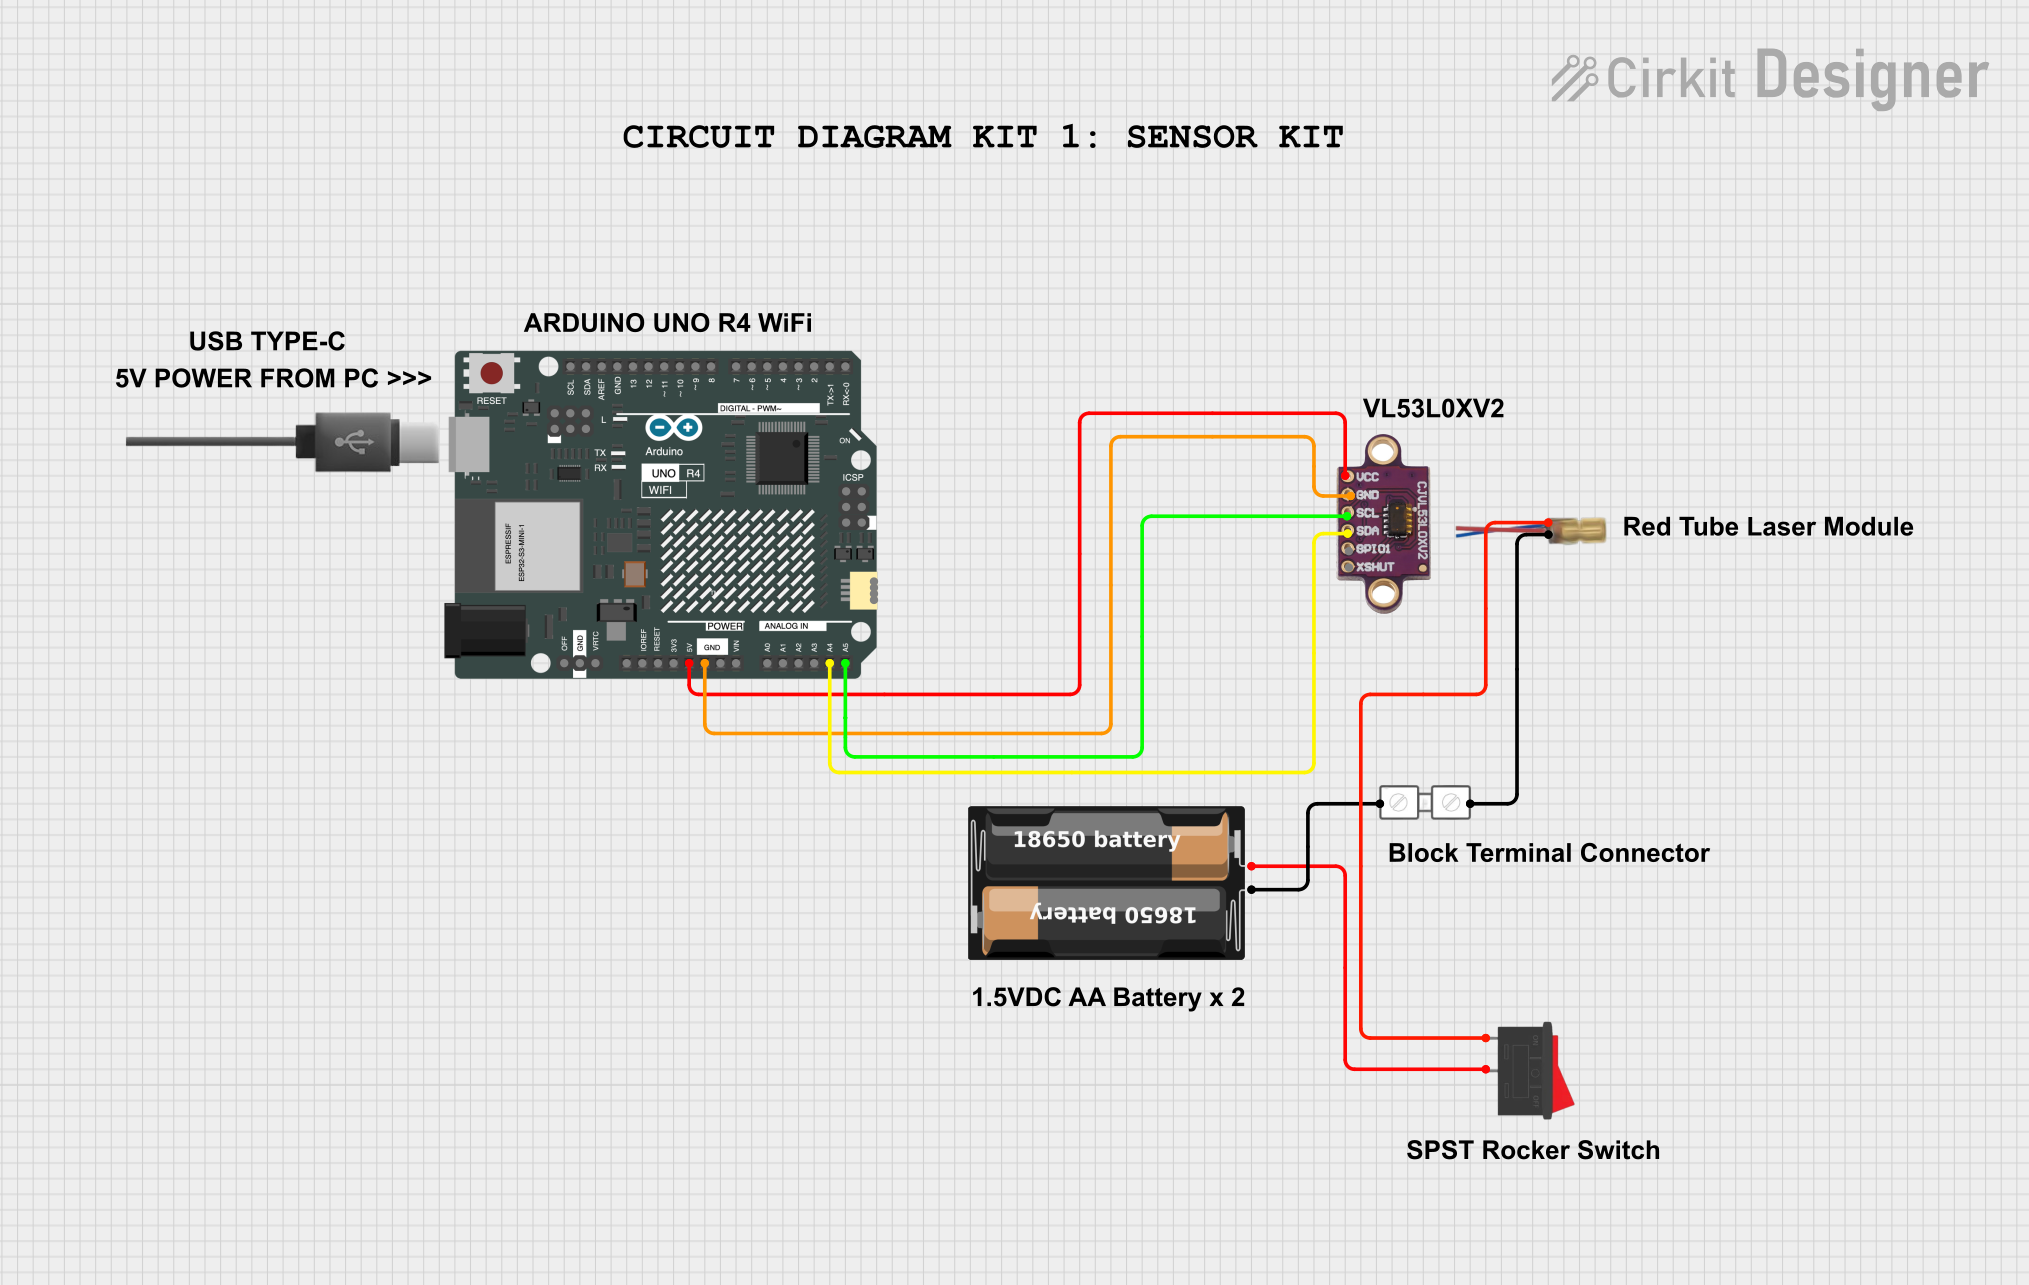
The GY-530 VL53L0X Infrared Laser Sensor is a state-of-the-art time-of-flight (ToF) ranging sensor that utilizes laser technology to measure distances with high accuracy. This sensor is capable of measuring distances within a short range by emitting infrared light pulses and calculating the time it takes for these pulses to be reflected back to the sensor. The VL53L0X is widely used in robotics, user detection, drones, and IoT applications where precise distance measurements are crucial.
Explore Projects Built with GY-530 VL53L0X Infrared Laser Sensor
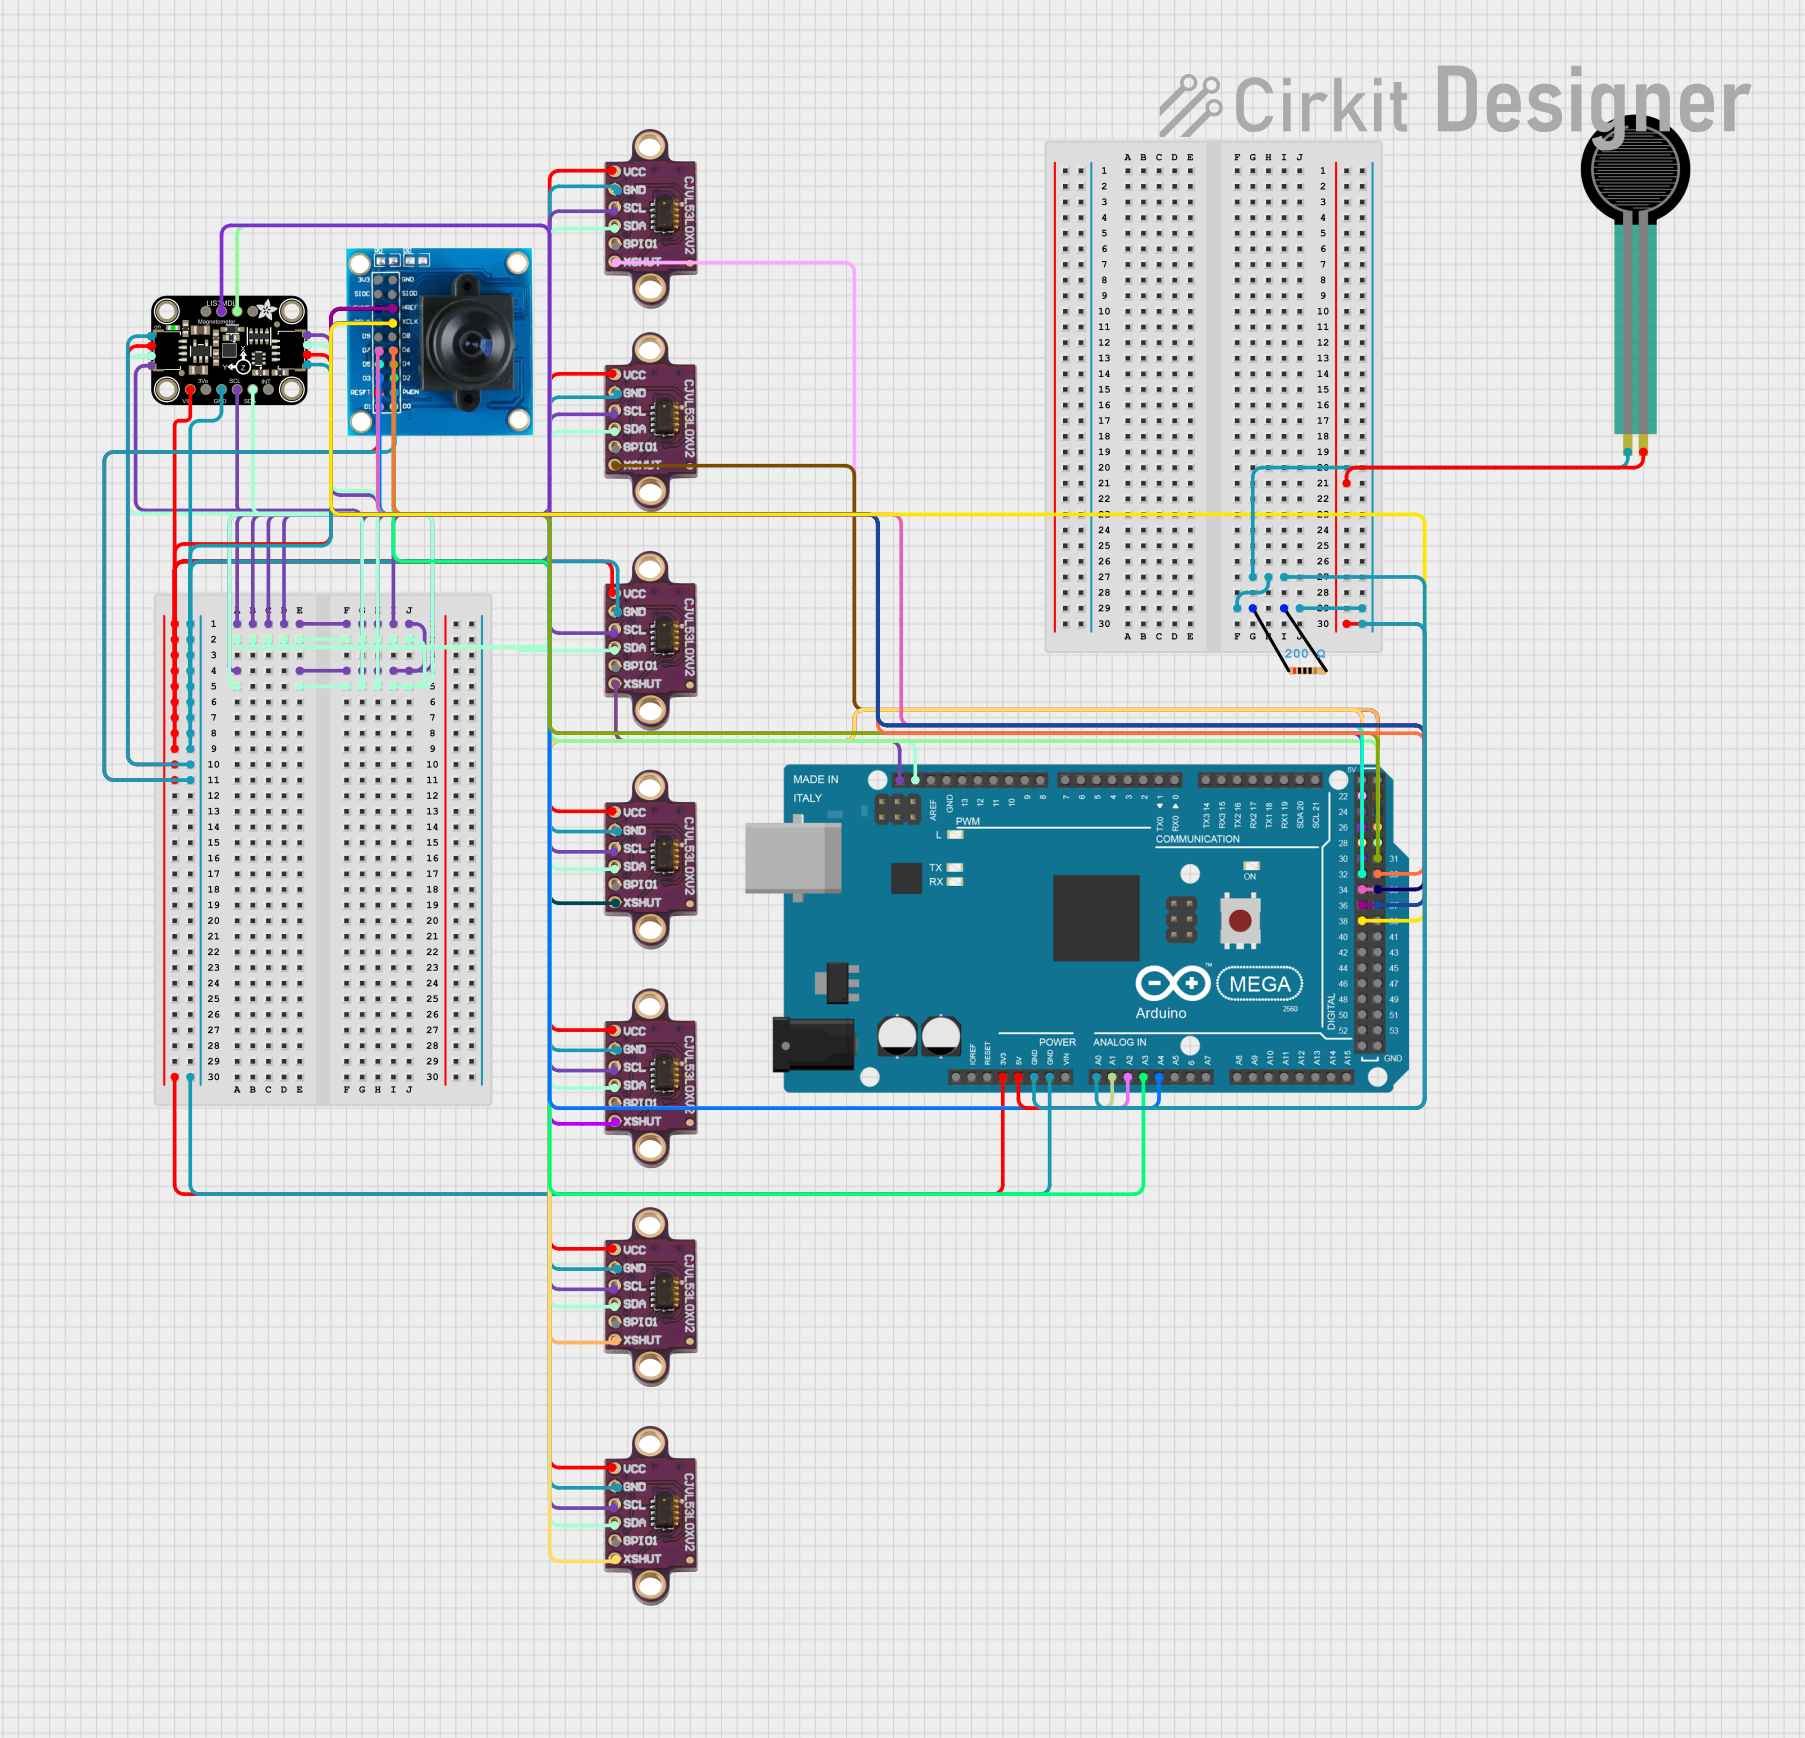
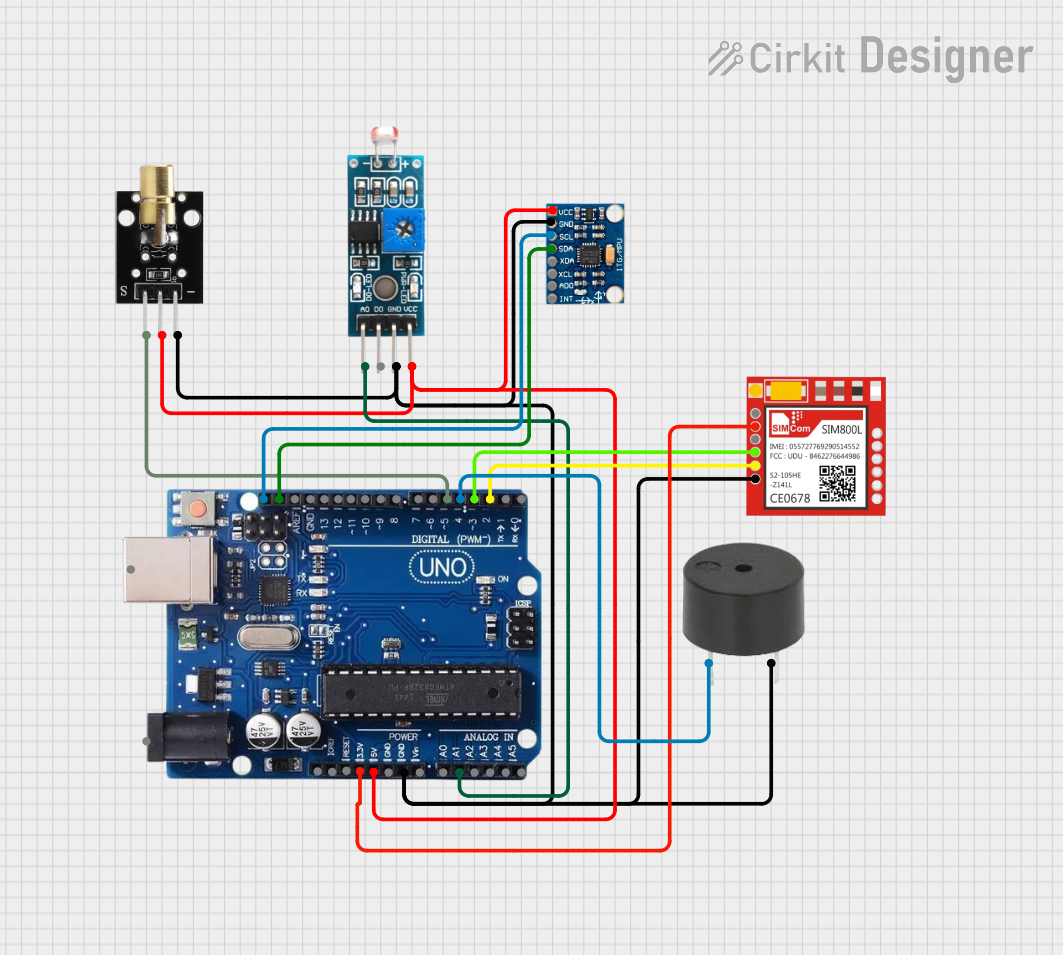
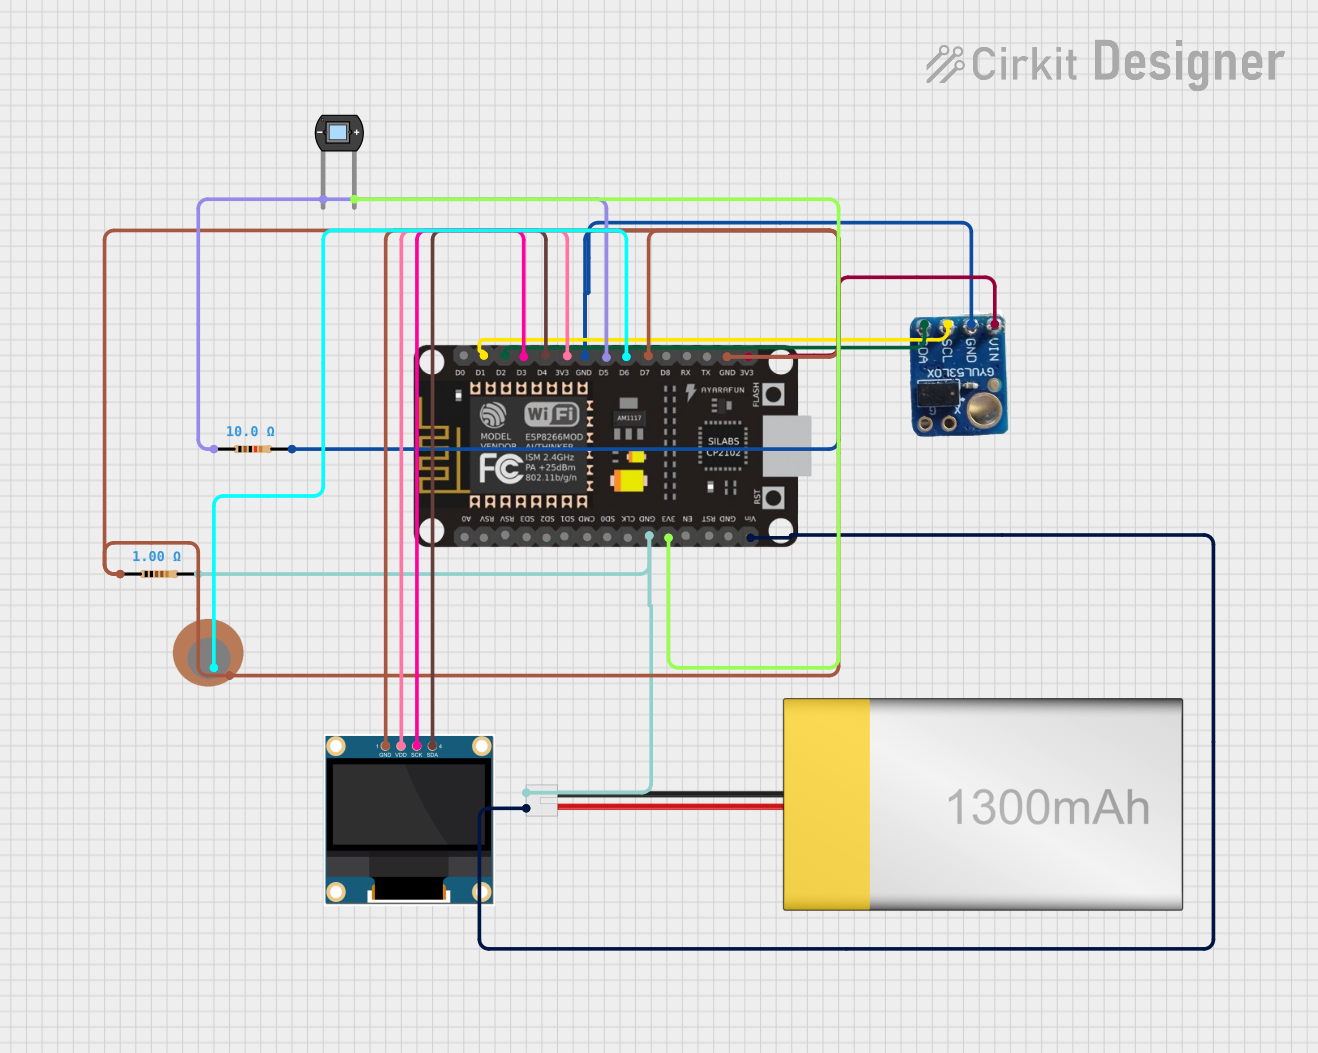
Explore Projects Built with GY-530 VL53L0X Infrared Laser Sensor
Technical Specifications
Key Technical Details
- Operating Voltage: 2.6V to 3.5V
- Peak Current: 20 mA during active ranging
- Maximum Range: Up to 2 meters (depending on conditions)
- Resolution: 1 mm
- Interface: I2C
- Minimum Timing Budget: 20 ms per measurement
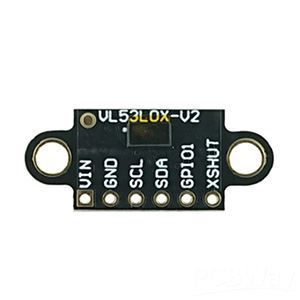
Pin Configuration and Descriptions
| Pin Number | Name | Description |
|---|---|---|
| 1 | VCC | Power supply (2.6V to 3.5V) |
| 2 | GND | Ground connection |
| 3 | SDA | I2C Data Line |
| 4 | SCL | I2C Clock Line |
| 5 | XSHUT | Shutdown pin (active low) |
| 6 | GPIO1 | Interrupt output (optional use) |
Usage Instructions
Connecting to a Circuit
- Connect the VCC pin to a 2.6V to 3.5V power supply.
- Connect the GND pin to the ground of the power supply.
- Connect the SDA and SCL pins to the I2C data and clock lines, respectively.
- The XSHUT pin can be left unconnected if not used, or connected to a GPIO for sensor reset control.
- The GPIO1 pin is optional and can be used for interrupt-driven measurements.
Important Considerations and Best Practices
- Ensure that the power supply is within the specified voltage range to prevent damage.
- Use pull-up resistors on the I2C lines if they are not already present on the microcontroller board.
- Avoid exposing the sensor to direct sunlight or strong infrared sources to prevent measurement errors.
- For stable readings, allow the sensor to warm up for a short period after powering on.
Example Code for Arduino UNO
#include <Wire.h>
#include <VL53L0X.h>

VL53L0X sensor;

void setup() {
  Serial.begin(9600);
  Wire.begin();

  sensor.init();
  sensor.setTimeout(500);
  // Start continuous back-to-back mode (take readings as
  // fast as possible). To use continuous timed mode
  // instead, provide a desired inter-measurement period in
  // ms (e.g., sensor.startContinuous(100)).
  sensor.startContinuous();
}

void loop() {
  Serial.print(sensor.readRangeContinuousMillimeters());
  if (sensor.timeoutOccurred()) { Serial.print(" TIMEOUT"); }

  Serial.println();
}
Troubleshooting and FAQs
Common Issues
- No Data on I2C: Check connections and ensure pull-up resistors are in place.
- Inaccurate Readings: Avoid placing the sensor in direct sunlight and ensure the target surface is not too reflective.
- Sensor Not Responding: Ensure the power supply is within the correct range and the XSHUT pin is not inadvertently pulled low.
Solutions and Tips for Troubleshooting
- If the sensor is not detected on the I2C bus, check the wiring, especially the SDA and SCL connections.
- For fluctuating readings, implement a simple filter or averaging algorithm in your code to stabilize the output.
- If the sensor stops working, try resetting it by toggling the XSHUT pin.
FAQs
Q: What is the maximum range of the sensor? A: The maximum range is up to 2 meters, but this can vary with environmental conditions and target surface properties.
Q: Can the sensor measure through glass or transparent objects? A: The sensor may not work reliably through transparent materials as the infrared light can pass through or reflect unpredictably.
Q: Is the sensor waterproof? A: No, the GY-530 VL53L0X is not waterproof and should be protected from moisture and water exposure.