How to Use Sipeed Tang Nano 9K: Examples, Pinouts, and Specs
Introduction
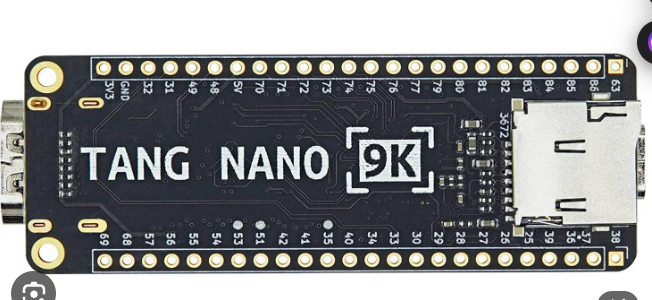
The Sipeed Tang Nano 9K is a compact and powerful FPGA development board based on the Gowin GW1NR-9C FPGA. It is designed for AI, machine learning, and hardware acceleration applications. The board features a RISC-V soft processor, high-speed interfaces, and support for various peripherals, making it an excellent choice for developers working on embedded systems, digital signal processing, and custom hardware designs.
Explore Projects Built with Sipeed Tang Nano 9K

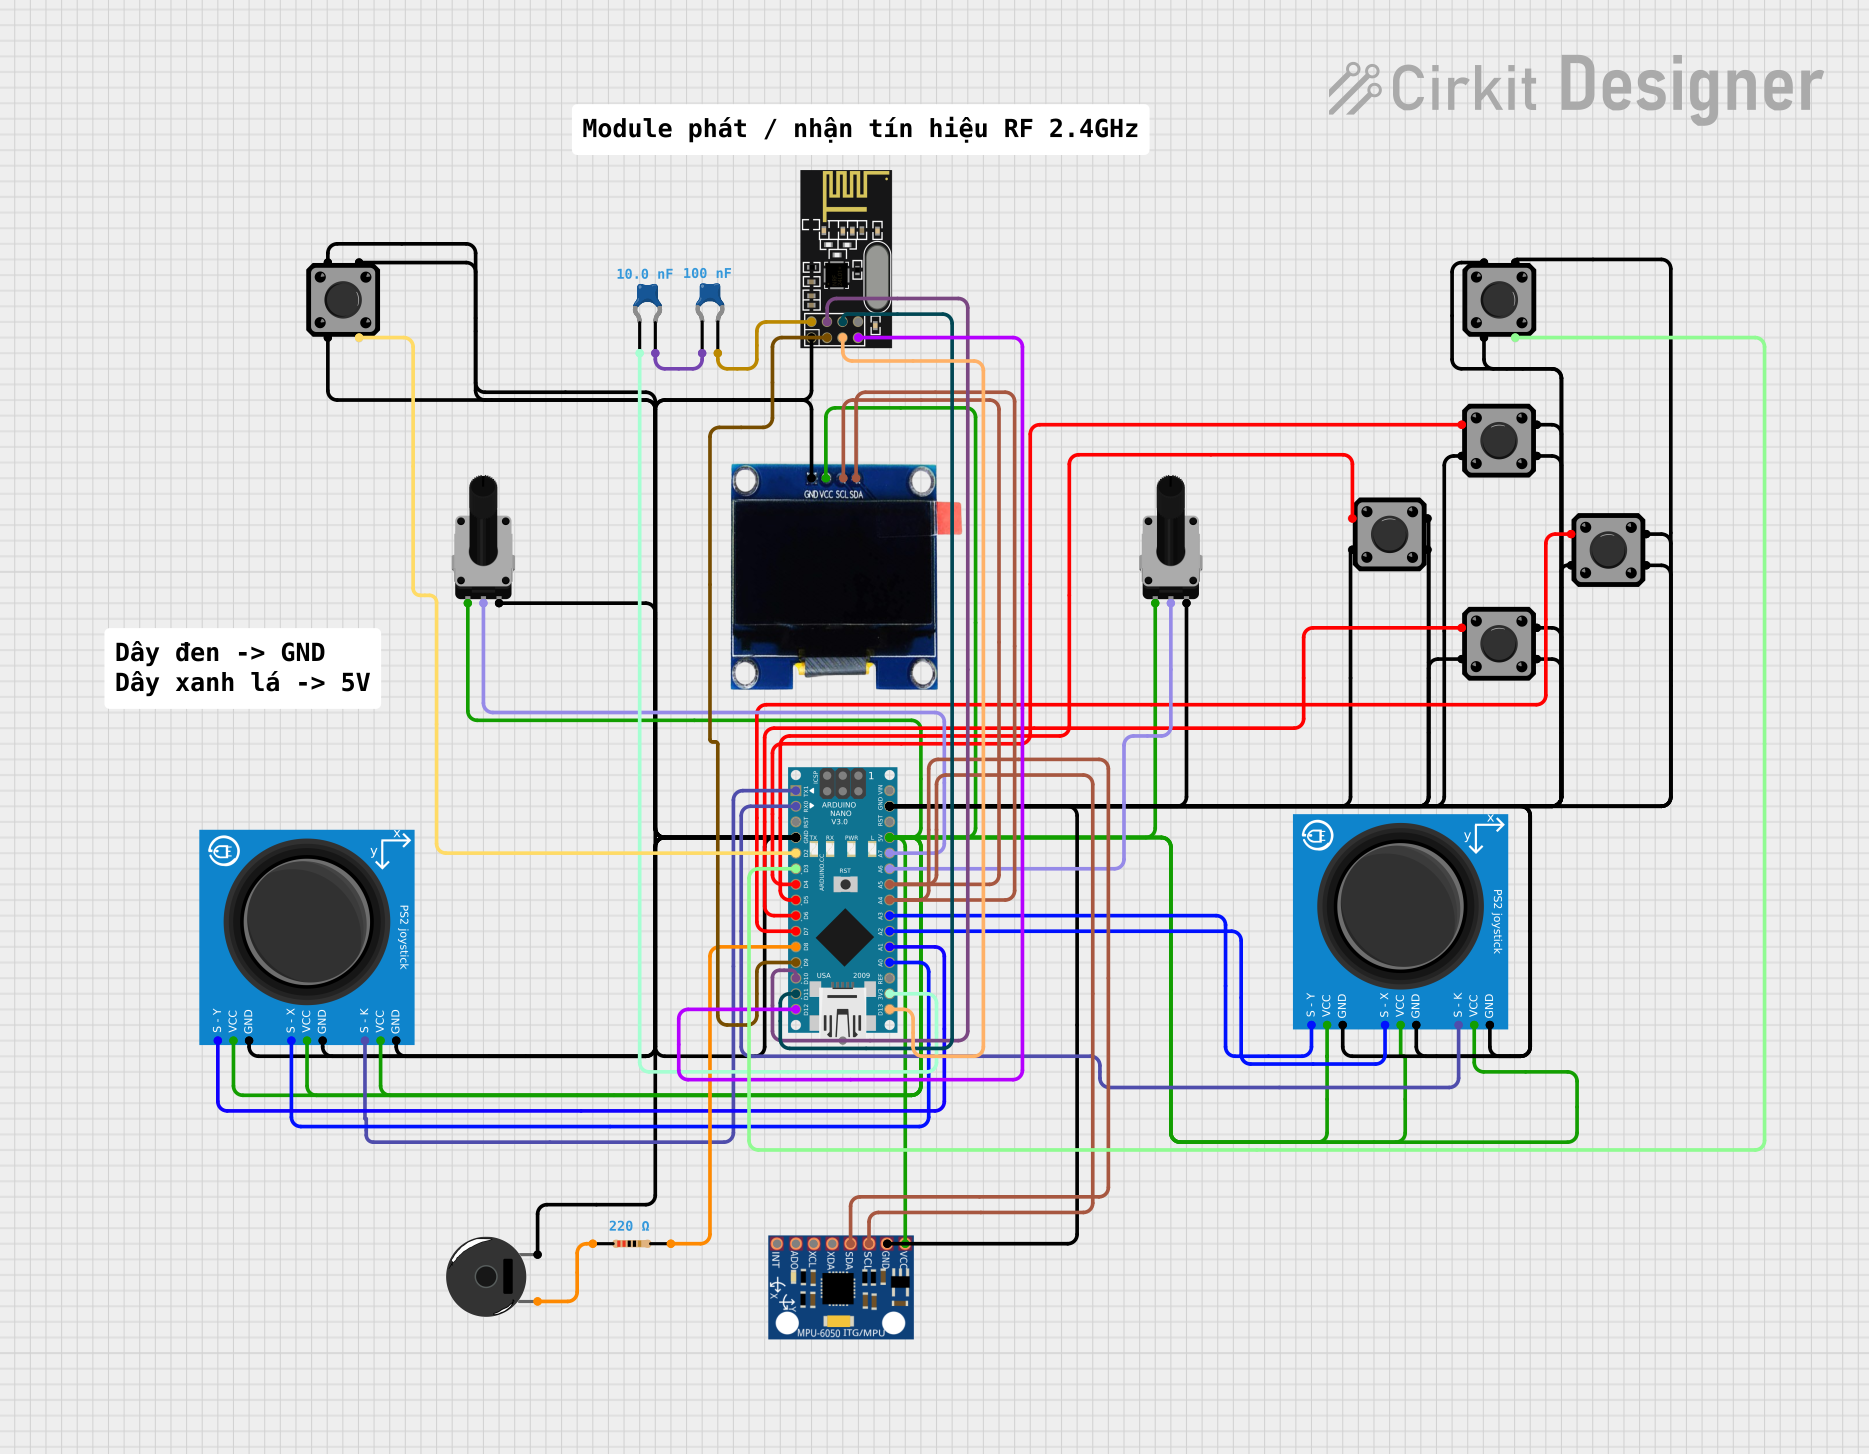

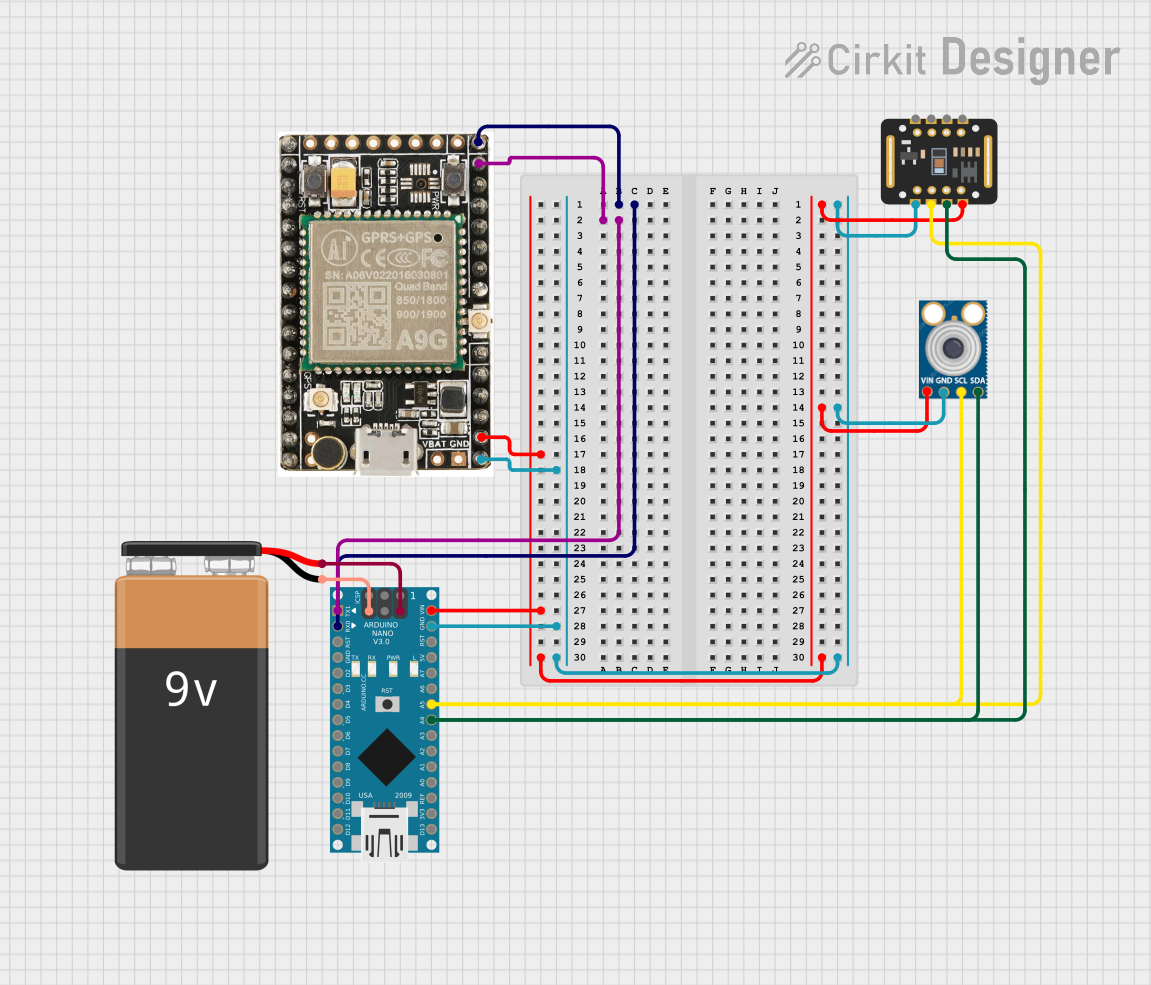
Explore Projects Built with Sipeed Tang Nano 9K
Common Applications and Use Cases
- AI and machine learning acceleration
- Digital signal processing (DSP)
- Hardware prototyping and development
- Educational purposes for FPGA and RISC-V learning
- Custom hardware design for IoT and embedded systems
- Video and image processing applications
Technical Specifications
The following are the key technical details of the Sipeed Tang Nano 9K:
Key Features
- FPGA Chip: Gowin GW1NR-9C
- Logic Cells: 8,640
- Embedded Memory: 432 Kbits
- DSP Blocks: 24
- RISC-V Soft Processor: Supported
- Interfaces: HDMI, RGB LCD, SPI, UART, I2C, GPIO
- Onboard Storage: 64 Mbit Flash
- Clock: 27 MHz onboard oscillator
- Power Supply: 5V via USB-C
- Programming Interface: JTAG and USB
Pin Configuration and Descriptions
The Tang Nano 9K features a 40-pin GPIO header and additional onboard connectors. Below is the pin configuration for the GPIO header:
| Pin Number | Pin Name | Function | Description |
|---|---|---|---|
| 1 | VCC_3V3 | Power | 3.3V power supply |
| 2 | GND | Ground | Ground connection |
| 3 | IO0 | GPIO | General-purpose I/O |
| 4 | IO1 | GPIO | General-purpose I/O |
| 5 | IO2 | GPIO | General-purpose I/O |
| 6 | IO3 | GPIO | General-purpose I/O |
| 7 | IO4 | GPIO | General-purpose I/O |
| 8 | IO5 | GPIO | General-purpose I/O |
| 9 | IO6 | GPIO | General-purpose I/O |
| 10 | IO7 | GPIO | General-purpose I/O |
| ... | ... | ... | ... |
| 39 | IO38 | GPIO | General-purpose I/O |
| 40 | IO39 | GPIO | General-purpose I/O |
For detailed pin mapping and alternate functions, refer to the official Sipeed Tang Nano 9K datasheet.
Usage Instructions
How to Use the Component in a Circuit
- Powering the Board: Connect the Tang Nano 9K to a 5V power source using the USB-C port. Ensure the power supply is stable to avoid damage.
- Programming the FPGA: Use the Gowin IDE to write and compile your HDL (Verilog or VHDL) code. Upload the bitstream to the FPGA via the USB-C or JTAG interface.
- Connecting Peripherals: Use the GPIO header to connect external devices such as sensors, displays, or actuators. Ensure proper voltage levels and pin configurations.
- Using the RISC-V Processor: Load and execute RISC-V programs using the onboard soft processor. This can be done through the Gowin IDE or other compatible tools.
Important Considerations and Best Practices
- Voltage Levels: Ensure all connected peripherals operate at 3.3V logic levels to avoid damage to the FPGA.
- Cooling: For intensive applications, consider adding a heatsink to prevent overheating.
- Static Protection: Handle the board with care to avoid electrostatic discharge (ESD) damage.
- Firmware Updates: Regularly check for firmware updates from Sipeed to ensure compatibility and access to new features.
Example Code for Arduino UNO Integration
Although the Tang Nano 9K is not directly programmable via Arduino IDE, it can communicate with an Arduino UNO via UART or SPI. Below is an example of Arduino code to send data to the Tang Nano 9K via UART:
// Arduino UNO UART Communication with Tang Nano 9K
// Sends a simple message to the FPGA via Serial

void setup() {
  Serial.begin(9600); // Initialize UART at 9600 baud rate
  delay(1000);        // Wait for the serial connection to stabilize
  Serial.println("Hello, Tang Nano 9K!"); // Send initial message
}

void loop() {
  // Send a message every second
  Serial.println("Ping from Arduino UNO");
  delay(1000); // Wait for 1 second
}
Ensure the UART pins of the Arduino UNO (TX and RX) are connected to the appropriate GPIO pins on the Tang Nano 9K, and use a level shifter if necessary to match voltage levels.
Troubleshooting and FAQs
Common Issues and Solutions
FPGA Not Responding to Programming:
- Ensure the USB-C cable is properly connected.
- Verify that the Gowin IDE is configured for the correct FPGA model.
- Check for firmware updates and reinstall the USB driver if needed.
Peripherals Not Working:
- Double-check the pin connections and voltage levels.
- Verify that the FPGA bitstream is correctly configured for the peripheral.
Overheating:
- Add a heatsink or improve ventilation around the board.
- Reduce the clock frequency or optimize the design to lower power consumption.
No Output on HDMI or RGB LCD:
- Ensure the display is compatible with the Tang Nano 9K.
- Verify the pin mapping and timing configurations in your design.
FAQs
Q: Can I use the Tang Nano 9K for AI applications?
- A: Yes, the board supports AI and machine learning acceleration using its DSP blocks and RISC-V processor.
Q: What programming languages are supported?
- A: The FPGA can be programmed using Verilog or VHDL. The RISC-V processor supports C/C++.
Q: Is the Tang Nano 9K compatible with other development boards?
- A: Yes, it can communicate with other boards like Arduino or Raspberry Pi via UART, SPI, or I2C.
Q: Where can I find additional resources?
- A: Visit the official Sipeed website or Gowin's documentation for datasheets, tutorials, and example projects.