How to Use TFT: Examples, Pinouts, and Specs
Introduction
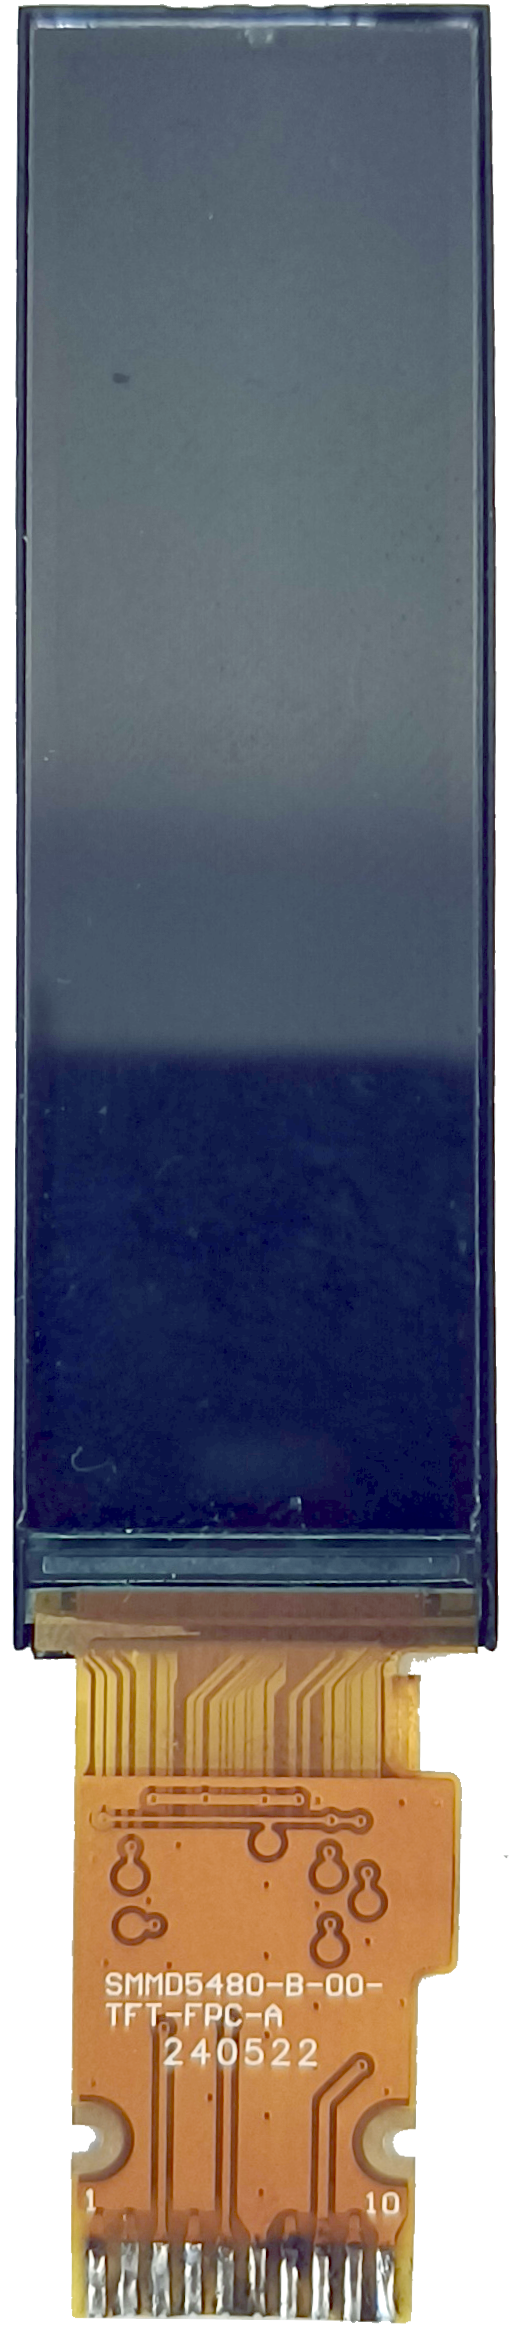
A Thin-Film Transistor (TFT) is a type of LCD flat panel display technology that utilizes thin-film transistor technology to enhance image quality, color accuracy, and response times. TFT displays are widely used in various applications due to their ability to deliver high-resolution visuals and vibrant colors. They are commonly found in devices such as televisions, computer monitors, smartphones, and embedded systems.
TFT displays are particularly popular in embedded electronics projects, where they are used to create graphical user interfaces (GUIs) for devices like smart appliances, industrial control panels, and portable gadgets. Their versatility and performance make them a preferred choice for both consumer and industrial applications.
Explore Projects Built with TFT


Explore Projects Built with TFT
Technical Specifications
Below are the general technical specifications for a typical TFT display module. Note that specific values may vary depending on the manufacturer and model.
General Specifications
- Display Type: TFT LCD
- Resolution: Varies (e.g., 320x240, 480x320, 800x480)
- Color Depth: 16-bit or 24-bit (65K or 16M colors)
- Interface: SPI, I2C, or Parallel
- Operating Voltage: 3.3V or 5V (depending on the module)
- Backlight: LED
- Viewing Angle: Typically 160° or higher
- Touchscreen: Optional (Resistive or Capacitive)
Pin Configuration
The pin configuration of a TFT module depends on the specific model. Below is an example of a common 2.4-inch TFT module with SPI interface:
| Pin Name | Description |
|---|---|
| VCC | Power supply (3.3V or 5V) |
| GND | Ground |
| CS | Chip Select (active low) |
| RESET | Reset pin (active low) |
| DC (or RS) | Data/Command control |
| MOSI (DIN) | Master Out Slave In (SPI data in) |
| SCK (CLK) | Serial Clock |
| LED | Backlight control (optional) |
| MISO | Master In Slave Out (optional) |
For parallel interface TFTs, additional data pins (e.g., D0-D7) and control pins (e.g., WR, RD) are used.
Usage Instructions
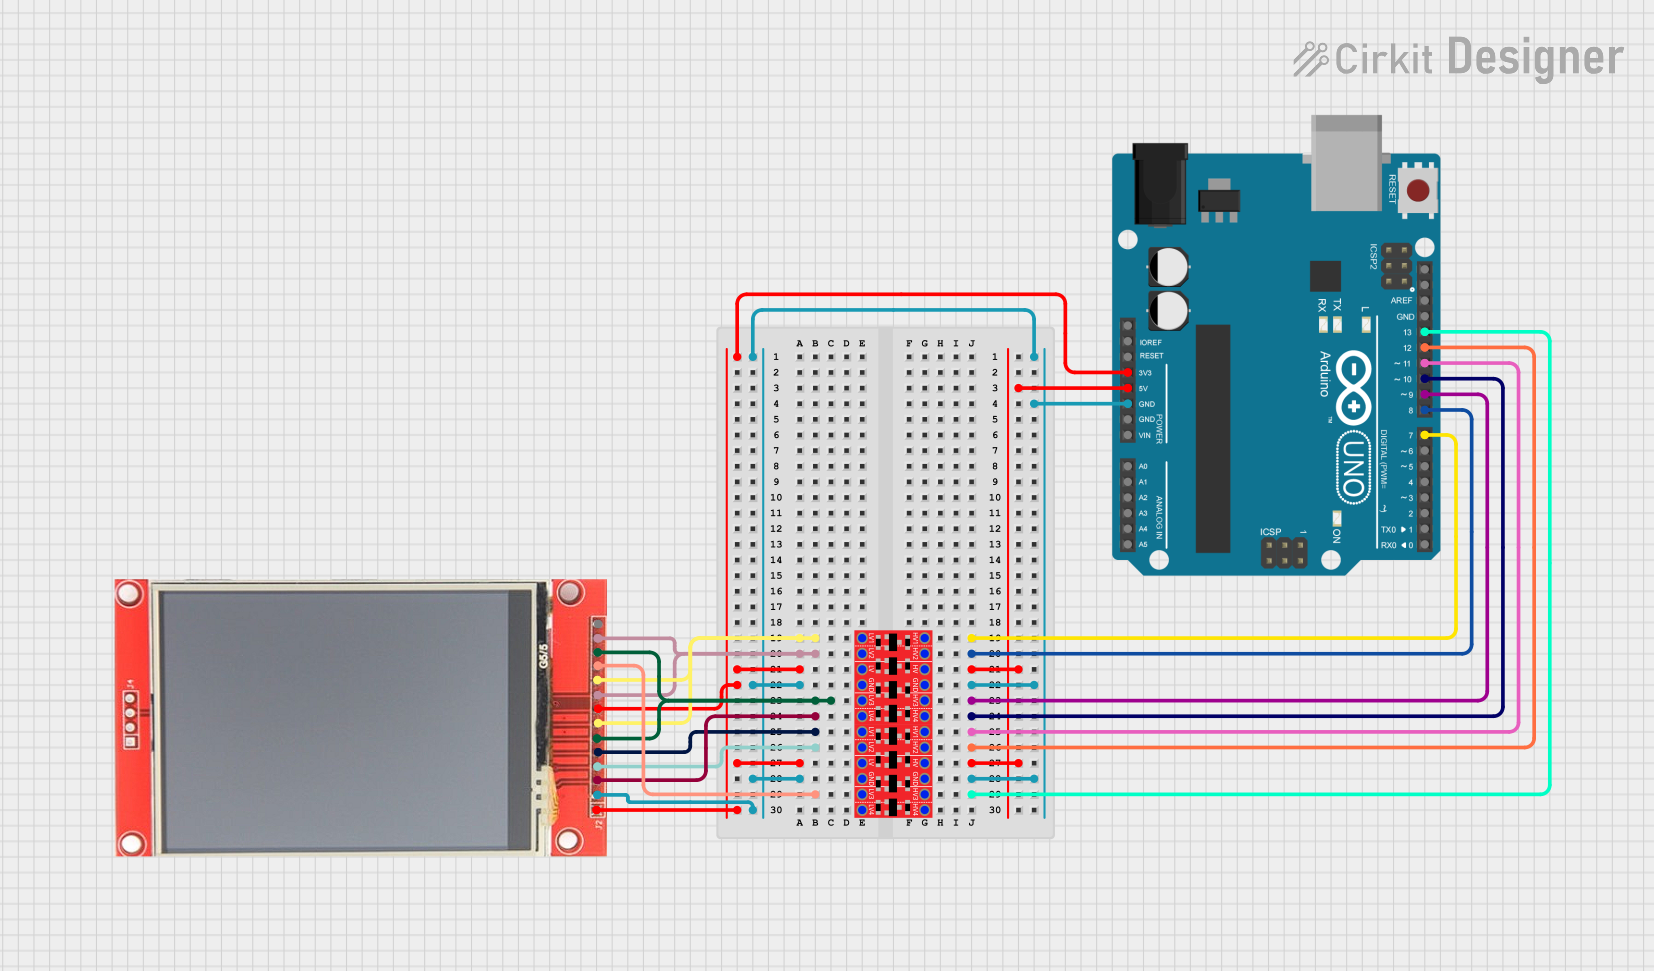
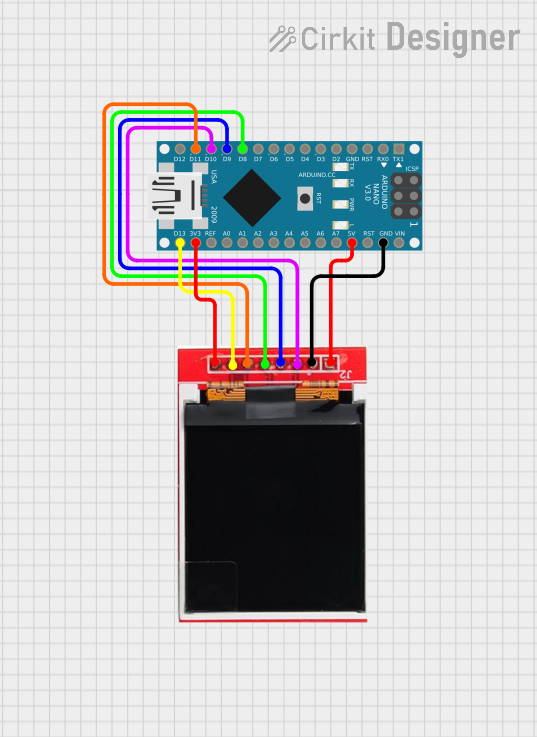
Connecting a TFT to an Arduino UNO
To use a TFT display with an Arduino UNO, follow these steps:
Wiring: Connect the TFT module to the Arduino as per the pin configuration. For example:
- VCC to 5V
- GND to GND
- CS to digital pin 10
- RESET to digital pin 9
- DC to digital pin 8
- MOSI to digital pin 11
- SCK to digital pin 13
- LED to 3.3V (or a PWM pin for brightness control)
Install Libraries: Install the required libraries, such as
Adafruit_GFXandAdafruit_TFTLCD, from the Arduino Library Manager.Upload Code: Use the following example code to display a simple graphic:
#include <Adafruit_GFX.h>      // Core graphics library
#include <Adafruit_TFTLCD.h>  // Hardware-specific library

#define LCD_CS A3  // Chip Select pin
#define LCD_CD A2  // Command/Data pin
#define LCD_WR A1  // LCD Write pin
#define LCD_RD A0  // LCD Read pin
#define LCD_RESET A4  // Reset pin

// Create an instance of the TFT library
Adafruit_TFTLCD tft(LCD_CS, LCD_CD, LCD_WR, LCD_RD, LCD_RESET);

void setup() {
  tft.reset();  // Reset the display
  tft.begin(0x9341);  // Initialize with the display driver ID (e.g., ILI9341)

  tft.fillScreen(0x0000);  // Clear the screen (black)
  tft.setTextColor(0xFFFF);  // Set text color (white)
  tft.setTextSize(2);  // Set text size
  tft.setCursor(10, 10);  // Set cursor position
  tft.println("Hello, TFT!");  // Print text
}

void loop() {
  // No actions in the loop
}
Important Considerations
- Voltage Compatibility: Ensure the TFT module is compatible with the voltage levels of your microcontroller (3.3V or 5V). Use level shifters if necessary.
- Backlight Control: If the backlight pin is connected to a PWM pin, you can adjust brightness using analogWrite().
- Driver Compatibility: Verify the driver IC of your TFT module (e.g., ILI9341, ST7735) and use the appropriate library.
Troubleshooting and FAQs
Common Issues
Blank Screen:
- Check wiring connections and ensure all pins are correctly connected.
- Verify the power supply voltage and current are sufficient for the display.
- Confirm the driver IC matches the one specified in the code.
Distorted or Noisy Display:
- Ensure proper grounding between the TFT module and the microcontroller.
- Use shorter wires to reduce noise and interference.
Touchscreen Not Working:
- If using a touchscreen module, ensure the touchscreen pins (e.g., T_IRQ, T_DO, T_DIN, T_CLK) are connected and configured in the code.
FAQs
Q: Can I use a TFT display with a Raspberry Pi?
A: Yes, most TFT displays can be used with a Raspberry Pi. You may need to use libraries like Pillow or pygame for graphical output.
Q: How do I identify the driver IC of my TFT module?
A: Check the module's datasheet or look for markings on the PCB. Alternatively, some libraries include functions to detect the driver ID.
Q: Can I use multiple TFT displays in one project?
A: Yes, but each display will require its own set of control pins (e.g., CS, DC). Ensure your microcontroller has enough GPIO pins available.
Q: How do I reduce power consumption?
A: Lower the backlight brightness or use sleep modes if supported by the display.
By following this documentation, you can effectively integrate and troubleshoot a TFT display in your projects.