Cirkit Designer Logo
Cirkit Designer
Your all-in-one circuit design IDE
Home / 
Component Documentation

How to Use R307 Fingerprint Sensor: Examples, Pinouts, and Specs

Image of R307 Fingerprint Sensor
Cirkit Designer LogoDesign with R307 Fingerprint Sensor in Cirkit Designer

Introduction

The R307 Fingerprint Sensor is a sophisticated biometric module capable of providing secure and reliable authentication by scanning and recognizing an individual's fingerprint. This sensor is widely used in security systems, access control, time attendance systems, and various other applications where identity verification is required.

Explore Projects Built with R307 Fingerprint Sensor

Use Cirkit Designer to design, explore, and prototype these projects online. Some projects support real-time simulation. Click "Open Project" to start designing instantly!
ESP32-Based Fingerprint Authentication System with OLED Display
Image of Attendance system using fingerprint: A project utilizing R307 Fingerprint Sensor in a practical application
This circuit features an ESP32 microcontroller connected to an R307 Fingerprint Sensor and an OLED 1.3" display. The ESP32 powers both the sensor and the display, communicates with the fingerprint sensor via serial connection (RX2/TX2), and interfaces with the OLED display using I2C protocol (D21 for SDA, D22 for SCL). The circuit is likely designed for biometric authentication with visual feedback on the OLED screen.
Cirkit Designer LogoOpen Project in Cirkit Designer
Arduino 101 Fingerprint Authentication System
Image of crash_exp01: A project utilizing R307 Fingerprint Sensor in a practical application
This circuit connects an Arduino 101 microcontroller to an R307 Fingerprint Sensor for biometric identification. The Arduino communicates with the fingerprint sensor via serial communication (TX/RX pins) to enroll and verify fingerprints. A 5V DC power source is used to power both the Arduino and the fingerprint sensor.
Cirkit Designer LogoOpen Project in Cirkit Designer
Arduino 101 Fingerprint Identification System
Image of THUMBRECOGNITION: A project utilizing R307 Fingerprint Sensor in a practical application
This circuit connects an R307 fingerprint sensor to an Arduino 101 microcontroller for biometric identification. The sensor's VCC and GND are connected to the Arduino's 5V and GND for power, while the sensor's TX and RX pins are connected to the Arduino's RX (D0) and TX (D1) pins for serial communication. The provided Arduino code is configured to initialize the sensor, capture fingerprints, and search for matches in its database.
Cirkit Designer LogoOpen Project in Cirkit Designer
Arduino Nano Controlled Fingerprint-Authenticated Servo Lock
Image of Fingerprint_Door_Lock: A project utilizing R307 Fingerprint Sensor in a practical application
This circuit features an Arduino Nano microcontroller interfaced with an r307 fingerprint sensor and a servo motor. The Arduino communicates with the r307 sensor via digital pins D2 and D3 for RX/TX serial communication and controls the servo motor through the PWM signal on pin D8. Power is managed through a rocker switch connected to an 18650 Li-Ion battery, which supplies power to the Arduino's VIN pin and, through the Arduino, to the servo and sensor.
Cirkit Designer LogoOpen Project in Cirkit Designer

Explore Projects Built with R307 Fingerprint Sensor

Use Cirkit Designer to design, explore, and prototype these projects online. Some projects support real-time simulation. Click "Open Project" to start designing instantly!
Image of Attendance system using fingerprint: A project utilizing R307 Fingerprint Sensor in a practical application
ESP32-Based Fingerprint Authentication System with OLED Display
This circuit features an ESP32 microcontroller connected to an R307 Fingerprint Sensor and an OLED 1.3" display. The ESP32 powers both the sensor and the display, communicates with the fingerprint sensor via serial connection (RX2/TX2), and interfaces with the OLED display using I2C protocol (D21 for SDA, D22 for SCL). The circuit is likely designed for biometric authentication with visual feedback on the OLED screen.
Cirkit Designer LogoOpen Project in Cirkit Designer
Image of crash_exp01: A project utilizing R307 Fingerprint Sensor in a practical application
Arduino 101 Fingerprint Authentication System
This circuit connects an Arduino 101 microcontroller to an R307 Fingerprint Sensor for biometric identification. The Arduino communicates with the fingerprint sensor via serial communication (TX/RX pins) to enroll and verify fingerprints. A 5V DC power source is used to power both the Arduino and the fingerprint sensor.
Cirkit Designer LogoOpen Project in Cirkit Designer
Image of THUMBRECOGNITION: A project utilizing R307 Fingerprint Sensor in a practical application
Arduino 101 Fingerprint Identification System
This circuit connects an R307 fingerprint sensor to an Arduino 101 microcontroller for biometric identification. The sensor's VCC and GND are connected to the Arduino's 5V and GND for power, while the sensor's TX and RX pins are connected to the Arduino's RX (D0) and TX (D1) pins for serial communication. The provided Arduino code is configured to initialize the sensor, capture fingerprints, and search for matches in its database.
Cirkit Designer LogoOpen Project in Cirkit Designer
Image of Fingerprint_Door_Lock: A project utilizing R307 Fingerprint Sensor in a practical application
Arduino Nano Controlled Fingerprint-Authenticated Servo Lock
This circuit features an Arduino Nano microcontroller interfaced with an r307 fingerprint sensor and a servo motor. The Arduino communicates with the r307 sensor via digital pins D2 and D3 for RX/TX serial communication and controls the servo motor through the PWM signal on pin D8. Power is managed through a rocker switch connected to an 18650 Li-Ion battery, which supplies power to the Arduino's VIN pin and, through the Arduino, to the servo and sensor.
Cirkit Designer LogoOpen Project in Cirkit Designer

Common Applications and Use Cases

  • Door locks
  • Safes
  • Personal identification
  • Time and attendance systems
  • User authentication for devices and software

Technical Specifications

Key Technical Details

  • Supply Voltage: 3.6V to 6.0V
  • Supply Current: Running mode: <60mA, Sleep mode: <20uA
  • Peak Current: <60mA
  • Fingerprint Image Time: <1.0 seconds
  • Window Area: 14mm x 18mm
  • Matching Mode: 1:1 and 1:N
  • False Acceptance Rate (FAR): <0.001% (Security level 3)
  • False Rejection Rate (FRR): <1.0% (Security level 3)
  • Search Time: <1.0 seconds (1:1000, average)
  • Interface: UART (TTL logical level)
  • Baud Rate (UART): 9600 / 19200 / 28800 / 38400 / 57600 / 115200 bps
  • Working Environment: Temperature: -20°C to +50°C, Humidity: 40%RH to 85%RH (no condensation)
  • Storage Environment: Temperature: -40°C to +85°C, Humidity: <85%RH

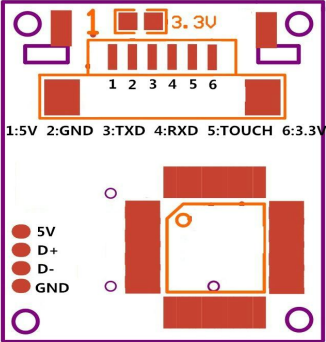
Pin Configuration and Descriptions

Pin Number Name Description
1 VCC Power supply (3.6V to 6.0V)
2 TXD UART transmit
3 RXD UART receive
4 GND Ground

Usage Instructions

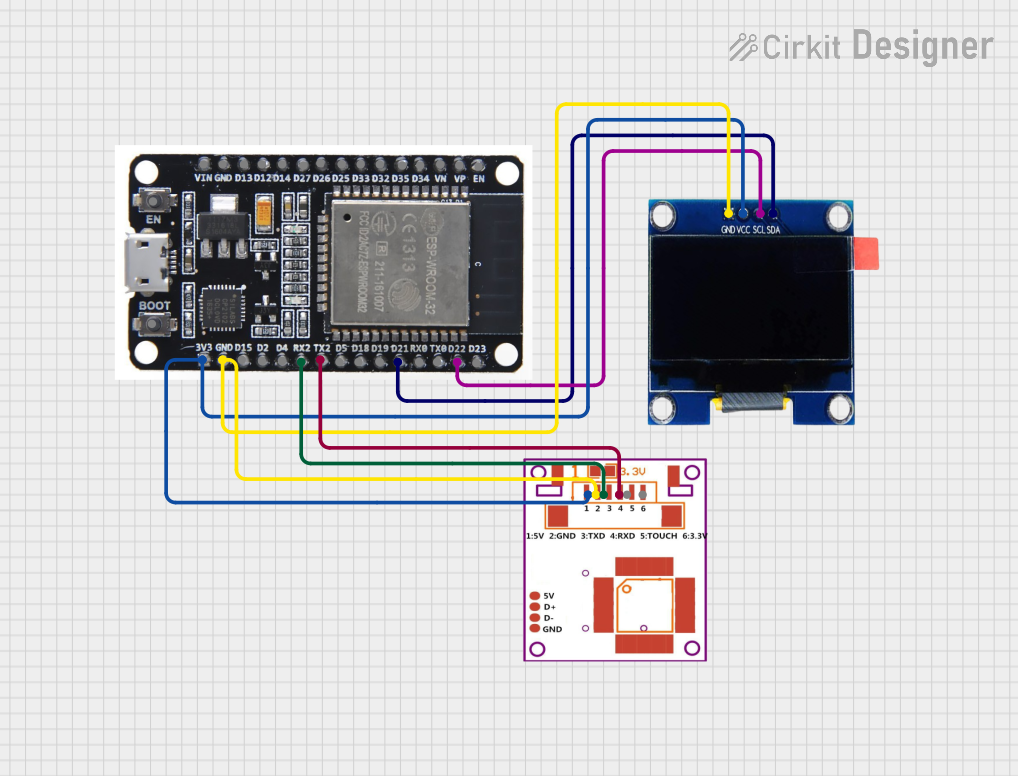
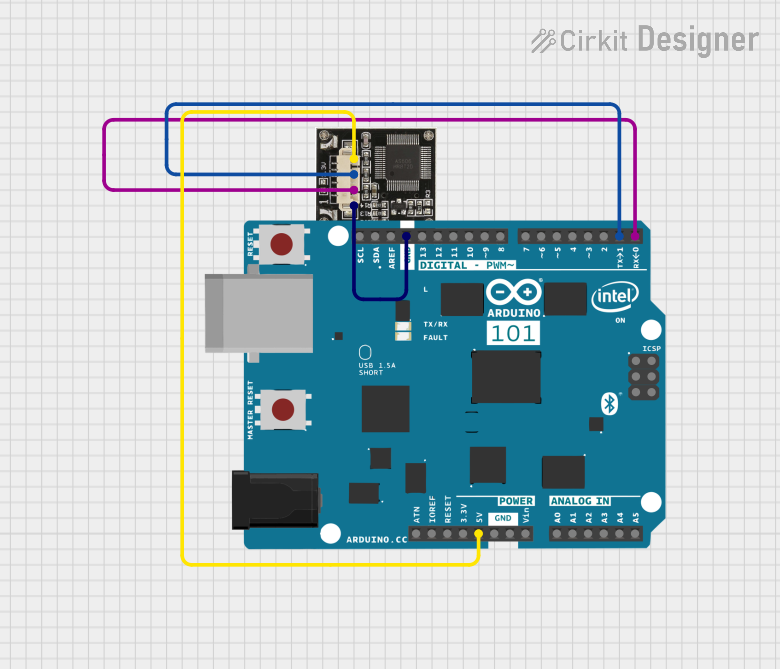
How to Use the Component in a Circuit

  1. Power Supply: Connect the VCC pin to a 3.6V to 6.0V power source and the GND pin to the ground.
  2. Data Communication: Connect the TXD and RXD pins to the UART interface of the microcontroller, ensuring that TXD of the sensor goes to RXD of the microcontroller and vice versa.
  3. Initialization: Upon powering up, the sensor initializes and calibrates itself for the environment.

Important Considerations and Best Practices

  • Ensure that the power supply is stable and within the specified voltage range.
  • Avoid touching the sensor window with dirty or greasy fingers to maintain accuracy.
  • Implement proper error handling in your code to manage failed attempts and sensor errors.
  • Use a pull-up resistor if necessary for the TXD line, depending on your microcontroller's requirements.

Example Code for Arduino UNO

#include <SoftwareSerial.h>

SoftwareSerial mySerial(10, 11); // RX, TX

void setup() {
  Serial.begin(9600);
  while (!Serial) {
    ; // Wait for serial port to connect.
  }
  mySerial.begin(57600); // Set the baud rate for R307
  Serial.println("R307 Fingerprint Sensor initialization...");
  // Add further initialization code here
}

void loop() {
  // Add fingerprint scanning and matching logic here
  if (mySerial.available()) {
    Serial.write(mySerial.read());
  }
  if (Serial.available()) {
    mySerial.write(Serial.read());
  }
}

Note: This example sets up a basic serial communication between the Arduino UNO and the R307 Fingerprint Sensor. You will need to implement the actual fingerprint scanning and matching logic using the appropriate library or protocol specified by the sensor's datasheet.

Troubleshooting and FAQs

Common Issues Users Might Face

  • Sensor not responding: Ensure that the wiring is correct and the power supply is within the specified range.
  • Poor recognition rate: Clean the sensor window and ensure that fingers are placed correctly on the sensor.
  • Communication errors: Verify the baud rate and serial communication settings.

Solutions and Tips for Troubleshooting

  • Double-check connections and solder joints for any loose connections or shorts.
  • Reset the sensor and microcontroller to clear any temporary issues.
  • Consult the sensor's datasheet for detailed troubleshooting steps specific to the R307.

FAQs

Q: Can the R307 Fingerprint Sensor work with a 5V power supply? A: Yes, the R307 can operate with a power supply ranging from 3.6V to 6.0V.

Q: What is the maximum number of fingerprints that can be stored? A: The capacity depends on the model and the memory available. Refer to the specific datasheet for your sensor model.

Q: How can I improve the fingerprint recognition rate? A: Ensure the sensor is clean, calibrate the sensor if necessary, and ensure proper placement of the finger during scanning.

Q: Is it possible to interface the R307 with a computer? A: Yes, you can interface the R307 with a computer using a UART to USB converter and appropriate software.

This documentation provides a basic overview and starting point for working with the R307 Fingerprint Sensor. For more detailed information, always refer to the manufacturer's datasheet and technical resources.