How to Use Arduino® Nano 33 BLE Sense Rev2: Examples, Pinouts, and Specs
Introduction
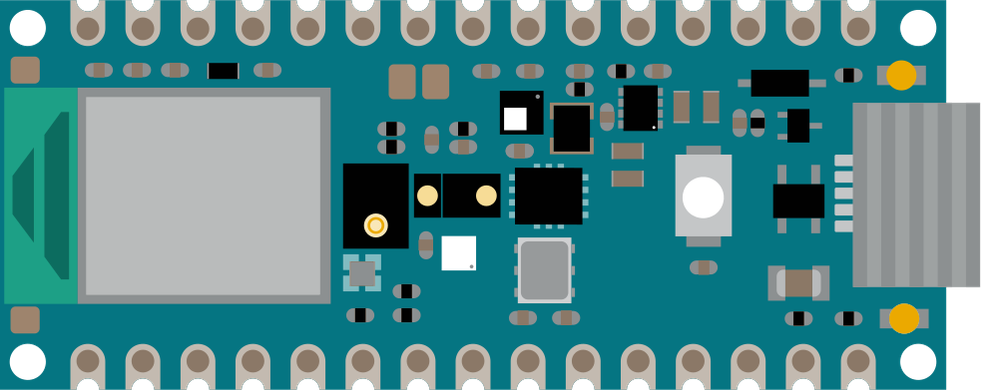
The Arduino® Nano 33 BLE Sense Rev2 is a compact microcontroller board designed for advanced IoT applications, environmental monitoring, and machine learning projects. It features Bluetooth Low Energy (BLE) connectivity, a range of built-in sensors, and compatibility with the Arduino IDE, making it an excellent choice for both beginners and experienced developers. Its small form factor and powerful capabilities allow for seamless integration into a variety of projects, from wearable devices to smart home systems.
Explore Projects Built with Arduino® Nano 33 BLE Sense Rev2
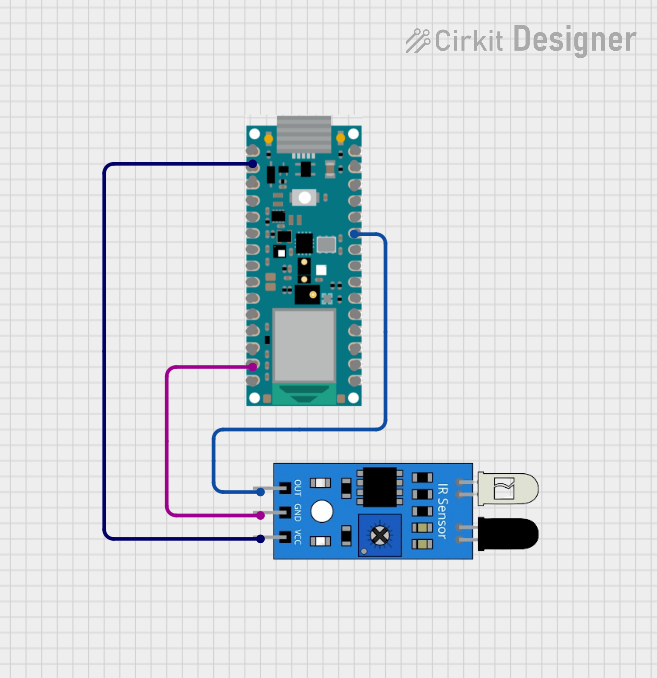
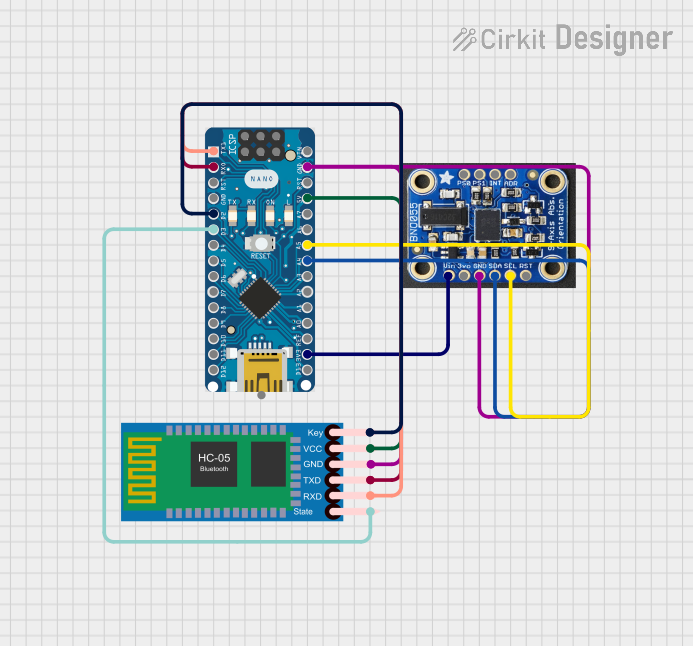
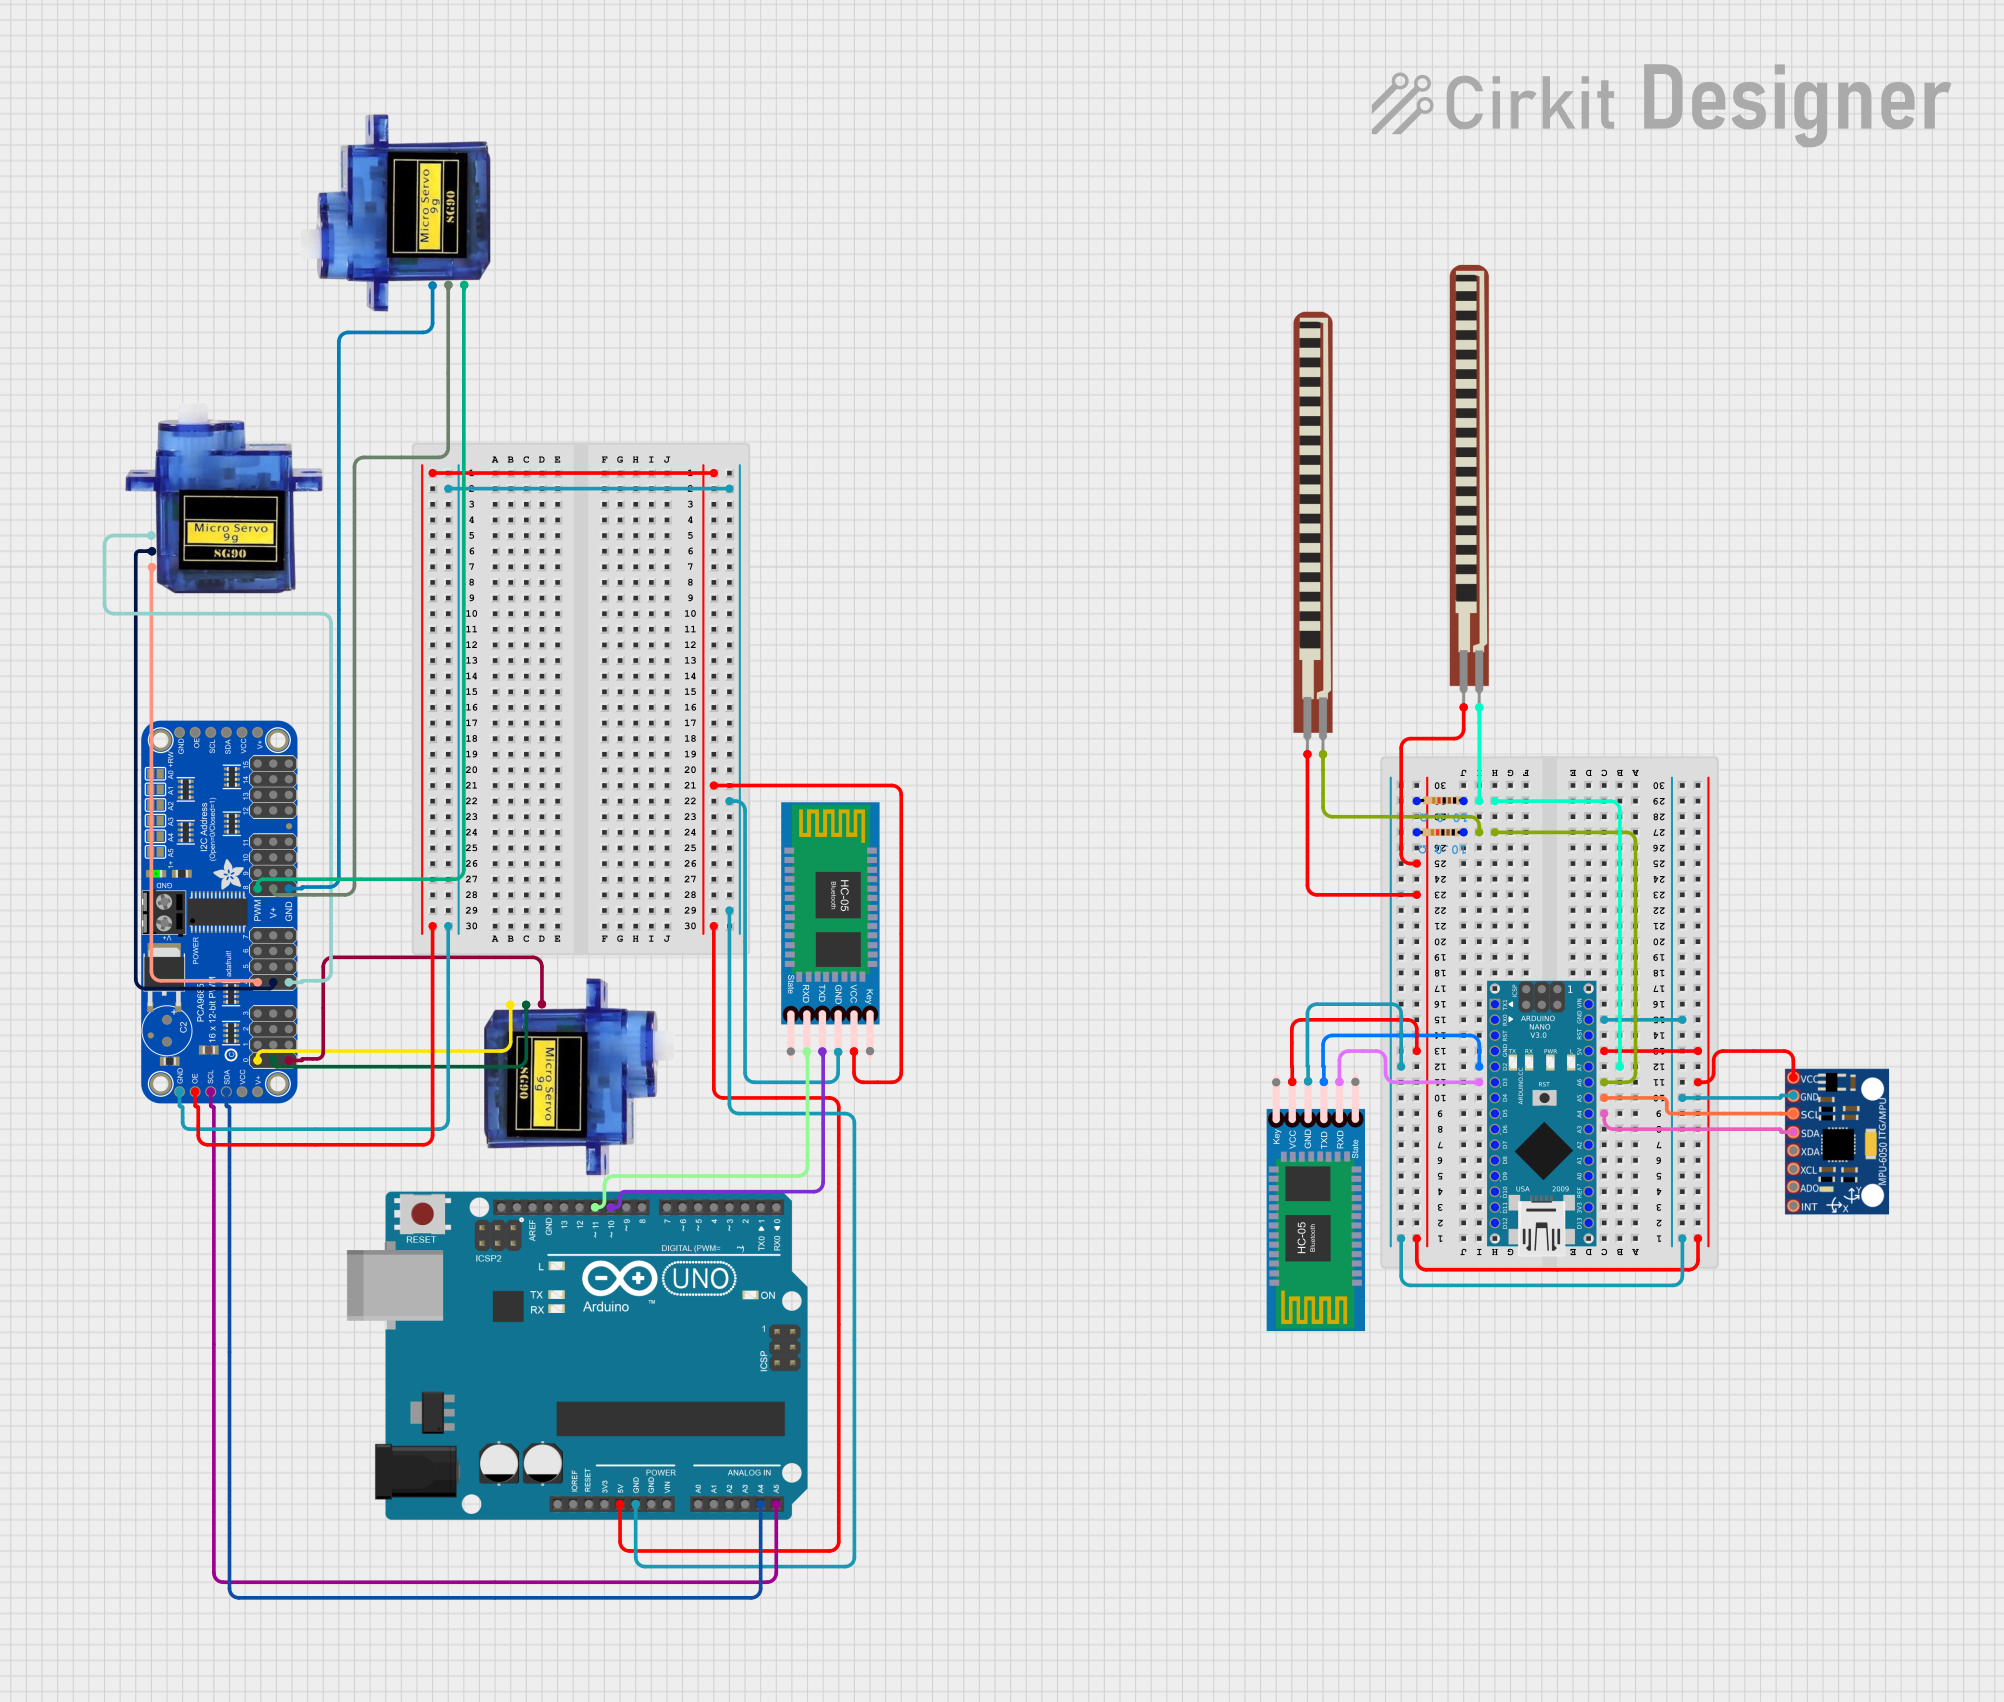
Explore Projects Built with Arduino® Nano 33 BLE Sense Rev2
Common Applications and Use Cases
- Environmental monitoring (e.g., temperature, humidity, air quality)
- IoT (Internet of Things) devices with BLE connectivity
- Machine learning applications using sensor data
- Wearable technology
- Prototyping for smart home automation
- Gesture recognition and motion tracking
Technical Specifications
The Arduino Nano 33 BLE Sense Rev2 is built around the Nordic nRF52840 microcontroller and includes a variety of onboard sensors for enhanced functionality.
Key Technical Details
| Specification | Value |
|---|---|
| Microcontroller | Nordic nRF52840 (ARM Cortex-M4 @ 64 MHz) |
| Operating Voltage | 3.3V |
| Input Voltage (VIN) | 5V (via USB or VIN pin) |
| Digital I/O Pins | 14 (12 PWM capable) |
| Analog Input Pins | 8 |
| Flash Memory | 1 MB |
| SRAM | 256 KB |
| Connectivity | Bluetooth 5.0 Low Energy |
| Sensors | Temperature, humidity, pressure, gesture, |
| color, proximity, and microphone | |
| Dimensions | 45 x 18 mm |
Pin Configuration and Descriptions
The Arduino Nano 33 BLE Sense Rev2 has a total of 30 pins, including power, digital, and analog pins. Below is a summary of the pin configuration:
Power Pins
| Pin Name | Description |
|---|---|
| VIN | Input voltage to the board (5V) |
| 3.3V | Regulated 3.3V output |
| GND | Ground |
| RESET | Resets the microcontroller |
Digital Pins
| Pin Name | Description |
|---|---|
| D0-D13 | General-purpose digital I/O pins |
| PWM | Pulse Width Modulation (on D3, D5, etc.) |
Analog Pins
| Pin Name | Description |
|---|---|
| A0-A7 | Analog input pins (10-bit resolution) |
Communication Pins
| Pin Name | Description |
|---|---|
| TX/RX | UART communication |
| SDA/SCL | I2C communication |
| SPI | SPI communication (MISO, MOSI, SCK) |
Usage Instructions
The Arduino Nano 33 BLE Sense Rev2 is easy to use with the Arduino IDE and supports a wide range of libraries for its onboard sensors. Below are the steps to get started and some best practices for using the board.
Getting Started
- Install the Arduino IDE: Download and install the latest version of the Arduino IDE from the official website.
- Add the Board to the IDE:
- Open the Arduino IDE.
- Go to
Tools > Board > Boards Manager. - Search for "Arduino Mbed OS Nano Boards" and install the package.
- Connect the Board:
- Use a micro-USB cable to connect the board to your computer.
- Select the correct board (
Arduino Nano 33 BLE) and port under theToolsmenu.
- Install Required Libraries:
- Install libraries for the onboard sensors (e.g.,
Arduino_LSM9DS1for the IMU,Arduino_HTS221for temperature and humidity).
- Install libraries for the onboard sensors (e.g.,
Example Code: Reading Temperature and Humidity
The following example demonstrates how to read temperature and humidity data from the onboard HTS221 sensor.
#include <Arduino_HTS221.h> // Include the library for the HTS221 sensor

void setup() {
  Serial.begin(9600); // Initialize serial communication at 9600 baud
  while (!Serial);    // Wait for the serial monitor to open

  // Initialize the HTS221 sensor
  if (!HTS.begin()) {
    Serial.println("Failed to initialize HTS221 sensor!");
    while (1); // Halt execution if initialization fails
  }
  Serial.println("HTS221 sensor initialized successfully.");
}

void loop() {
  // Read temperature and humidity values
  float temperature = HTS.readTemperature();
  float humidity = HTS.readHumidity();

  // Print the values to the serial monitor
  Serial.print("Temperature: ");
  Serial.print(temperature);
  Serial.println(" °C");

  Serial.print("Humidity: ");
  Serial.print(humidity);
  Serial.println(" %");

  delay(1000); // Wait for 1 second before reading again
}
Best Practices
- Power Supply: Always ensure the board is powered with a stable 3.3V supply to avoid damage.
- Sensor Libraries: Use the official Arduino libraries for the onboard sensors to ensure compatibility.
- BLE Communication: Use the
ArduinoBLElibrary for Bluetooth communication. - Avoid Overheating: Do not exceed the recommended operating voltage or current limits.
Troubleshooting and FAQs
Common Issues
- Board Not Recognized by the IDE:
- Ensure the correct board and port are selected in the
Toolsmenu. - Check the USB cable for proper data transfer capability (some cables are power-only).
- Ensure the correct board and port are selected in the
- Sensor Initialization Fails:
- Verify that the required libraries are installed.
- Check the wiring if using external sensors.
- BLE Connection Issues:
- Ensure the device you are connecting to supports Bluetooth 5.0.
- Reduce the distance between the board and the BLE device.
Solutions and Tips
- Update Firmware: Use the Arduino IDE to update the board's firmware if issues persist.
- Serial Monitor: Use the serial monitor to debug and verify sensor outputs.
- Community Support: Visit the Arduino Forum for additional help.
By following this documentation, you can effectively utilize the Arduino Nano 33 BLE Sense Rev2 for a wide range of applications. Happy prototyping!