
How to Use LilyPad Button Board: Examples, Pinouts, and Specs
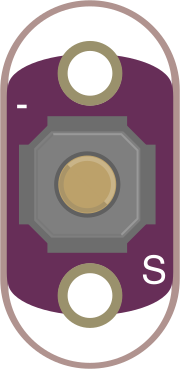
 Design with LilyPad Button Board in Cirkit Designer
Introduction
The LilyPad Button Board (Manufacturer Part ID: DEV-08776) is a flexible, sewable button module designed by SparkFun Electronics. It is part of the LilyPad Arduino ecosystem, which is tailored for wearable electronics and e-textile projects. This button board allows users to easily integrate tactile input into their designs, making it ideal for interactive garments, accessories, and other creative projects.
Explore Projects Built with LilyPad Button Board
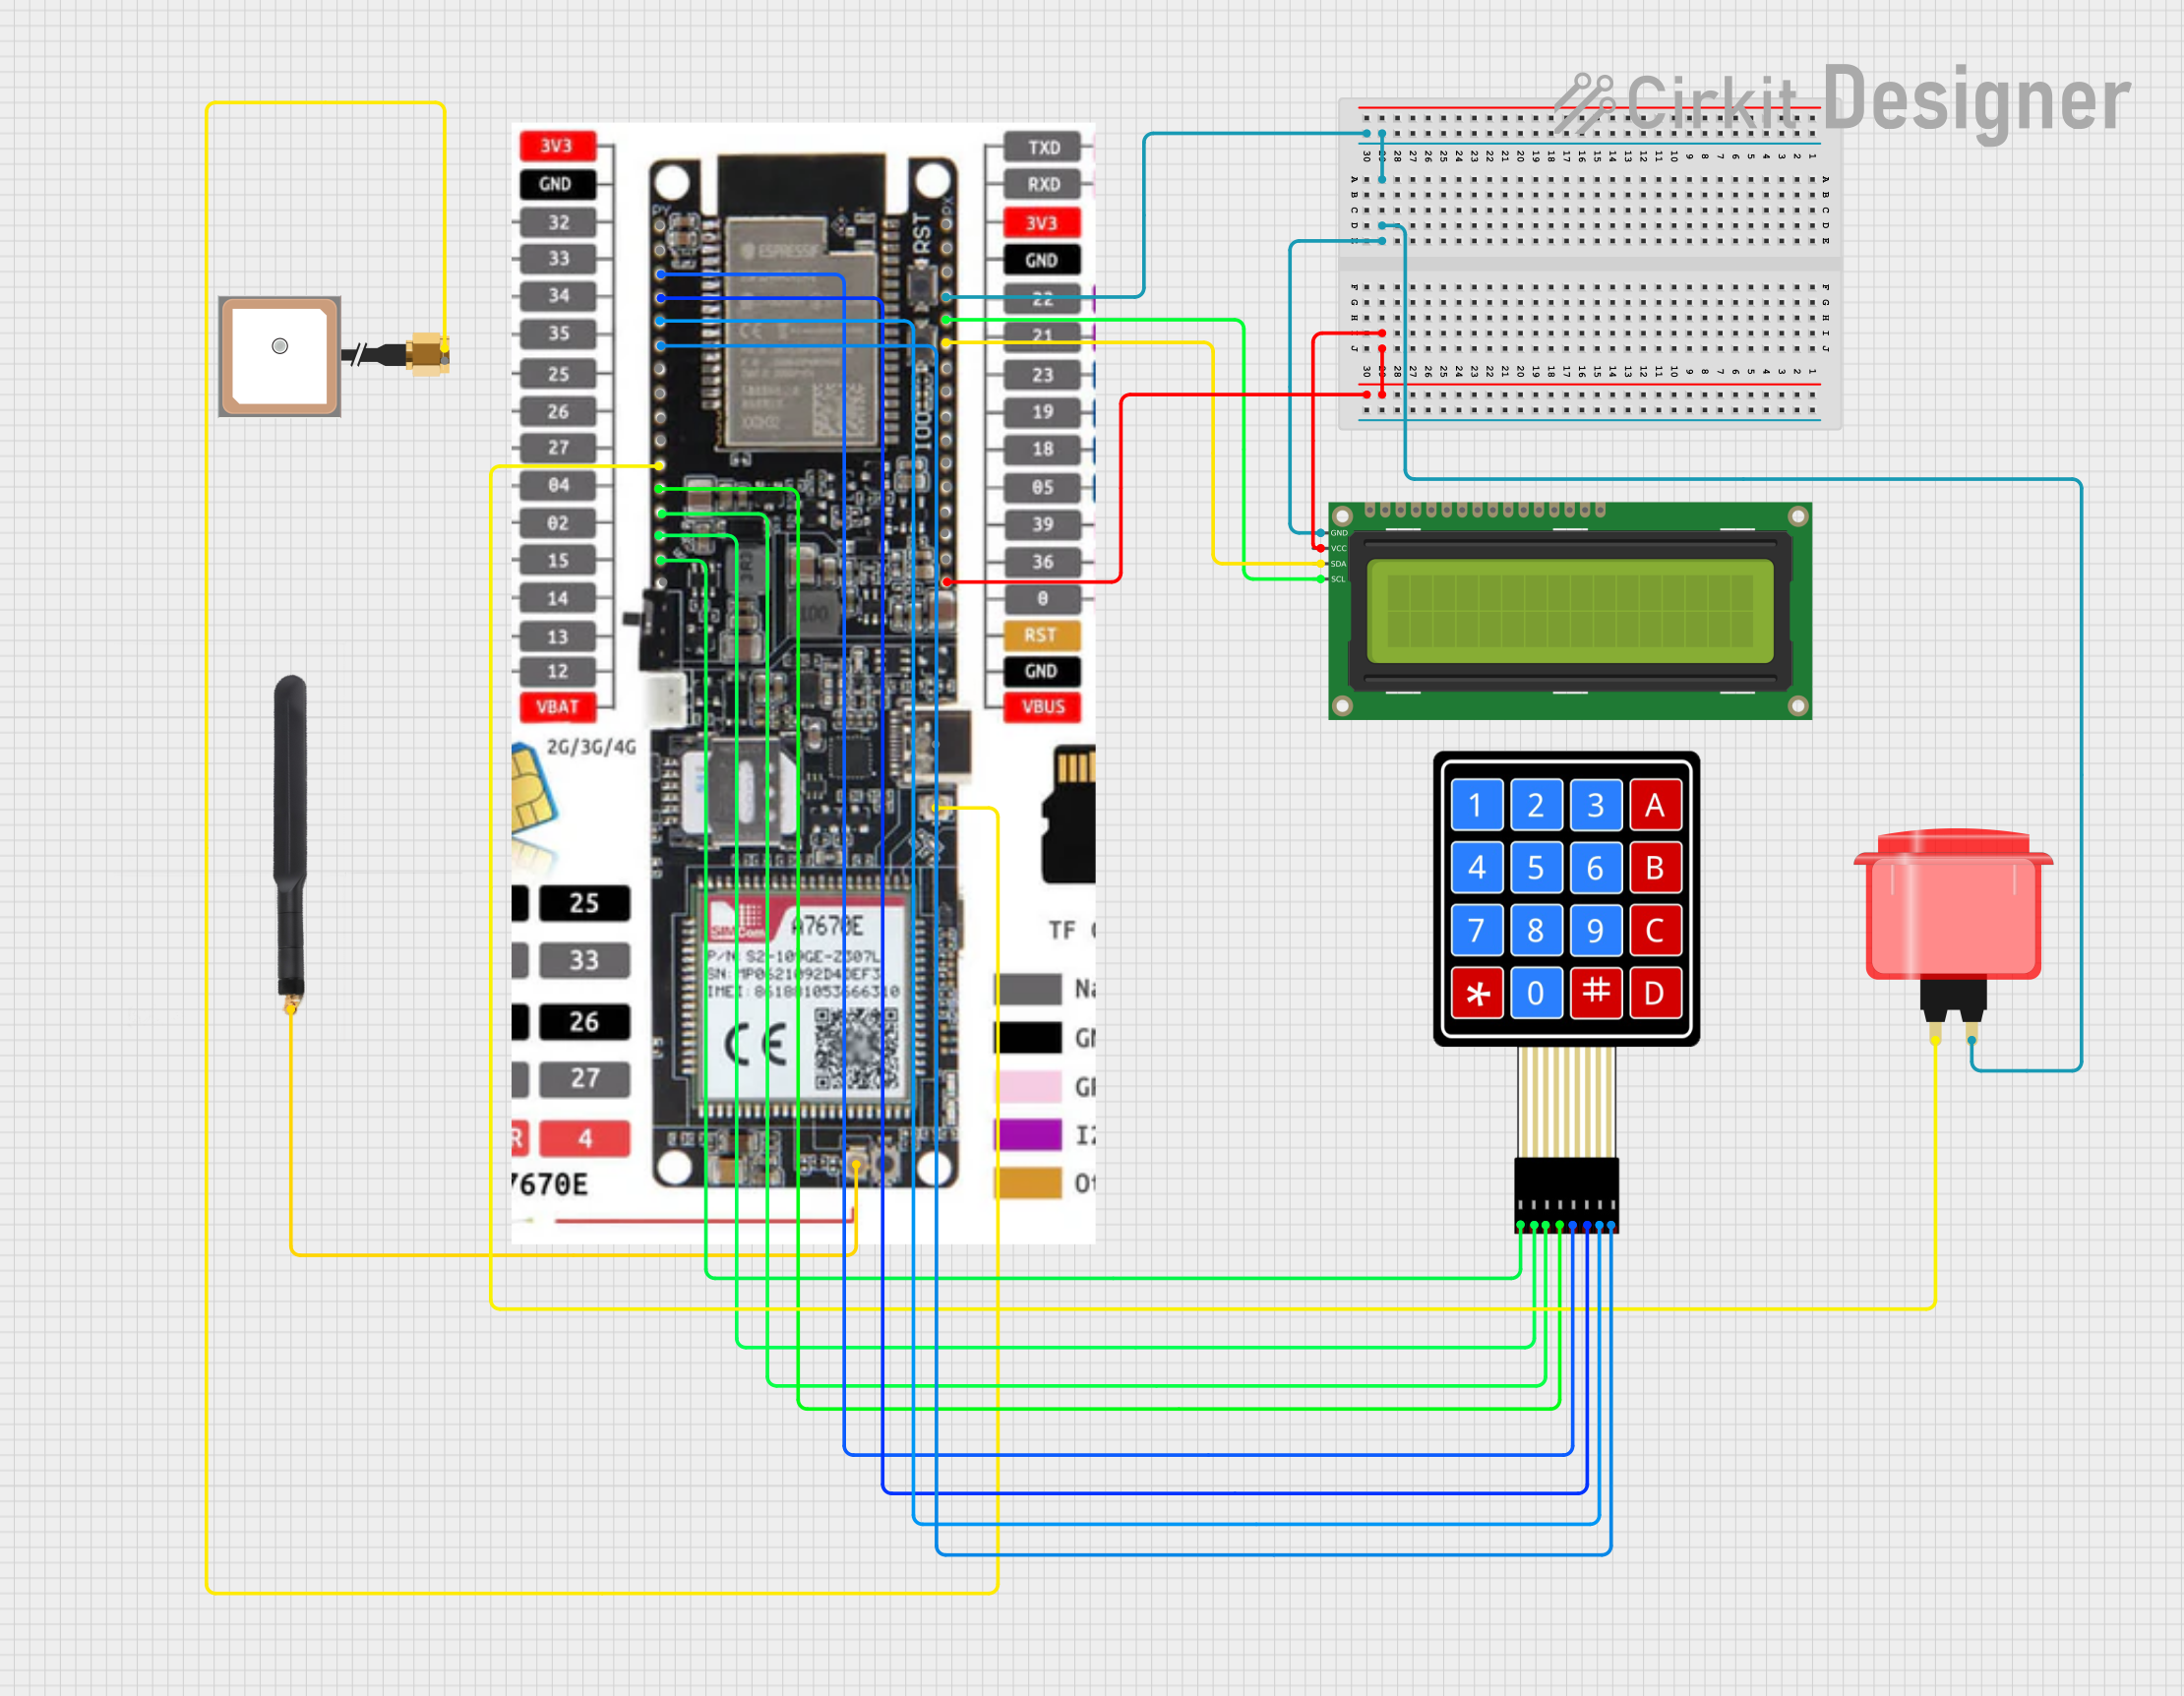 Open Project in Cirkit Designer
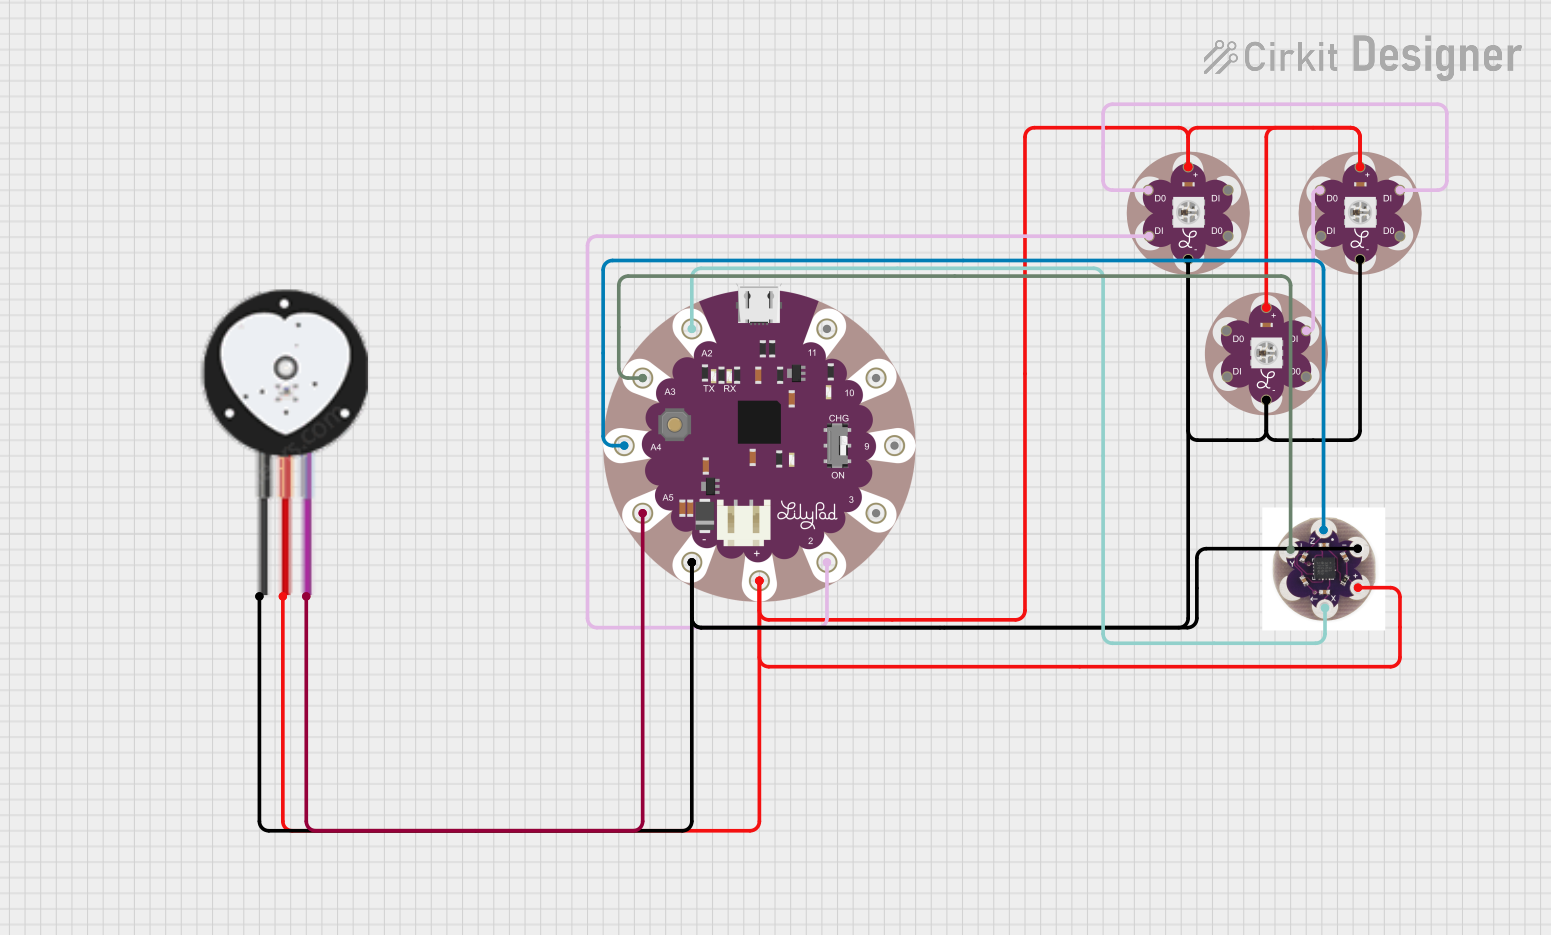 Open Project in Cirkit Designer
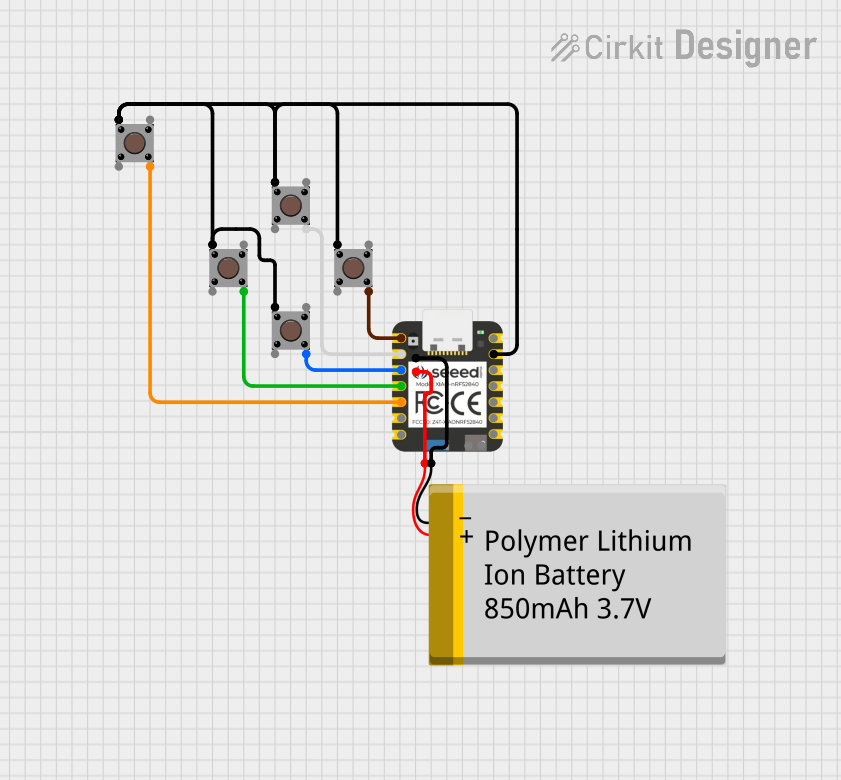 Open Project in Cirkit Designer
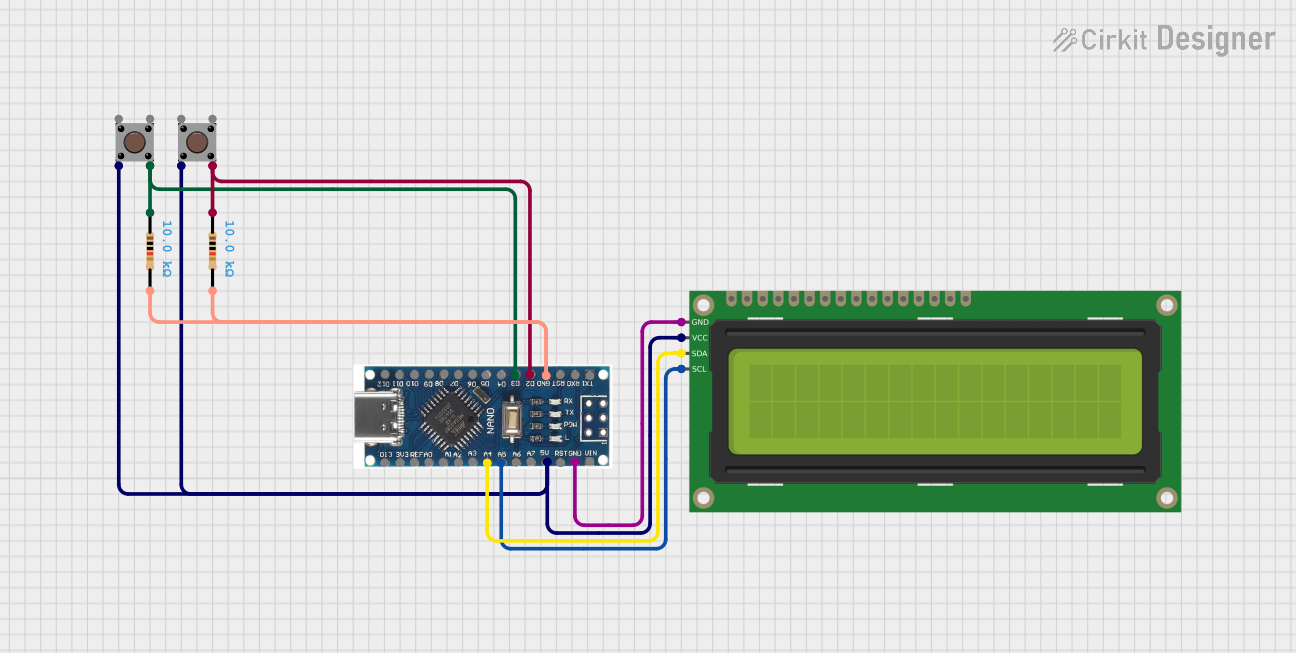 Open Project in Cirkit Designer
Explore Projects Built with LilyPad Button Board
Open Project in Cirkit DesignerOpen Project in Cirkit DesignerOpen Project in Cirkit DesignerOpen Project in Cirkit DesignerCommon Applications and Use Cases
- Wearable electronics and e-textiles
- Interactive clothing and accessories
- User input for LilyPad Arduino projects
- DIY projects requiring a compact, sewable button interface
Technical Specifications
The LilyPad Button Board is designed for simplicity and ease of use in wearable projects. Below are its key technical details:
| Specification | Details |
|---|---|
| Manufacturer | SparkFun Electronics |
| Part Number | DEV-08776 |
| Operating Voltage | 2.7V to 5.5V |
| Current Rating | Minimal (acts as a simple switch) |
| Dimensions | Diameter: 20mm (0.79 inches) |
| Mounting Style | Sewable with conductive thread or solderable |
| Button Type | Momentary push button |
| Connection Points | 4 sewable pads (2 for power, 2 for signal) |
| Material | Flexible PCB with gold-plated sewable pads |
Pin Configuration and Descriptions
The LilyPad Button Board has four connection pads, as described below:
| Pad Name | Description |
|---|---|
| + | Positive connection for the button (connect to power or signal input) |
| - | Negative connection for the button (connect to ground) |
| SW1 | Signal output when the button is pressed (connect to microcontroller input) |
| SW2 | Alternate signal output (can also be connected to microcontroller input) |
Usage Instructions
The LilyPad Button Board is straightforward to use and can be integrated into circuits with conductive thread, solder, or alligator clips. Below are the steps and best practices for using the button board:
How to Use the Component in a Circuit
Connect the Button Board to Power and Ground:
- Sew or solder the + pad to the power source (e.g., 3.3V or 5V).
- Sew or solder the - pad to the ground (GND) of your circuit.
Connect the Signal Pads:
- Use either SW1 or SW2 to connect the button's output to a microcontroller input pin (e.g., a digital input pin on a LilyPad Arduino).
Write Code to Detect Button Presses:
- Configure the microcontroller pin connected to the button as an input.
- Use a pull-up or pull-down resistor to ensure stable readings (many microcontrollers, including Arduino, have built-in pull-up resistors).
Test the Button:
- Press the button to close the circuit and send a signal to the microcontroller.
Important Considerations and Best Practices
- Debouncing: Mechanical buttons can produce noise or "bouncing" when pressed. Use software debouncing in your code to filter out false signals.
- Conductive Thread: When sewing the button board into fabric, ensure the conductive thread connections are tight and do not short-circuit.
- Water Resistance: The LilyPad Button Board is not waterproof. Avoid exposing it to moisture unless properly insulated.
- Power Supply: Ensure the operating voltage does not exceed 5.5V to prevent damage.
Example Code for Arduino UNO
Below is an example of how to use the LilyPad Button Board with an Arduino UNO to detect button presses and turn on an LED:
// Define the pin connected to the button
const int buttonPin = 2;  // Digital pin 2 connected to SW1 or SW2
const int ledPin = 13;    // Built-in LED on Arduino UNO

void setup() {
  pinMode(buttonPin, INPUT_PULLUP); // Set button pin as input with internal pull-up resistor
  pinMode(ledPin, OUTPUT);          // Set LED pin as output
}

void loop() {
  int buttonState = digitalRead(buttonPin); // Read the button state

  if (buttonState == LOW) { // Button is pressed (LOW due to pull-up resistor)
    digitalWrite(ledPin, HIGH); // Turn on the LED
  } else {
    digitalWrite(ledPin, LOW);  // Turn off the LED
  }
}
Notes:
- The
INPUT_PULLUPmode enables the internal pull-up resistor, simplifying the circuit. - When the button is pressed, the circuit is completed, and the pin reads
LOW.
Troubleshooting and FAQs
Common Issues and Solutions
Button Not Responding:
- Cause: Loose connections or broken conductive thread.
- Solution: Check all connections and ensure the conductive thread or solder joints are secure.
Button Presses Register Multiple Times:
- Cause: Button bounce.
- Solution: Implement software debouncing in your code. For example, add a small delay after detecting a button press.
Microcontroller Not Detecting Button Press:
- Cause: Incorrect pin configuration or missing pull-up/pull-down resistor.
- Solution: Verify the pin mode in your code and ensure a pull-up or pull-down resistor is used.
Short Circuits:
- Cause: Conductive thread touching unintended parts of the circuit.
- Solution: Use insulating material (e.g., fabric glue) to prevent threads from crossing.
FAQs
Q: Can I use the LilyPad Button Board with other microcontrollers?
A: Yes, the button board is compatible with any microcontroller that can read digital input, such as Arduino, ESP32, or Raspberry Pi.
Q: How do I clean the button board if it gets dirty?
A: Use a dry cloth or a slightly damp cloth to clean the board. Avoid using water or cleaning solutions.
Q: Can I use multiple button boards in one project?
A: Absolutely! Each button board can be connected to a separate input pin on your microcontroller.
Q: Is the button board washable?
A: The button board is not washable. If used in wearable projects, ensure it is removable or protected from moisture.
This concludes the documentation for the LilyPad Button Board. Happy crafting!