How to Use Lampu : Examples, Pinouts, and Specs
Introduction
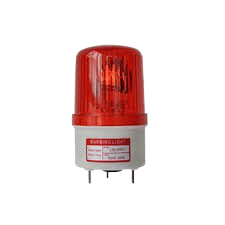
A lamp is a device that produces light, typically using an electric bulb, and is used for illumination in various settings. Lamps are essential components in both residential and industrial applications, providing visibility and enhancing the aesthetic appeal of spaces. They come in various types, including incandescent, LED, fluorescent, and halogen lamps, each suited for specific purposes.
Common applications of lamps include:
- General lighting in homes, offices, and public spaces
- Task lighting for activities like reading or working
- Decorative lighting for enhancing ambiance
- Industrial and outdoor lighting for safety and visibility
Explore Projects Built with Lampu


Explore Projects Built with Lampu
Technical Specifications
The technical specifications of a lamp can vary depending on its type and design. Below are general specifications for a standard LED lamp:
| Parameter | Value |
|---|---|
| Operating Voltage | 110V - 240V AC (varies by region) |
| Power Rating | 5W - 100W (depending on model) |
| Light Output (Lumen) | 400 - 1600 lm |
| Color Temperature | 2700K (warm) to 6500K (cool) |
| Lifespan | 15,000 - 50,000 hours |
| Base Type | E27, E14, GU10, etc. |
Pin Configuration and Descriptions
For lamps with a standard screw base (e.g., E27 or E14), the pin configuration is as follows:
| Pin | Description |
|---|---|
| Base | Connects to the live terminal of the power source |
| Thread | Connects to the neutral terminal of the power source |
For lamps with a bi-pin base (e.g., GU10 or MR16), the pin configuration is:
| Pin | Description |
|---|---|
| Pin 1 | Connects to the live terminal of the power source |
| Pin 2 | Connects to the neutral terminal of the power source |
Usage Instructions
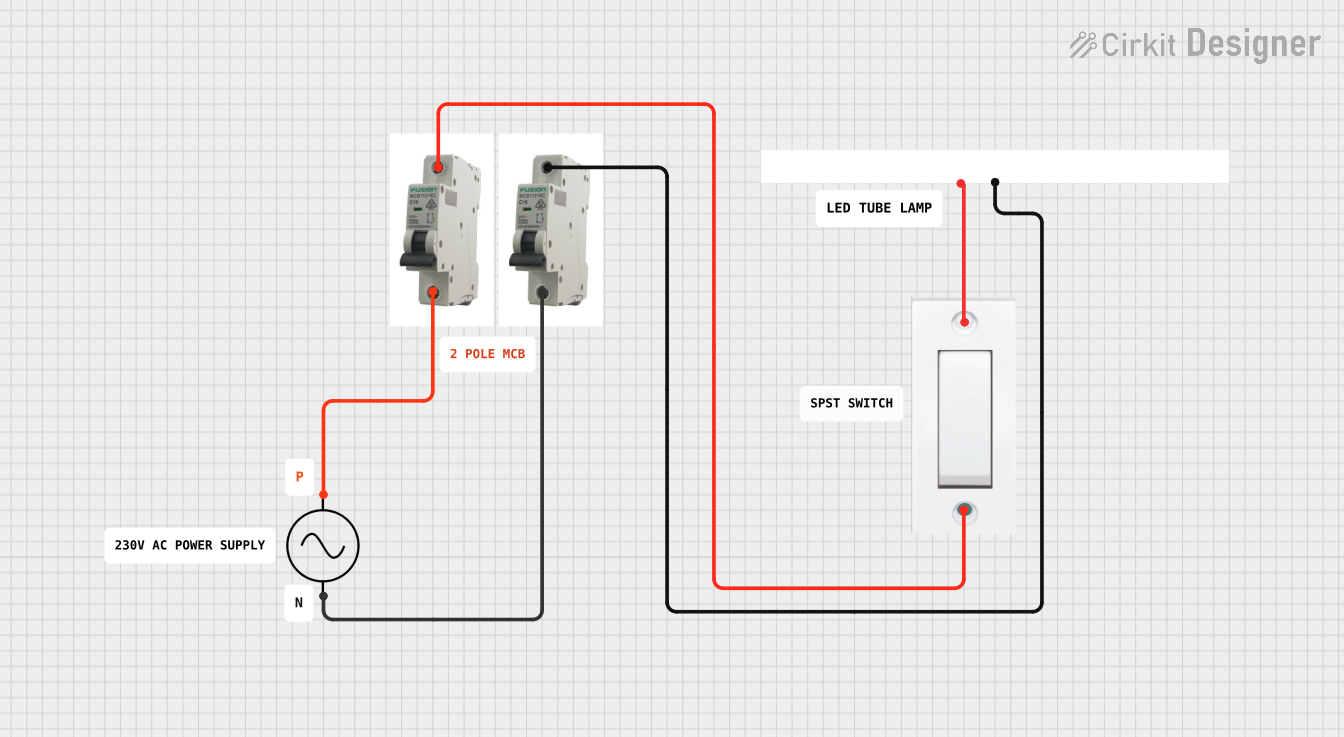
How to Use the Lamp in a Circuit
- Select the appropriate lamp type: Choose a lamp that matches the voltage and power requirements of your circuit or fixture.
- Connect the lamp to a compatible socket: Ensure the lamp base matches the socket type (e.g., E27, GU10).
- Power the circuit: Supply the correct voltage to the lamp. For AC-powered lamps, connect the live and neutral wires to the appropriate terminals.
- Test the lamp: Turn on the power and verify that the lamp illuminates as expected.
Important Considerations and Best Practices
- Voltage Compatibility: Always check the lamp's voltage rating to ensure it matches your power supply.
- Heat Management: Some lamps, especially incandescent and halogen types, generate significant heat. Ensure proper ventilation to avoid overheating.
- Dimming Compatibility: If using a dimmer switch, confirm that the lamp is dimmable and compatible with the dimmer type.
- Polarity: For DC-powered lamps, ensure correct polarity when connecting the lamp to avoid damage.
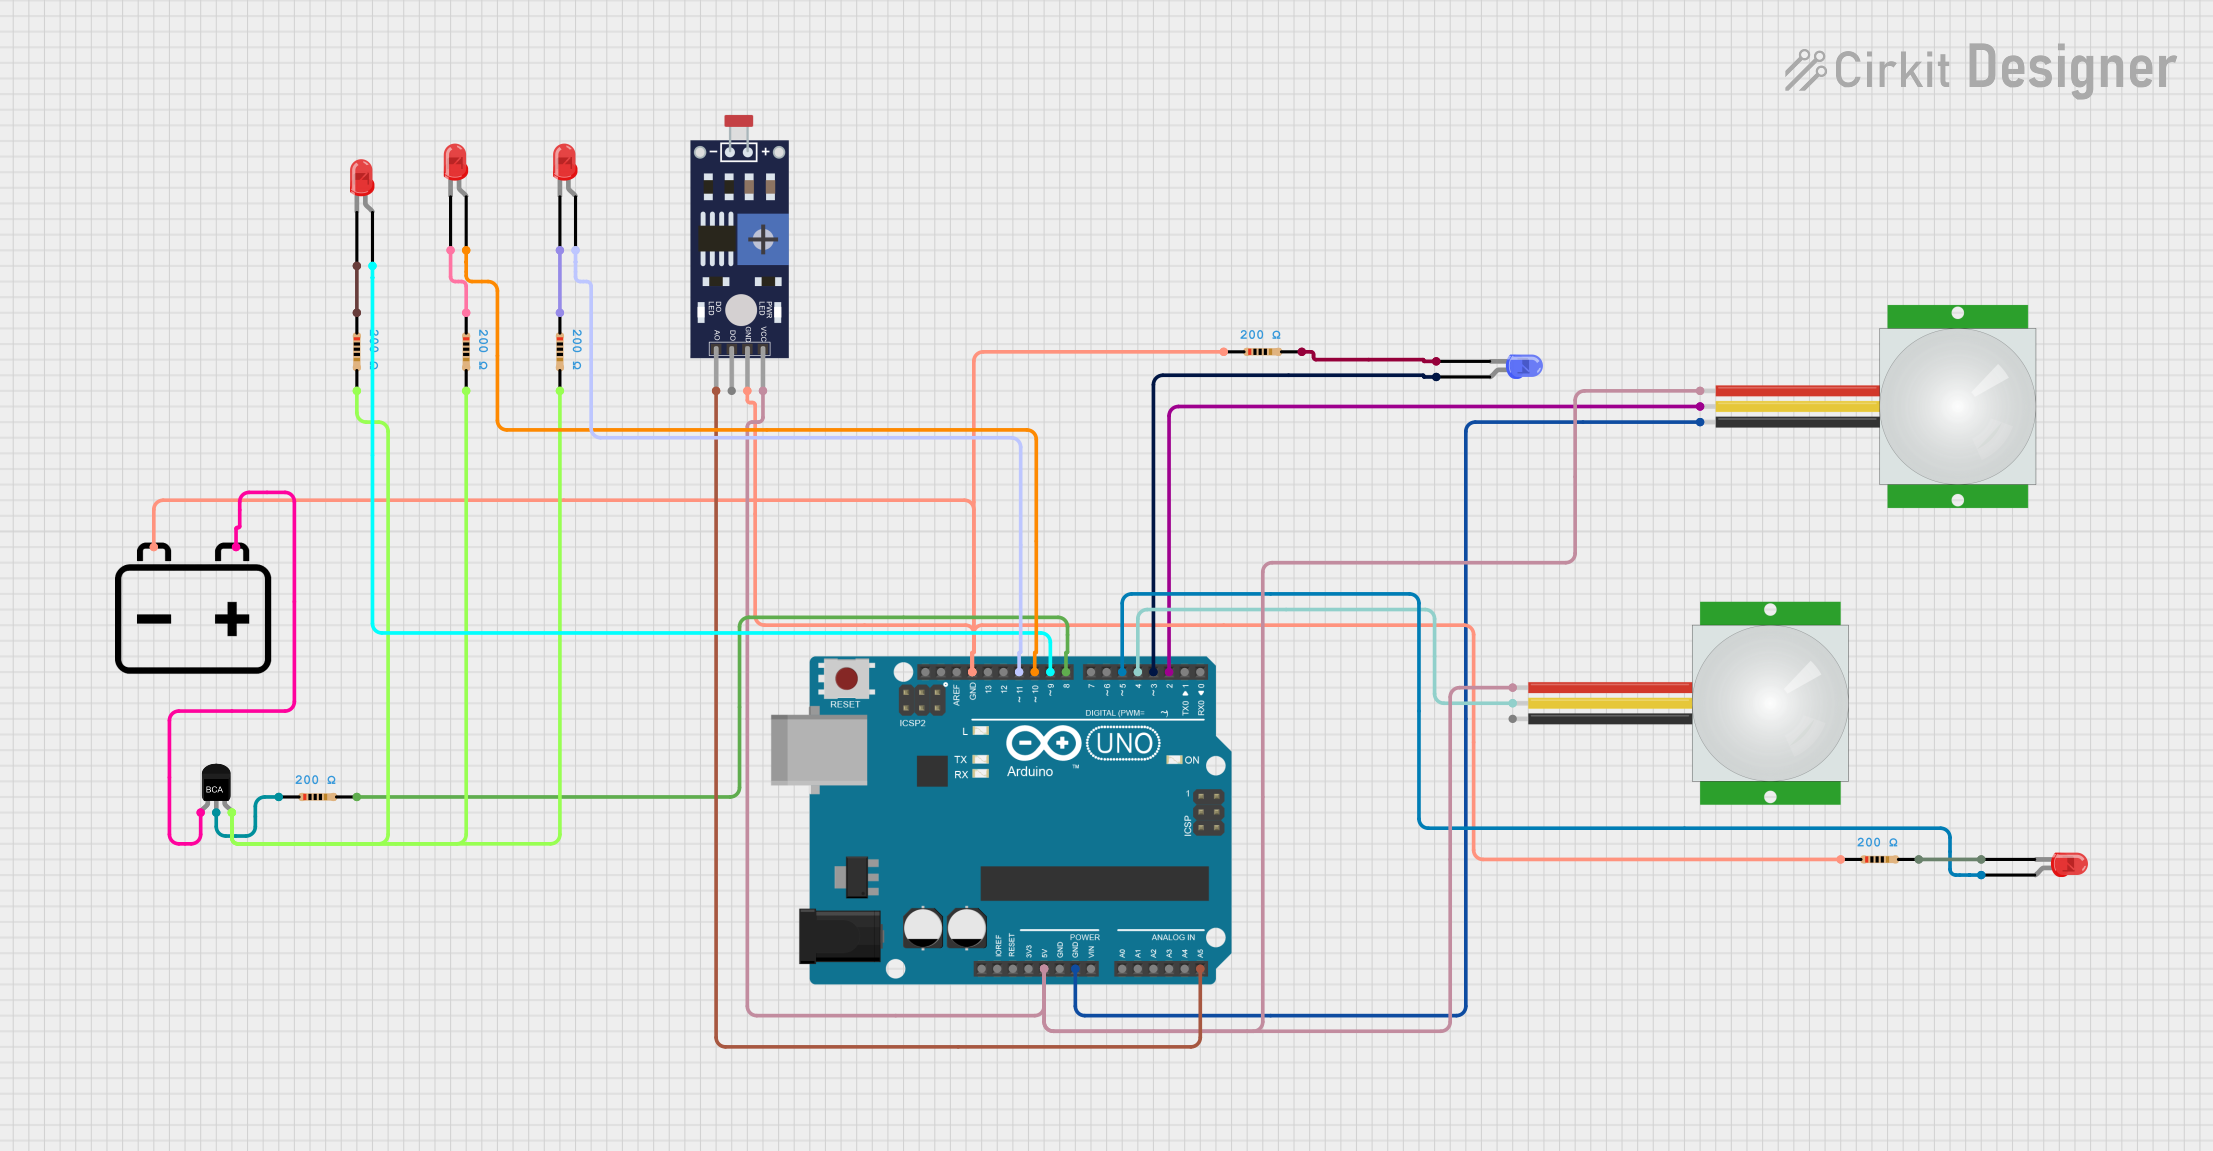
Example: Connecting an LED Lamp to an Arduino UNO
An LED lamp can be controlled using an Arduino UNO and a relay module. Below is an example code to toggle the lamp on and off:
// Example code to control a lamp using Arduino UNO and a relay module
// Ensure the relay module is connected to the Arduino and the lamp is wired properly

const int relayPin = 7; // Pin connected to the relay module

void setup() {
  pinMode(relayPin, OUTPUT); // Set the relay pin as an output
  digitalWrite(relayPin, LOW); // Ensure the relay is off initially
}

void loop() {
  digitalWrite(relayPin, HIGH); // Turn the lamp on
  delay(5000); // Keep the lamp on for 5 seconds
  digitalWrite(relayPin, LOW); // Turn the lamp off
  delay(5000); // Keep the lamp off for 5 seconds
}
Note: Ensure the relay module is rated for the lamp's voltage and power requirements. Use proper isolation when working with high-voltage AC circuits.
Troubleshooting and FAQs
Common Issues and Solutions
The lamp does not turn on:
- Check the power supply and ensure it matches the lamp's voltage rating.
- Verify that the lamp is securely connected to the socket.
- Inspect the lamp for visible damage or a blown bulb.
The lamp flickers:
- Ensure a stable power supply without voltage fluctuations.
- Check for loose connections in the circuit or socket.
- If using a dimmer, confirm that the lamp is compatible with the dimmer.
The lamp overheats:
- Ensure proper ventilation around the lamp.
- Avoid exceeding the lamp's rated power or voltage.
The lamp is not dimming properly:
- Verify that the lamp is dimmable.
- Use a compatible dimmer switch designed for the lamp type.
FAQs
Q: Can I use an LED lamp with a traditional dimmer switch?
A: Not all LED lamps are compatible with traditional dimmer switches. Look for LED lamps labeled as "dimmable" and use a dimmer designed for LED lighting.
Q: How do I dispose of a broken lamp?
A: Dispose of broken lamps according to local regulations. For LED and fluorescent lamps, check for recycling programs in your area.
Q: Can I use a higher-wattage lamp in my fixture?
A: Always adhere to the maximum wattage rating specified for your fixture to avoid overheating or damage.