
How to Use esp 32: Examples, Pinouts, and Specs
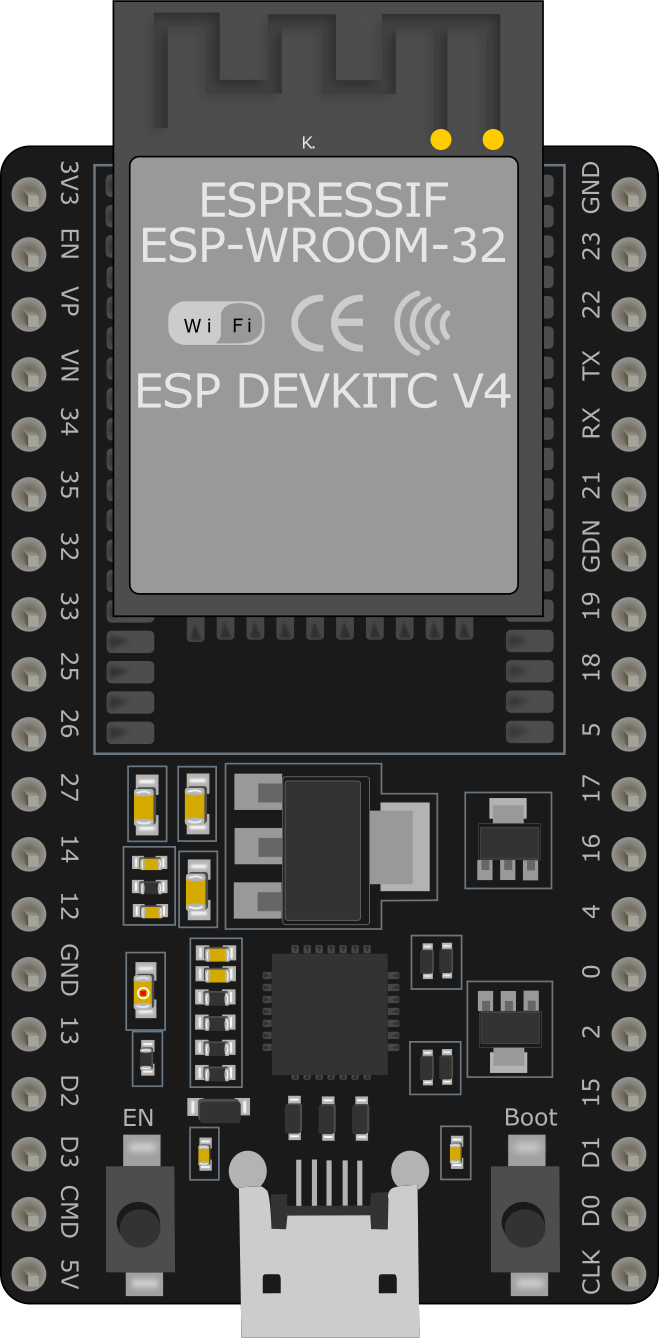
 Design with esp 32 in Cirkit Designer
Introduction
The ESP32, manufactured by Espressif Systems, is a low-cost, low-power system on a chip (SoC) designed for a wide range of applications. It integrates Wi-Fi and Bluetooth capabilities, making it an ideal choice for Internet of Things (IoT) devices, smart home systems, wearable electronics, and embedded systems. The ESP32 is highly versatile, offering dual-core processing, a rich set of peripherals, and extensive GPIO options.
Explore Projects Built with esp 32
 Open Project in Cirkit Designer
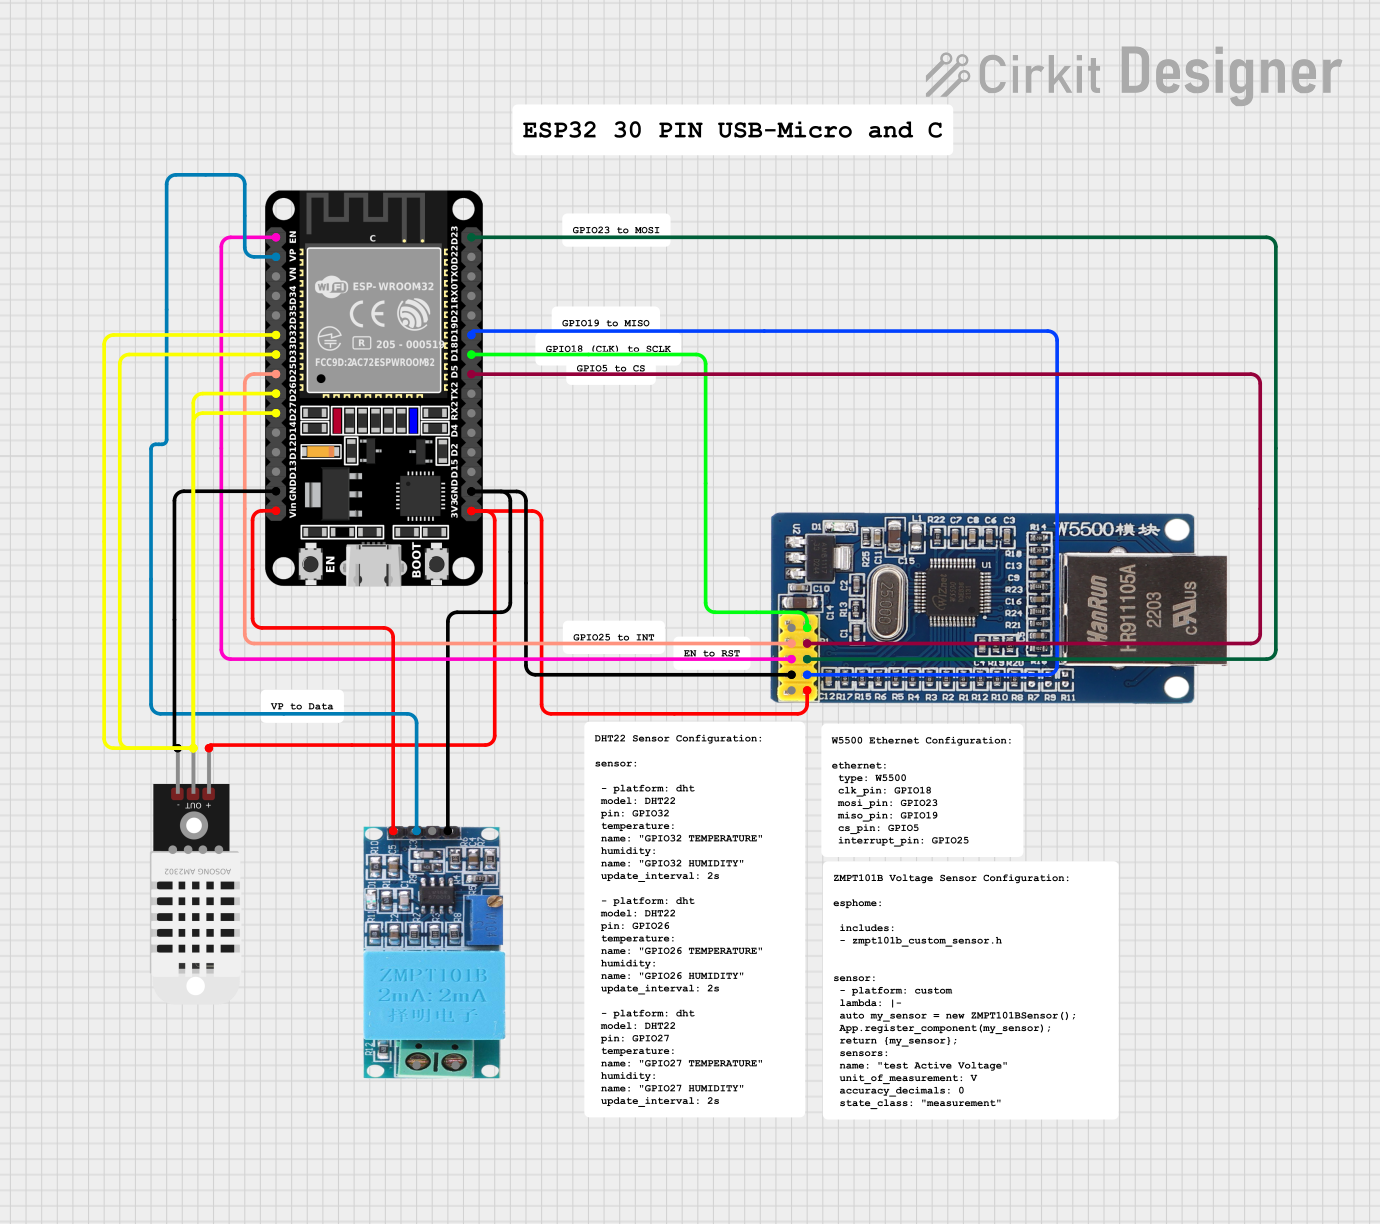 Open Project in Cirkit Designer
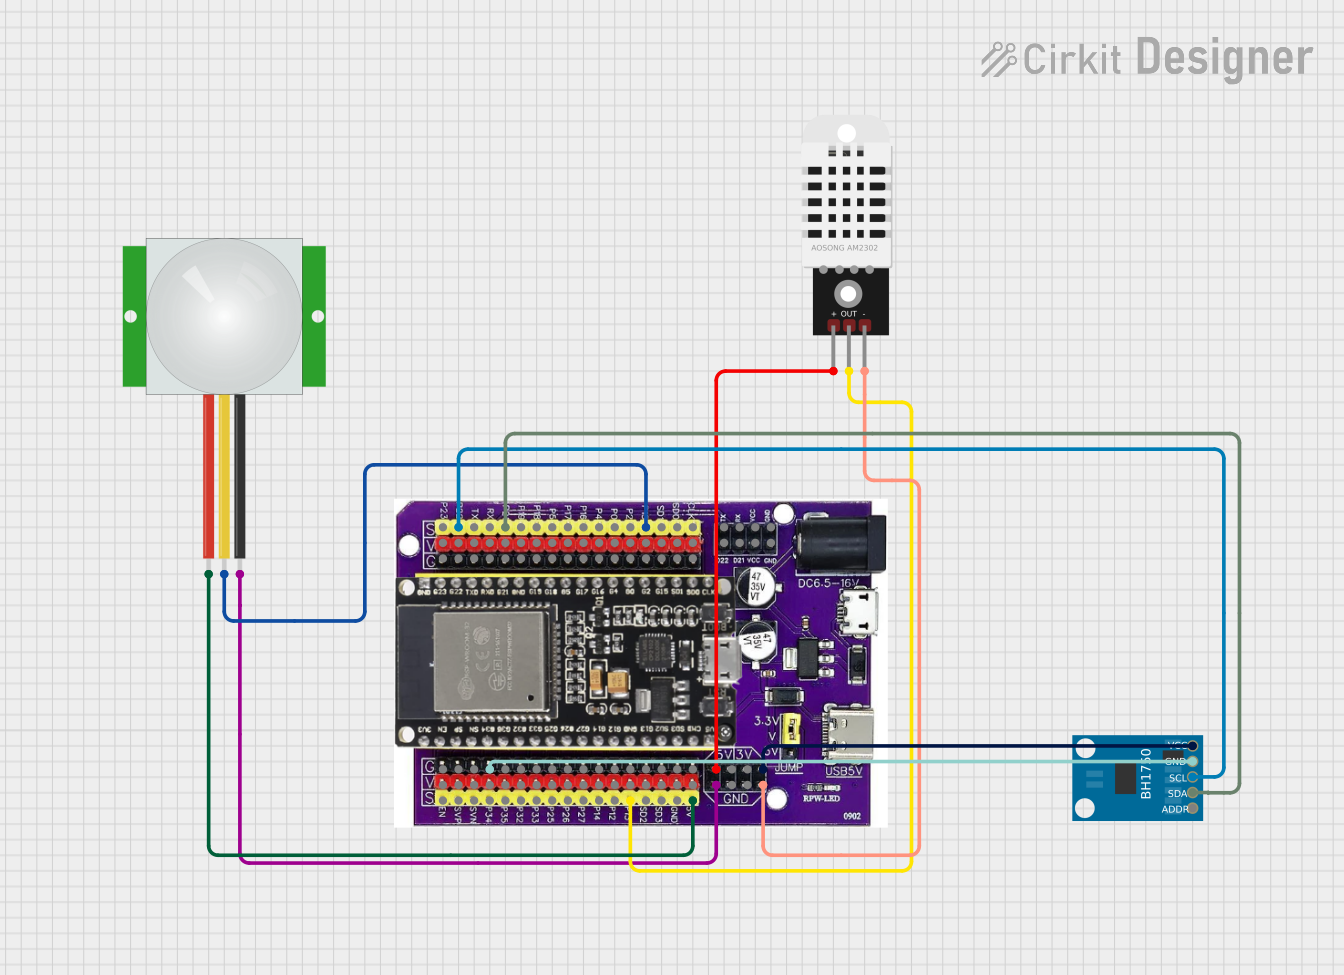 Open Project in Cirkit Designer
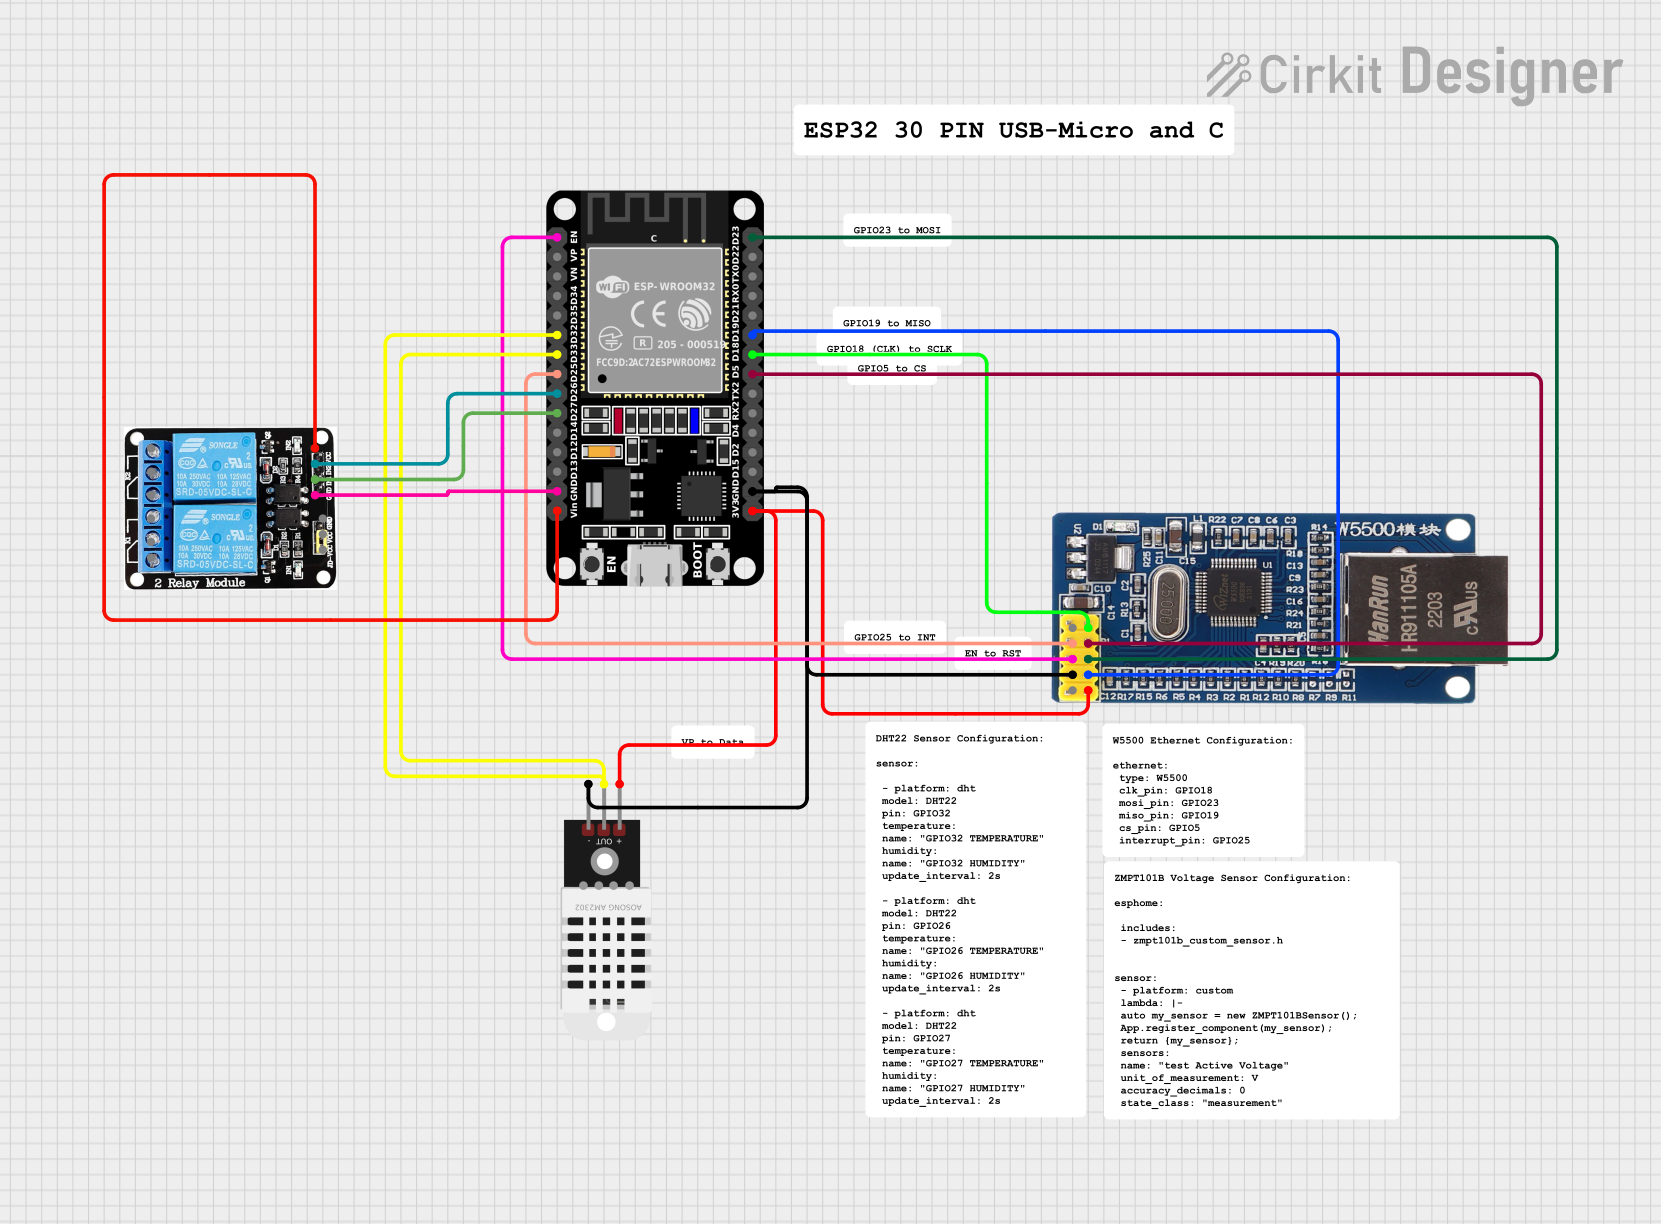 Open Project in Cirkit Designer
Explore Projects Built with esp 32
Open Project in Cirkit DesignerOpen Project in Cirkit DesignerOpen Project in Cirkit DesignerOpen Project in Cirkit DesignerCommon Applications and Use Cases
- IoT devices and smart home automation
- Wireless sensor networks
- Wearable electronics
- Industrial automation
- Robotics and drones
- Prototyping and educational projects
Technical Specifications
The ESP32 is packed with features that make it a powerful and flexible component for various applications. Below are its key technical specifications:
Key Technical Details
| Parameter | Specification |
|---|---|
| Manufacturer | Espressif Systems |
| Part ID | ESP32 |
| Processor | Dual-core Xtensa® 32-bit LX6 microprocessor |
| Clock Speed | Up to 240 MHz |
| Flash Memory | 4 MB (varies by module) |
| SRAM | 520 KB |
| Wireless Connectivity | Wi-Fi 802.11 b/g/n, Bluetooth v4.2 + BLE |
| Operating Voltage | 3.0V - 3.6V |
| GPIO Pins | Up to 34 |
| ADC Channels | 18 (12-bit resolution) |
| DAC Channels | 2 (8-bit resolution) |
| Communication Interfaces | UART, SPI, I2C, I2S, CAN, PWM |
| Power Consumption | Ultra-low power (varies by mode) |
| Operating Temperature | -40°C to +85°C |
Pin Configuration and Descriptions
The ESP32 has a rich set of GPIO pins, which can be configured for various functions. Below is a table summarizing the pin configuration:
| Pin Number | Pin Name | Functionality |
|---|---|---|
| 1 | EN | Enable pin (active high) |
| 2 | GPIO0 | General-purpose I/O, boot mode selection |
| 3 | GPIO1 (TX) | UART TX, general-purpose I/O |
| 4 | GPIO2 | General-purpose I/O, ADC, DAC |
| 5 | GPIO3 (RX) | UART RX, general-purpose I/O |
| 6-11 | GPIO4-9 | General-purpose I/O, ADC, PWM, etc. |
| 12 | GPIO12 | General-purpose I/O, ADC, touch sensor |
| 13 | GPIO13 | General-purpose I/O, ADC, touch sensor |
| 14 | GPIO14 | General-purpose I/O, ADC, PWM |
| 15 | GPIO15 | General-purpose I/O, ADC, PWM |
| ... | ... | ... |
| 34 | GPIO34 | Input-only, ADC |
Note: The exact pinout may vary depending on the ESP32 module or development board being used (e.g., ESP32-WROOM-32).
Usage Instructions
The ESP32 can be used in a variety of circuits and applications. Below are the steps and best practices for using the ESP32 in your projects.
How to Use the ESP32 in a Circuit
- Power Supply: Provide a stable 3.3V power supply to the ESP32. Avoid exceeding 3.6V to prevent damage.
- Boot Mode: Connect GPIO0 to GND during boot to enter flash mode for programming.
- Programming: Use a USB-to-serial adapter or a development board with built-in USB for programming.
- Peripherals: Connect sensors, actuators, or other peripherals to the GPIO pins as needed.
- Communication: Use UART, SPI, or I2C for interfacing with other devices.
Important Considerations and Best Practices
- Voltage Levels: Ensure all connected devices operate at 3.3V logic levels. Use level shifters if necessary.
- Power Consumption: Use deep sleep mode to minimize power consumption in battery-powered applications.
- Antenna Placement: Ensure the onboard antenna has sufficient clearance for optimal Wi-Fi and Bluetooth performance.
- Heat Management: Avoid enclosing the ESP32 in a thermally insulated space, as it may generate heat during operation.
Example Code for Arduino UNO Integration
The ESP32 can be programmed using the Arduino IDE. Below is an example of how to connect the ESP32 to a Wi-Fi network:
#include <WiFi.h> // Include the WiFi library for ESP32

const char* ssid = "Your_SSID";       // Replace with your Wi-Fi network name
const char* password = "Your_Password"; // Replace with your Wi-Fi password

void setup() {
  Serial.begin(115200); // Initialize serial communication at 115200 baud
  delay(1000);          // Wait for a second to stabilize

  Serial.println("Connecting to Wi-Fi...");
  WiFi.begin(ssid, password); // Start connecting to the Wi-Fi network

  while (WiFi.status() != WL_CONNECTED) {
    delay(500); // Wait for connection
    Serial.print(".");
  }

  Serial.println("\nWi-Fi connected!");
  Serial.print("IP Address: ");
  Serial.println(WiFi.localIP()); // Print the assigned IP address
}

void loop() {
  // Add your main code here
}
Note: Replace
Your_SSIDandYour_Passwordwith your Wi-Fi credentials.
Troubleshooting and FAQs
Common Issues and Solutions
- ESP32 Not Connecting to Wi-Fi
- Solution: Double-check the SSID and password. Ensure the Wi-Fi network is operational and within range.
- Upload Fails in Arduino IDE
- Solution: Ensure the correct board and COM port are selected in the Arduino IDE. Press and hold the "BOOT" button on the ESP32 during upload.
- GPIO Pin Not Working
- Solution: Verify the pin's configuration in your code. Some pins have specific functions or limitations.
- High Power Consumption
- Solution: Use deep sleep mode or optimize your code to reduce active power usage.
FAQs
- Can the ESP32 operate on 5V?
- No, the ESP32 operates on 3.3V. Use a voltage regulator or level shifter for 5V systems.
- How do I reset the ESP32?
- Press the "EN" (enable) button on the development board to reset the ESP32.
- Can I use the ESP32 with Bluetooth and Wi-Fi simultaneously?
- Yes, the ESP32 supports simultaneous use of Bluetooth and Wi-Fi, but performance may vary depending on the application.
By following this documentation, you can effectively integrate the ESP32 into your projects and troubleshoot common issues.