How to Use Exhaust Fan: Examples, Pinouts, and Specs
Introduction
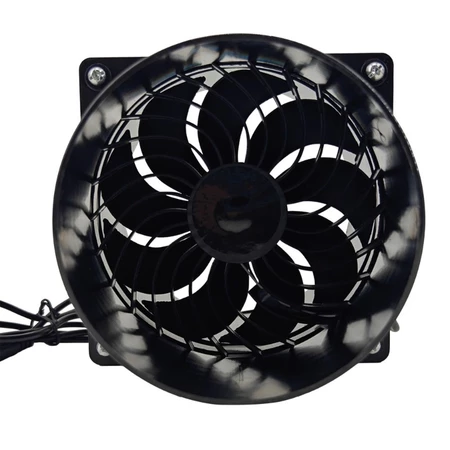
An exhaust fan is a device designed to expel air from an enclosed space, typically to remove heat, moisture, or odors. By improving ventilation and air quality, exhaust fans are essential in maintaining a comfortable and safe environment. These fans are commonly used in residential, commercial, and industrial settings, such as bathrooms, kitchens, workshops, and factories.
Explore Projects Built with Exhaust Fan
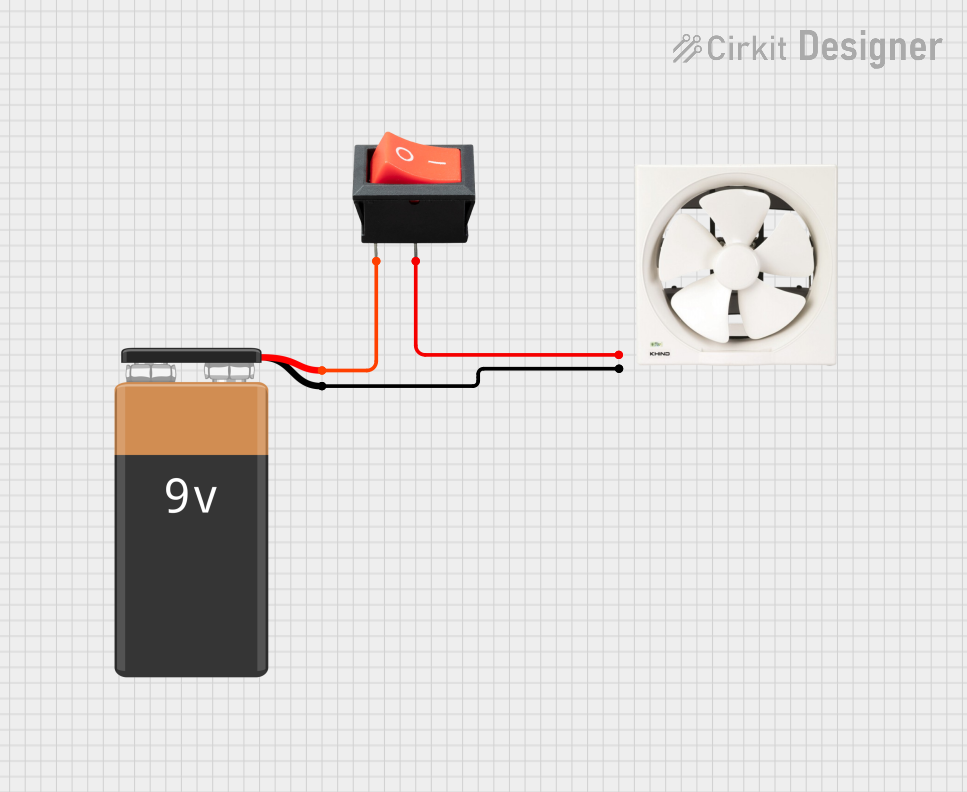
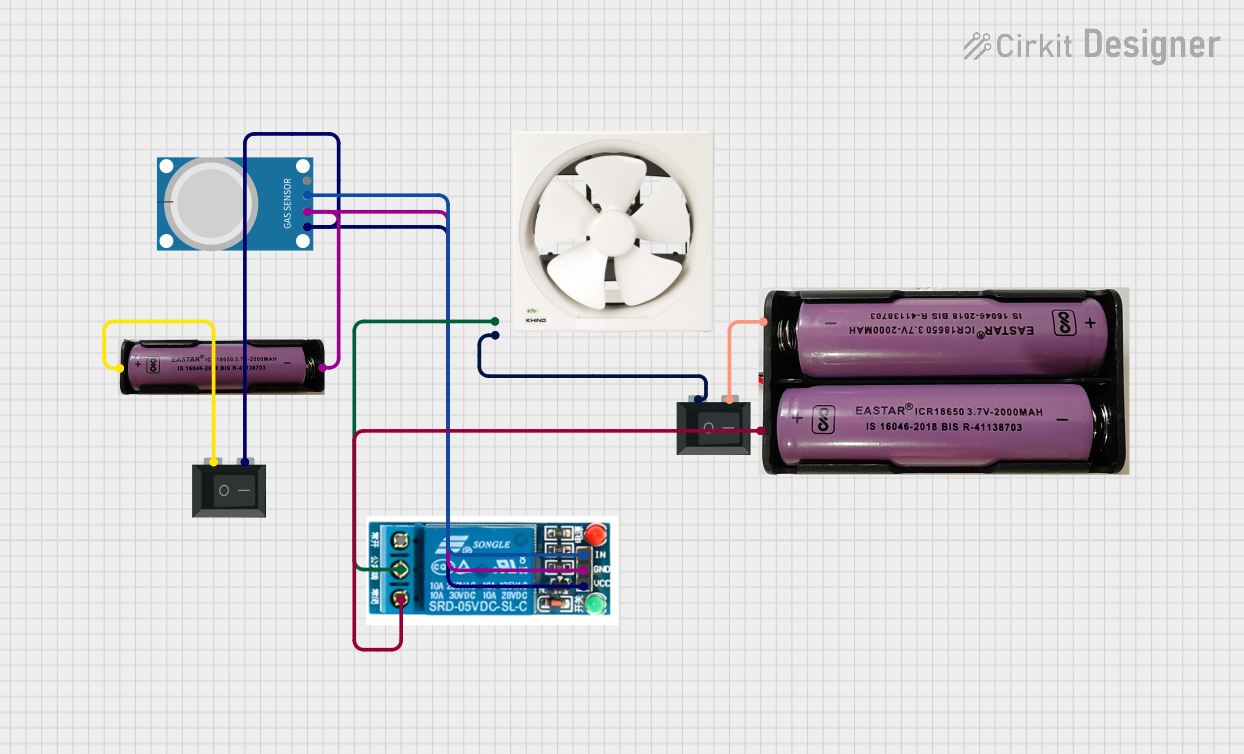
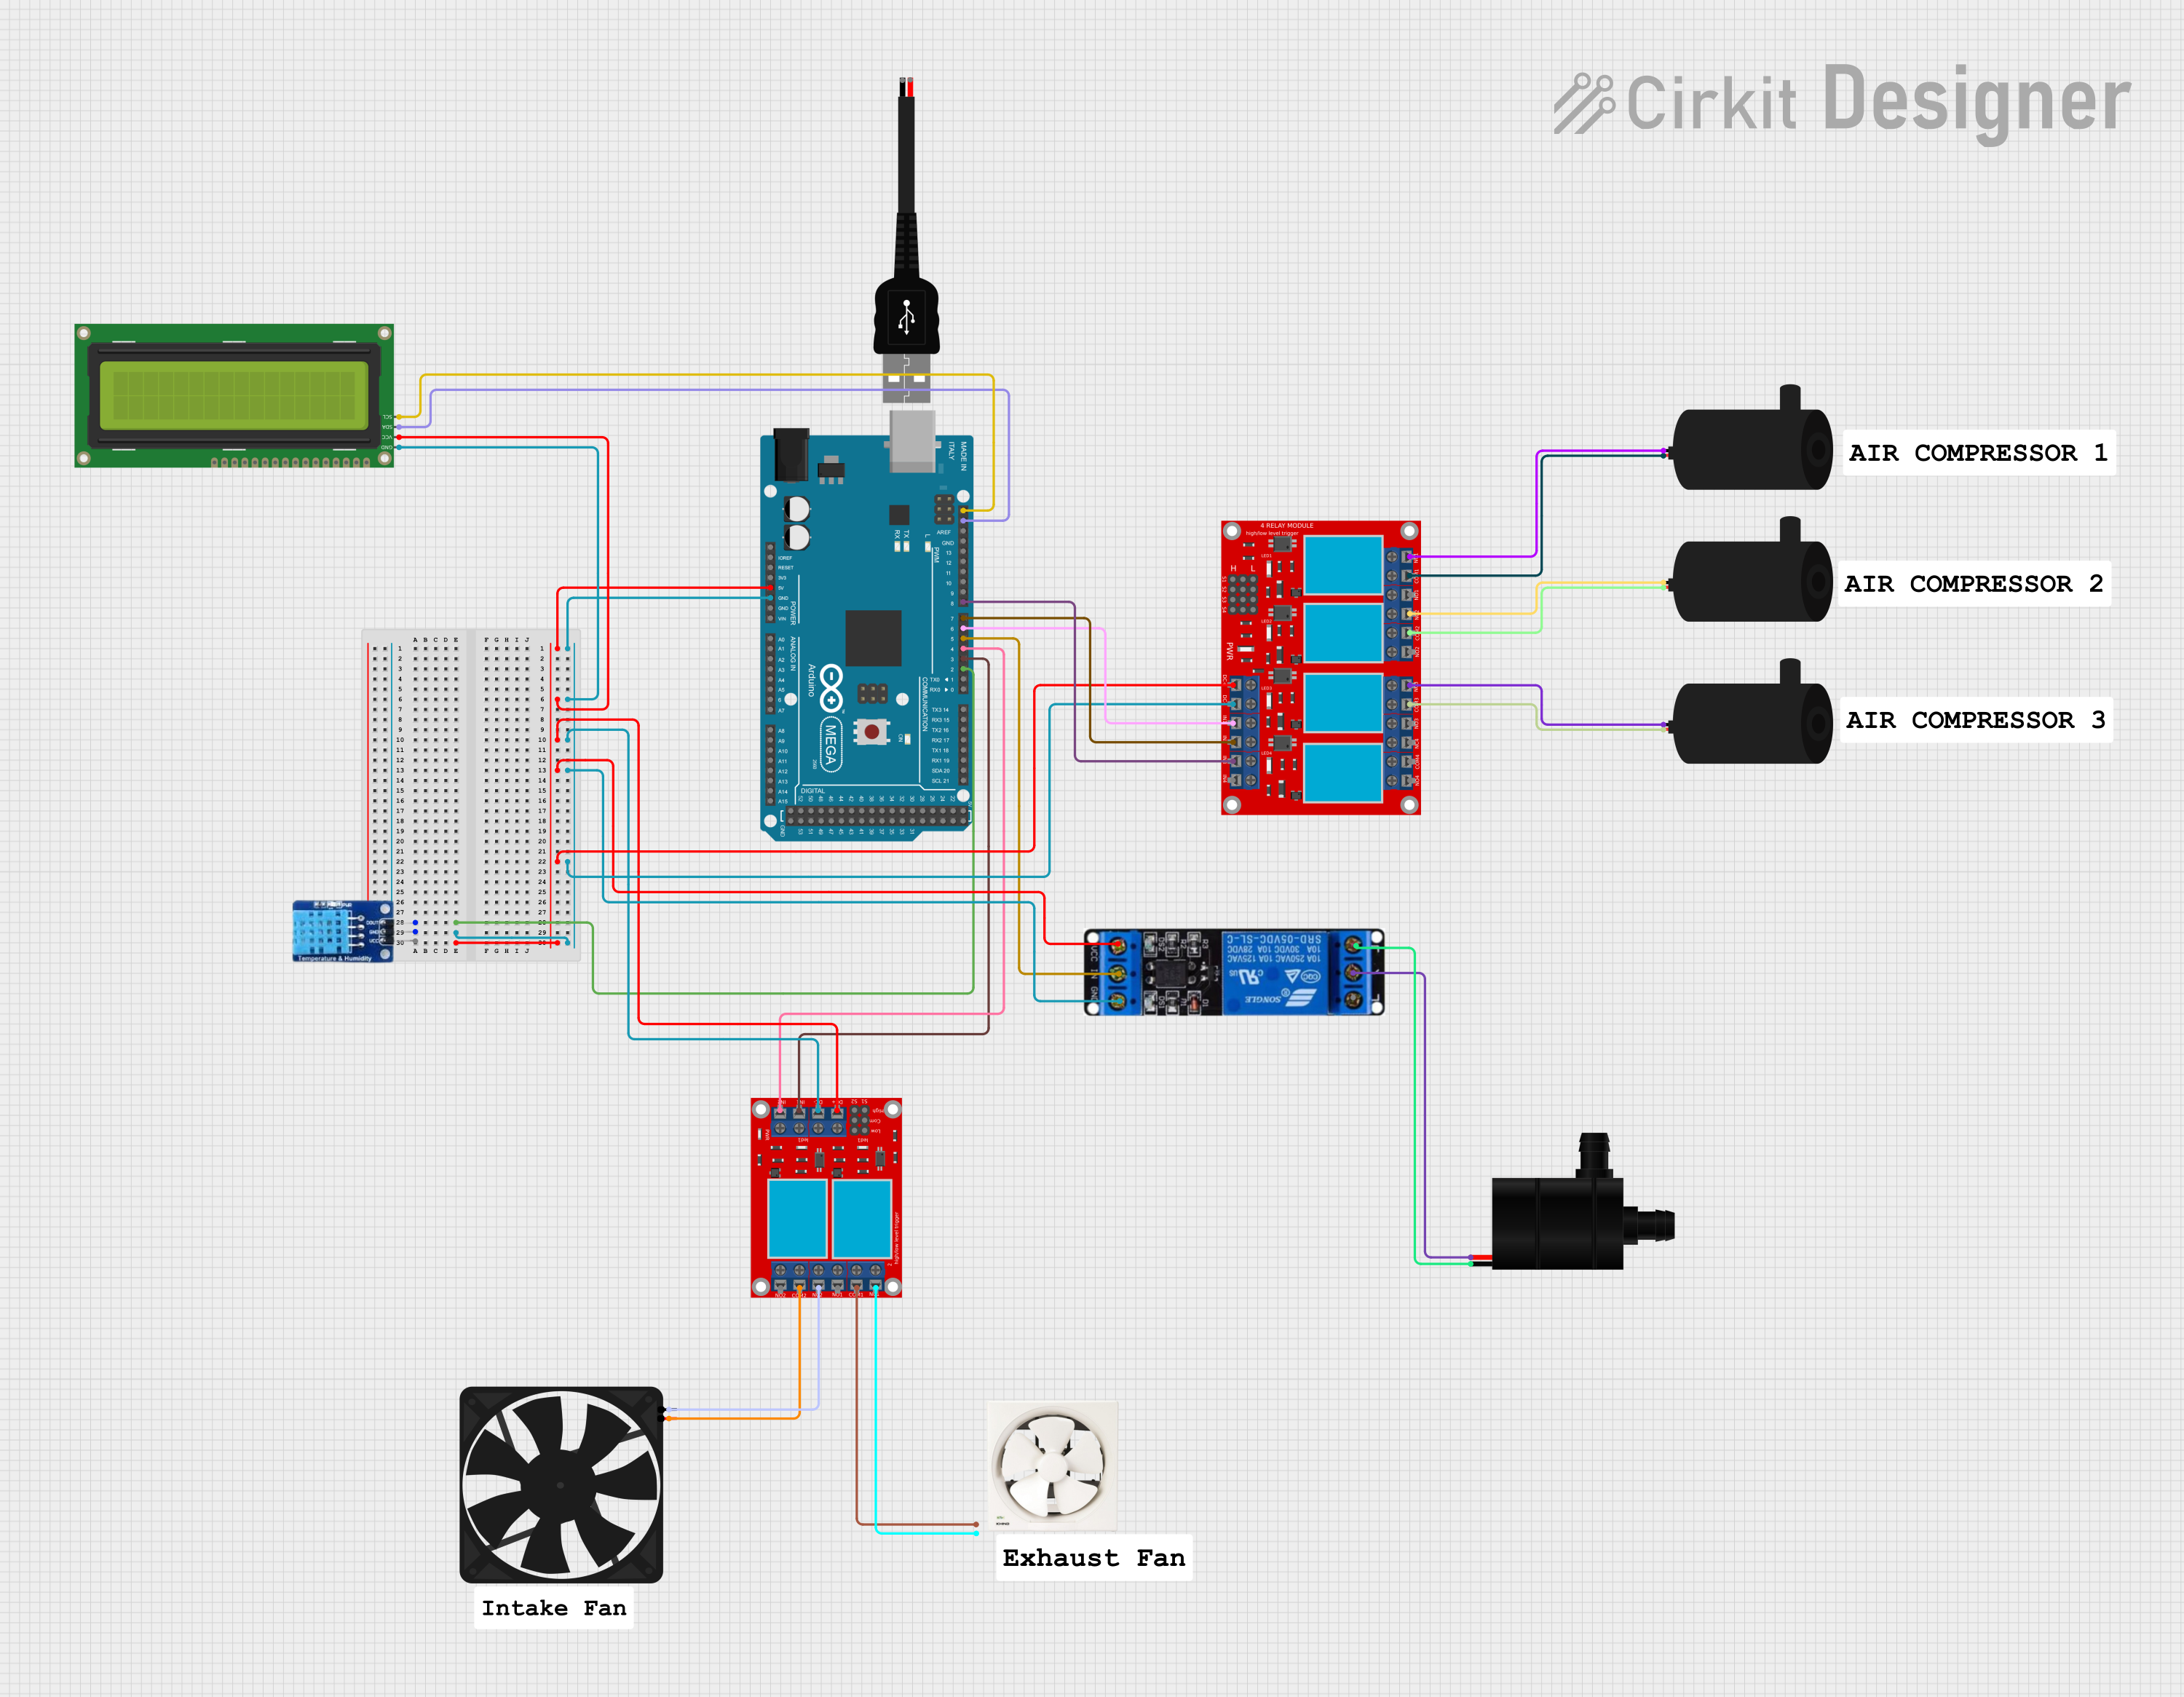
Explore Projects Built with Exhaust Fan
Common Applications and Use Cases
- Bathrooms: To remove moisture and prevent mold growth.
- Kitchens: To expel cooking fumes, smoke, and odors.
- Workshops: To ventilate fumes from chemicals or machinery.
- Factories: To maintain air quality and regulate temperature in large spaces.
Technical Specifications
Below are the general technical specifications for a standard exhaust fan. Specifications may vary depending on the model and manufacturer.
Key Technical Details
- Operating Voltage: 220-240V AC (typical for household fans) or 12V DC (for portable fans)
- Power Consumption: 15W to 100W (depending on size and capacity)
- Airflow Capacity: 50 to 500 cubic feet per minute (CFM)
- Noise Level: 30 to 60 dB
- Material: Plastic or metal housing with aluminum or plastic blades
- Mounting Type: Wall-mounted, ceiling-mounted, or window-mounted
Pin Configuration and Descriptions
For DC-powered exhaust fans, the pin configuration is as follows:
| Pin | Label | Description |
|---|---|---|
| 1 | VCC | Positive power supply (e.g., +12V DC) |
| 2 | GND | Ground connection |
| 3 | PWM | Optional input for speed control (if available) |
For AC-powered exhaust fans, wiring typically involves:
- Live (L): Connected to the AC power supply.
- Neutral (N): Connected to the neutral line.
- Earth (E): Connected to the ground for safety.
Usage Instructions
How to Use the Component in a Circuit
For DC Exhaust Fans:
- Connect the VCC pin to a 12V DC power source.
- Connect the GND pin to the ground of the power source.
- If the fan supports PWM speed control, connect the PWM pin to a microcontroller (e.g., Arduino) or a PWM signal generator.
For AC Exhaust Fans:
- Ensure the power supply matches the fan's voltage rating (e.g., 220-240V AC).
- Connect the Live (L) wire to the live terminal of the AC power supply.
- Connect the Neutral (N) wire to the neutral terminal of the AC power supply.
- Connect the Earth (E) wire to the ground for safety.
Important Considerations and Best Practices
- Safety First: Always disconnect the power supply before wiring or servicing the fan.
- Proper Mounting: Ensure the fan is securely mounted to prevent vibrations and noise.
- Voltage Compatibility: Verify that the power supply matches the fan's voltage rating.
- Airflow Direction: Install the fan so that it expels air in the desired direction.
- PWM Control: For DC fans with PWM functionality, use a PWM signal with a frequency between 20 kHz and 25 kHz for optimal performance.
Example: Controlling a DC Exhaust Fan with Arduino UNO
// This example demonstrates how to control a DC exhaust fan's speed using PWM
// Ensure the fan supports PWM control before using this code.

const int fanPin = 9; // PWM pin connected to the fan's PWM input

void setup() {
  pinMode(fanPin, OUTPUT); // Set the fan pin as an output
}

void loop() {
  // Gradually increase fan speed
  for (int speed = 0; speed <= 255; speed += 5) {
    analogWrite(fanPin, speed); // Write PWM signal to the fan
    delay(50); // Wait 50ms before increasing speed
  }

  // Gradually decrease fan speed
  for (int speed = 255; speed >= 0; speed -= 5) {
    analogWrite(fanPin, speed); // Write PWM signal to the fan
    delay(50); // Wait 50ms before decreasing speed
  }
}
Troubleshooting and FAQs
Common Issues and Solutions
Fan Does Not Turn On:
- Check the power supply and ensure it matches the fan's voltage rating.
- Verify all connections are secure and correct.
- For AC fans, ensure the circuit breaker or switch is turned on.
Fan Makes Excessive Noise:
- Ensure the fan is securely mounted to reduce vibrations.
- Check for debris or obstructions in the fan blades.
- Lubricate the motor if applicable (refer to the manufacturer's instructions).
Fan Spins Slowly:
- For DC fans, check the PWM signal and ensure it is within the correct frequency range.
- Verify the power supply provides sufficient current for the fan.
Fan Overheats:
- Ensure the fan is not obstructed and has proper ventilation.
- Verify the fan is operating within its rated voltage and power limits.
FAQs
Can I use an exhaust fan outdoors?
- Only if the fan is rated for outdoor use. Check the IP rating for water and dust resistance.
How do I clean an exhaust fan?
- Disconnect the power supply, remove the fan cover, and clean the blades with a damp cloth. Avoid using water directly on the motor.
Can I control an AC exhaust fan's speed?
- Yes, but you will need a compatible fan speed controller designed for AC motors.
What is the lifespan of an exhaust fan?
- Most exhaust fans last 5-10 years with proper maintenance.