
How to Use XBee: Examples, Pinouts, and Specs

 Design with XBee in Cirkit Designer
Introduction
XBee is a series of microcontroller-based radios designed to enable wireless communication in a wide range of applications. These modules utilize the Zigbee protocol, which is ideal for creating low-power, low-data-rate wireless networks. XBee modules are widely used in IoT (Internet of Things) devices, home automation, industrial control systems, and wireless sensor networks. Their ease of use, reliability, and flexibility make them a popular choice for both hobbyists and professionals.
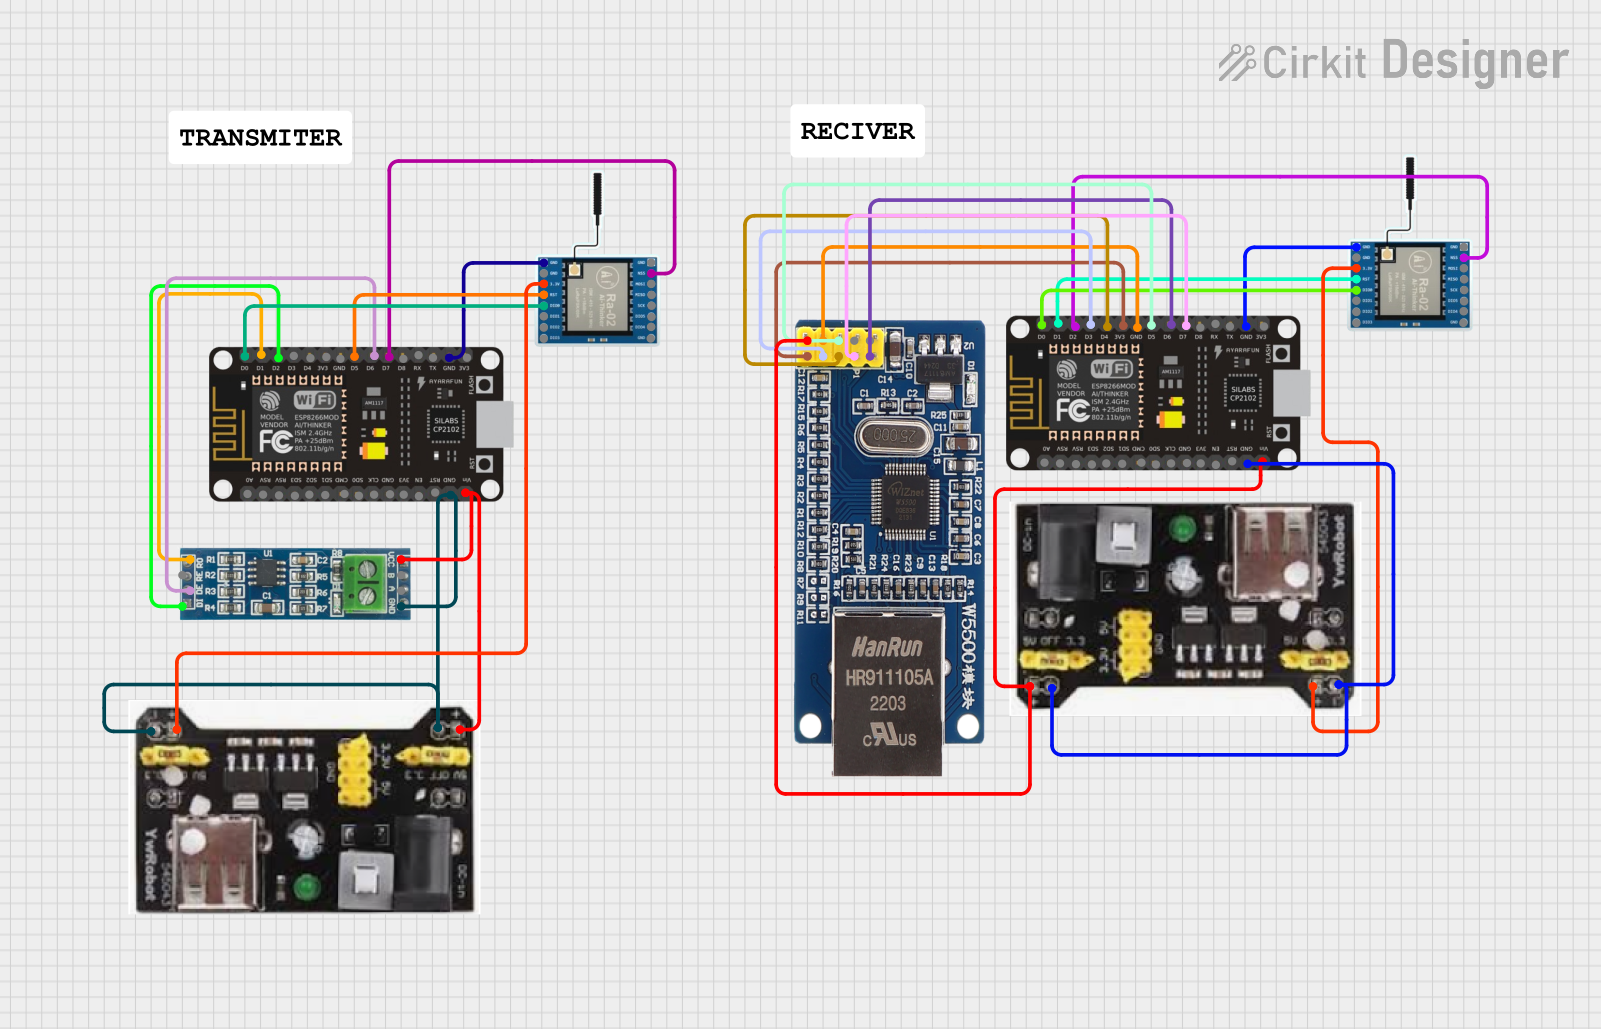
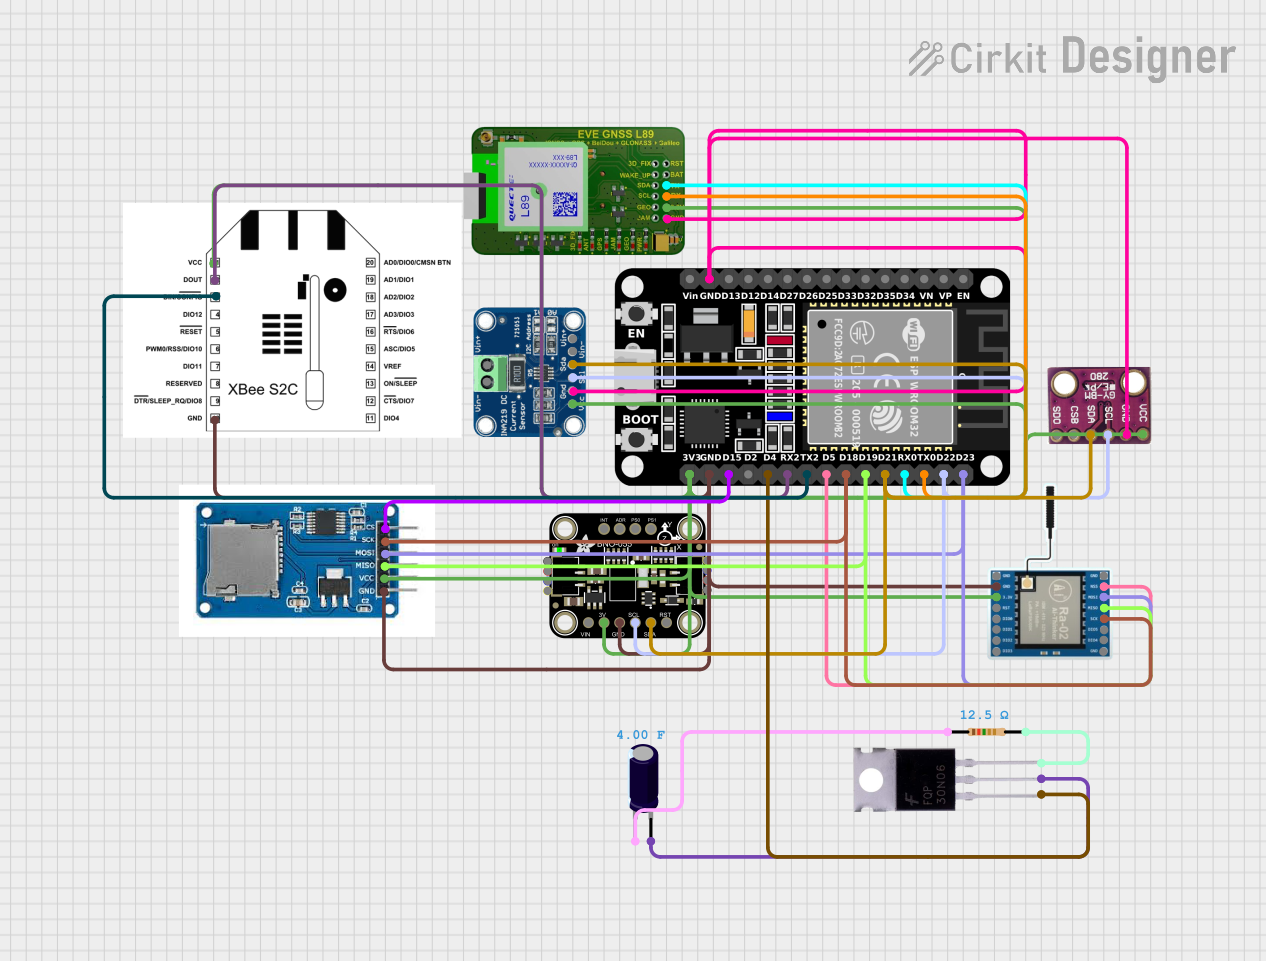
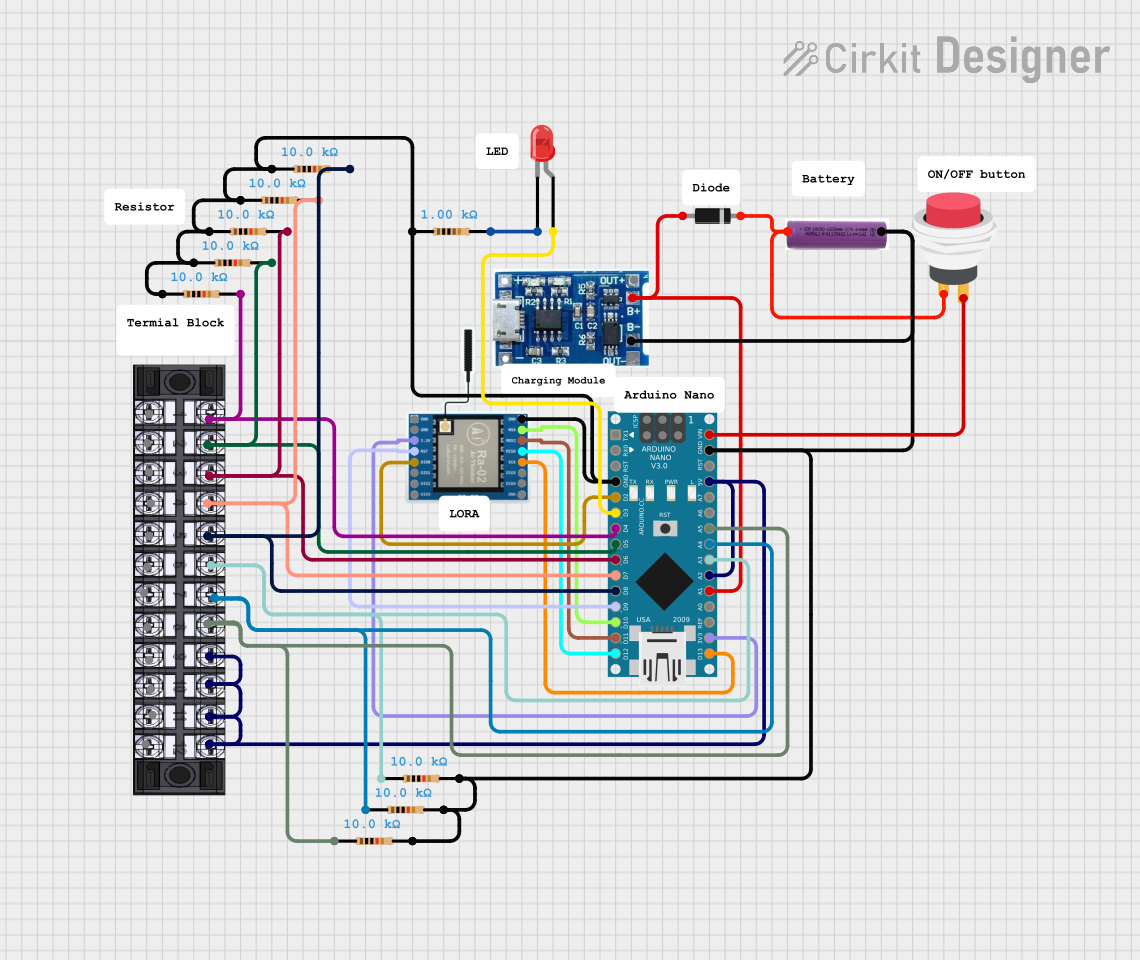
Explore Projects Built with XBee
 Open Project in Cirkit Designer
 Open Project in Cirkit Designer
 Open Project in Cirkit Designer
 Open Project in Cirkit Designer
Explore Projects Built with XBee
Open Project in Cirkit DesignerOpen Project in Cirkit DesignerOpen Project in Cirkit DesignerOpen Project in Cirkit DesignerCommon Applications:
- Wireless sensor networks
- Home automation systems
- Industrial monitoring and control
- Remote data logging
- Robotics and UAV communication
- IoT device integration
Technical Specifications
Key Technical Details:
- Communication Protocol: Zigbee (IEEE 802.15.4)
- Frequency Band: 2.4 GHz (global) or 900 MHz (regional, depending on model)
- Data Rate: Up to 250 kbps
- Range: Up to 100 meters (indoor) and 1.6 kilometers (outdoor with line of sight)
- Operating Voltage: 2.8V to 3.3V
- Transmit Power: Up to 6.3 mW (2.4 GHz models) or 63 mW (900 MHz models)
- Current Consumption:
- Transmit: ~40 mA
- Receive: ~50 mA
- Sleep: ~10 µA (depending on configuration)
- Interface: UART (3.3V logic level), SPI (on some models)
- Antenna Options: PCB antenna, wire antenna, or external antenna via U.FL or RPSMA connector
- Operating Temperature: -40°C to +85°C
Pin Configuration and Descriptions:
The XBee module typically has a 20-pin configuration. Below is a table describing the pin functions:
| Pin | Name | Description |
|---|---|---|
| 1 | VCC | Power supply input (2.8V to 3.3V). |
| 2 | DOUT | UART Data Out (TX). Transmits serial data to the host microcontroller. |
| 3 | DIN | UART Data In (RX). Receives serial data from the host microcontroller. |
| 4 | DIO12 | Digital I/O or ADC input (configurable). |
| 5 | RESET | Reset input. Active low. |
| 6 | RSSI | Signal strength indicator (PWM output). |
| 7 | DIO10 | Digital I/O or PWM output (configurable). |
| 8 | DIO11 | Digital I/O or ADC input (configurable). |
| 9 | DIO4 | Digital I/O or ADC input (configurable). |
| 10 | GND | Ground. |
| 11 | DIO3 | Digital I/O or ADC input (configurable). |
| 12 | DIO2 | Digital I/O or ADC input (configurable). |
| 13 | DIO1 | Digital I/O or ADC input (configurable). |
| 14 | DIO0 | Digital I/O or ADC input (configurable). |
| 15 | ASSOC | Association indicator (blinks to indicate network status). |
| 16 | ON/SLEEP | Indicates module sleep status (high = awake, low = asleep). |
| 17 | CTS | Clear to Send (UART flow control). |
| 18 | RTS | Request to Send (UART flow control). |
| 19 | AD0/DIO0 | Analog input or digital I/O (configurable). |
| 20 | NC | Not connected. Reserved for future use. |
Usage Instructions
How to Use XBee in a Circuit:
- Power Supply: Connect the VCC pin to a 3.3V regulated power source and GND to ground.
- UART Communication: Connect the DOUT (TX) pin to the RX pin of your microcontroller and the DIN (RX) pin to the TX pin of your microcontroller. Ensure the logic levels are 3.3V.
- Configuration: Use the XCTU software (provided by Digi) to configure the XBee module. You can set parameters such as PAN ID, baud rate, and operating mode (e.g., coordinator, router, or end device).
- Antenna: Ensure the antenna is properly connected (if using an external antenna) for optimal signal strength.
- Mounting: Use an XBee breakout board or adapter if necessary to simplify connections.
Important Considerations:
- Voltage Levels: XBee operates at 3.3V logic levels. If using a 5V microcontroller (e.g., Arduino UNO), use a level shifter or voltage divider for safe communication.
- Network Configuration: Ensure all XBee modules in the network share the same PAN ID and channel.
- Sleep Modes: Utilize sleep modes to reduce power consumption in battery-powered applications.
- Antenna Placement: Place the antenna away from metal objects or other RF sources to minimize interference.
Example: Connecting XBee to Arduino UNO
Below is an example of how to send data wirelessly between two XBee modules using an Arduino UNO:
Circuit Diagram:
- Connect the XBee module to the Arduino UNO using an XBee shield or breakout board.
- Ensure the following connections:
- XBee DOUT (TX) → Arduino RX (via level shifter if needed)
- XBee DIN (RX) → Arduino TX (via level shifter if needed)
- XBee VCC → 3.3V
- XBee GND → GND
Arduino Code:
#include <SoftwareSerial.h>

// Define RX and TX pins for SoftwareSerial
SoftwareSerial XBee(2, 3); // RX = pin 2, TX = pin 3

void setup() {
  Serial.begin(9600); // Initialize Serial Monitor
  XBee.begin(9600);   // Initialize XBee communication at 9600 baud

  Serial.println("XBee Communication Initialized");
}

void loop() {
  // Send data to XBee
  XBee.println("Hello, XBee!");

  // Check if data is received from XBee
  if (XBee.available()) {
    String receivedData = XBee.readString();
    Serial.print("Received: ");
    Serial.println(receivedData);
  }

  delay(1000); // Wait 1 second before sending the next message
}
Notes:
- Replace
2and3inSoftwareSerialwith the pins you are using for RX and TX. - Ensure both XBee modules are configured with the same PAN ID and baud rate.
Troubleshooting and FAQs
Common Issues:
No Communication Between XBee Modules:
- Ensure both modules are configured with the same PAN ID, channel, and baud rate.
- Verify the antenna is properly connected and not damaged.
- Check for proper power supply and connections.
Data Corruption or Loss:
- Reduce the baud rate if communication is unreliable.
- Ensure there is no interference from other RF devices.
XBee Module Not Responding:
- Verify the module is powered correctly (3.3V).
- Check the RESET pin to ensure it is not held low.
- Reconfigure the module using XCTU software.
FAQs:
Q: Can I use XBee with a 5V microcontroller?
- A: Yes, but you must use a level shifter or voltage divider to convert 5V signals to 3.3V.
Q: How do I update the firmware on my XBee module?
- A: Use the XCTU software to update the firmware. Connect the XBee module to your computer using a USB-to-XBee adapter.
Q: What is the maximum range of XBee?
- A: The range depends on the model and environment. Outdoor range can reach up to 1.6 km with line of sight.
Q: Can XBee modules communicate with non-XBee Zigbee devices?
- A: Yes, as long as the devices comply with the Zigbee protocol and are configured correctly.
By following this documentation, you can effectively integrate XBee modules into your wireless communication projects.