How to Use disjonteur 10A: Examples, Pinouts, and Specs
Introduction
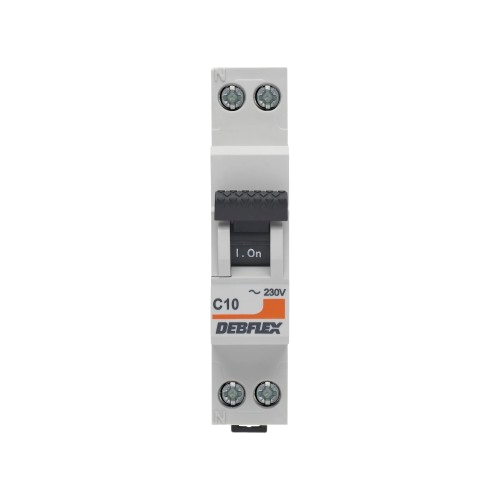
A Disjonteur 10A (10-amp circuit breaker) is an essential safety device used in electrical systems to protect circuits from damage caused by overcurrent, such as overloads or short circuits. When the current flowing through the circuit exceeds 10 amps, the breaker automatically interrupts the flow of electricity, preventing potential hazards like overheating, fires, or equipment damage.
Explore Projects Built with disjonteur 10A


Explore Projects Built with disjonteur 10A
Common Applications and Use Cases
- Residential and commercial electrical panels for circuit protection.
- Industrial machinery and equipment requiring overcurrent protection.
- Electrical systems in vehicles, boats, or renewable energy setups.
- Protection of sensitive devices like lighting systems, outlets, and appliances.
Technical Specifications
The following table outlines the key technical details of the Disjonteur 10A:
| Parameter | Value |
|---|---|
| Rated Current | 10A |
| Rated Voltage | 230V AC / 48V DC |
| Breaking Capacity | 6kA (typical) |
| Trip Curve | Type B, C, or D (varies) |
| Operating Temperature | -5°C to +40°C |
| Mounting Type | DIN rail (standard) |
| Dimensions | 18mm width (single-pole) |
| Compliance Standards | IEC 60898-1, EN 60947-2 |
Pin Configuration and Descriptions
The Disjonteur 10A typically has two connection terminals:
| Terminal | Description |
|---|---|
| Line (Input) | Connects to the power source (live wire). |
| Load (Output) | Connects to the circuit or device being protected. |
Usage Instructions
How to Use the Component in a Circuit
Mounting the Circuit Breaker:
- Install the Disjonteur 10A on a standard DIN rail in the electrical panel.
- Ensure the breaker is securely locked into place.
Wiring:
- Connect the Line (Input) terminal to the live wire from the power source.
- Connect the Load (Output) terminal to the circuit or device requiring protection.
- Tighten the terminal screws to ensure a secure connection.
Operation:
- Switch the breaker to the "ON" position to allow current flow.
- In case of an overload or short circuit, the breaker will trip to the "OFF" position, interrupting the current.
Resetting the Breaker:
- After addressing the cause of the fault, switch the breaker back to the "ON" position to restore power.
Important Considerations and Best Practices
- Select the Correct Trip Curve: Choose a breaker with the appropriate trip curve (B, C, or D) based on the type of load:
- Type B: For resistive loads (e.g., lighting, heating).
- Type C: For inductive loads (e.g., motors, transformers).
- Type D: For high inrush current loads (e.g., industrial equipment).
- Avoid Overloading: Ensure the total current of connected devices does not exceed 10A.
- Regular Maintenance: Periodically inspect the breaker for signs of wear, damage, or loose connections.
- Safety First: Always turn off the main power supply before installing or servicing the breaker.
Arduino Integration
While circuit breakers are not directly interfaced with microcontrollers like Arduino, they can be used in conjunction with Arduino-based projects to protect circuits. For example, you can monitor the status of a circuit breaker using a current sensor and Arduino. Below is an example code snippet for monitoring current:
#include <Wire.h>

// Define the analog pin connected to the current sensor
const int currentSensorPin = A0;

// Define the threshold current in amps (adjust based on your sensor)
const float currentThreshold = 10.0;

void setup() {
  Serial.begin(9600); // Initialize serial communication
  pinMode(currentSensorPin, INPUT); // Set the sensor pin as input
}

void loop() {
  // Read the analog value from the current sensor
  int sensorValue = analogRead(currentSensorPin);

  // Convert the sensor value to current (adjust the formula for your sensor)
  float current = sensorValue * (5.0 / 1023.0) * 10.0;

  // Print the current value to the serial monitor
  Serial.print("Current: ");
  Serial.print(current);
  Serial.println(" A");

  // Check if the current exceeds the threshold
  if (current > currentThreshold) {
    Serial.println("Warning: Overcurrent detected!");
    // Add additional actions here, such as triggering an alert
  }

  delay(1000); // Wait for 1 second before the next reading
}
Troubleshooting and FAQs
Common Issues Users Might Face
Breaker Trips Frequently:
- Cause: Overloaded circuit or short circuit.
- Solution: Reduce the load on the circuit or inspect for wiring faults.
Breaker Does Not Reset:
- Cause: Persistent fault in the circuit or damaged breaker.
- Solution: Identify and fix the fault, or replace the breaker if necessary.
Loose Connections:
- Cause: Improperly tightened terminal screws.
- Solution: Ensure all connections are secure and properly tightened.
Breaker Overheats:
- Cause: Continuous operation near the rated current or poor ventilation.
- Solution: Reduce the load or improve ventilation around the breaker.
Solutions and Tips for Troubleshooting
- Use a multimeter to check for continuity and voltage levels in the circuit.
- Inspect the breaker for physical damage, such as cracks or burn marks.
- Verify that the breaker is compatible with the voltage and current requirements of your system.
- Consult the manufacturer's datasheet for additional guidance and specifications.
By following this documentation, you can safely and effectively use the Disjonteur 10A to protect your electrical circuits.