Introduction
A bulb is an electric light source that produces light when an electric current passes through it. Traditional incandescent bulbs use a filament that heats up and emits light, while modern bulbs, such as LEDs, use semiconductors or gas to produce illumination. Bulbs are widely used in residential, commercial, and industrial applications for lighting purposes.
Common applications and use cases include:
- General-purpose lighting in homes and offices
- Automotive headlights and taillights
- Indicator lights in electronic devices
- Decorative lighting for events and displays
Technical Specifications
The technical specifications of a bulb can vary depending on its type (e.g., incandescent, LED, CFL). Below are general specifications for a standard incandescent bulb:
Pin Configuration and Descriptions
For a standard screw-type bulb (E26/E27 base):
For a bayonet-type bulb (B22 base):
Usage Instructions
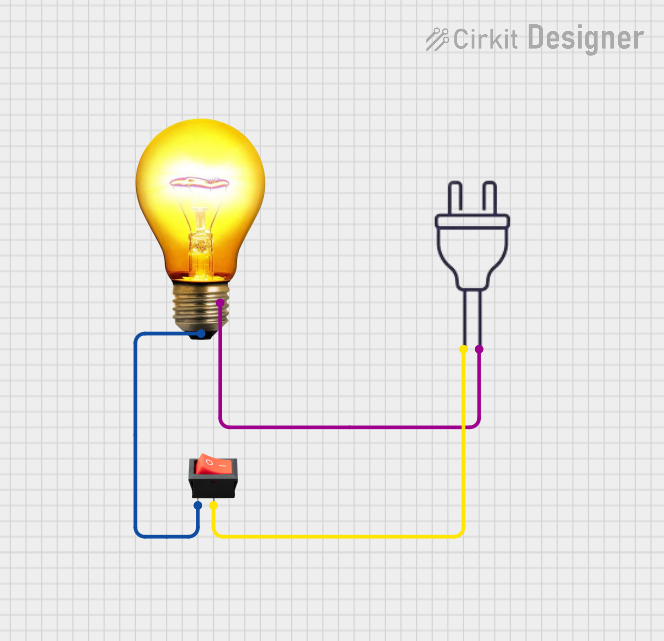
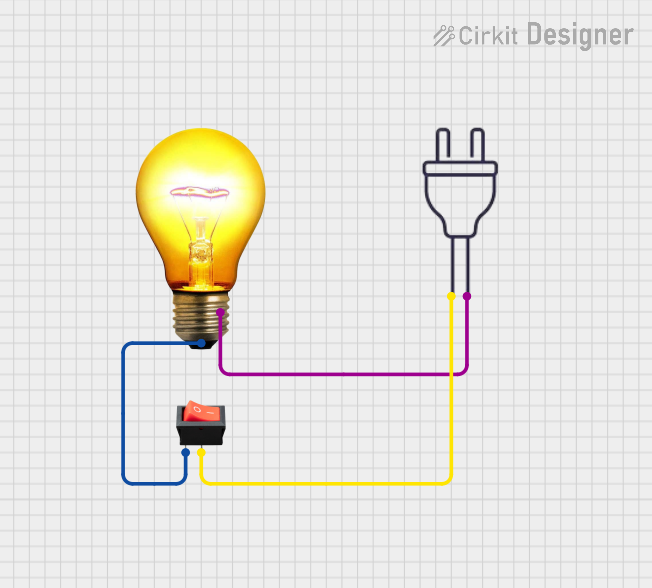
How to Use the Bulb in a Circuit
- Determine the Voltage and Power Rating: Ensure the bulb's voltage and power rating match the power supply and fixture.
- Connect to a Holder: Insert the bulb into a compatible holder (E26/E27 or B22) and ensure it is securely fastened.
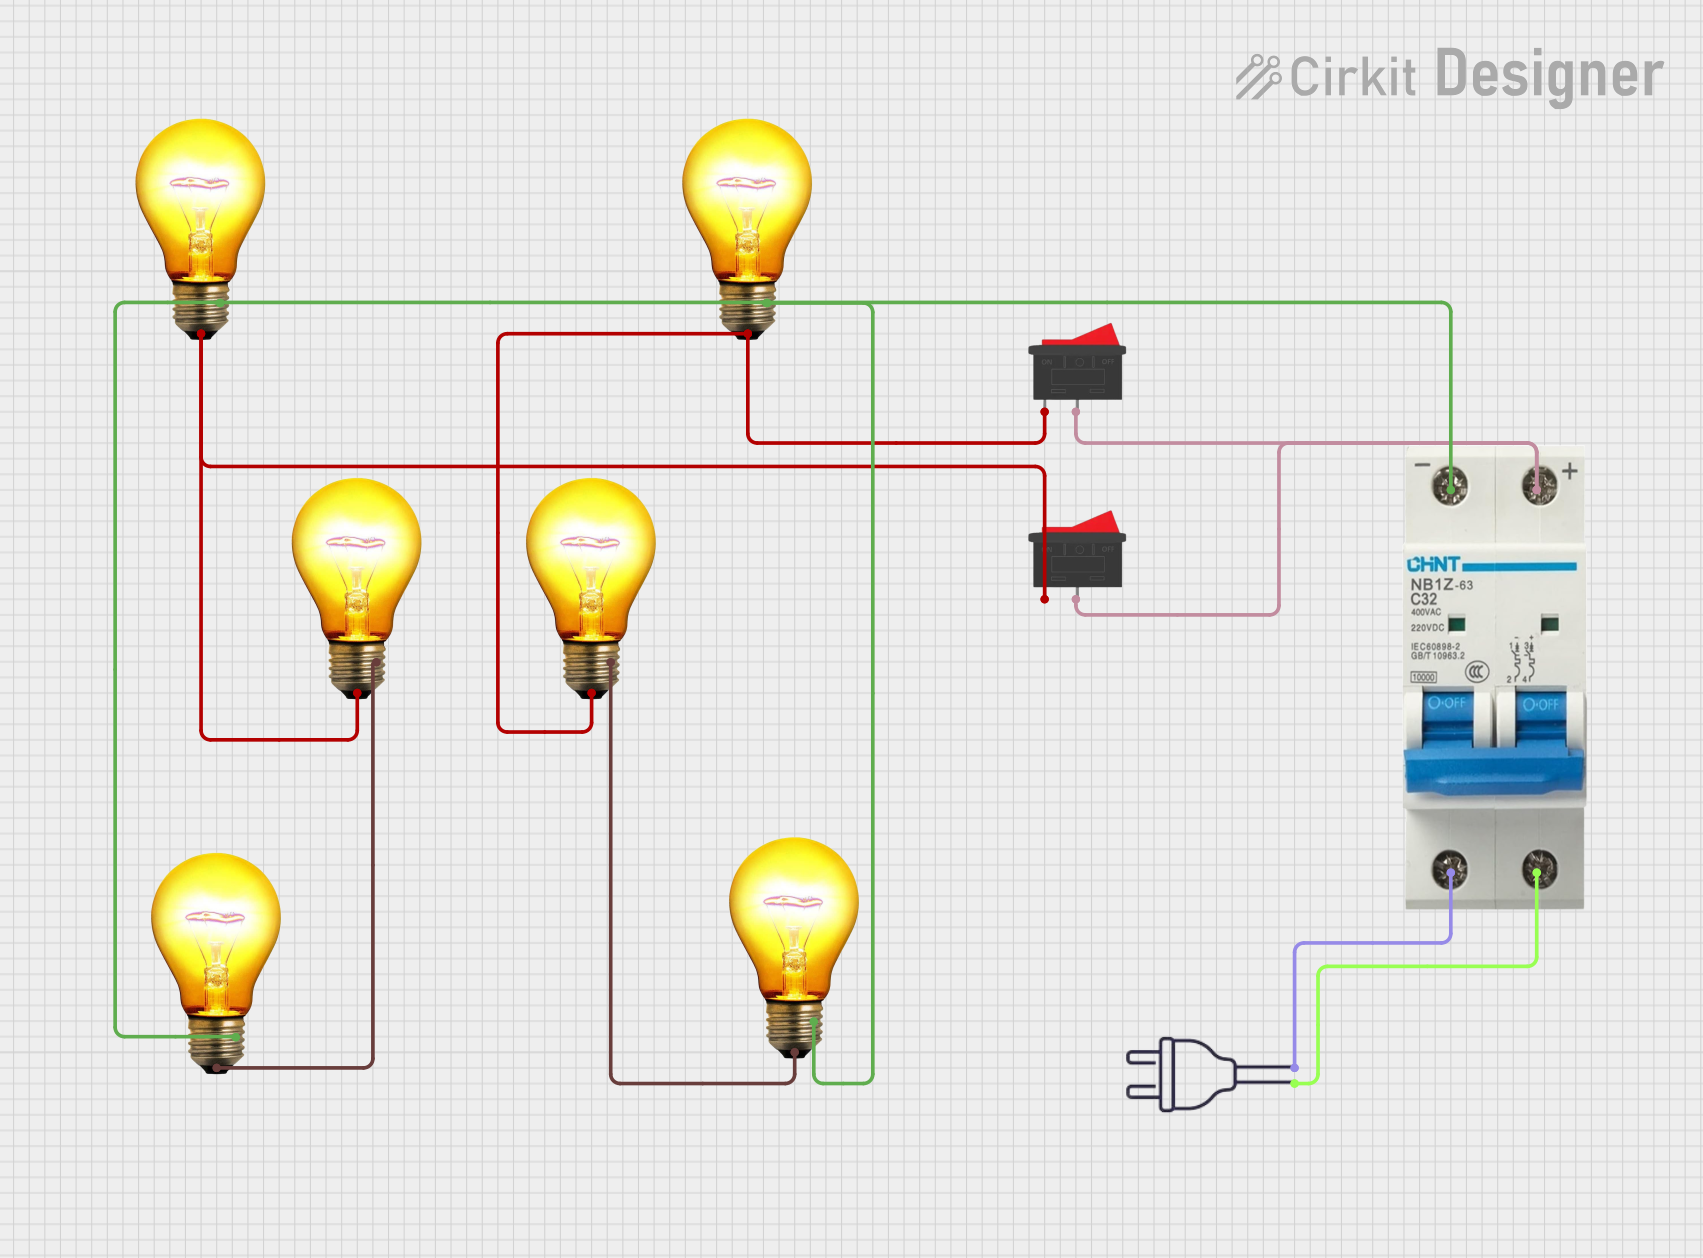
- Wiring: Connect the holder's live and neutral wires to the power source. For AC mains, ensure proper insulation and safety precautions.
- Switch On: Turn on the power supply to illuminate the bulb.
Important Considerations and Best Practices
- Avoid Overvoltage: Using a bulb with a voltage rating lower than the supply voltage can cause it to burn out.
- Heat Management: Incandescent bulbs generate significant heat. Ensure proper ventilation to avoid overheating.
- Energy Efficiency: Consider using LED bulbs for better energy efficiency and longer lifespan.
- Polarity: For AC bulbs, polarity is not critical. However, for DC bulbs (e.g., LED bulbs), ensure correct polarity.
Example: Connecting a Bulb to an Arduino UNO
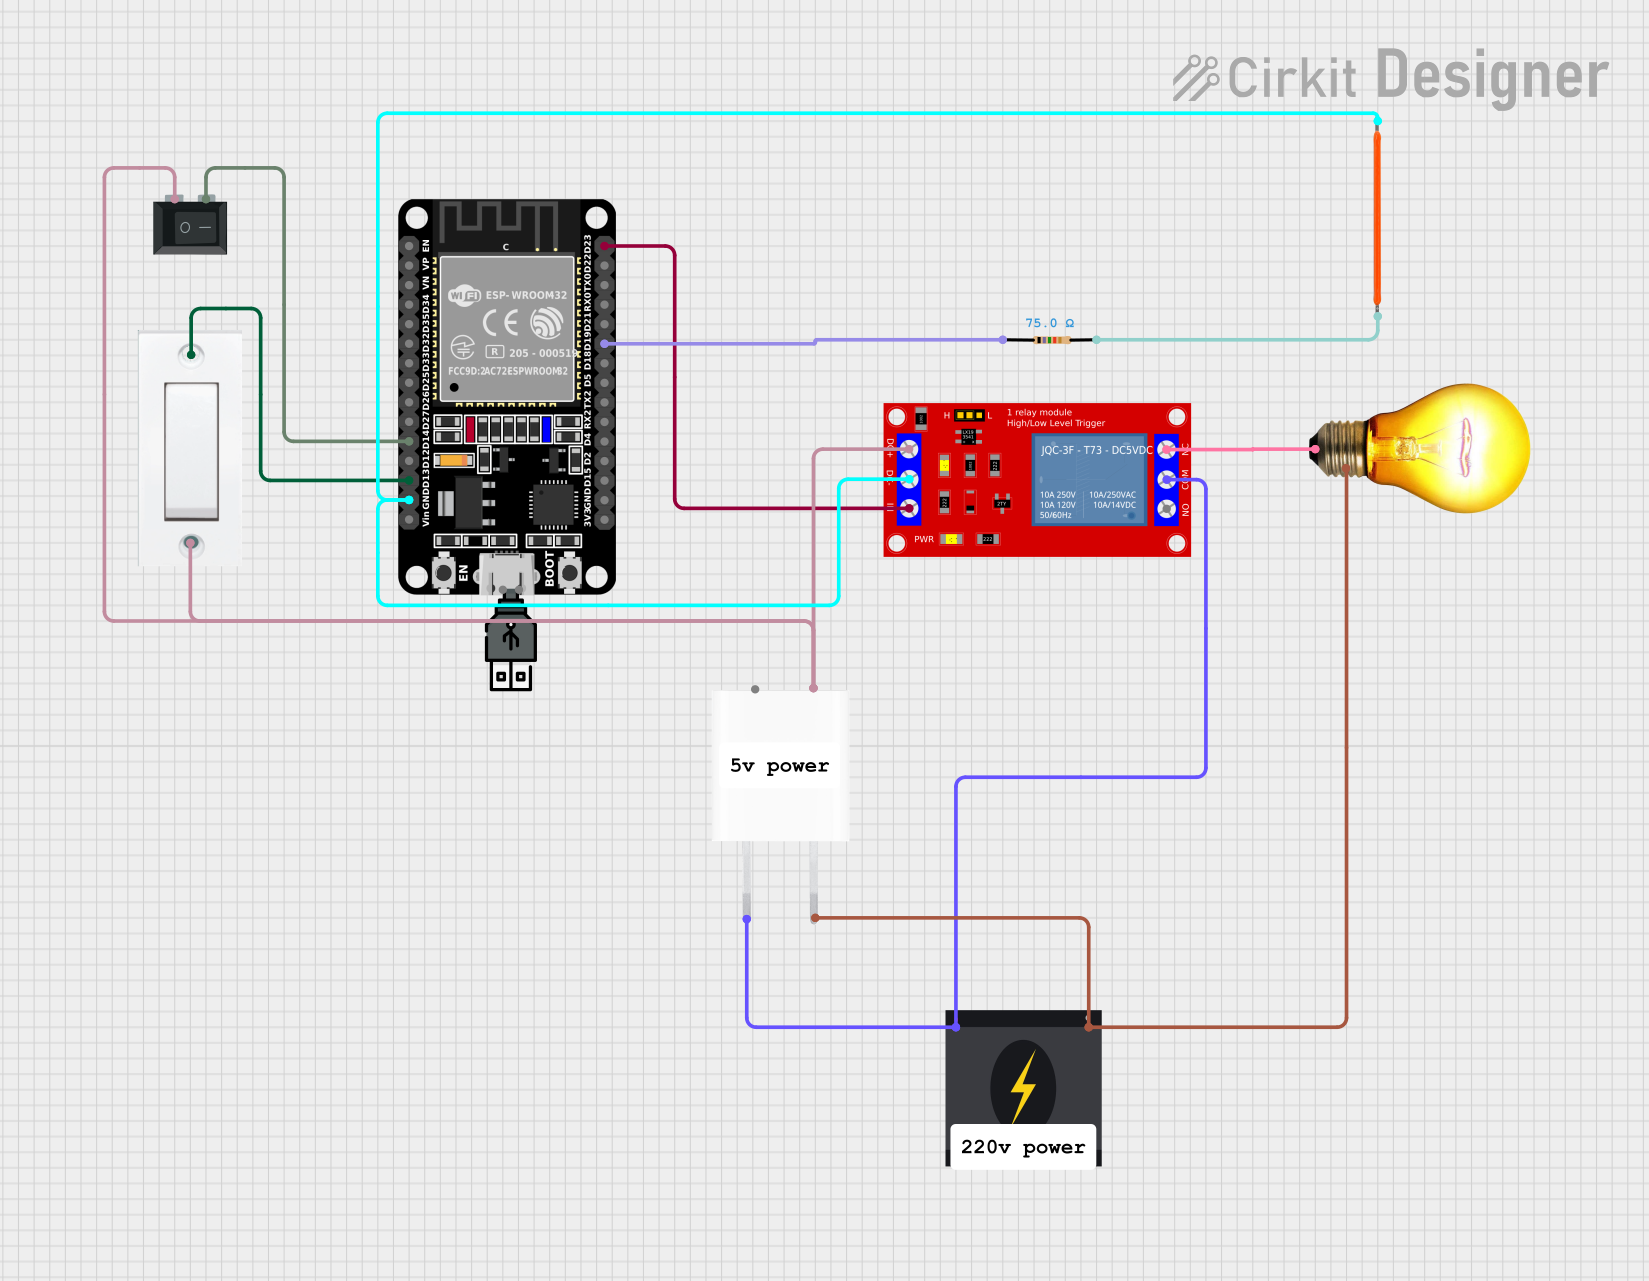
If using an LED bulb with an Arduino UNO, you can control it via a relay module. Below is an example code:
// Example: Controlling a bulb with Arduino UNO and a relay module
// Ensure the relay module is connected to the Arduino and the bulb is wired properly.

const int relayPin = 7; // Pin connected to the relay module

void setup() {
  pinMode(relayPin, OUTPUT); // Set relay pin as output
  digitalWrite(relayPin, LOW); // Ensure relay is off initially
}

void loop() {
  digitalWrite(relayPin, HIGH); // Turn the bulb ON
  delay(5000); // Keep the bulb ON for 5 seconds
  digitalWrite(relayPin, LOW); // Turn the bulb OFF
  delay(5000); // Keep the bulb OFF for 5 seconds
}
Note: Use a relay module rated for the bulb's voltage and current. Never connect an AC bulb directly to the Arduino.
Troubleshooting and FAQs
Common Issues
Bulb Does Not Light Up
- Cause: Loose connection or faulty wiring.
- Solution: Check all connections and ensure the bulb is securely fastened in the holder.
Bulb Flickers
- Cause: Voltage fluctuations or a loose connection.
- Solution: Stabilize the power supply and check the wiring.
Bulb Burns Out Quickly
- Cause: Overvoltage or poor-quality bulb.
- Solution: Use a bulb with the correct voltage rating and consider switching to a higher-quality or LED bulb.
Bulb Generates Excessive Heat
- Cause: High wattage or poor ventilation.
- Solution: Use a lower-wattage bulb or ensure proper ventilation around the bulb.
FAQs
Can I use a bulb with a higher wattage than my fixture's rating?
- No, using a higher-wattage bulb can overheat the fixture and pose a fire hazard.
What is the difference between warm white and cool white bulbs?
- Warm white bulbs (2700K-3000K) emit a yellowish light, ideal for cozy environments. Cool white bulbs (5000K-6500K) emit a bluish light, suitable for task lighting.
Can I dim an incandescent bulb?
- Yes, incandescent bulbs can be dimmed using a compatible dimmer switch. However, ensure the dimmer is rated for the bulb's wattage.
Why should I switch to LED bulbs?
- LED bulbs are more energy-efficient, have a longer lifespan, and generate less heat compared to incandescent bulbs.

 Open Project in Cirkit Designer