How to Use TOR: Examples, Pinouts, and Specs
Introduction
A Toroidal Inductor (TOR) is a passive electronic component designed to provide inductance in electronic circuits. Its toroid (doughnut) shape is distinctive and contributes to its efficiency and compactness. Toroidal inductors are favored for their high inductance values, minimal electromagnetic interference (EMI), and magnetic field containment. They are commonly used in power supplies, radio frequency (RF) circuits, and as filtering devices in audio equipment.
Explore Projects Built with TOR
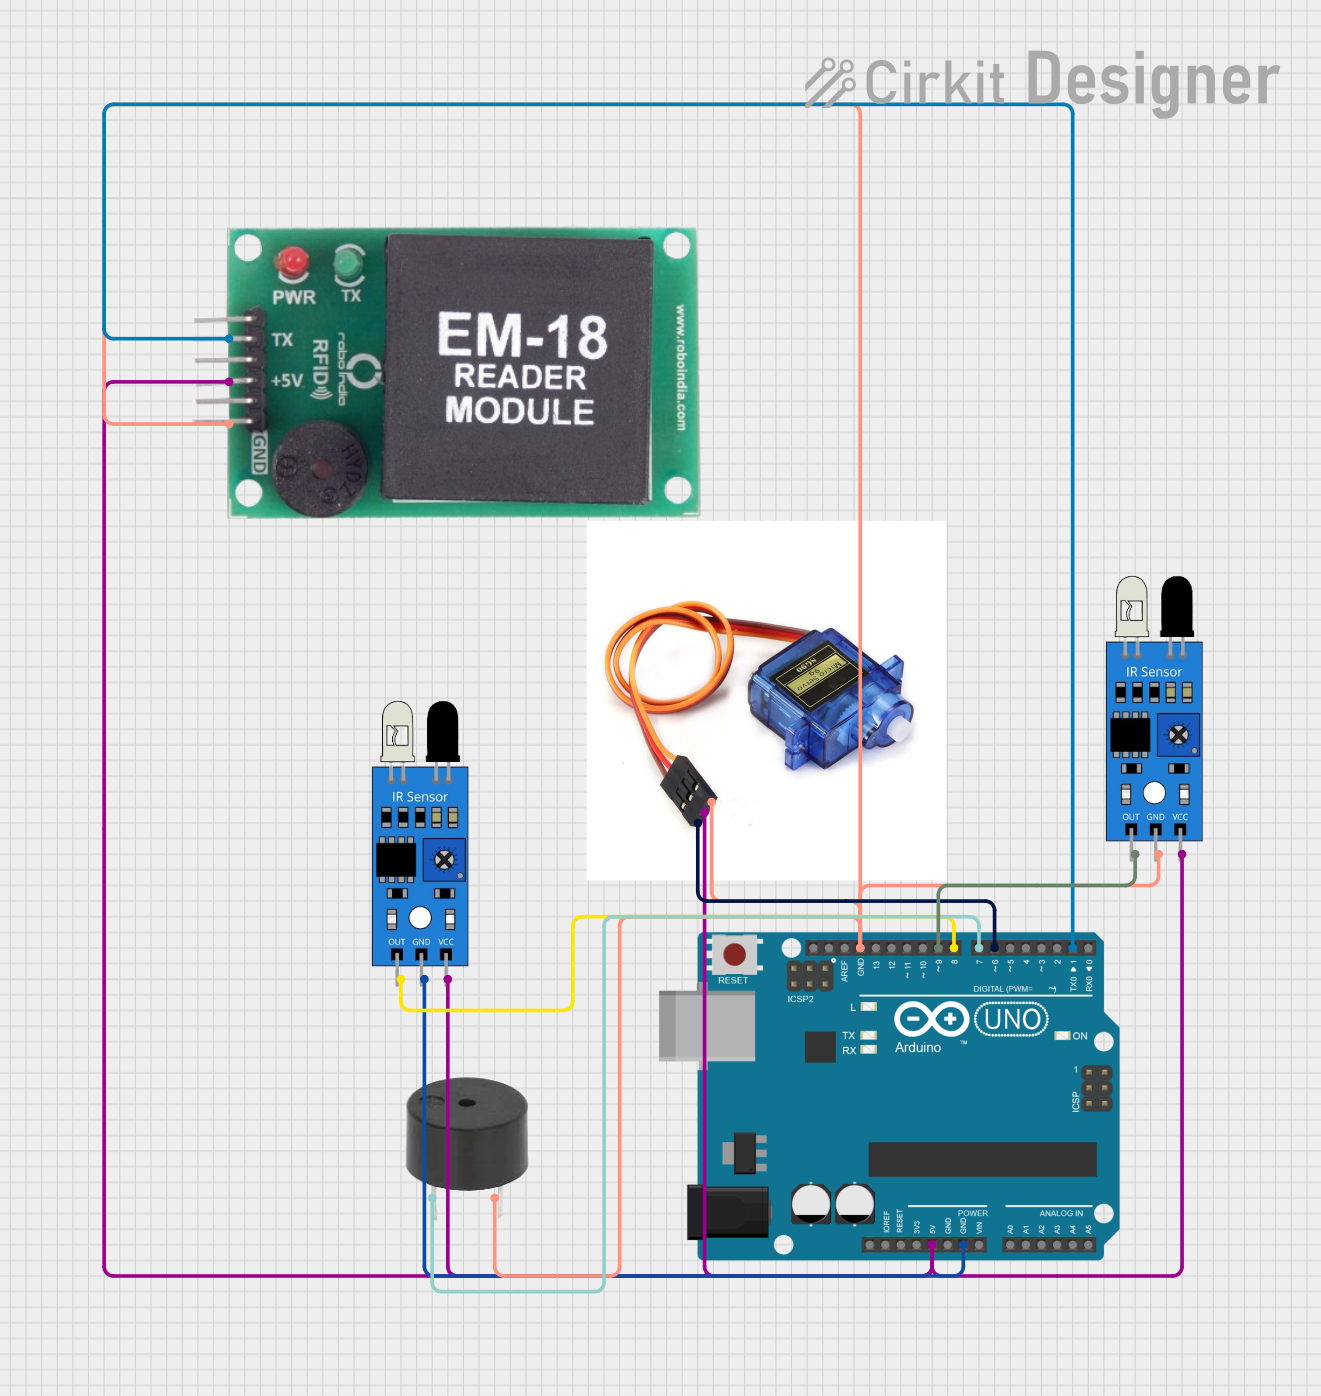
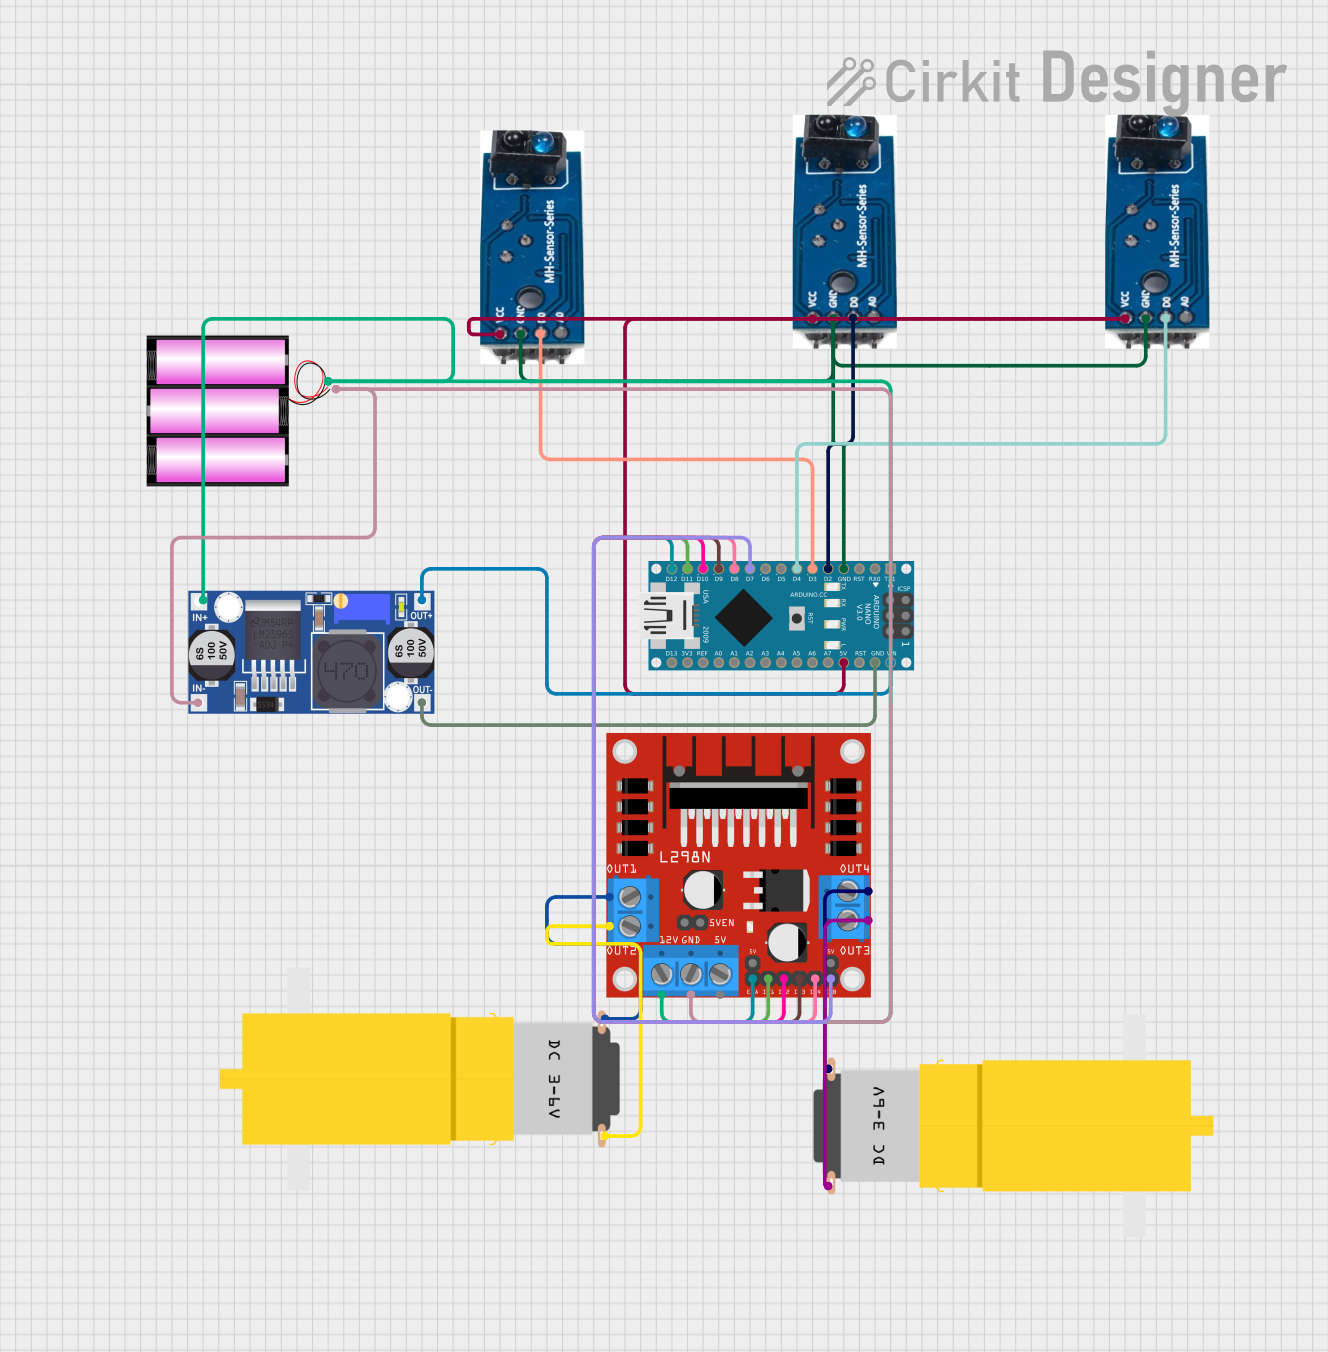
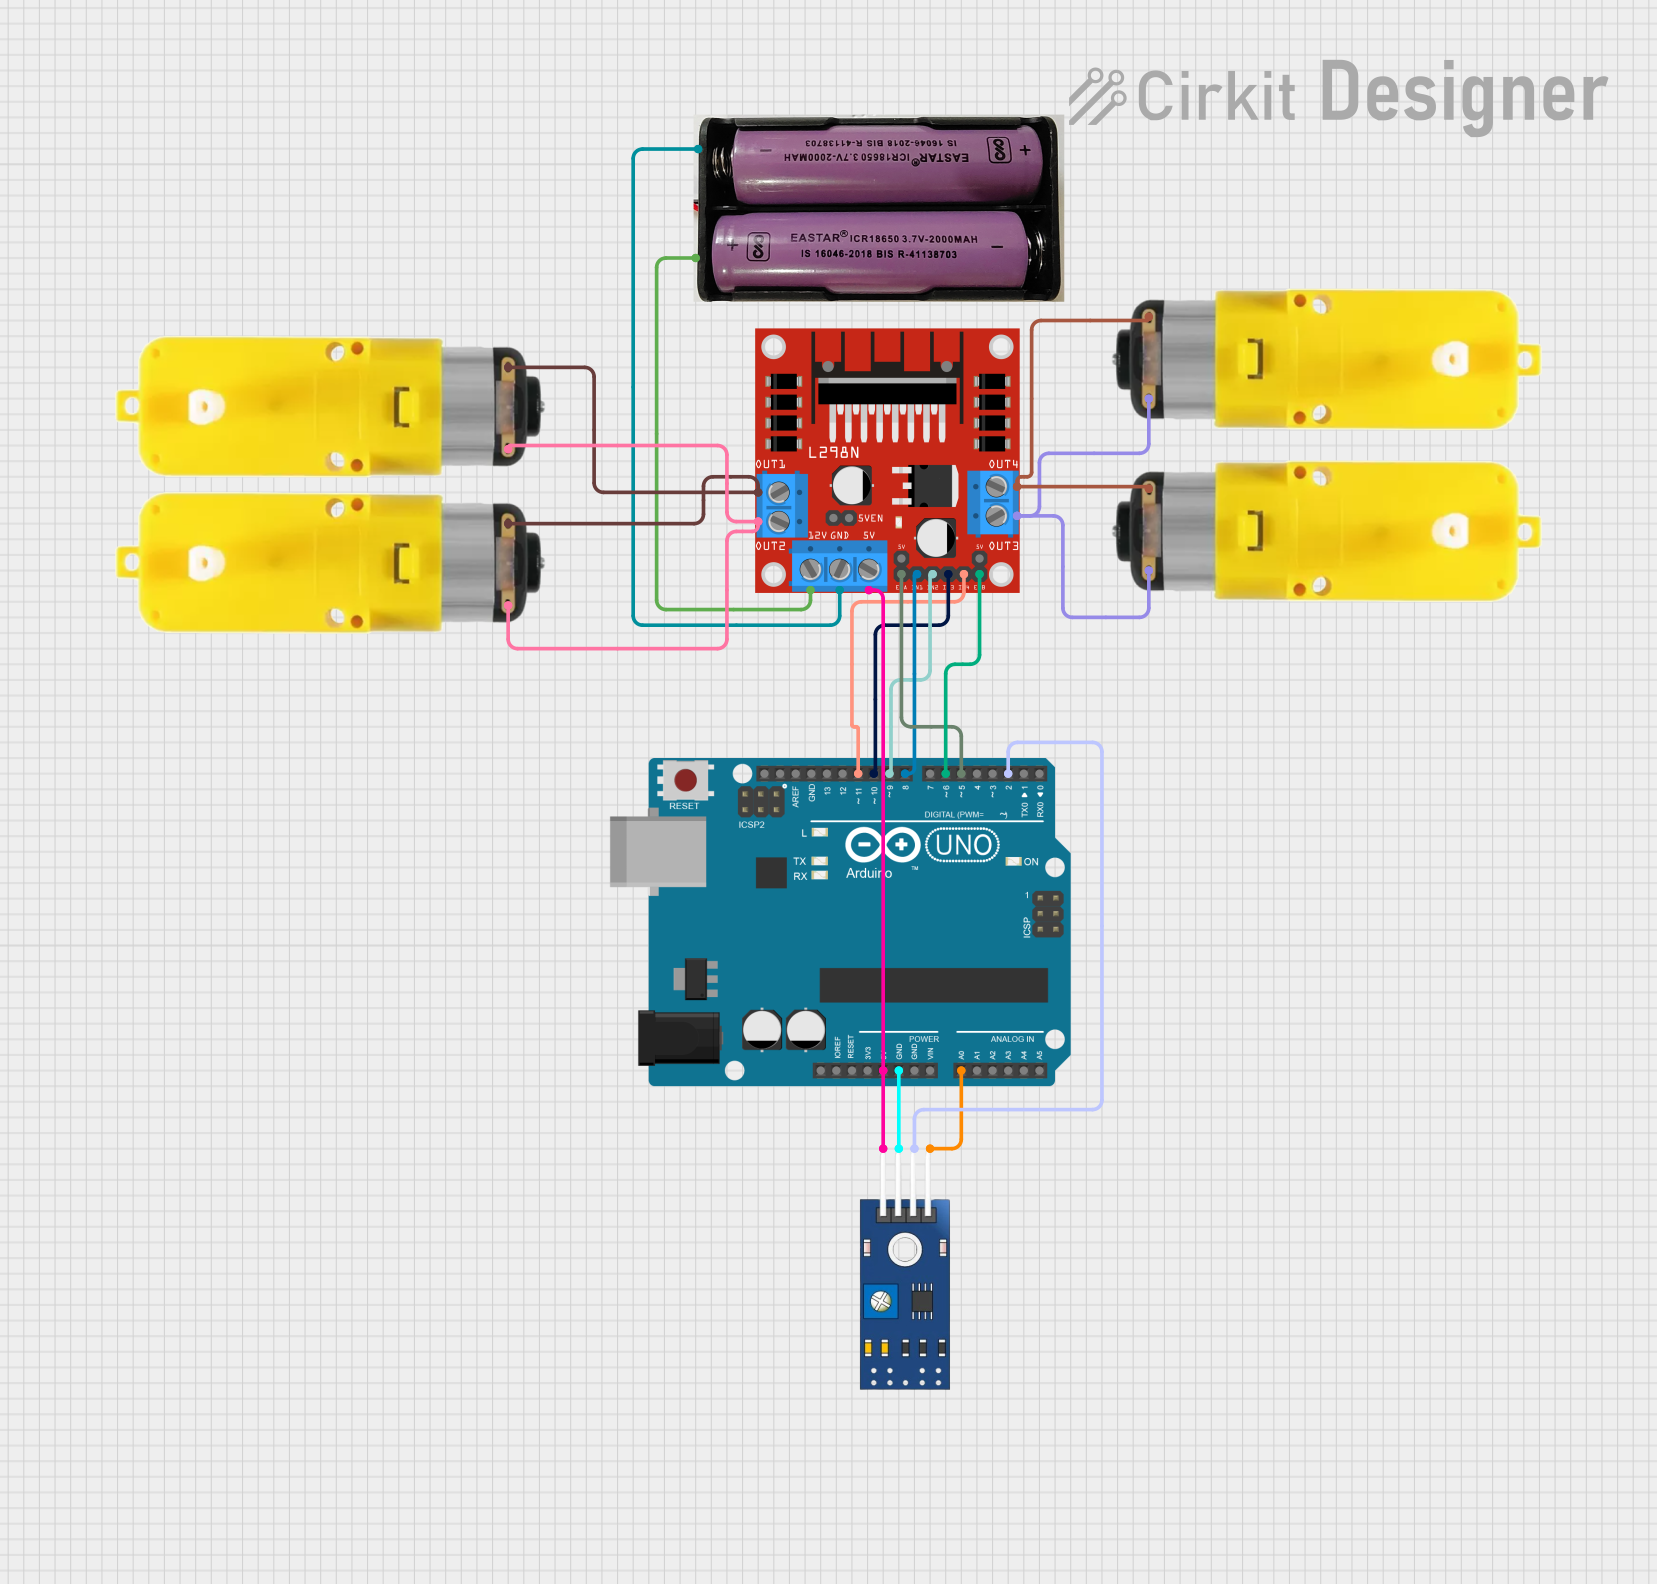
Explore Projects Built with TOR
Technical Specifications
Key Technical Details
- Inductance Range: Typically from microhenries (µH) to millihenries (mH)
- Current Rating: Depending on the wire gauge and core material, can range from a few milliamps to several amps
- Resistance: Varies with wire gauge and inductor size
- Core Material: Ferrite, iron powder, or other magnetic materials
- Temperature Stability: Varies with core material and design
- Tolerance: Inductance tolerance can range from ±1% to ±20%
Pin Configuration and Descriptions
Toroidal inductors typically have two leads for connection. Below is a table describing the pin configuration:
| Pin Number | Description |
|---|---|
| 1 | Start of winding |
| 2 | End of winding |
Usage Instructions
How to Use the Component in a Circuit
- Identify the Pins: Locate the start and end of the winding. These are your two connection points.
- Series or Parallel: Decide if the inductor should be placed in series or parallel with other components, depending on the desired effect (e.g., filtering, energy storage).
- Soldering: Use appropriate soldering techniques to connect the inductor to the circuit. Avoid excessive heat to prevent damage to the inductor.
- Orientation: The toroidal shape allows for flexible mounting, but ensure that the inductor is not in close proximity to components sensitive to magnetic fields.
Important Considerations and Best Practices
- Core Saturation: Avoid operating conditions that may lead to core saturation, as this will decrease inductance and could cause overheating.
- Thermal Management: Ensure adequate ventilation around the inductor to dissipate heat during operation.
- Mounting: Secure the inductor firmly to prevent movement, which could lead to noise or mechanical wear.
- Shielding: Even though toroidal inductors have reduced EMI, additional shielding may be necessary in highly sensitive applications.
Troubleshooting and FAQs
Common Issues
- Overheating: If the inductor gets too hot, check for overcurrent or core saturation.
- Noise: Mechanical noise may occur if the inductor is not properly secured or if it is experiencing core saturation.
- Reduced Inductance: This could be due to core saturation or damage to the winding.
Solutions and Tips for Troubleshooting
- Check Current: Ensure the current through the inductor does not exceed its rated value.
- Inspect for Damage: Look for any physical damage to the windings or core.
- Review Circuit Design: Verify that the inductor is correctly specified for the application.
FAQs
Q: Can I use a toroidal inductor in place of a regular inductor? A: Yes, but ensure that the specifications match your requirements, as toroidal inductors may have different inductance and current ratings.
Q: How do I choose the right toroidal inductor for my circuit? A: Consider the required inductance, current rating, resistance, and the operating frequency of your circuit.
Q: Does the orientation of the toroidal inductor matter in the circuit? A: Electrically, no. However, for mechanical stability and to minimize EMI, it should be mounted properly.
Example Arduino UNO Connection
// Example code for connecting a toroidal inductor to an Arduino UNO
// This example does not perform any specific function as inductors are passive
// components and do not interact with microcontrollers directly.

void setup() {
  // No setup required for the inductor
}

void loop() {
  // No loop code required for the inductor
  // The inductor would typically be part of a larger circuit where it might be
  // used for filtering or energy storage in conjunction with other components.
}
Note: The above code is a placeholder as toroidal inductors do not require direct interaction with an Arduino or similar microcontroller. They are used in conjunction with other components that would be controlled or monitored by the microcontroller.