How to Use vibration sensor: Examples, Pinouts, and Specs
Introduction
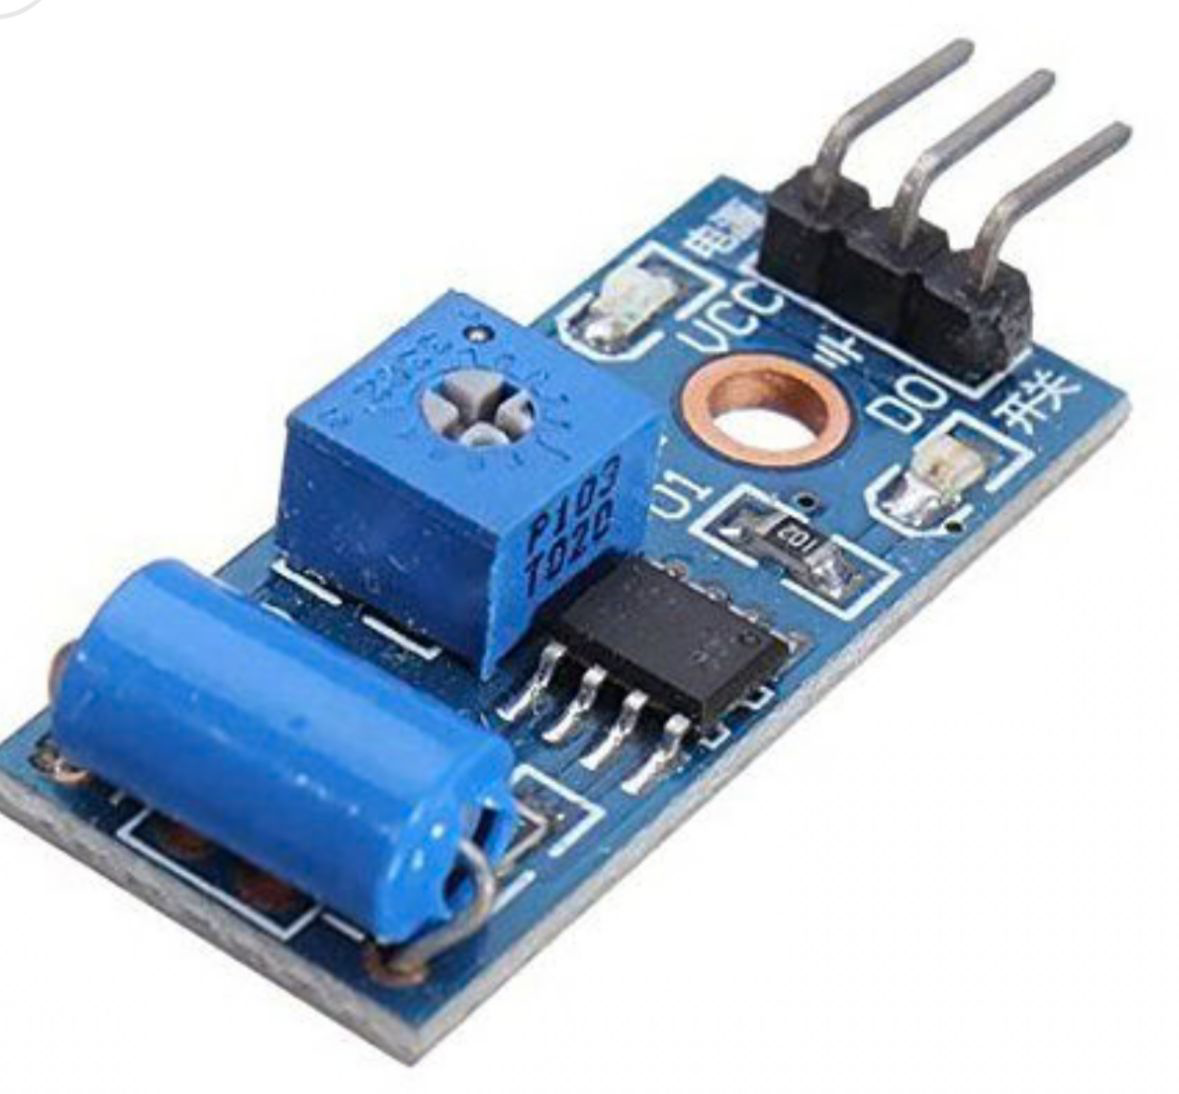
The ARDUINO UNO Vibration Sensor is a device designed to detect and measure vibrations or oscillations in a system. This sensor is commonly used in applications such as monitoring machinery health, structural integrity, and various other industrial and consumer applications. By converting mechanical vibrations into electrical signals, the vibration sensor provides valuable data that can be used for preventive maintenance, safety monitoring, and performance analysis.
Explore Projects Built with vibration sensor
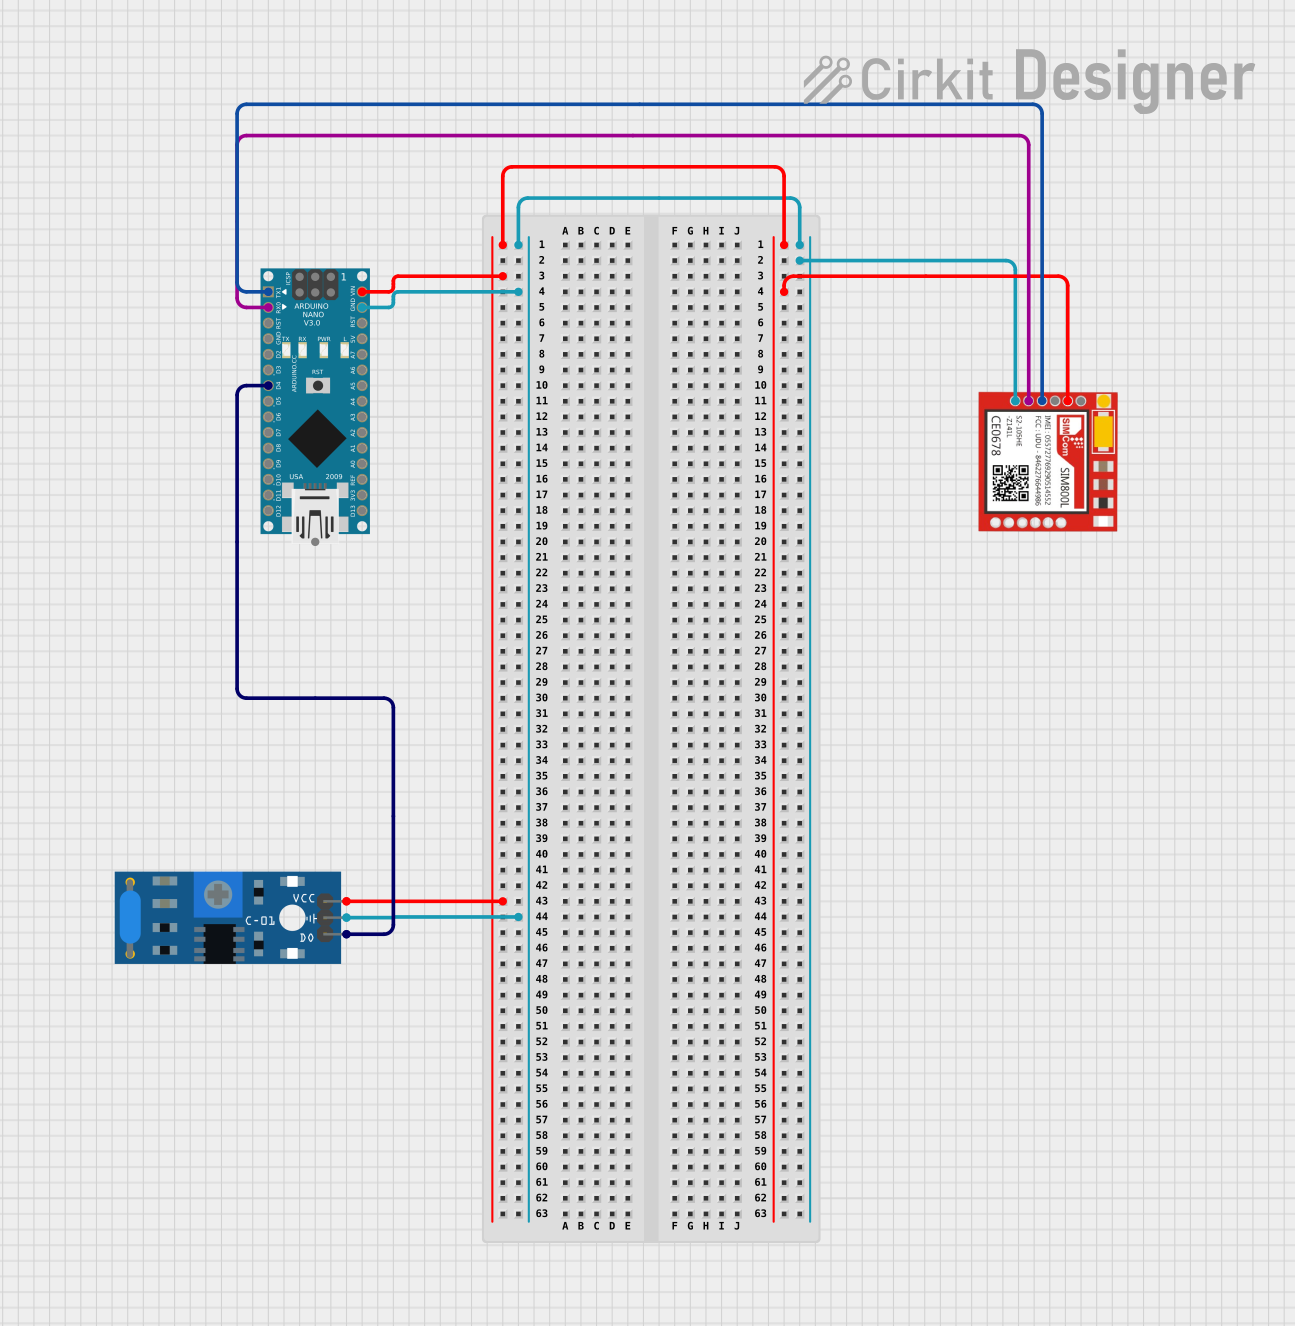
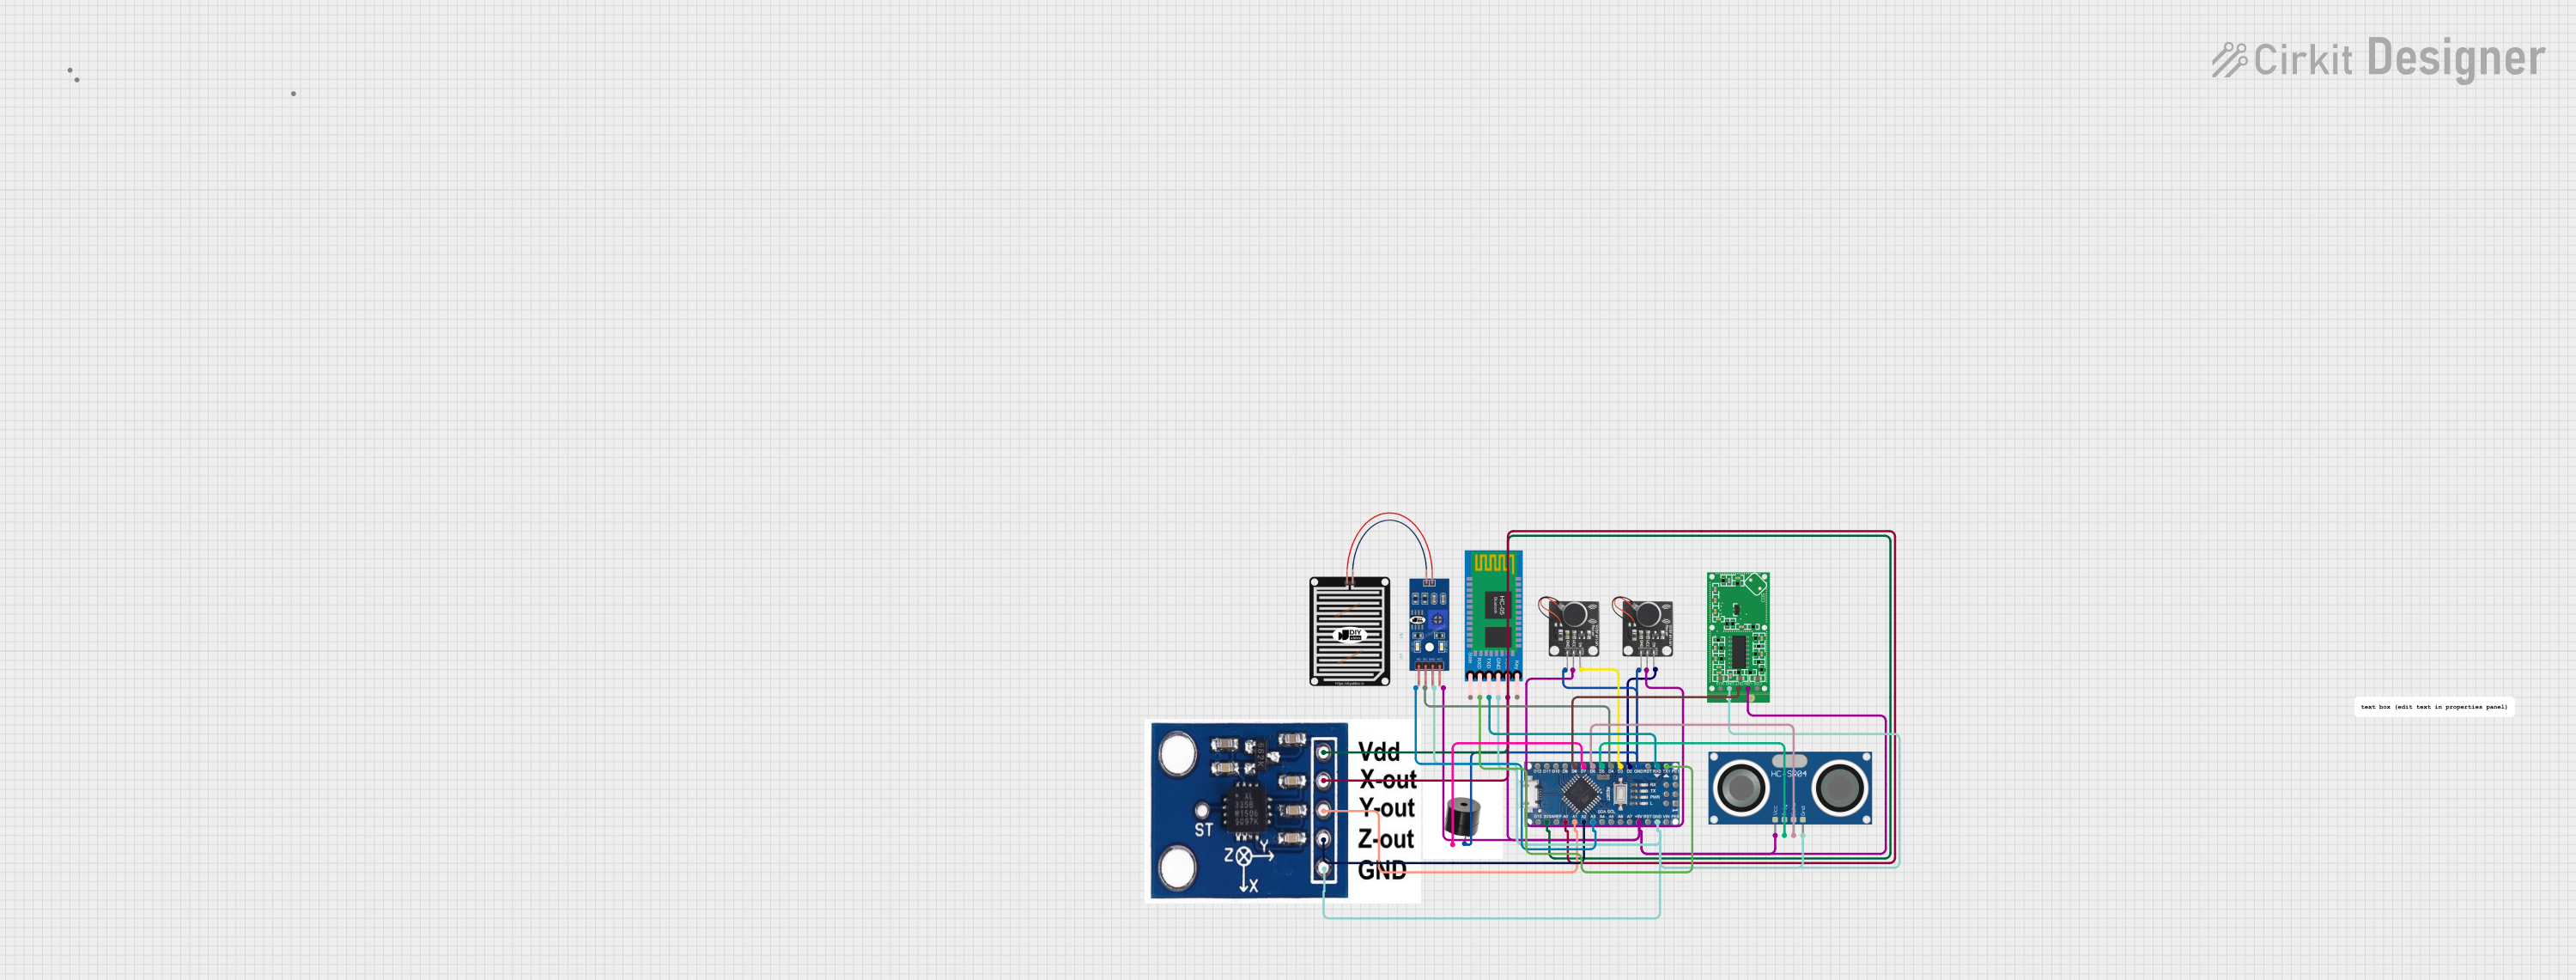

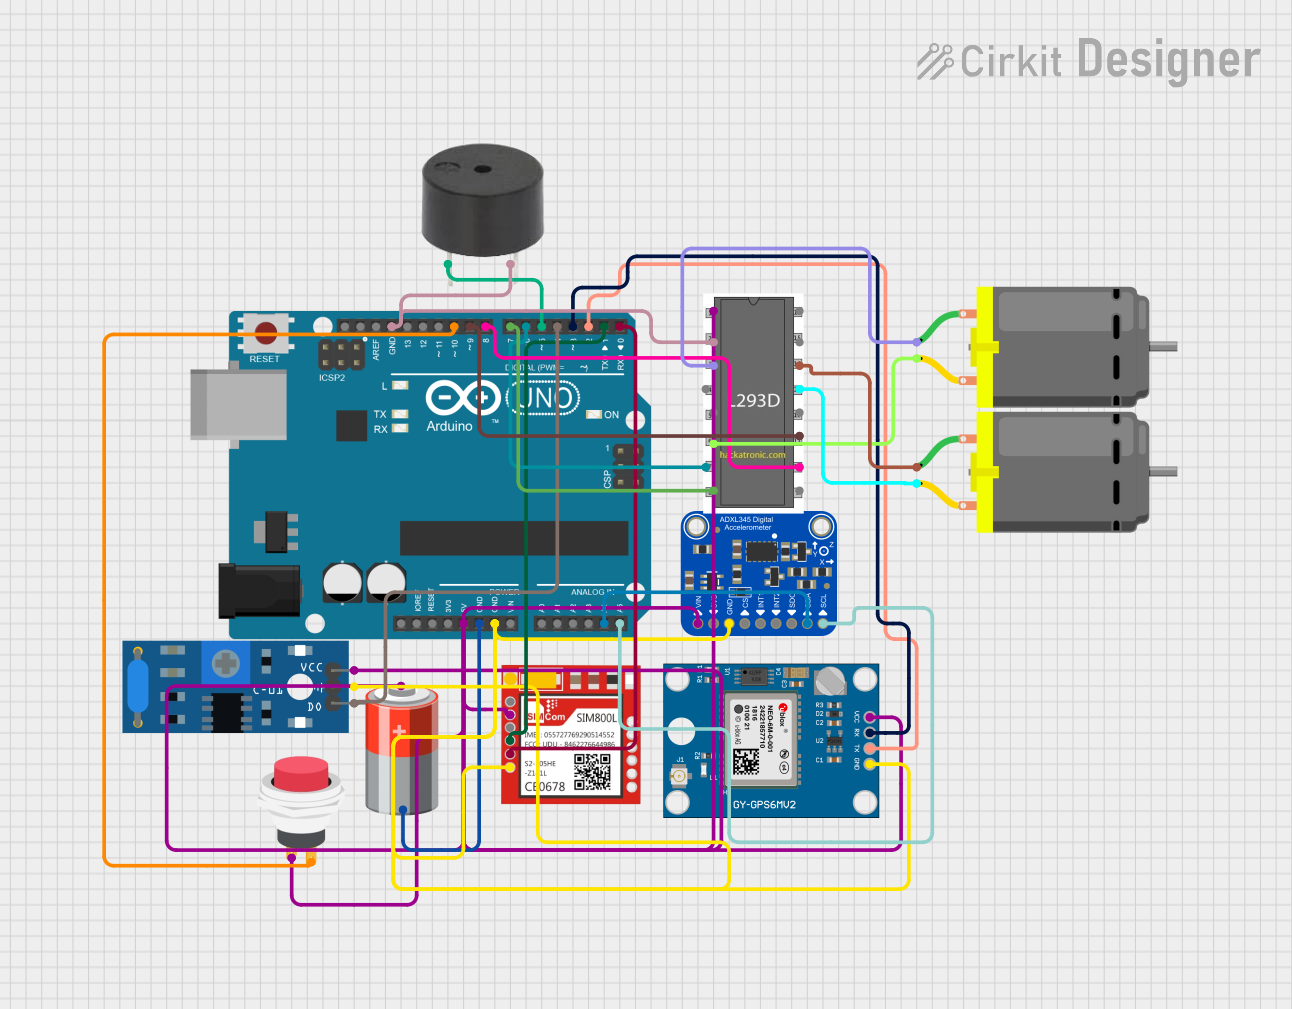
Explore Projects Built with vibration sensor
Technical Specifications
Key Technical Details
| Parameter | Value |
|---|---|
| Operating Voltage | 3.3V - 5V |
| Operating Current | < 1mA |
| Sensitivity | Adjustable via potentiometer |
| Output Type | Digital (High/Low) |
| Response Time | < 1ms |
| Operating Temperature | -40°C to 85°C |
| Dimensions | 32mm x 14mm x 8mm |
Pin Configuration and Descriptions
| Pin Number | Pin Name | Description |
|---|---|---|
| 1 | VCC | Power supply (3.3V - 5V) |
| 2 | GND | Ground |
| 3 | D0 | Digital output (High when vibration is detected) |
Usage Instructions
How to Use the Component in a Circuit
- Power Connection: Connect the VCC pin of the vibration sensor to the 5V pin on the Arduino UNO and the GND pin to the ground (GND) on the Arduino UNO.
- Signal Connection: Connect the D0 pin of the vibration sensor to one of the digital input pins on the Arduino UNO (e.g., pin 2).
- Adjust Sensitivity: Use the onboard potentiometer to adjust the sensitivity of the vibration sensor according to your application requirements.
Example Circuit Diagram
  +-------------------+
  | Arduino UNO       |
  |                   |
  |  +5V  GND  D2     |
  |   |    |    |     |
  |   |    |    |     |
  |   |    |    |     |
  |   |    |    |     |
  +---|----|----|-----+
      |    |    |
      |    |    |
      |    |    |
      |    |    |
  +---|----|----|-----+
  | VCC  GND  D0       |
  | Vibration Sensor   |
  +-------------------+
Arduino Code Example
// Vibration Sensor Example Code
// Connect the vibration sensor to digital pin 2 on the Arduino UNO

const int sensorPin = 2; // Pin connected to D0 of the vibration sensor
const int ledPin = 13;   // Onboard LED pin

void setup() {
  pinMode(sensorPin, INPUT); // Set sensor pin as input
  pinMode(ledPin, OUTPUT);   // Set LED pin as output
  Serial.begin(9600);        // Initialize serial communication
}

void loop() {
  int sensorValue = digitalRead(sensorPin); // Read the sensor value

  if (sensorValue == HIGH) {
    digitalWrite(ledPin, HIGH); // Turn on the LED if vibration is detected
    Serial.println("Vibration detected!");
  } else {
    digitalWrite(ledPin, LOW);  // Turn off the LED if no vibration
  }

  delay(100); // Small delay to avoid serial flooding
}
Important Considerations and Best Practices
- Power Supply: Ensure that the power supply voltage is within the specified range (3.3V - 5V) to avoid damaging the sensor.
- Sensitivity Adjustment: Fine-tune the sensitivity using the onboard potentiometer to match the specific requirements of your application.
- Mounting: Securely mount the sensor to the surface where vibration detection is required to ensure accurate measurements.
- Debouncing: Implement software debouncing if the sensor output is noisy or if false triggers are observed.
Troubleshooting and FAQs
Common Issues and Solutions
No Output Signal:
- Check Connections: Ensure all connections are secure and correct.
- Power Supply: Verify that the sensor is receiving the correct voltage.
- Sensitivity: Adjust the potentiometer to increase sensitivity.
False Triggers:
- Debouncing: Implement software debouncing to filter out noise.
- Mounting: Ensure the sensor is firmly mounted to avoid false readings due to loose connections.
Inconsistent Readings:
- Environmental Factors: Consider environmental factors such as temperature and humidity that may affect sensor performance.
- Calibration: Recalibrate the sensor by adjusting the potentiometer.
FAQs
Q1: Can the vibration sensor detect very small vibrations? A1: Yes, the sensitivity of the vibration sensor can be adjusted using the onboard potentiometer to detect small vibrations.
Q2: What is the maximum distance between the sensor and the Arduino? A2: The maximum distance depends on the quality of the connections and the environment. Generally, keeping the distance within a few meters is recommended to avoid signal degradation.
Q3: Can I use multiple vibration sensors with a single Arduino UNO? A3: Yes, you can connect multiple vibration sensors to different digital input pins on the Arduino UNO and read their values independently.
Q4: Is the vibration sensor waterproof? A4: No, the vibration sensor is not waterproof. It should be protected from moisture and water to ensure proper operation.
By following this documentation, users can effectively integrate the ARDUINO UNO Vibration Sensor into their projects, ensuring accurate and reliable vibration detection and measurement.