
How to Use Dagu DGServo 9g (Top view): Examples, Pinouts, and Specs

 Design with Dagu DGServo 9g (Top view) in Cirkit Designer
Introduction
The Dagu DGServo 9g is a small, lightweight servo motor designed for applications requiring precise control of angular position. It is widely used in robotics, RC vehicles, and hobby electronics projects due to its compact size, affordability, and ease of use. This servo motor is ideal for projects where weight and space are critical factors, such as robotic arms, pan-tilt camera mounts, and small-scale automation systems.
Explore Projects Built with Dagu DGServo 9g (Top view)
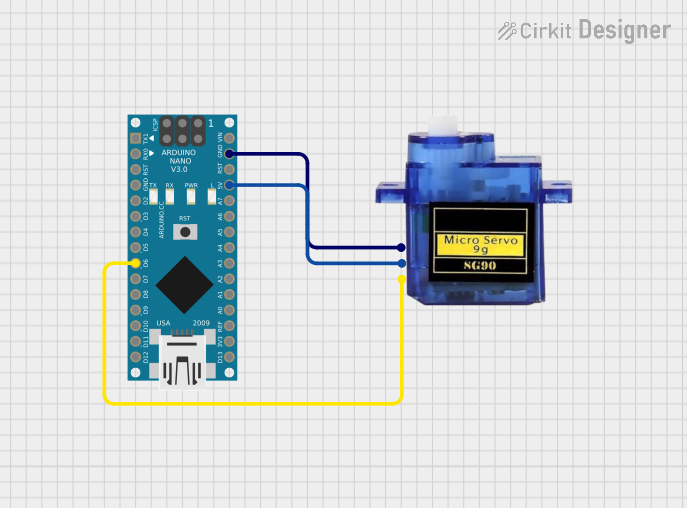 Open Project in Cirkit Designer
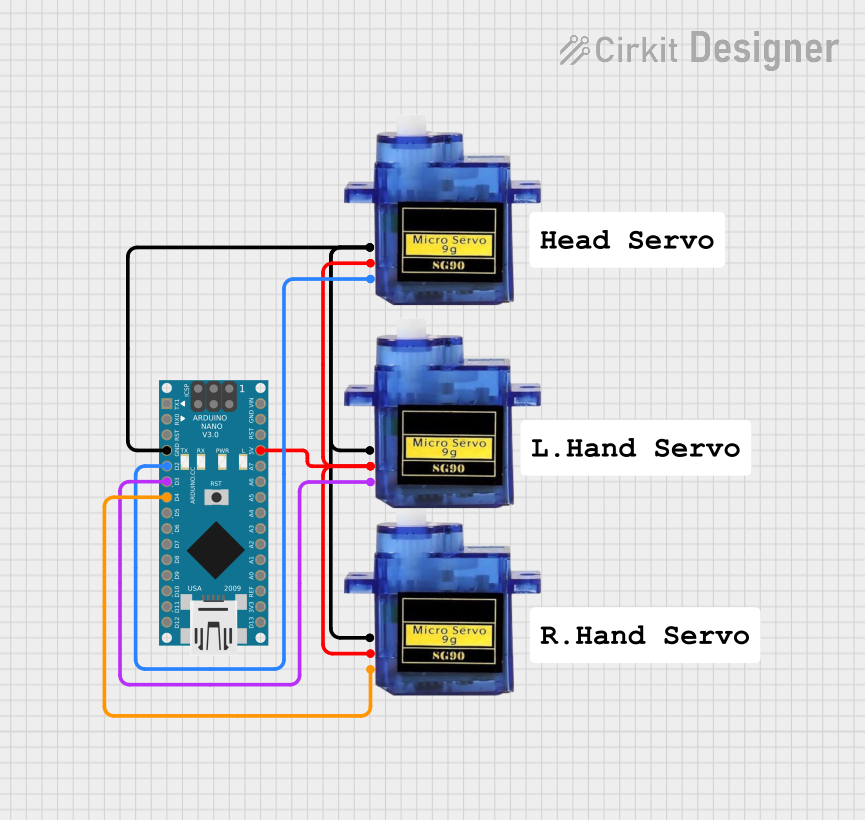 Open Project in Cirkit Designer
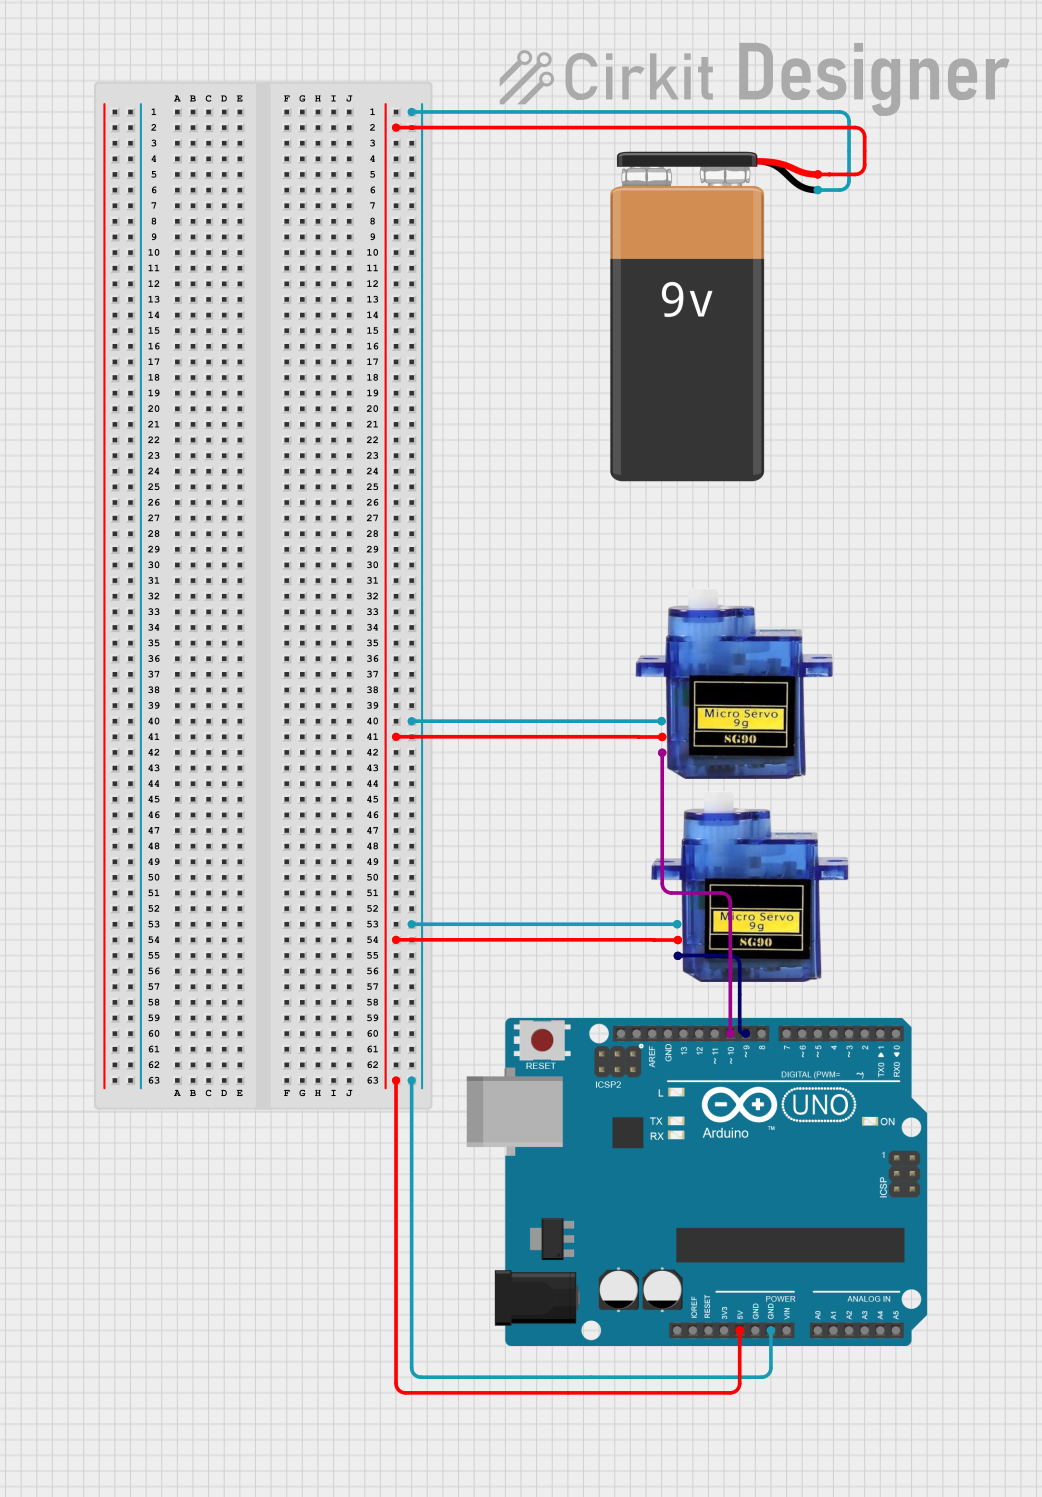 Open Project in Cirkit Designer
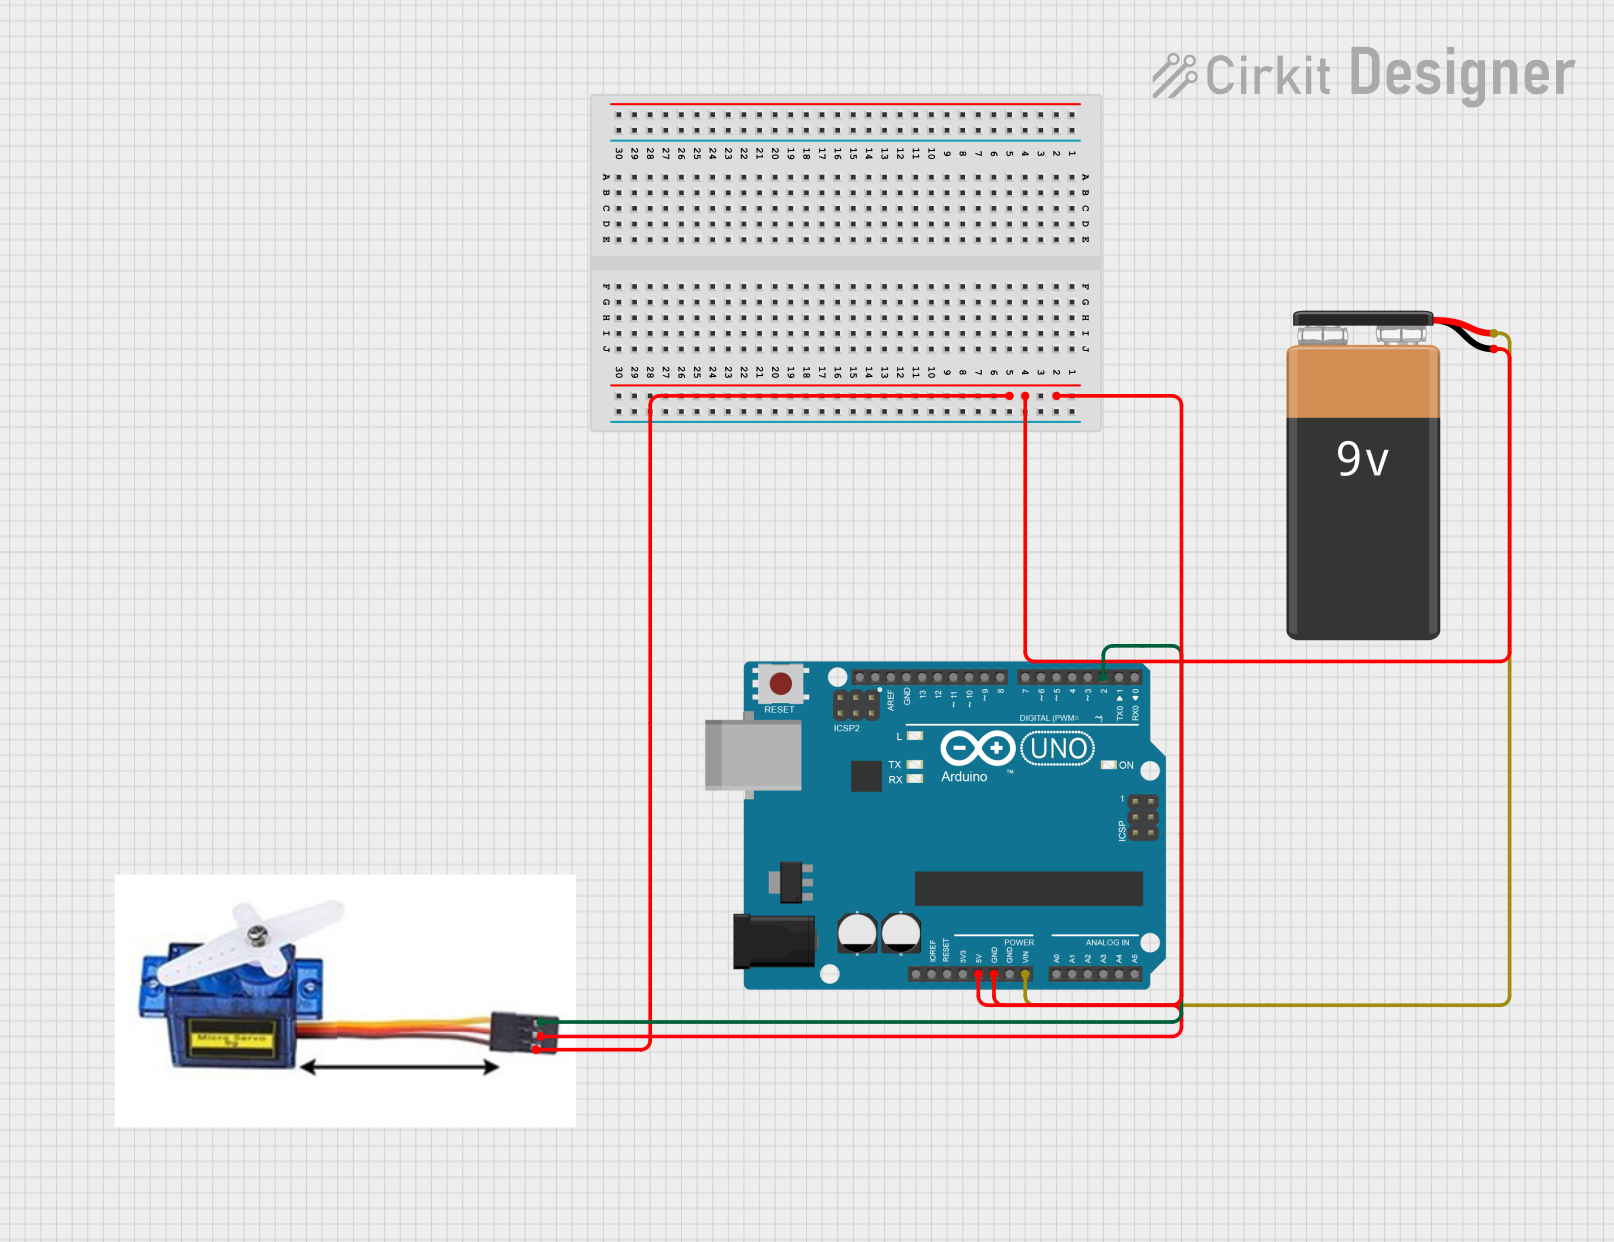 Open Project in Cirkit Designer
Explore Projects Built with Dagu DGServo 9g (Top view)
Open Project in Cirkit DesignerOpen Project in Cirkit DesignerOpen Project in Cirkit DesignerOpen Project in Cirkit DesignerTechnical Specifications
The following table outlines the key technical details of the Dagu DGServo 9g:
| Parameter | Specification |
|---|---|
| Operating Voltage | 4.8V to 6.0V |
| Stall Torque | 1.6 kg·cm (at 4.8V) |
| Operating Speed | 0.12 sec/60° (at 4.8V) |
| Weight | 9 grams |
| Dimensions | 22.2mm x 11.8mm x 31mm |
| Control Signal | PWM (Pulse Width Modulation) |
| PWM Pulse Range | 500µs to 2500µs |
| Rotation Angle | 0° to 180° |
| Connector Type | 3-pin female header (Dupont) |
Pin Configuration
The Dagu DGServo 9g has a 3-pin connector with the following pinout:
| Pin Number | Wire Color | Function | Description |
|---|---|---|---|
| 1 | Brown | Ground (GND) | Connect to the ground of the power supply or microcontroller. |
| 2 | Red | Power (VCC) | Connect to a 4.8V–6.0V power source. |
| 3 | Orange | Signal (PWM) | Connect to the PWM output pin of a microcontroller. |
Usage Instructions
How to Use the Dagu DGServo 9g in a Circuit
- Power Supply: Ensure the servo is powered by a stable 4.8V–6.0V DC source. Avoid exceeding the voltage range to prevent damage.
- Connections:
- Connect the Brown (GND) wire to the ground of your power supply or microcontroller.
- Connect the Red (VCC) wire to a 4.8V–6.0V power source.
- Connect the Orange (Signal) wire to a PWM-capable pin on your microcontroller.
- PWM Signal: Use a PWM signal with a pulse width between 500µs (0°) and 2500µs (180°) to control the servo's angular position.
Important Considerations and Best Practices
- Power Supply: Use a separate power supply for the servo if it draws too much current for your microcontroller to handle.
- PWM Frequency: The servo typically operates at a PWM frequency of 50Hz (20ms period).
- Avoid Overloading: Do not apply excessive torque to the servo to prevent overheating or damage.
- Calibration: Test the servo's range of motion to ensure it does not exceed its physical limits.
Example Code for Arduino UNO
Below is an example of how to control the Dagu DGServo 9g using an Arduino UNO:
#include <Servo.h> // Include the Servo library

Servo myServo; // Create a Servo object to control the servo

void setup() {
  myServo.attach(9); // Attach the servo to pin 9 on the Arduino
}

void loop() {
  myServo.write(0); // Move the servo to 0 degrees
  delay(1000);      // Wait for 1 second

  myServo.write(90); // Move the servo to 90 degrees
  delay(1000);       // Wait for 1 second

  myServo.write(180); // Move the servo to 180 degrees
  delay(1000);        // Wait for 1 second
}
Notes on the Code
- The
Servolibrary simplifies the process of generating PWM signals for servo control. - The
myServo.attach(9)function links the servo to pin 9 on the Arduino. - The
myServo.write(angle)function sets the servo to a specific angle (0° to 180°).
Troubleshooting and FAQs
Common Issues and Solutions
Servo Not Moving:
- Cause: Incorrect wiring or insufficient power supply.
- Solution: Double-check the connections and ensure the power supply provides 4.8V–6.0V.
Servo Jitters or Vibrates:
- Cause: Electrical noise or unstable power supply.
- Solution: Use a capacitor (e.g., 100µF) across the power supply terminals to stabilize the voltage.
Servo Overheating:
- Cause: Excessive torque or prolonged operation at high loads.
- Solution: Reduce the load on the servo or allow it to cool down periodically.
Limited Range of Motion:
- Cause: PWM signal out of range or physical obstruction.
- Solution: Ensure the PWM pulse width is between 500µs and 2500µs, and check for obstructions.
FAQs
Q: Can I power the servo directly from the Arduino UNO?
A: While it is possible, it is not recommended if the servo draws significant current. Use an external power supply for better performance.
Q: What is the maximum rotation angle of the Dagu DGServo 9g?
A: The servo can rotate from 0° to 180°.
Q: Can I use this servo with a Raspberry Pi?
A: Yes, but you will need to generate a PWM signal using a library like RPi.GPIO or an external PWM controller.
Q: How do I prevent the servo from drawing too much current?
A: Use a current-limiting resistor or a dedicated servo driver circuit to manage power delivery.
This concludes the documentation for the Dagu DGServo 9g.