How to Use Vibration Motor: Examples, Pinouts, and Specs
Introduction
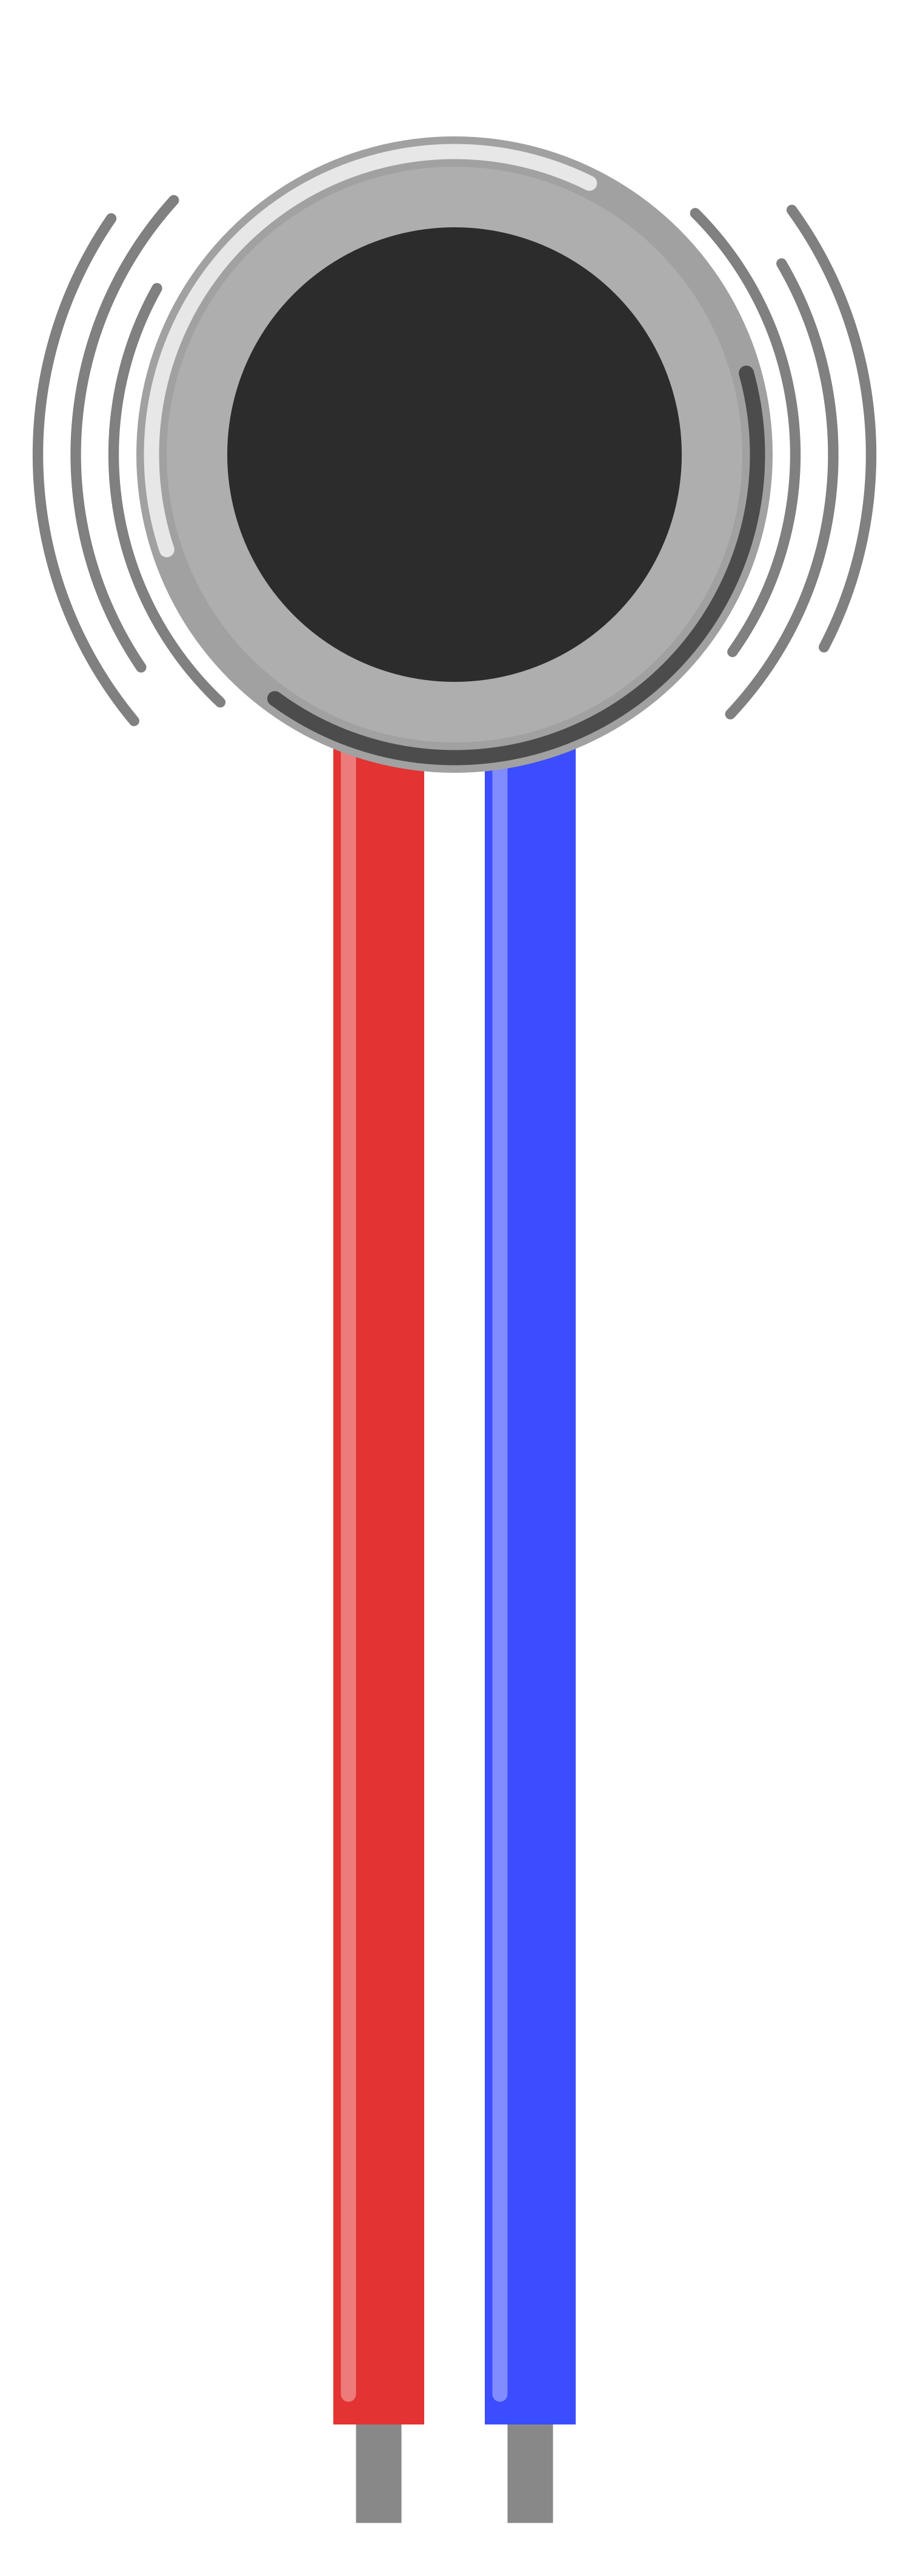
A vibration motor is an electromechanical device designed to generate vibrations when an electrical current is applied. These vibrations can be used for a variety of applications, including haptic feedback in user interfaces, alert notifications in mobile devices, and as a tactile indicator in industrial and medical equipment. The compact size and ease of use make vibration motors suitable for a wide range of products.
Explore Projects Built with Vibration Motor
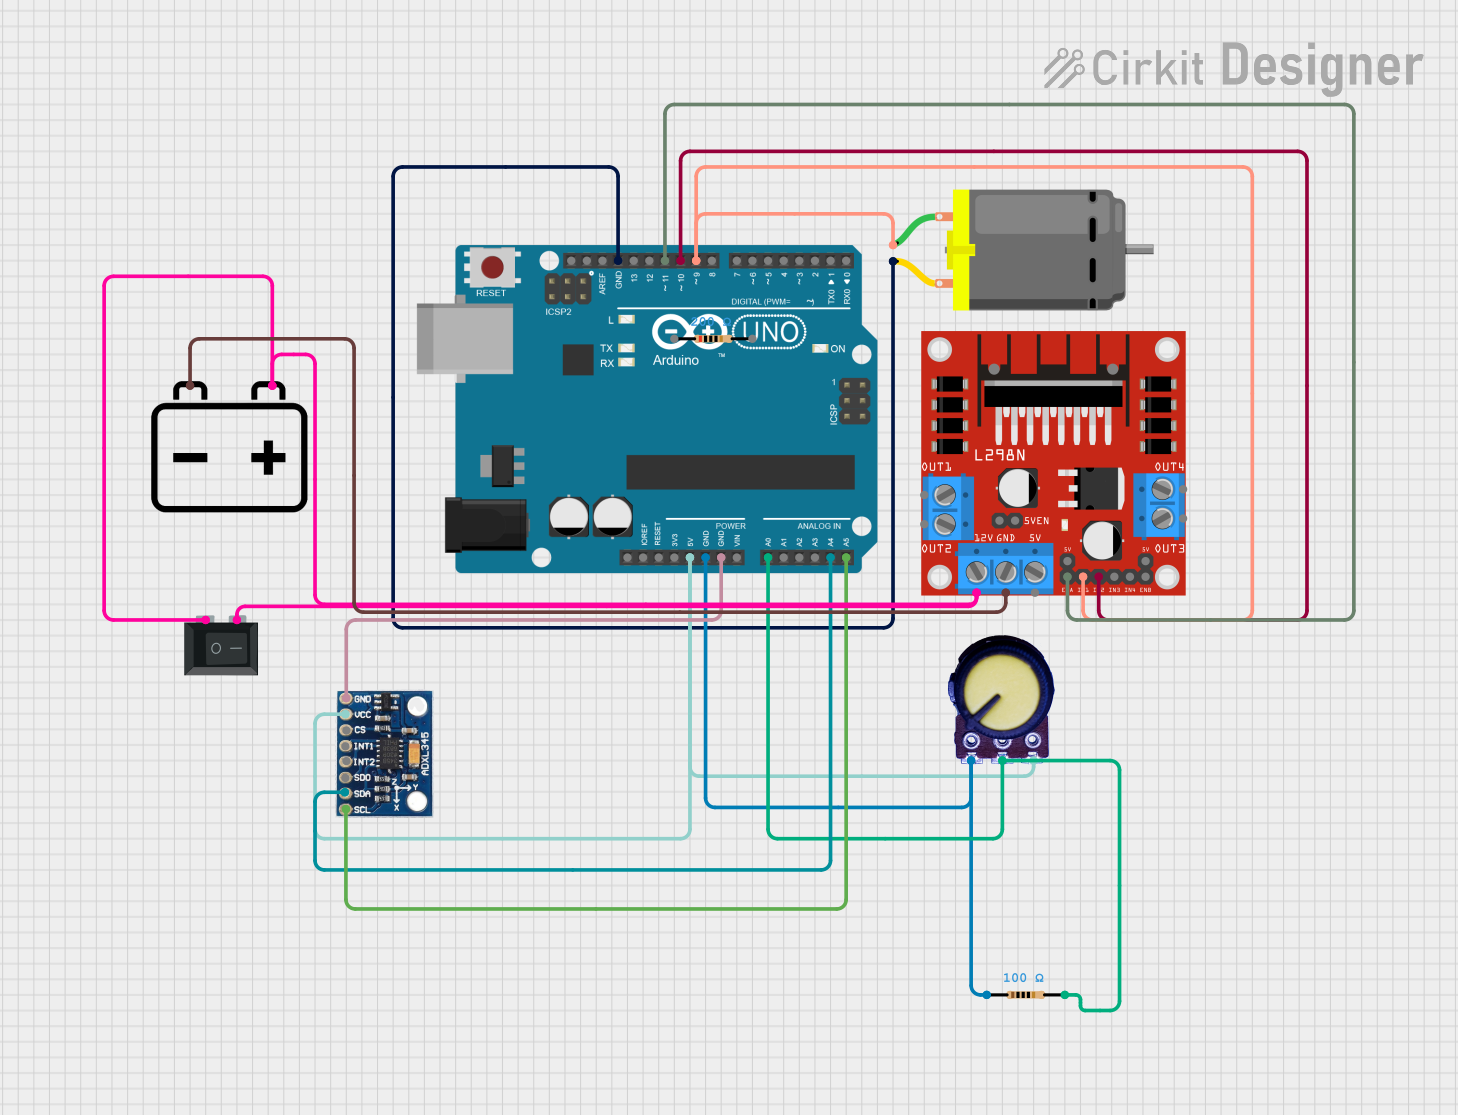
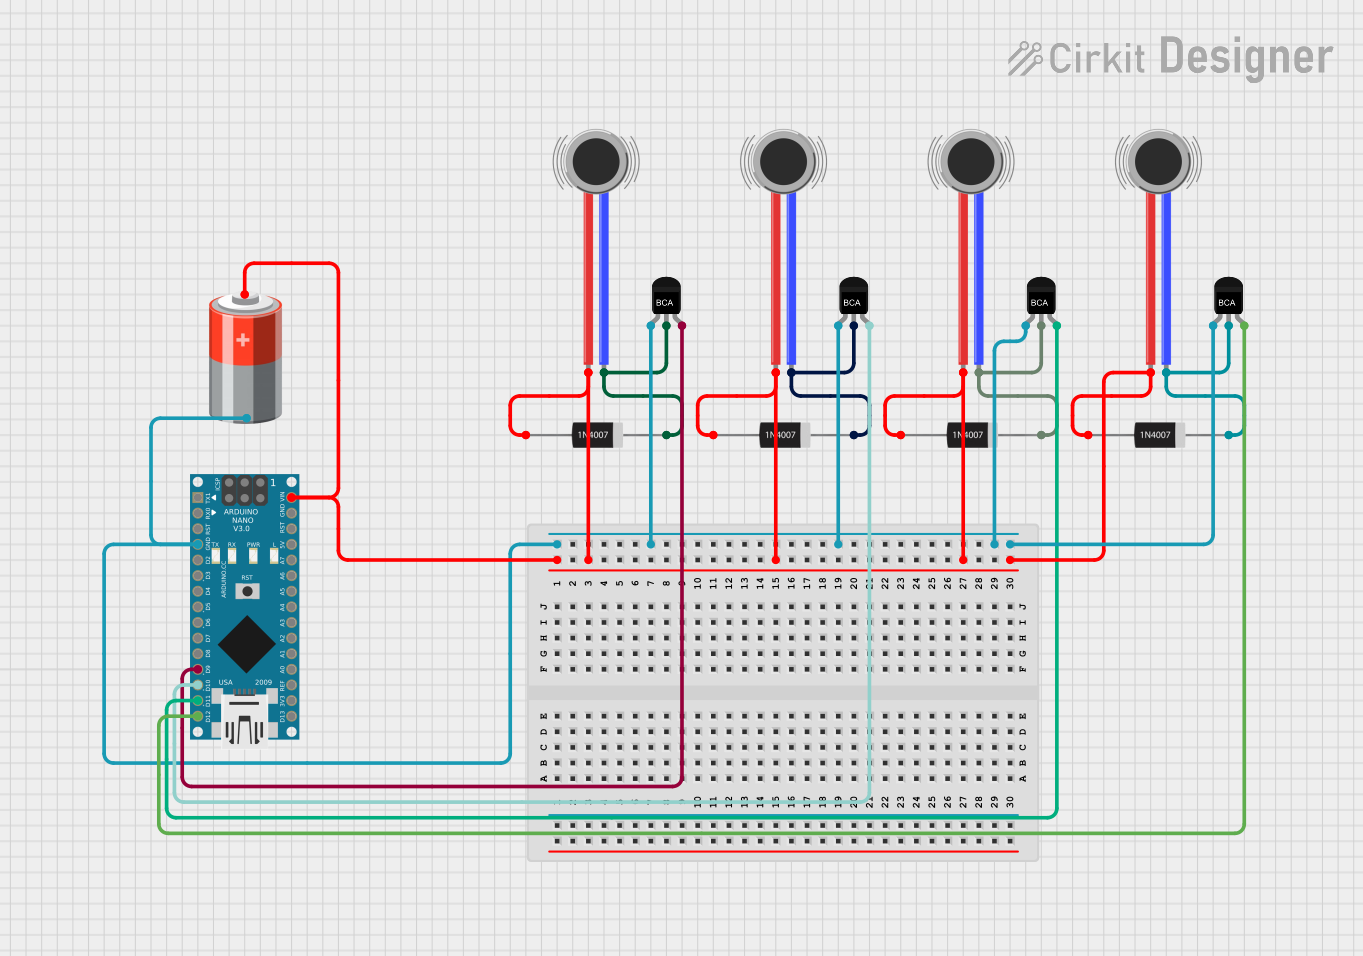
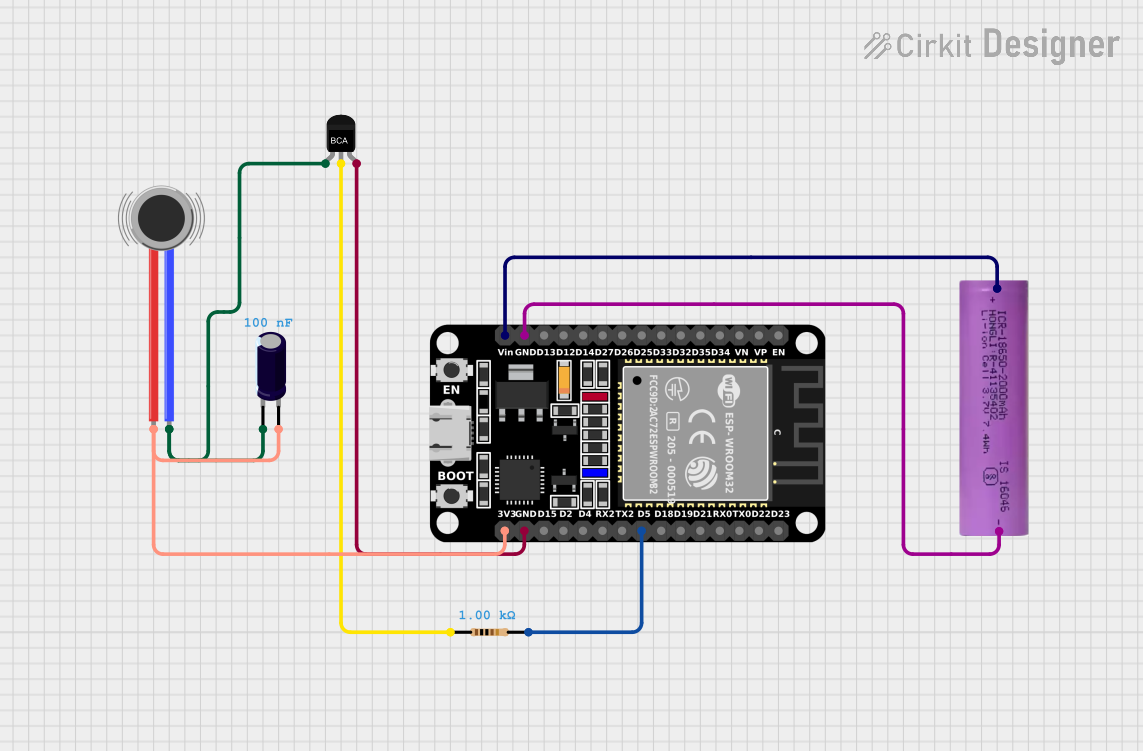
Explore Projects Built with Vibration Motor
Technical Specifications
General Characteristics
- Operating Voltage: Typically 1.5V to 3V for small motors, can vary for larger ones.
- Current Consumption: Varies with size and model, often in the range of 60mA to 100mA.
- Vibration Amplitude: Depends on the motor's weight and speed.
- Speed: Typically between 10,000 and 15,000 RPM (revolutions per minute).
- Lifetime: Varies, but often rated for several hours (e.g., 100-1000 hours) of continuous operation.
Pin Configuration and Descriptions
| Pin Number | Description |
|---|---|
| 1 | Positive Power Supply (V+) |
| 2 | Ground (GND) |
Usage Instructions
Integration into a Circuit
Power Supply: Connect the positive terminal of the vibration motor to a power source (e.g., battery) and the negative terminal to the ground. Ensure the power source matches the motor's rated voltage.
Control: To control the motor with a microcontroller like an Arduino UNO, you can use a transistor or a motor driver as a switch.
PWM Control: For variable vibration intensity, use Pulse Width Modulation (PWM) through a microcontroller.
Best Practices
- Isolation: Ensure the motor is securely mounted but with some form of isolation to prevent unwanted vibrations from affecting other components.
- Heat Dissipation: Avoid continuous operation at high currents to prevent overheating.
- Electrical Noise: Be aware that motors can generate electrical noise; use appropriate filtering if necessary.
Example Code for Arduino UNO
// Define the pin connected to the vibration motor
const int motorPin = 3; // Use a PWM pin for analog output

void setup() {
  // Set the motor pin as an output
  pinMode(motorPin, OUTPUT);
}

void loop() {
  // Turn on the vibration motor at full speed
  analogWrite(motorPin, 255); // Send a PWM signal of max duty cycle
  delay(1000); // Vibrate for 1 second

  // Turn off the motor
  analogWrite(motorPin, 0); // Send a PWM signal of zero duty cycle
  delay(1000); // Pause for 1 second

  // Vibrate the motor at half speed
  analogWrite(motorPin, 127); // Send a PWM signal of 50% duty cycle
  delay(1000); // Vibrate for 1 second

  // Turn off the motor
  analogWrite(motorPin, 0); // Send a PWM signal of zero duty cycle
  delay(1000); // Pause for 1 second
}
Troubleshooting and FAQs
Common Issues
- Motor not vibrating: Check the power supply and connections. Ensure the voltage matches the motor's specifications.
- Weak vibrations: Ensure the motor is not loosely mounted and that the power supply is adequate.
- Overheating: If the motor gets too hot, reduce the duty cycle or operating time.
FAQs
Q: Can I control the vibration intensity? A: Yes, by using PWM, you can control the intensity of the vibrations.
Q: How do I extend the life of my vibration motor? A: Avoid running the motor continuously at high currents and ensure it is mounted securely.
Q: Is it possible to use the vibration motor with a 5V Arduino pin directly? A: It is not recommended to connect the motor directly to an Arduino pin without a current-limiting resistor or a transistor, as it may draw more current than the pin can safely supply.
Q: Can I use the vibration motor with a 3.3V supply? A: Yes, but the vibration strength may be reduced compared to using a higher voltage within the motor's rated range.