How to Use KY-015 DHT11: Examples, Pinouts, and Specs
Introduction
The DHT11 is a basic, ultra-low-cost digital temperature and humidity sensor. It uses a capacitive humidity sensor and a thermistor to measure the surrounding air and provides a digital signal on the data pin (no analog input pins needed). It's fairly simple to use but requires careful timing to grab data. The DHT11 is widely used in hobbyist projects with microcontrollers such as Arduino boards due to its ease of interfacing and low cost.
Explore Projects Built with KY-015 DHT11

Explore Projects Built with KY-015 DHT11
Common Applications
- Home weather stations
- Environmental monitoring
- HVAC systems
- Consumer goods
- Automotive climate control
Technical Specifications
Key Technical Details
- Voltage: 3 to 5.5V power and I/O
- Current: 2.5mA max current use during conversion (while requesting data)
- Humidity: 20-80% with 5% accuracy
- Temperature: 0-50°C with ±2°C accuracy
- Sampling Rate: No more than 1 Hz sampling rate (once every second)
- Body Size: 15.5mm x 12mm x 5.5mm
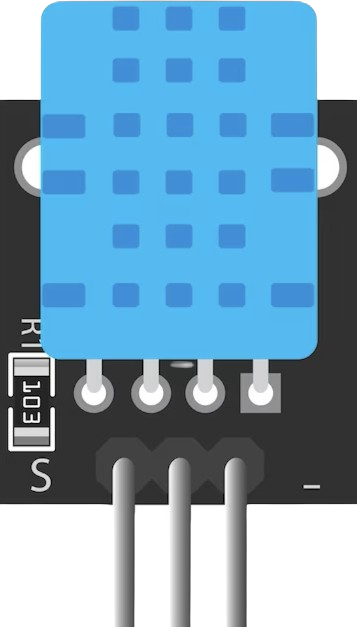
Pin Configuration and Descriptions
| Pin Number | Name | Description |
|---|---|---|
| 1 | VCC | Power supply (3-5.5V DC) |
| 2 | DATA | Serial data output |
| 3 | NC | Not connected |
| 4 | GND | Ground |
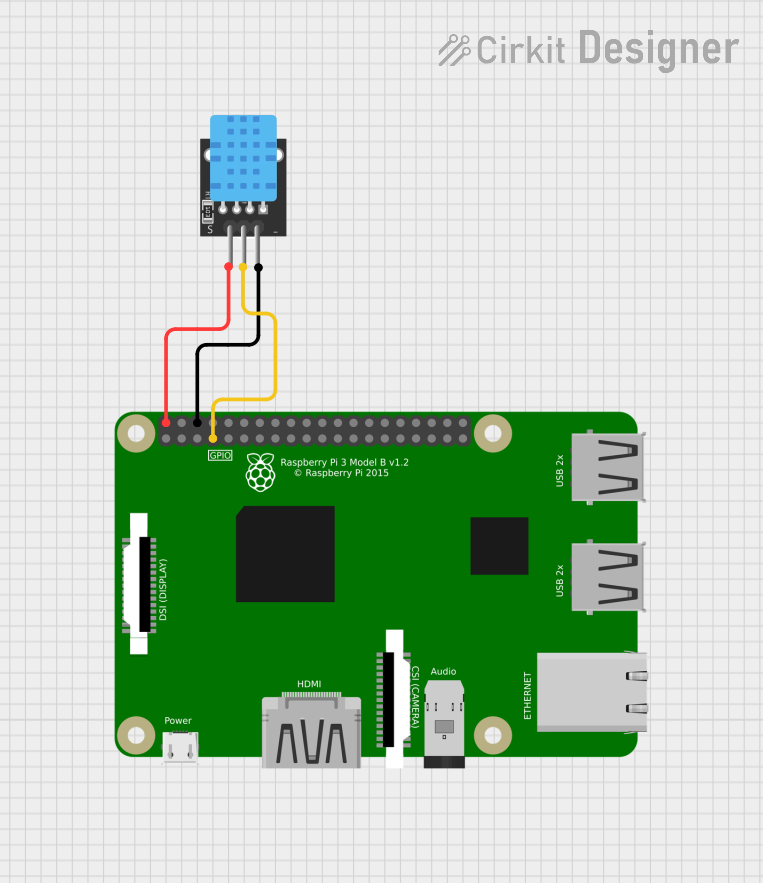
Usage Instructions
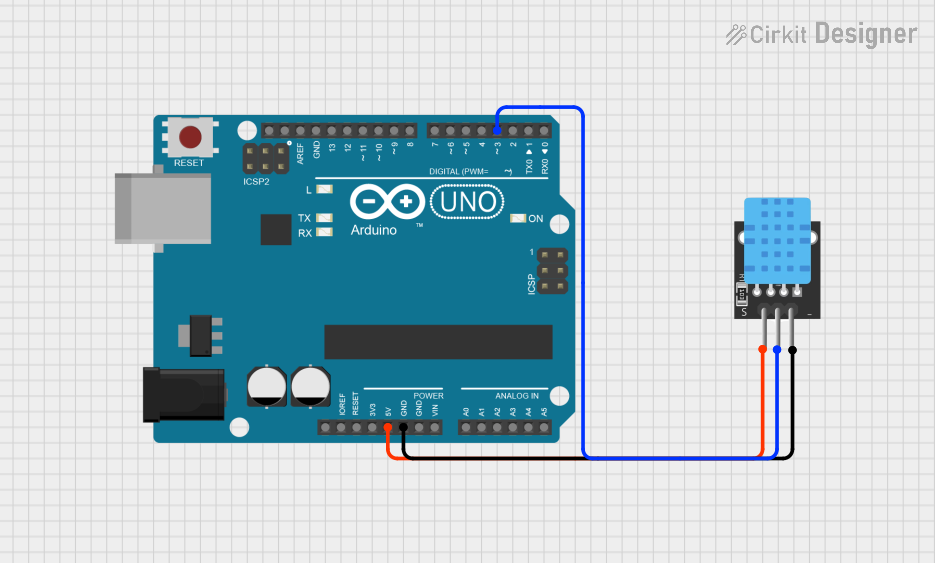
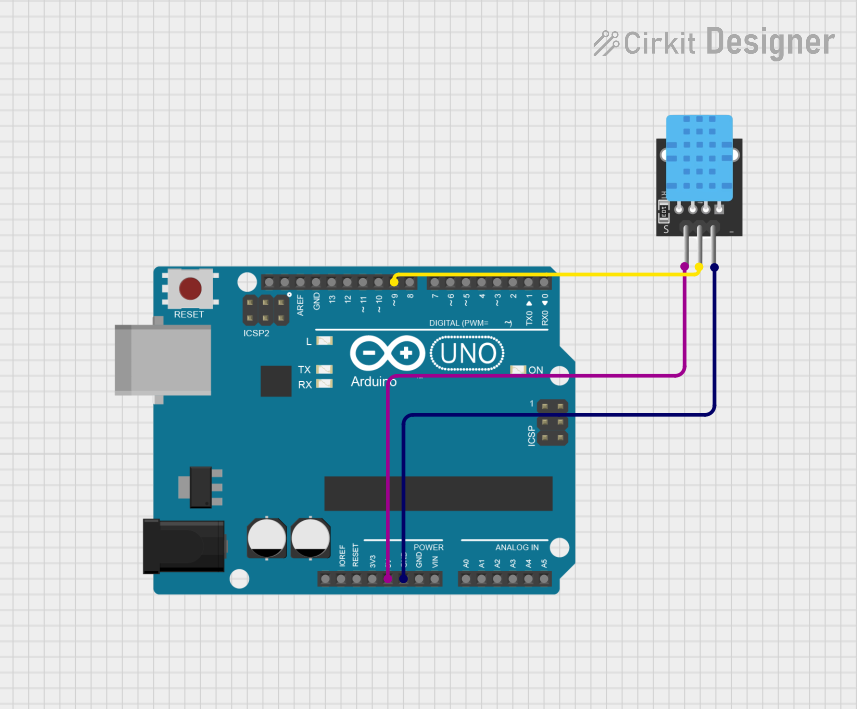
Interfacing with Arduino
Connecting the DHT11:
- Connect the VCC pin to the 5V or 3.3V output on the Arduino.
- Connect the DATA pin to a digital I/O pin on the Arduino.
- Connect the GND pin to the ground on the Arduino.
- It is recommended to use a 10k ohm pull-up resistor between the VCC and DATA pins.
Programming the Arduino:
- Include the DHT sensor library in your Arduino IDE.
- Initialize the DHT sensor.
- Read the temperature and humidity values.
Important Considerations
- Do not power the sensor with more than 5.5V.
- Ensure the data line has a pull-up resistor if long cables are used.
- Avoid reading the sensor more frequently than once every second.
Example Arduino Code
#include "DHT.h"

#define DHTPIN 2     // Digital pin connected to the DHT sensor
#define DHTTYPE DHT11   // DHT 11

DHT dht(DHTPIN, DHTTYPE);

void setup() {
  Serial.begin(9600);
  dht.begin();
}

void loop() {
  // Wait a few seconds between measurements.
  delay(2000);

  // Reading temperature or humidity takes about 250 milliseconds!
  float humidity = dht.readHumidity();
  // Read temperature as Celsius (the default)
  float temperature = dht.readTemperature();

  // Check if any reads failed and exit early (to try again).
  if (isnan(humidity) || isnan(temperature)) {
    Serial.println(F("Failed to read from DHT sensor!"));
    return;
  }

  // Compute heat index in Celsius (isFahrenheit = false)
  float heatIndex = dht.computeHeatIndex(temperature, humidity, false);

  Serial.print(F("Humidity: "));
  Serial.print(humidity);
  Serial.print(F("%  Temperature: "));
  Serial.print(temperature);
  Serial.print(F("°C  Heat index: "));
  Serial.print(heatIndex);
  Serial.println(F("°C"));
}
Troubleshooting and FAQs
Common Issues
- Inaccurate Readings: Ensure the sensor is not subject to rapid temperature changes and that there's no condensation on the sensor.
- No Data: Check wiring, ensure the pull-up resistor is in place, and that the power supply is stable and within the specified range.
- Sensor Not Responding: Ensure the Arduino pin is correctly defined in the code and that you're not reading the sensor more frequently than once every second.
FAQs
Q: Can the DHT11 sensor be used outdoors? A: The DHT11 is not waterproof and is designed for indoor use. If you need to measure outdoor humidity, place it in a protected location.
Q: How long should I wait between readings? A: The DHT11 requires at least 1 second between readings for the data to be accurate.
Q: What is the lifespan of the DHT11 sensor? A: With proper use, the DHT11 sensor can last for several years. However, its performance may degrade over time, especially if exposed to extreme conditions.
Q: Can I use a longer cable to connect the DHT11 to an Arduino? A: Yes, but you may need to use a pull-up resistor to ensure signal integrity, especially if the cable is longer than 20 cm.
Q: Is calibration required for the DHT11 sensor? A: The DHT11 comes pre-calibrated from the factory. However, for critical applications, you may want to calibrate it against a known humidity and temperature source.