
How to Use Vibration Motor- ROB-08449: Examples, Pinouts, and Specs
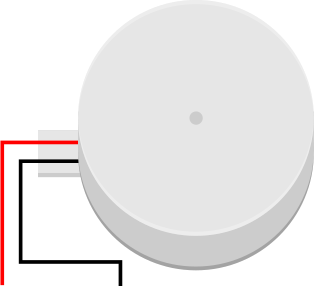
 Design with Vibration Motor- ROB-08449 in Cirkit Designer
Introduction
The Vibration Motor- ROB-08449 is a compact, cylindrical motor designed to generate vibrations. It is widely used in applications requiring haptic feedback, such as mobile devices, gaming controllers, and robotics. This motor operates by spinning an eccentric mass attached to its shaft, creating vibrations that can be felt by the user or detected by a system. Its small size and low power requirements make it ideal for portable and embedded systems.
Explore Projects Built with Vibration Motor- ROB-08449
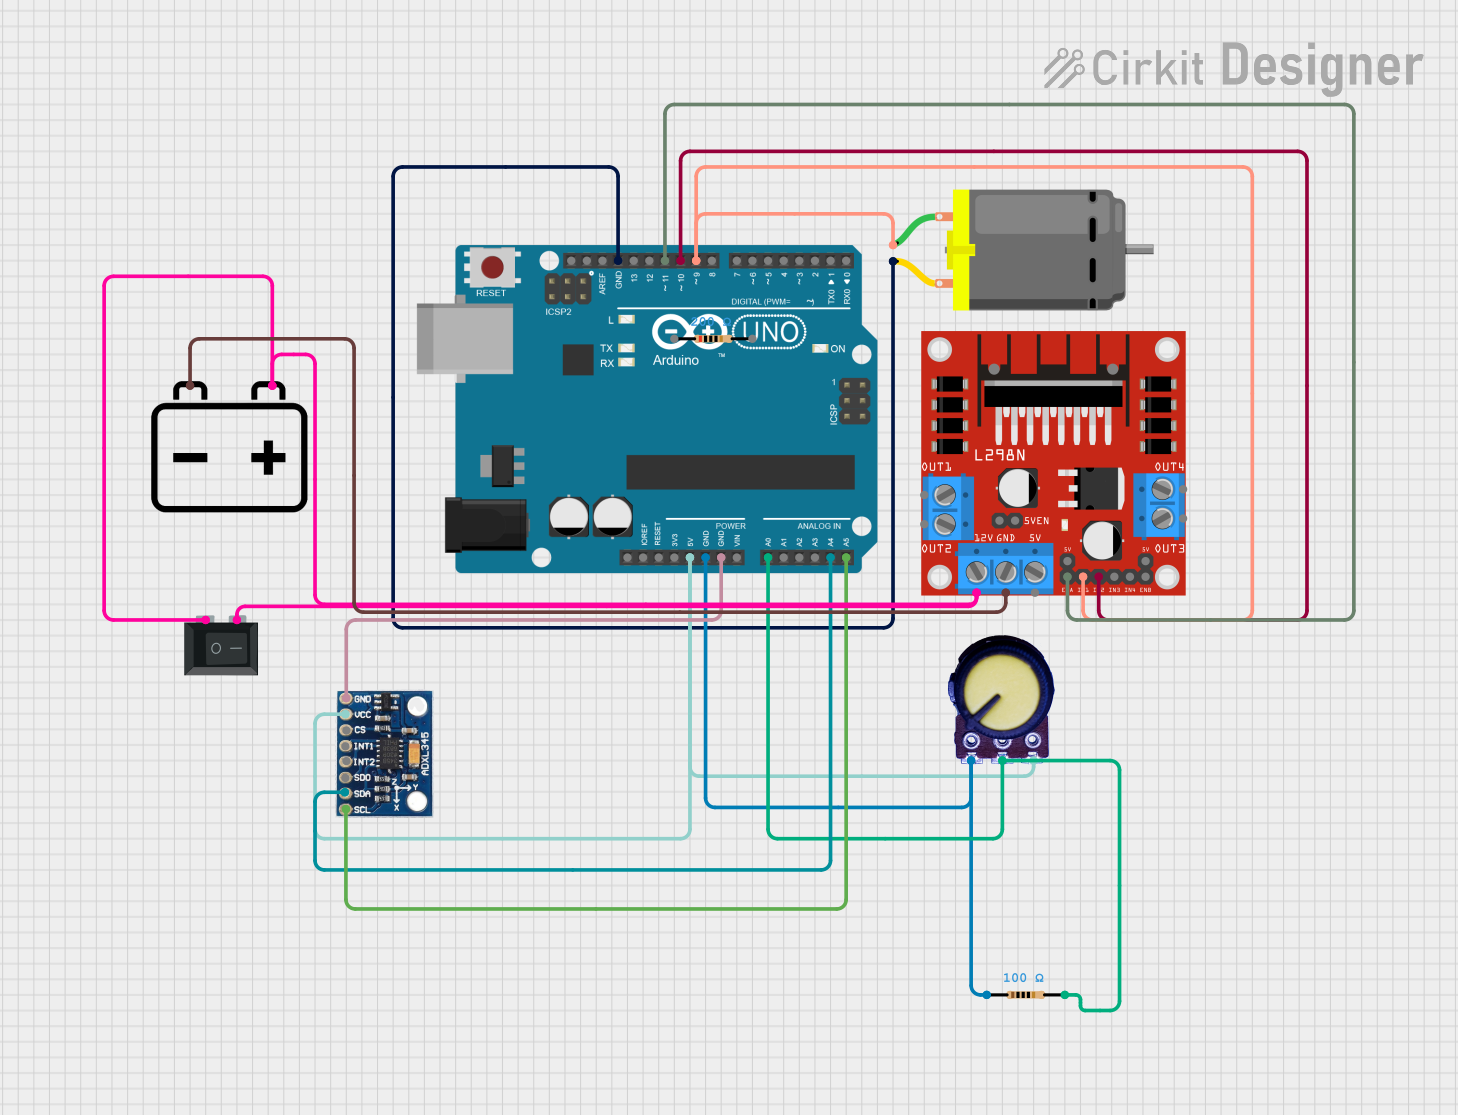 Open Project in Cirkit Designer
 Open Project in Cirkit Designer
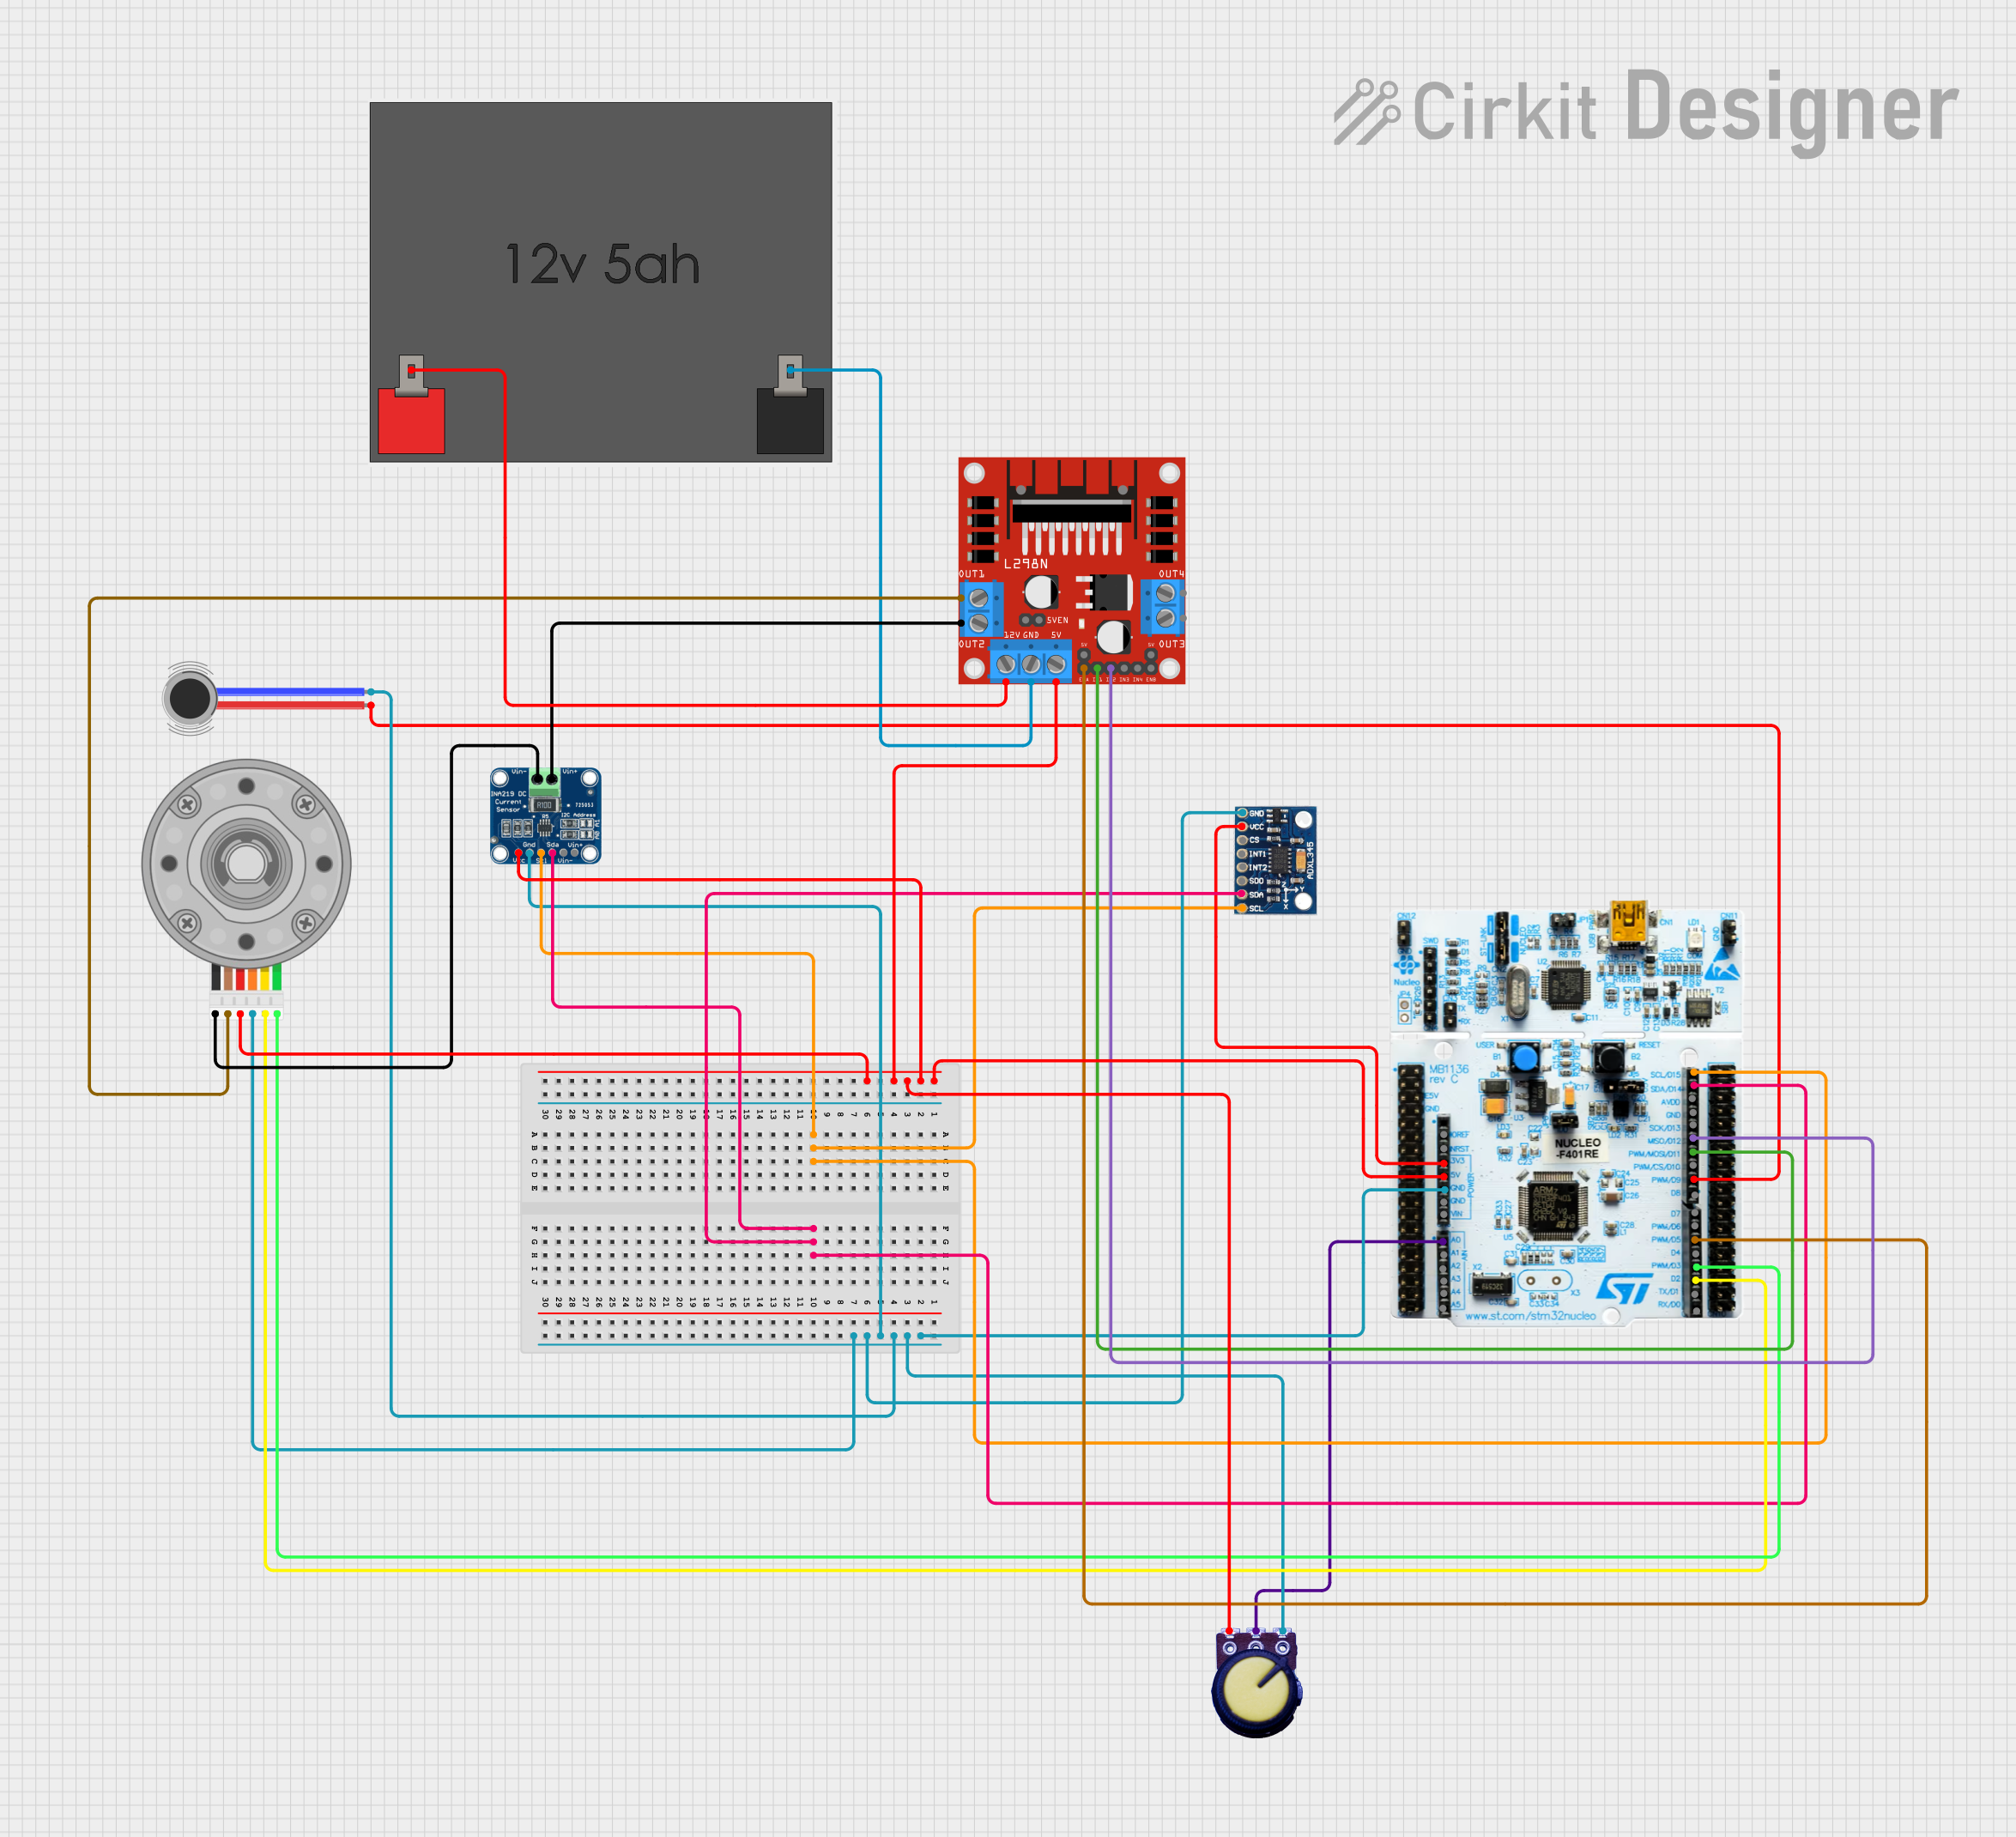 Open Project in Cirkit Designer
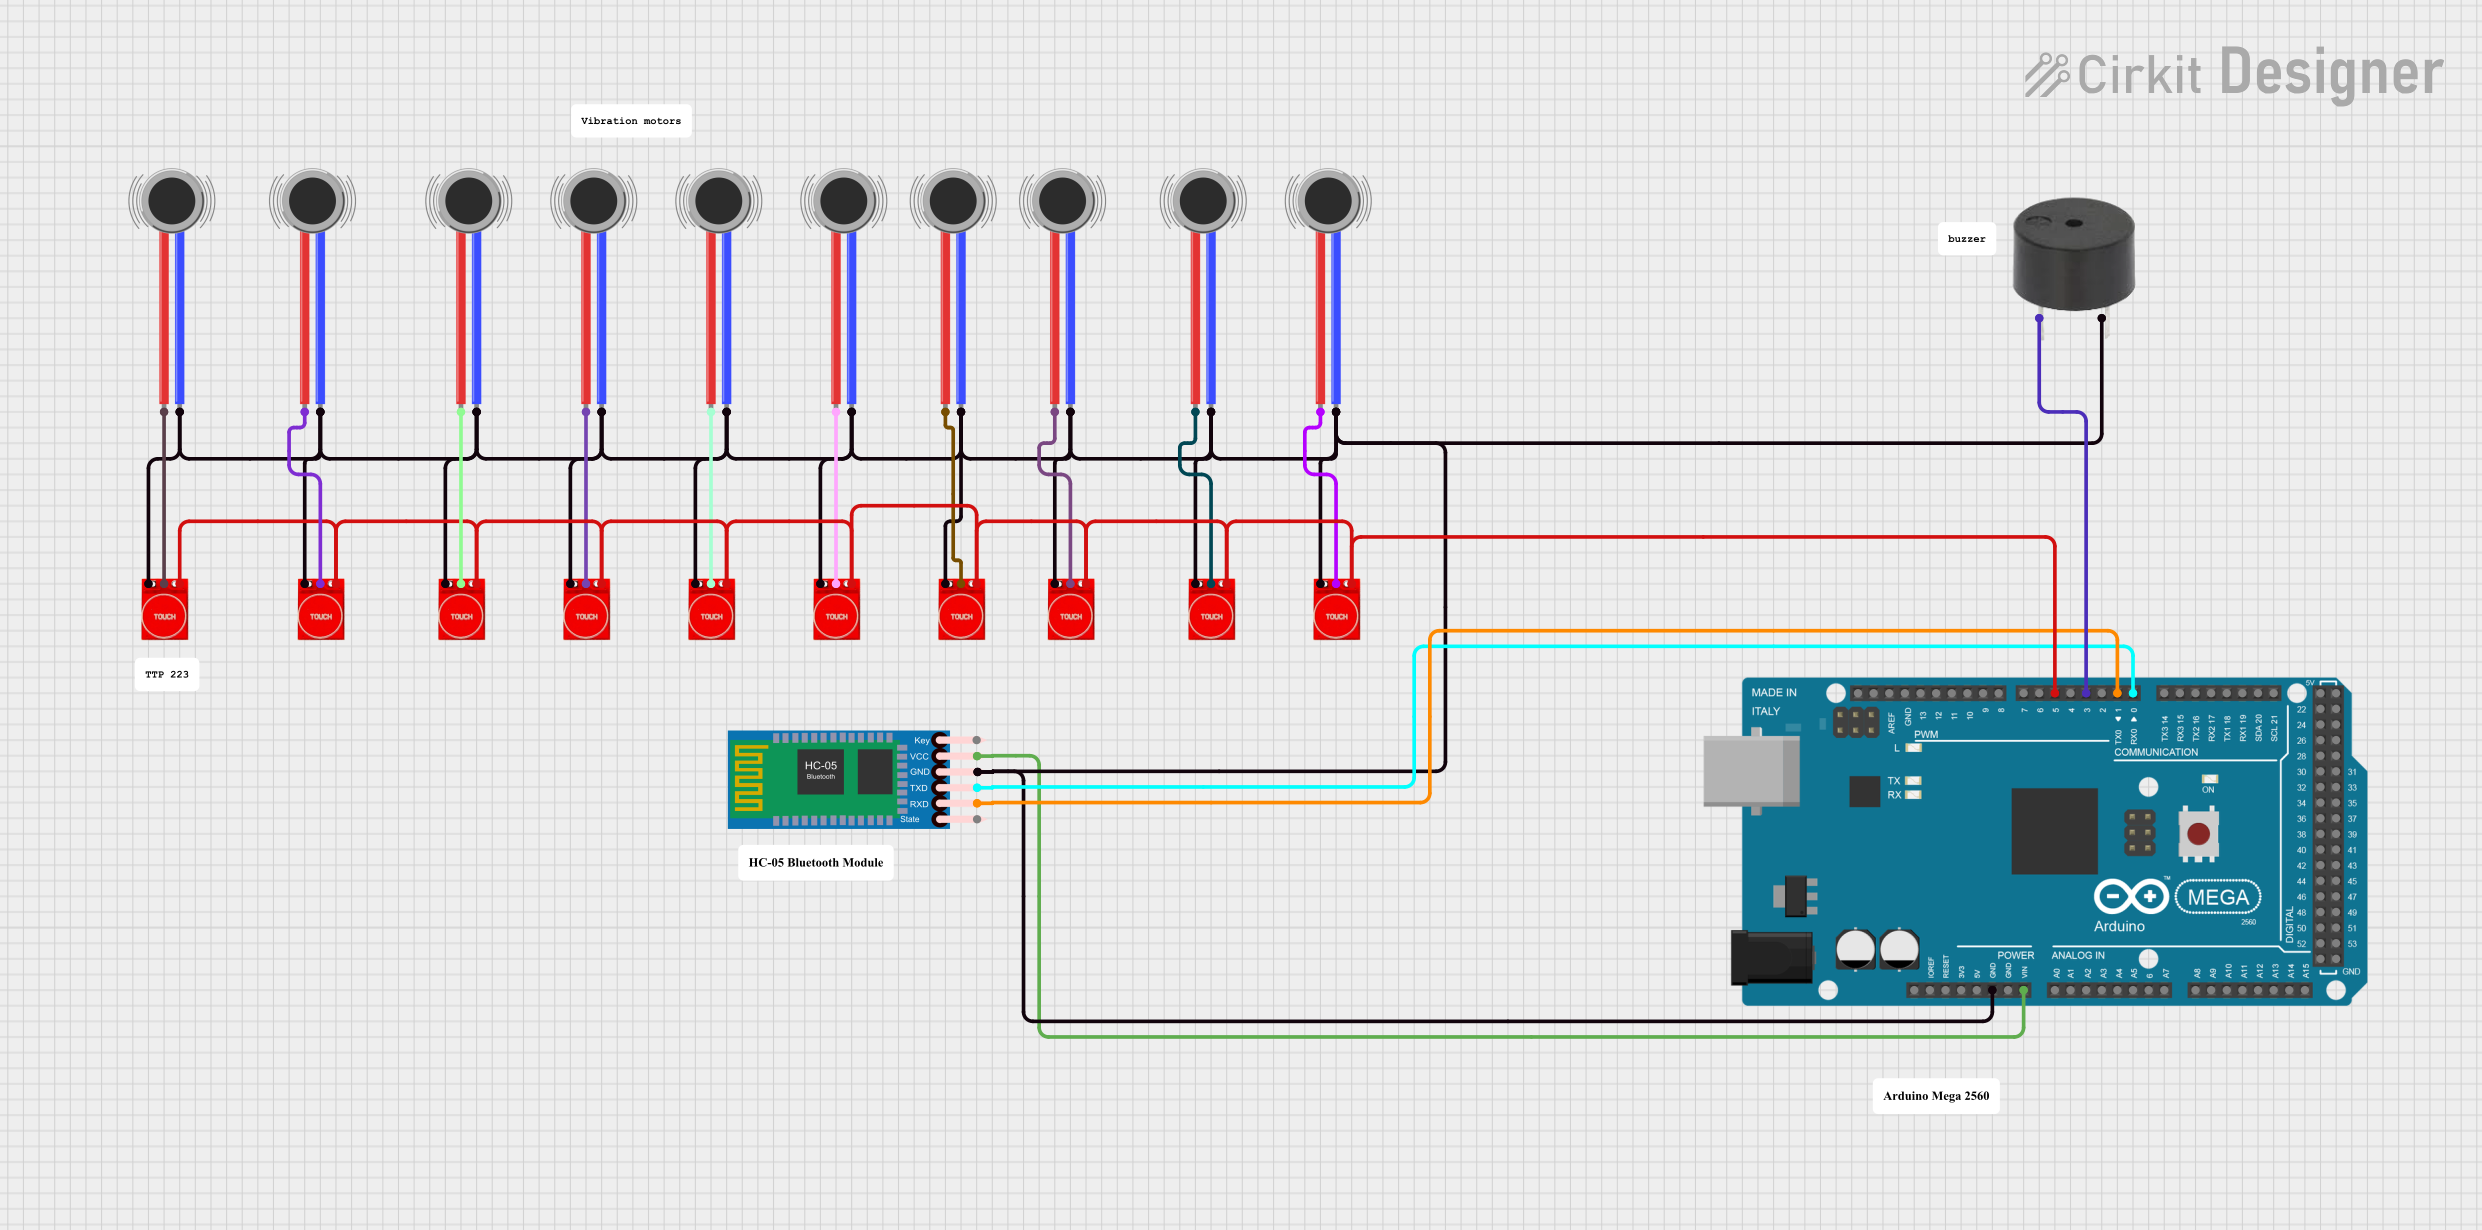 Open Project in Cirkit Designer
Explore Projects Built with Vibration Motor- ROB-08449
Open Project in Cirkit DesignerOpen Project in Cirkit DesignerOpen Project in Cirkit DesignerOpen Project in Cirkit DesignerCommon Applications:
- Haptic feedback in mobile phones and gaming controllers
- Robotics for tactile signaling
- Wearable devices for notifications
- Toys and small gadgets requiring vibration effects
Technical Specifications
Below are the key technical details for the Vibration Motor- ROB-08449:
| Parameter | Value |
|---|---|
| Operating Voltage | 2.5V to 3.8V |
| Rated Voltage | 3.0V |
| Rated Current | 90mA (at 3.0V) |
| Starting Voltage | 2.3V |
| Motor Speed | 12,000 RPM (at 3.0V) |
| Vibration Force | 0.8G (at 3.0V) |
| Dimensions | 10mm (length) x 4mm (diameter) |
| Weight | 1.2g |
| Wire Length | 10mm |
| Operating Temperature | -20°C to +60°C |
Pin Configuration and Descriptions
The Vibration Motor- ROB-08449 has two wires for connection:
| Wire Color | Function |
|---|---|
| Red | Positive terminal (+) |
| Blue | Negative terminal (-) |
Usage Instructions
How to Use the Component in a Circuit
- Power Supply: Connect the red wire to the positive terminal of a power source (2.5V to 3.8V) and the blue wire to the ground (GND). Ensure the voltage does not exceed 3.8V to avoid damaging the motor.
- Control with a Microcontroller: Use a transistor or MOSFET to control the motor via a microcontroller, as the motor's current draw (90mA) may exceed the GPIO pin's capacity.
- PWM Control: To adjust the vibration intensity, use Pulse Width Modulation (PWM) to vary the voltage supplied to the motor.
Circuit Example with Arduino UNO
Below is an example of how to control the vibration motor using an Arduino UNO and a transistor:
Components Required:
- Vibration Motor- ROB-08449
- NPN Transistor (e.g., 2N2222)
- 1kΩ Resistor
- Diode (e.g., 1N4007)
- Arduino UNO
- Breadboard and jumper wires
Circuit Diagram:
- Connect the red wire of the motor to the collector of the NPN transistor.
- Connect the emitter of the transistor to GND.
- Place a diode across the motor terminals (cathode to the red wire) to protect against back EMF.
- Connect the base of the transistor to an Arduino digital pin (e.g., D9) through a 1kΩ resistor.
- Connect the blue wire of the motor to the power supply's GND.
- Connect the Arduino's GND to the power supply's GND.
Arduino Code:
// Arduino code to control the Vibration Motor- ROB-08449
// using PWM for variable vibration intensity.

const int motorPin = 9; // Pin connected to the transistor base

void setup() {
  pinMode(motorPin, OUTPUT); // Set motorPin as an output
}

void loop() {
  // Gradually increase vibration intensity
  for (int pwmValue = 0; pwmValue <= 255; pwmValue += 5) {
    analogWrite(motorPin, pwmValue); // Set PWM value
    delay(50); // Wait 50ms
  }

  // Gradually decrease vibration intensity
  for (int pwmValue = 255; pwmValue >= 0; pwmValue -= 5) {
    analogWrite(motorPin, pwmValue); // Set PWM value
    delay(50); // Wait 50ms
  }

  delay(1000); // Pause before repeating
}
Important Considerations:
- Back EMF Protection: Always use a diode across the motor terminals to protect the circuit from voltage spikes caused by the motor's inductive load.
- Current Limitation: Ensure the power supply can provide sufficient current (at least 90mA) for proper motor operation.
- Heat Management: Avoid prolonged operation at maximum voltage to prevent overheating.
Troubleshooting and FAQs
Common Issues:
Motor Does Not Start:
- Check if the supply voltage is within the operating range (2.5V to 3.8V).
- Ensure proper connections and verify that the red wire is connected to the positive terminal.
- Verify that the starting voltage (2.3V) is met.
Weak or No Vibration:
- Confirm that the power supply can deliver sufficient current (90mA).
- Check for loose connections or damaged wires.
Motor Overheats:
- Ensure the motor is not operated above the rated voltage (3.0V).
- Reduce the duty cycle if using PWM to control the motor.
Arduino Pin Not Controlling the Motor:
- Verify the transistor or MOSFET is correctly connected and functioning.
- Ensure the Arduino pin is set as an output and is providing the correct signal.
FAQs:
Q: Can I connect the motor directly to an Arduino pin?
A: No, the motor's current draw (90mA) exceeds the maximum current an Arduino pin can supply. Use a transistor or MOSFET for control.
Q: How can I adjust the vibration intensity?
A: Use PWM to vary the voltage supplied to the motor. This can be achieved using the analogWrite() function on an Arduino.
Q: What happens if I exceed the rated voltage?
A: Operating the motor above 3.8V can cause overheating, reduced lifespan, or permanent damage.
Q: Can I use this motor in battery-powered devices?
A: Yes, its low power consumption makes it suitable for battery-powered applications. Ensure the battery can supply sufficient current.
By following this documentation, you can effectively integrate the Vibration Motor- ROB-08449 into your projects for reliable and efficient operation.