How to Use MQ135: Examples, Pinouts, and Specs
Introduction
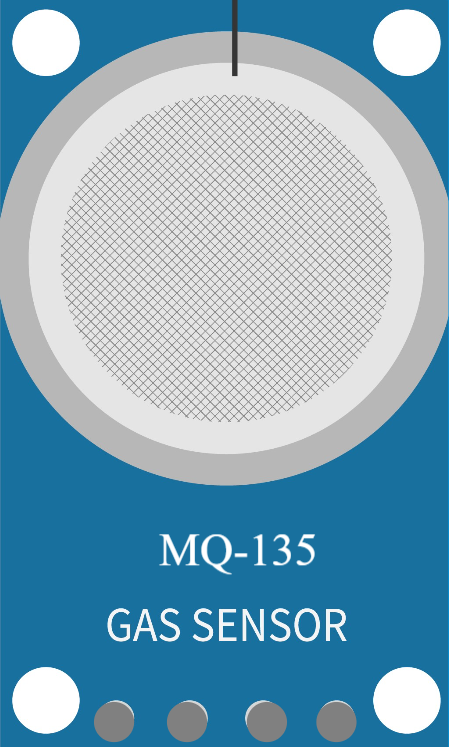
The MQ135 is a versatile gas sensor designed to detect a wide range of gases, including ammonia, benzene, alcohol, and smoke. It operates on the principle of resistive change, where the sensor's resistance varies in the presence of target gases. This change is converted into an analog output signal, making it suitable for air quality monitoring and environmental sensing applications.
Explore Projects Built with MQ135
Explore Projects Built with MQ135
Common Applications
- Air quality monitoring systems
- Industrial gas detection
- Smoke and fire detection systems
- Environmental pollution monitoring
- Home automation for air quality control
Technical Specifications
The MQ135 sensor is designed for ease of use and integration into various electronic systems. Below are its key technical details:
| Parameter | Value |
|---|---|
| Operating Voltage | 5V DC |
| Load Resistance (RL) | 10 kΩ (typical) |
| Heating Voltage (VH) | 5V ± 0.1V |
| Heating Current (IH) | ≤ 120 mA |
| Detection Range | 10 ppm to 1000 ppm |
| Preheat Time | ≥ 24 hours (for best results) |
| Analog Output Voltage | 0V to 5V |
| Operating Temperature | -20°C to 50°C |
| Humidity Range | ≤ 95% RH |
| Sensor Life | ≥ 2 years |
Pin Configuration and Descriptions
The MQ135 sensor module typically has four pins. Below is the pinout description:
| Pin | Name | Description |
|---|---|---|
| 1 | VCC | Power supply pin (5V DC) |
| 2 | GND | Ground pin |
| 3 | AOUT | Analog output pin; provides a voltage proportional |
| to the concentration of detected gases | ||
| 4 | DOUT | Digital output pin; triggers when gas concentration |
| exceeds a preset threshold |
Usage Instructions
How to Use the MQ135 in a Circuit
- Power the Sensor: Connect the VCC pin to a 5V DC power source and the GND pin to ground.
- Read the Output:
- Use the AOUT pin to read the analog voltage output. This can be connected to an ADC (Analog-to-Digital Converter) pin of a microcontroller like Arduino.
- Alternatively, use the DOUT pin for a digital HIGH/LOW signal based on a preset threshold.
- Calibrate the Sensor:
- Allow the sensor to preheat for at least 24 hours for accurate readings.
- Use a potentiometer (if available on the module) to adjust the threshold for the DOUT pin.
Important Considerations and Best Practices
- Preheating: The sensor requires a preheating period of at least 24 hours for optimal performance.
- Ventilation: Ensure proper ventilation around the sensor to avoid saturation and improve response time.
- Placement: Avoid placing the sensor in areas with high humidity or temperatures outside its operating range.
- Calibration: For precise measurements, calibrate the sensor in a controlled environment with known gas concentrations.
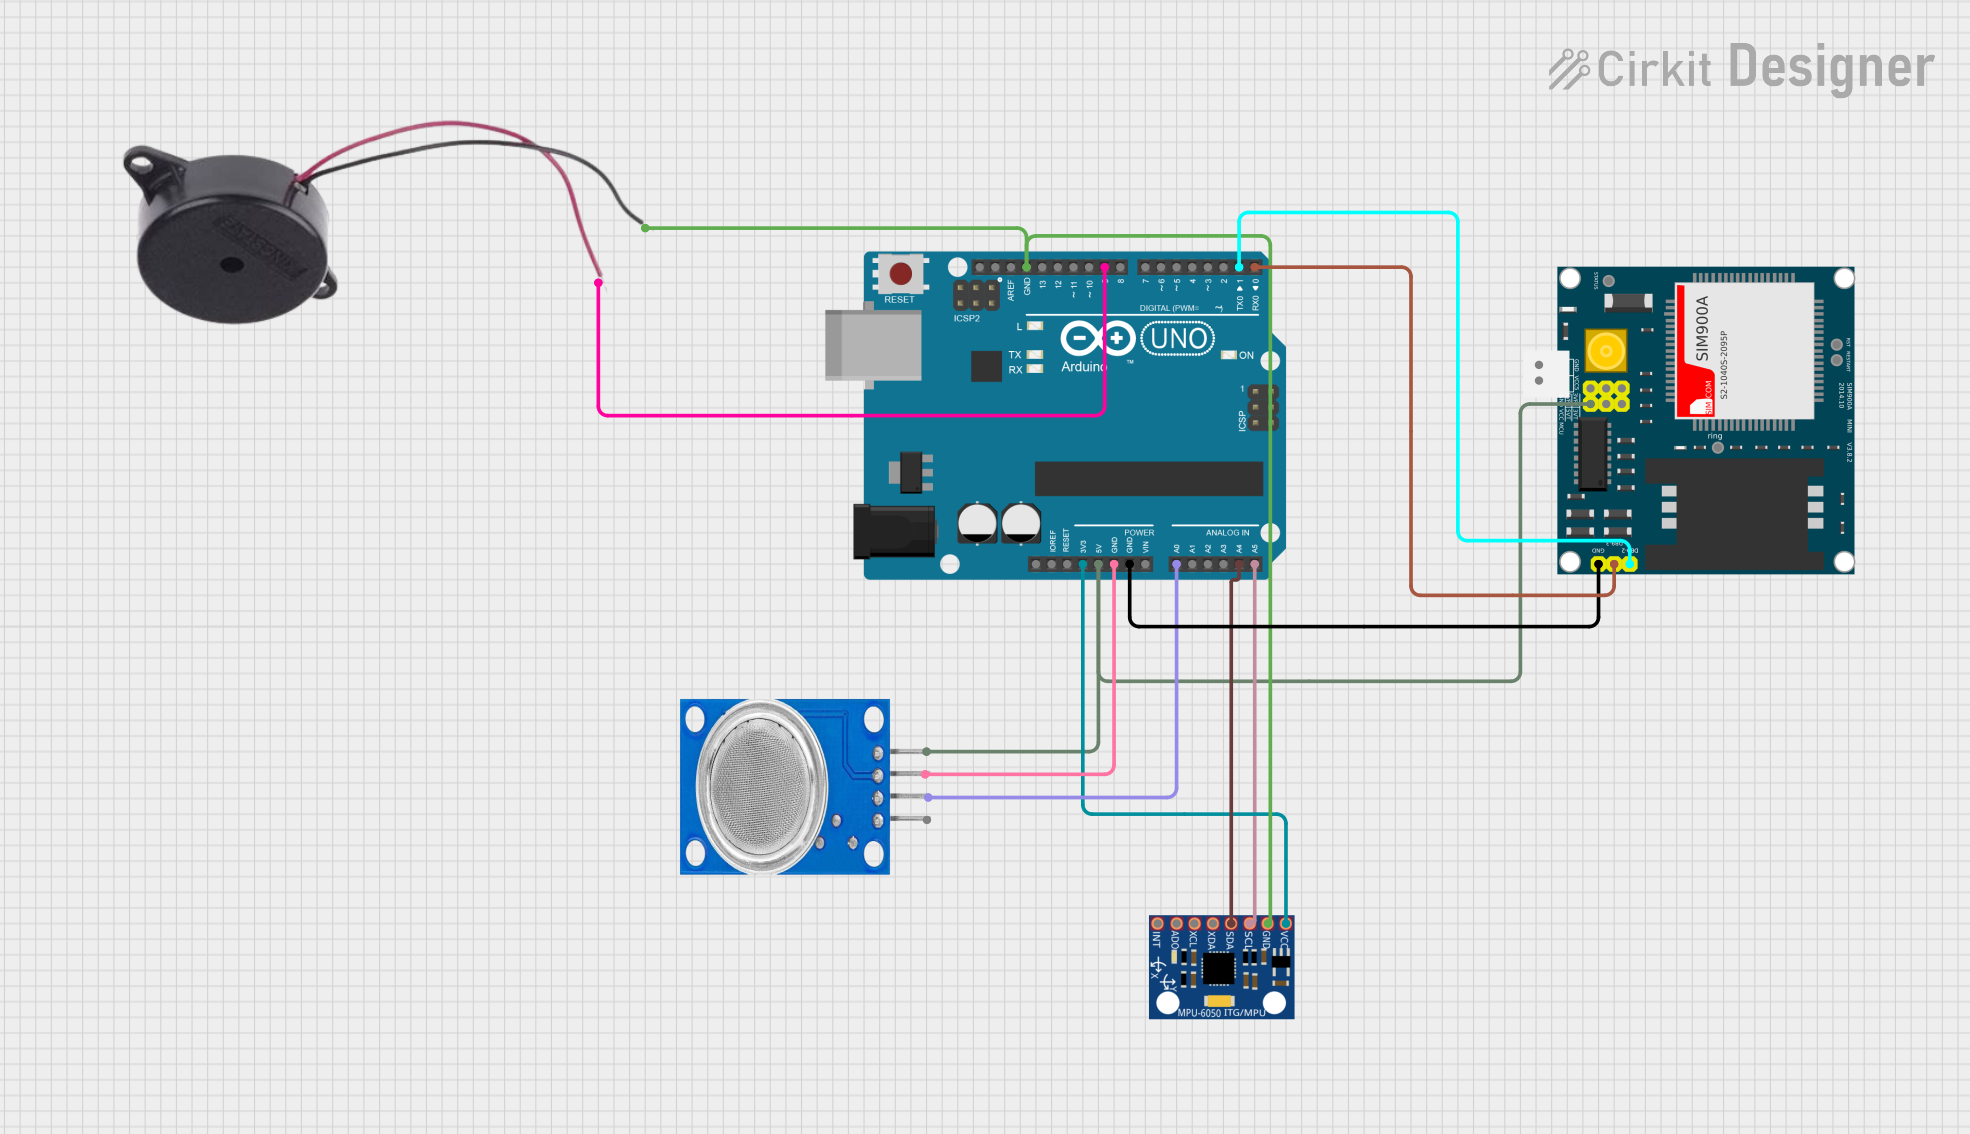
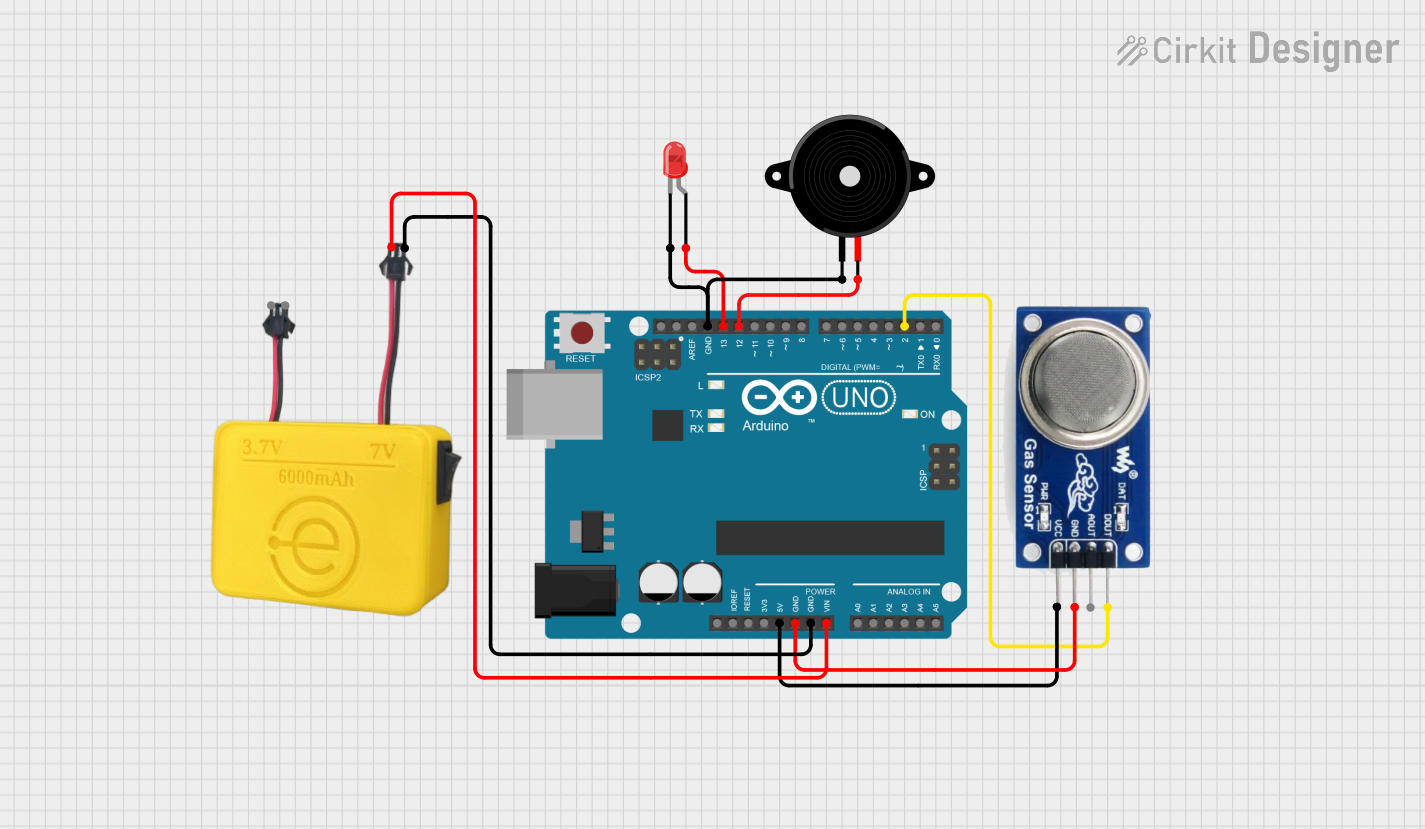
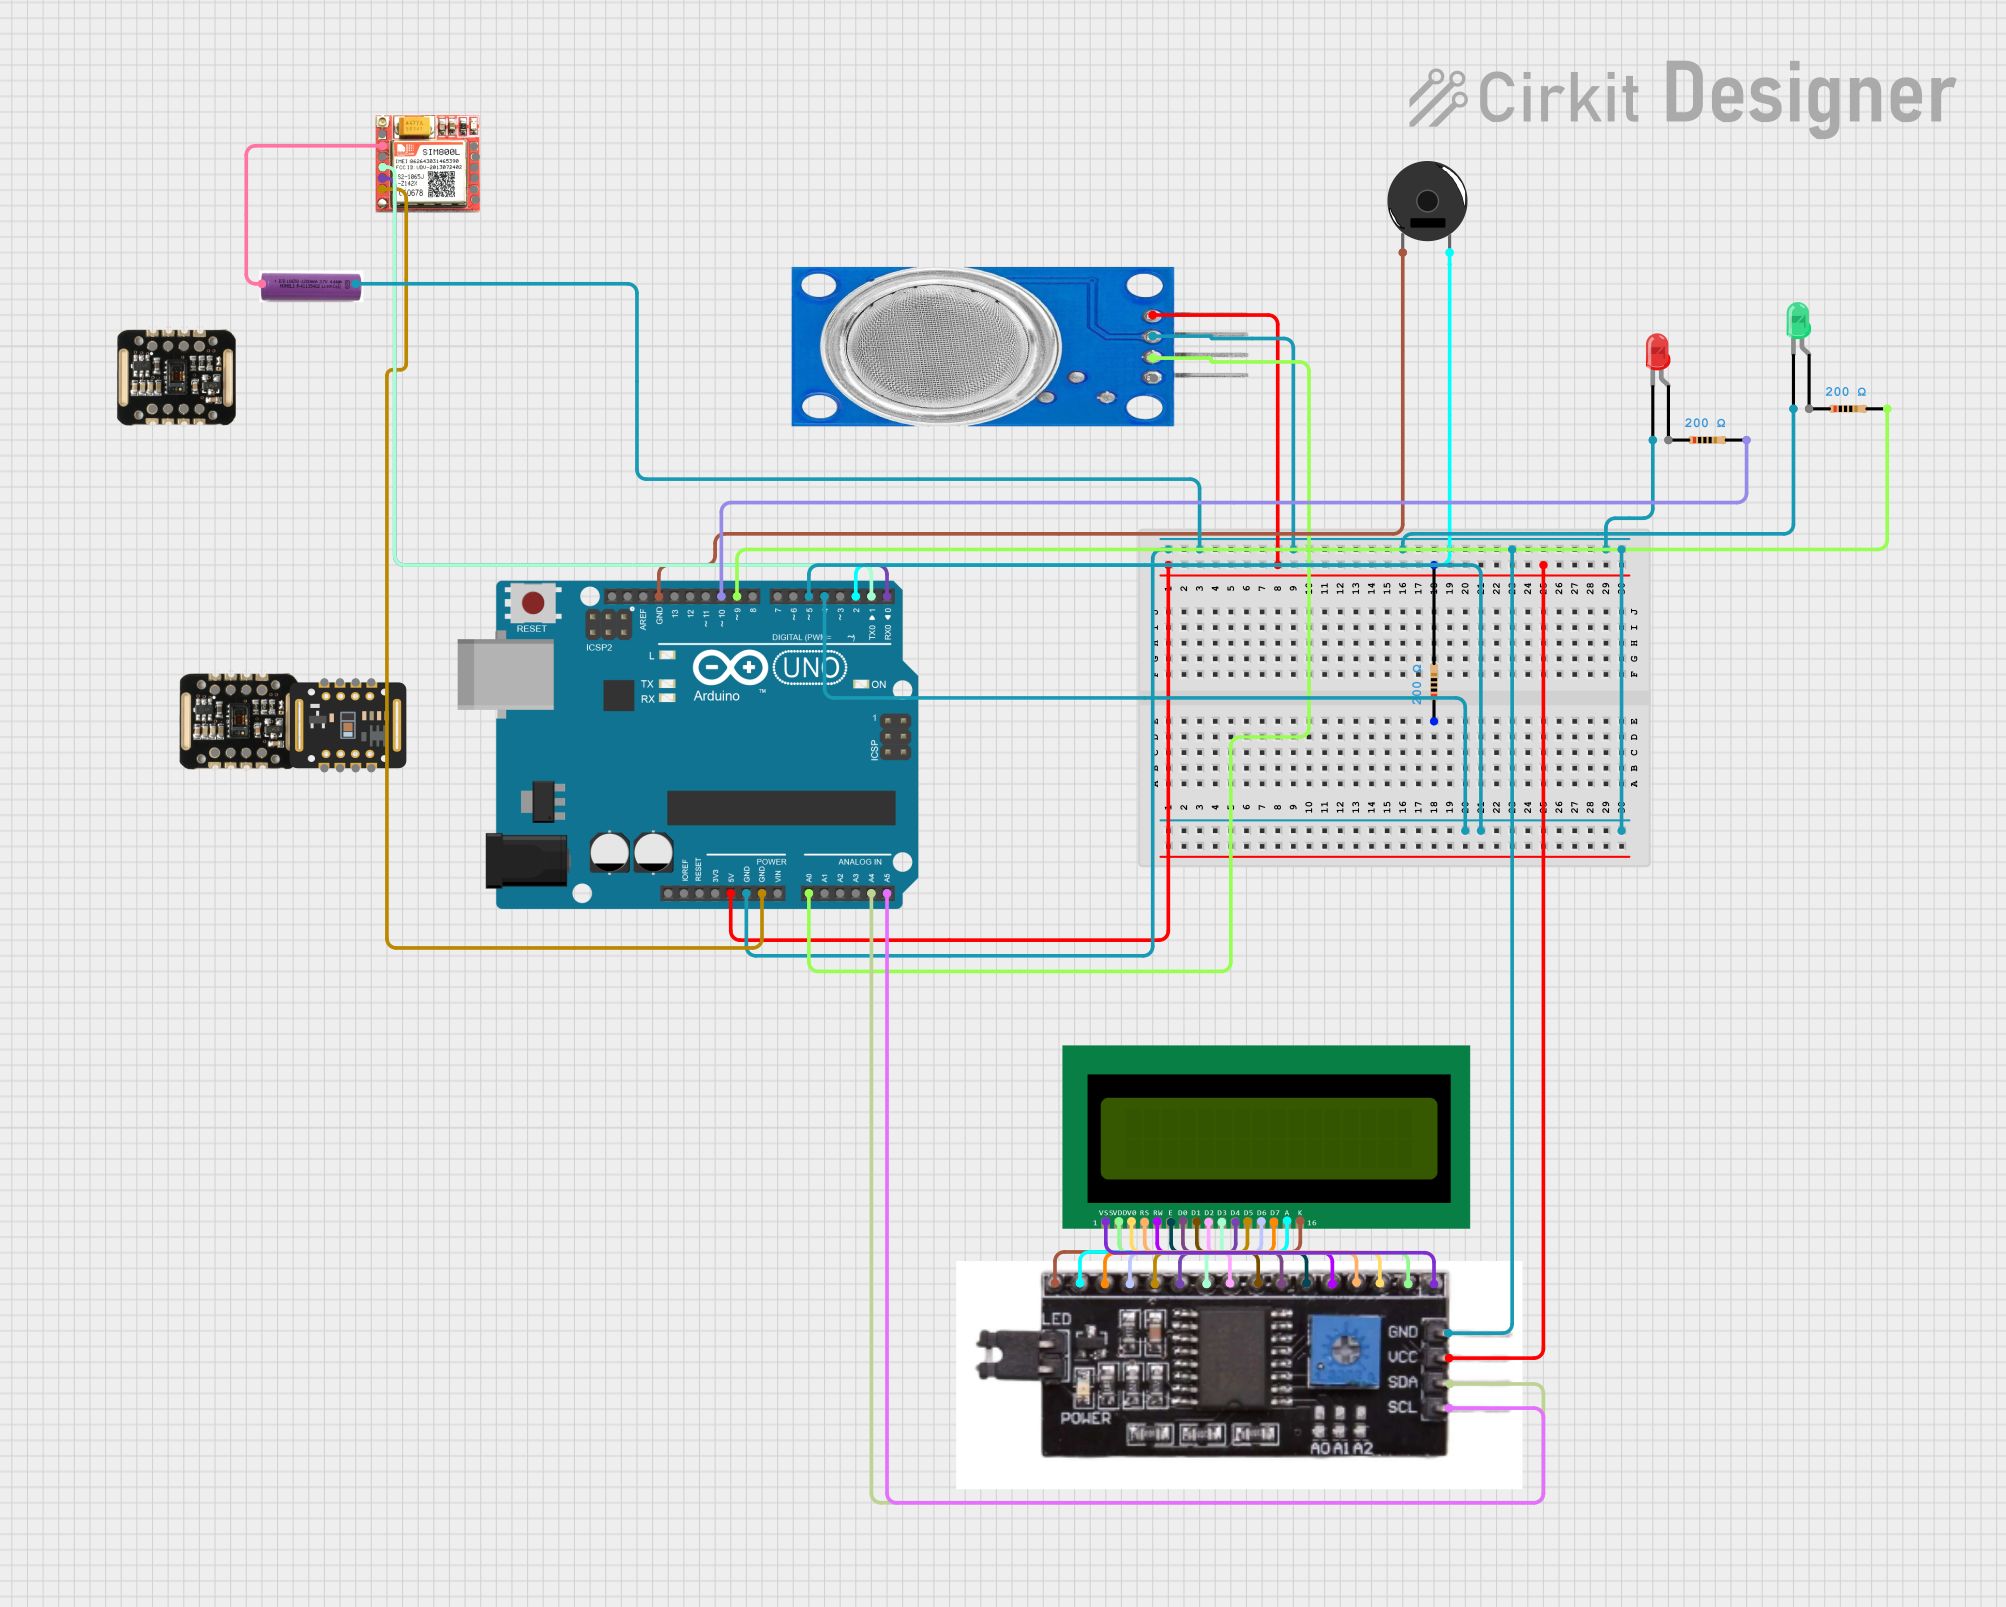
Example: Connecting MQ135 to Arduino UNO
Below is an example of how to connect and use the MQ135 with an Arduino UNO to read analog values:
Circuit Connections
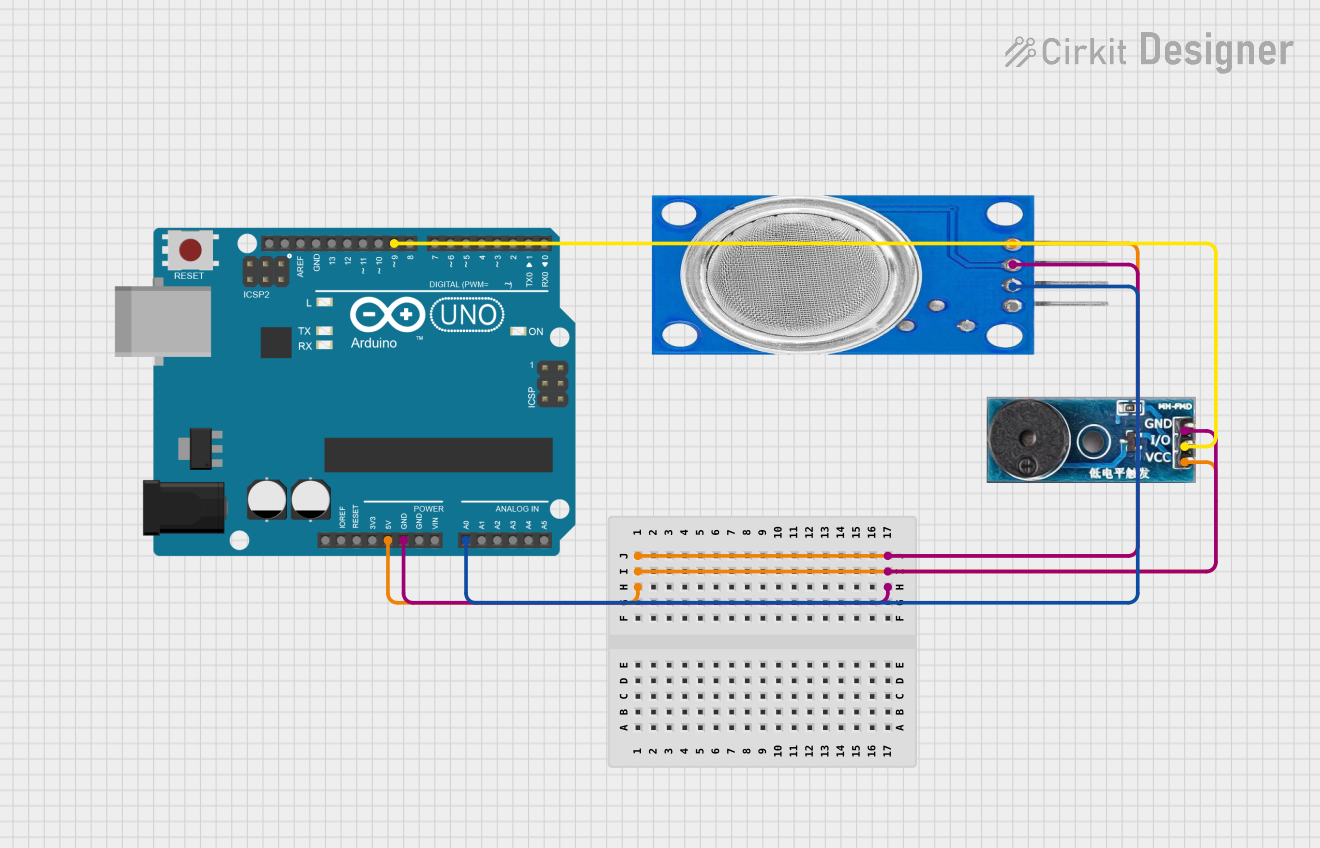
- Connect the MQ135's VCC pin to the Arduino's 5V pin.
- Connect the GND pin to the Arduino's GND pin.
- Connect the AOUT pin to the Arduino's A0 pin.
Arduino Code
// MQ135 Gas Sensor Example with Arduino UNO
// Reads analog values from the sensor and prints them to the Serial Monitor.

const int sensorPin = A0; // MQ135 analog output connected to Arduino A0

void setup() {
  Serial.begin(9600); // Initialize serial communication at 9600 baud
  Serial.println("MQ135 Gas Sensor Test");
}

void loop() {
  int sensorValue = analogRead(sensorPin); // Read analog value from sensor
  float voltage = sensorValue * (5.0 / 1023.0); // Convert to voltage (0-5V)

  // Print the raw sensor value and voltage to the Serial Monitor
  Serial.print("Sensor Value: ");
  Serial.print(sensorValue);
  Serial.print(" | Voltage: ");
  Serial.print(voltage);
  Serial.println(" V");

  delay(1000); // Wait 1 second before the next reading
}
Troubleshooting and FAQs
Common Issues and Solutions
No Output or Incorrect Readings:
- Cause: Insufficient preheating time.
- Solution: Allow the sensor to preheat for at least 24 hours before use.
Fluctuating Readings:
- Cause: Unstable power supply or environmental interference.
- Solution: Use a stable 5V power source and ensure proper ventilation around the sensor.
DOUT Pin Not Triggering:
- Cause: Incorrect threshold setting.
- Solution: Adjust the potentiometer on the module to set the desired threshold.
Sensor Not Responding to Gases:
- Cause: Sensor may be damaged or expired.
- Solution: Replace the sensor if it has exceeded its lifespan (typically 2 years).
FAQs
Q1: Can the MQ135 detect specific gases like CO2 or CO?
A1: The MQ135 is sensitive to a variety of gases, but it is not selective. It provides a general indication of air quality rather than precise gas concentration.
Q2: How do I calibrate the MQ135 for specific gases?
A2: Calibration requires exposing the sensor to a known concentration of the target gas and adjusting the readings accordingly. This process may require additional equipment.
Q3: Can I use the MQ135 with a 3.3V microcontroller?
A3: The MQ135 is designed for 5V operation. If using a 3.3V microcontroller, a level shifter or voltage regulator is required.
Q4: How often should I replace the MQ135 sensor?
A4: The sensor typically lasts for 2 years under normal operating conditions. Replace it if readings become unreliable.