
How to Use U.FL: Examples, Pinouts, and Specs

 Design with U.FL in Cirkit Designer
Introduction
The U.FL connector, manufactured by SparkFun (Part ID: WRL-09144), is a miniature coaxial connector designed for RF (Radio Frequency) applications. It is widely used for creating compact and reliable connections between antennas and RF modules. Due to its small size and high-frequency performance, the U.FL connector is ideal for applications where space is limited, such as IoT devices, wireless communication modules, and embedded systems.
Explore Projects Built with U.FL
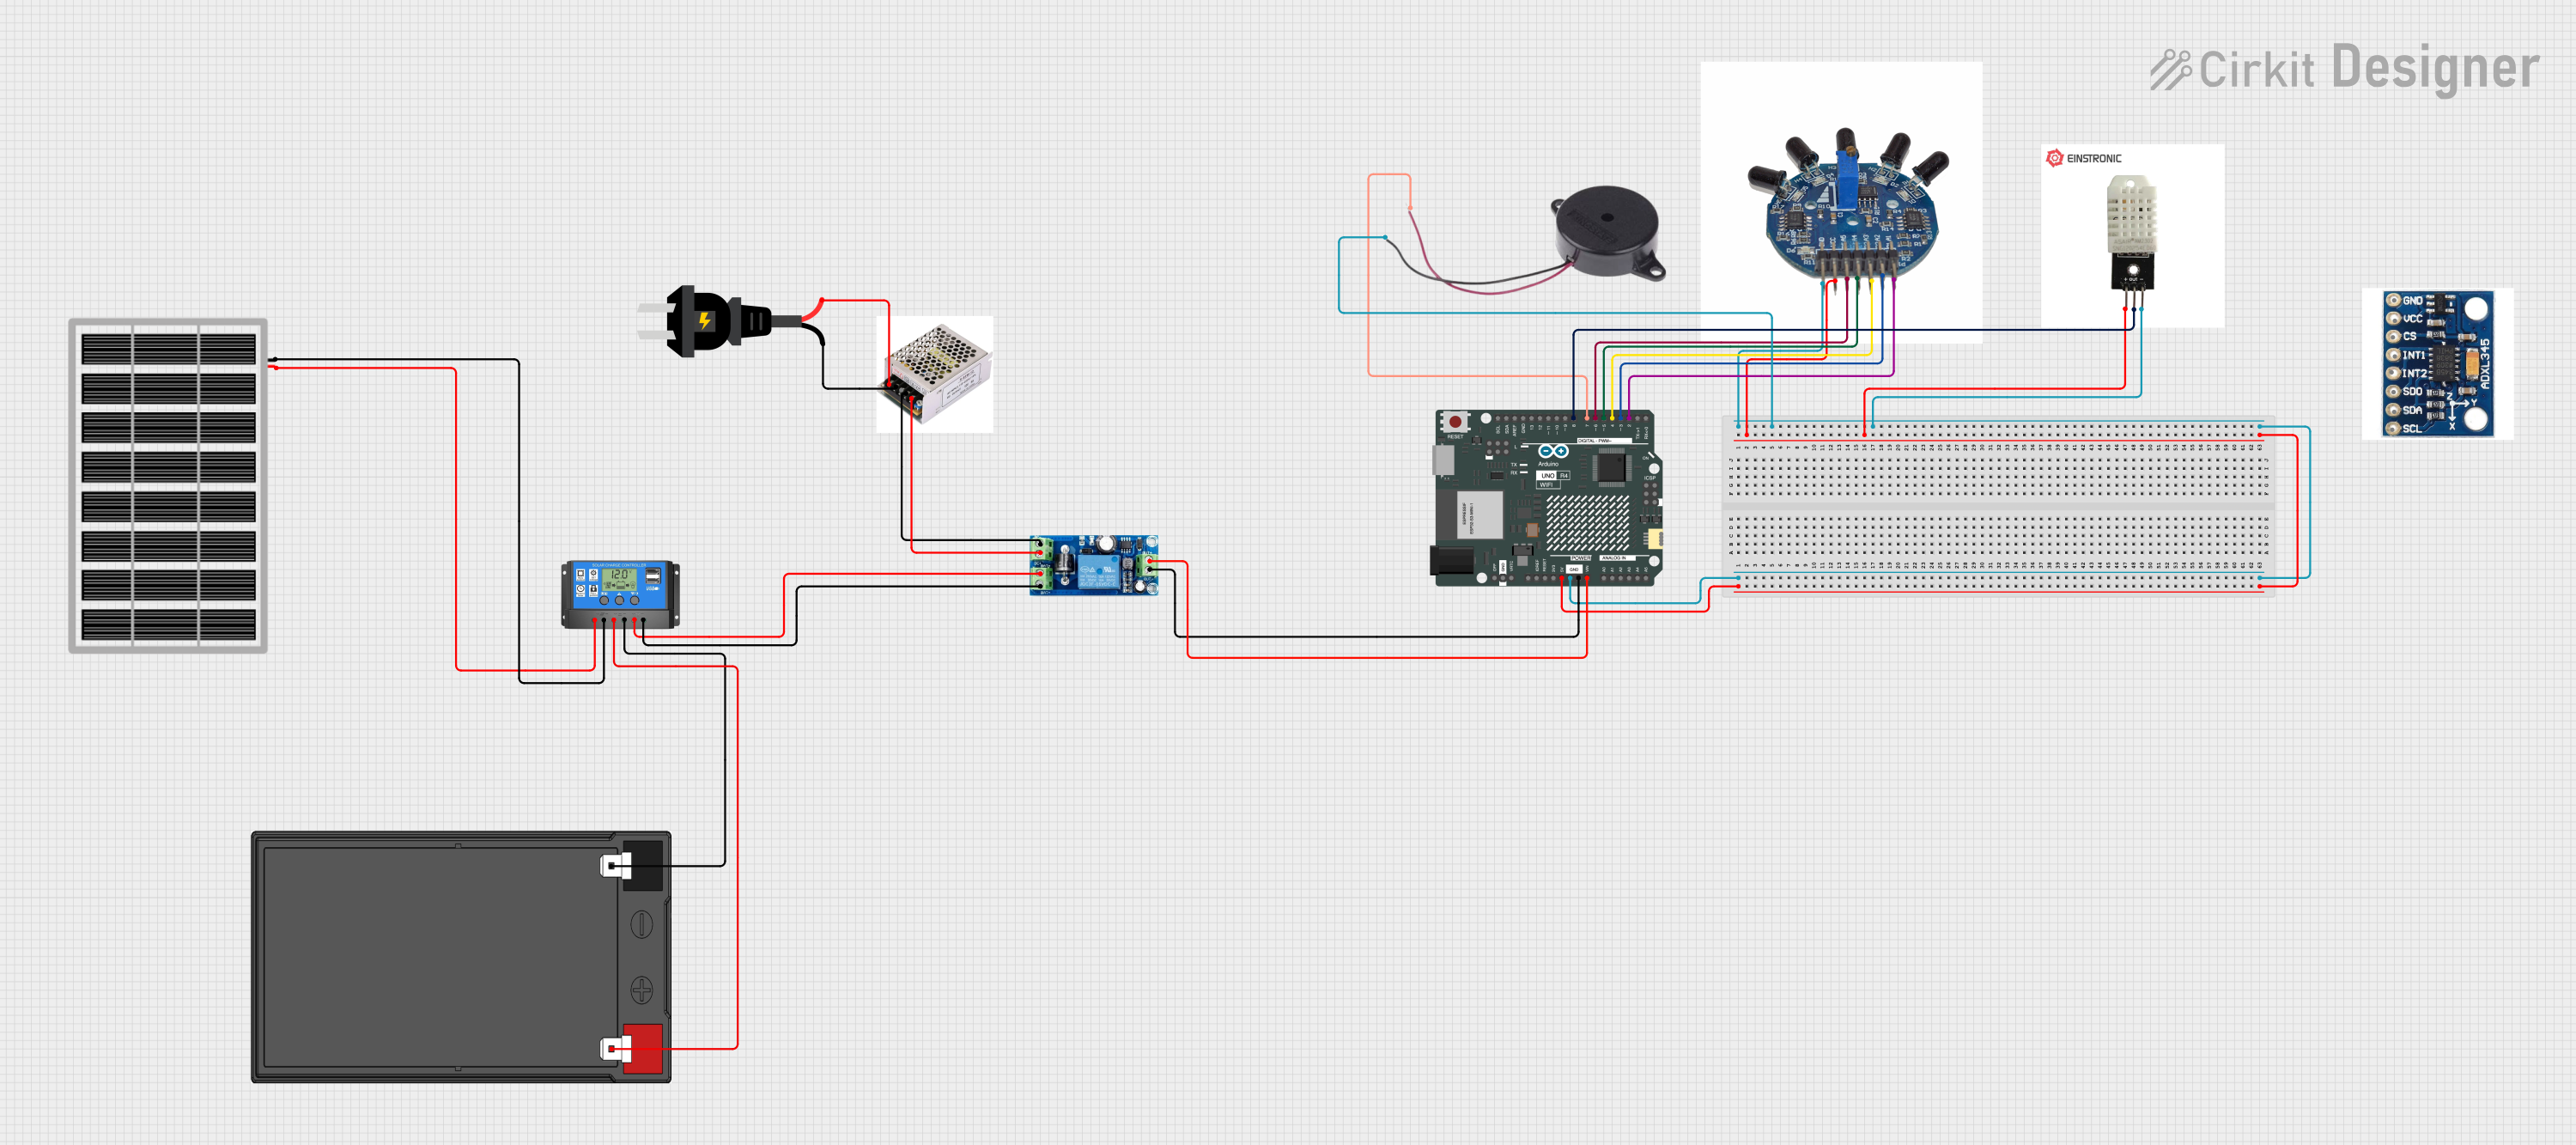 Open Project in Cirkit Designer
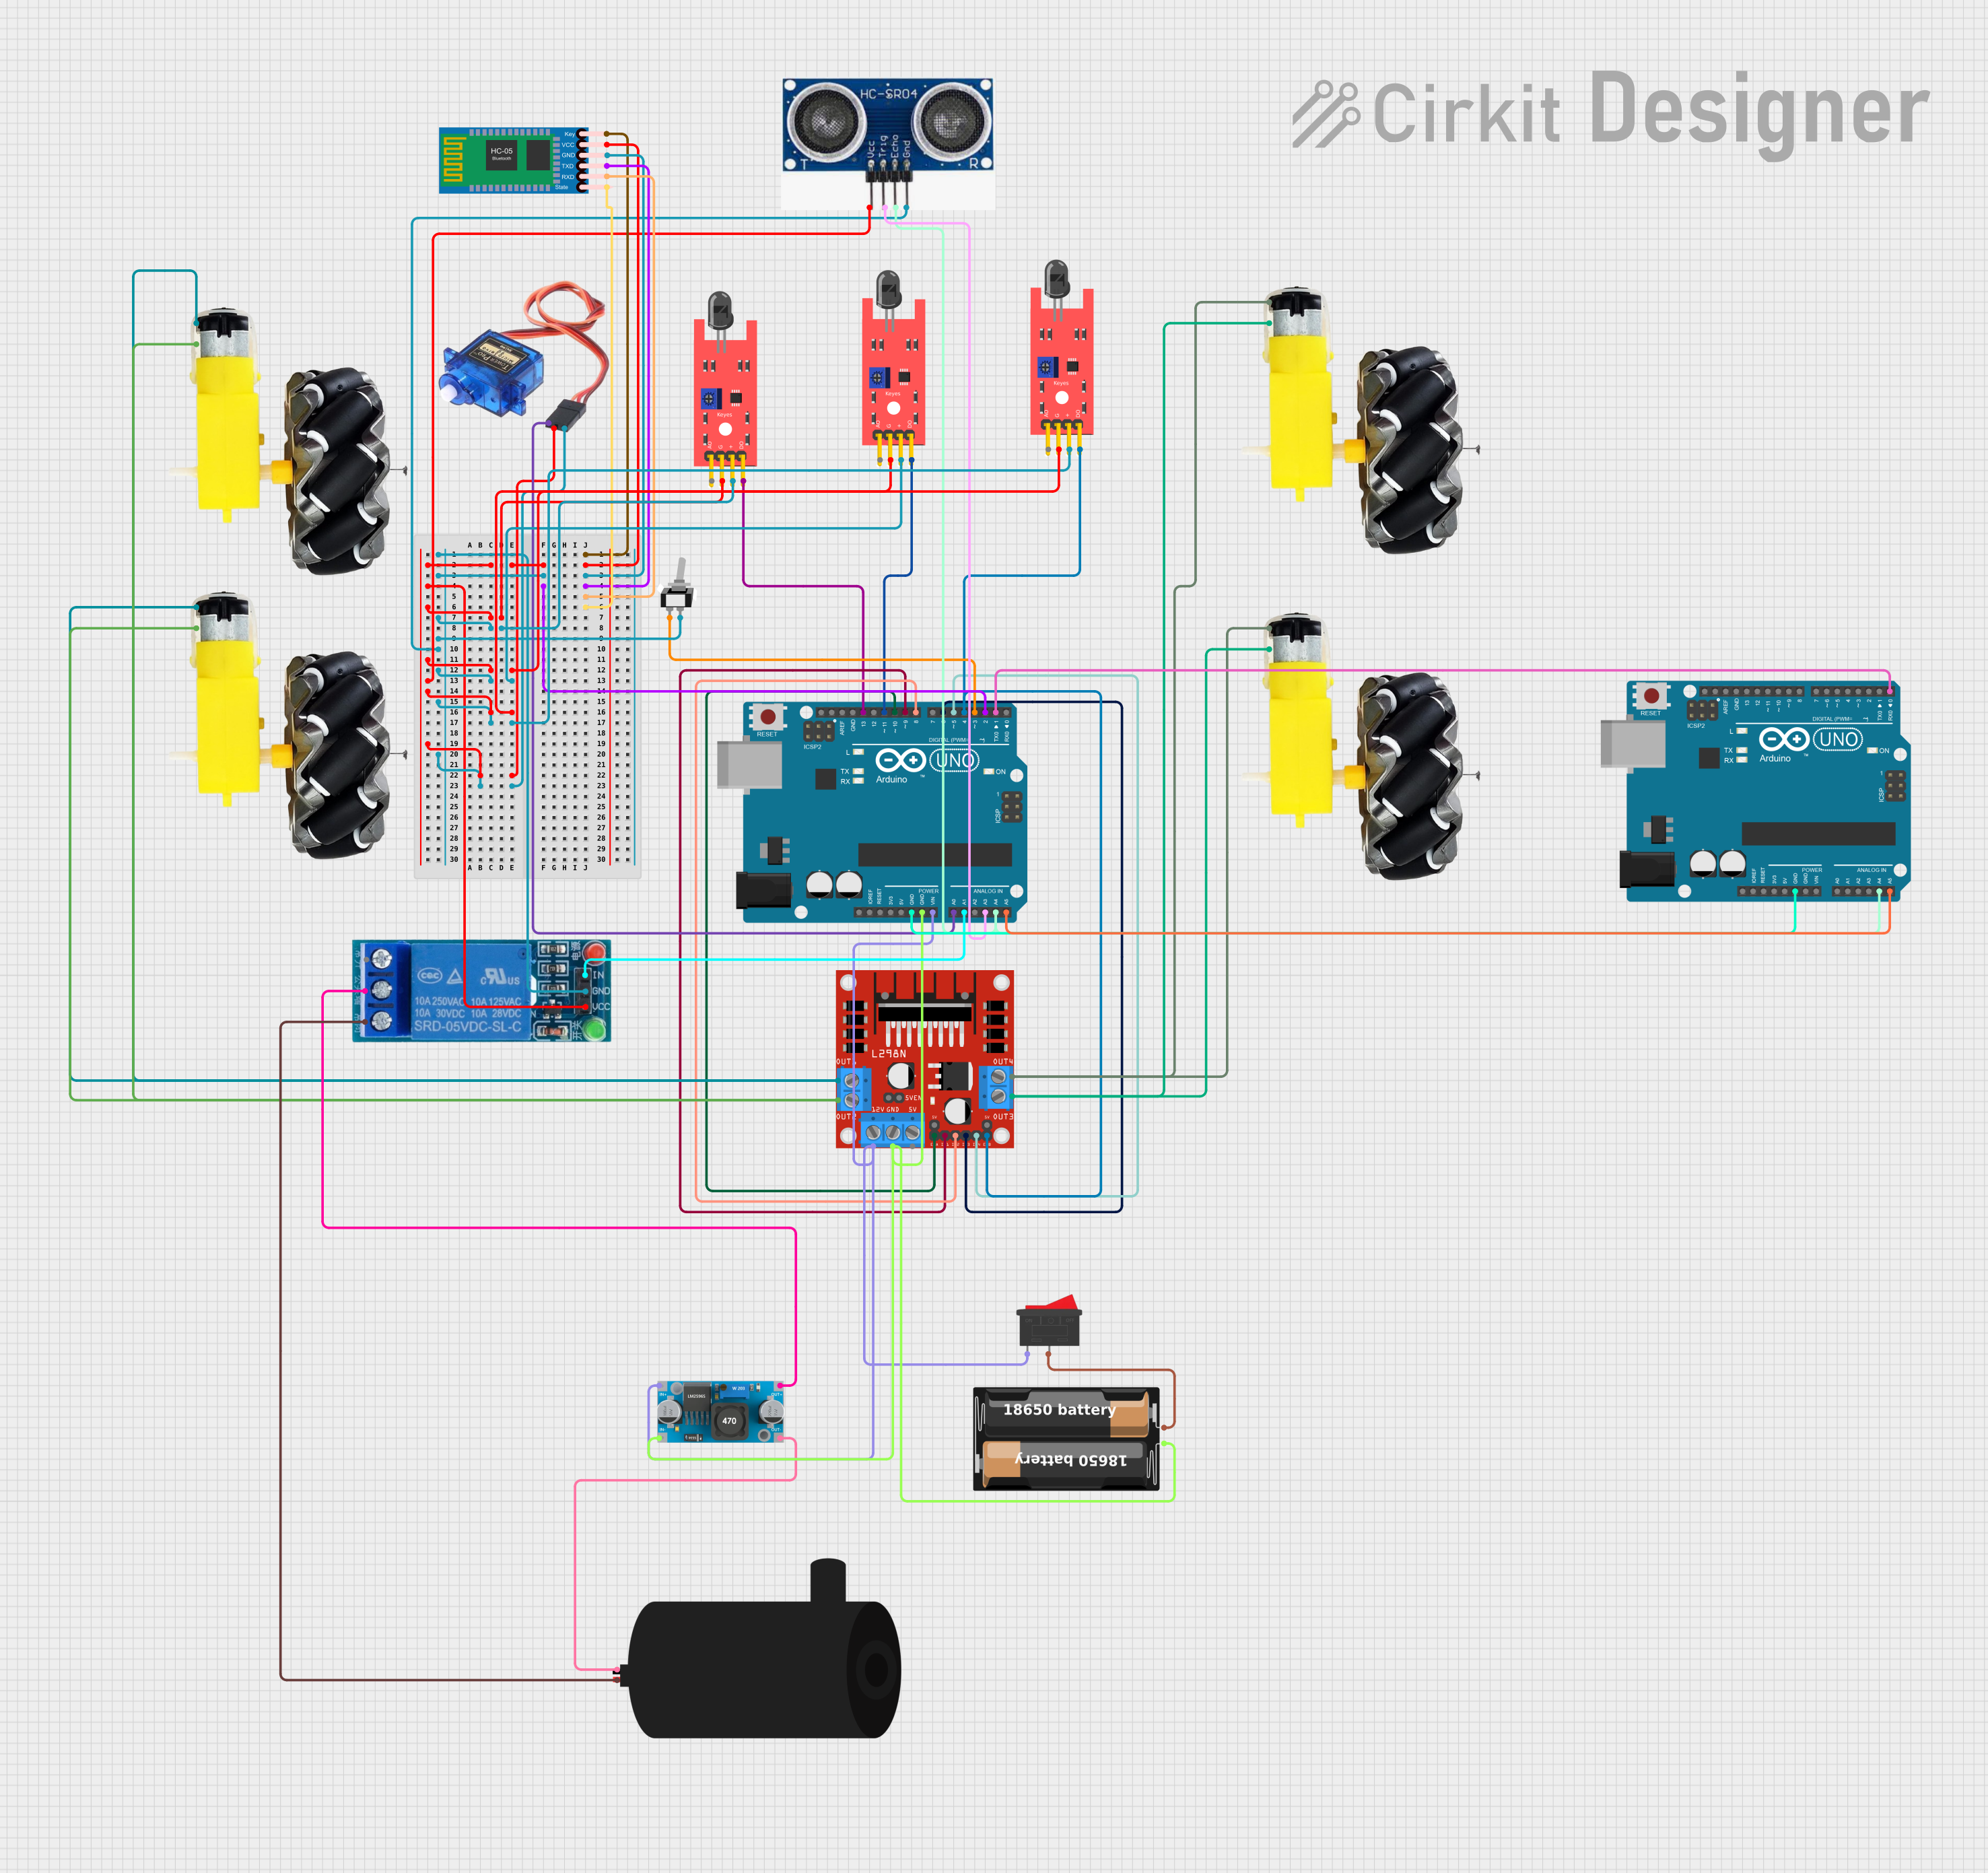 Open Project in Cirkit Designer
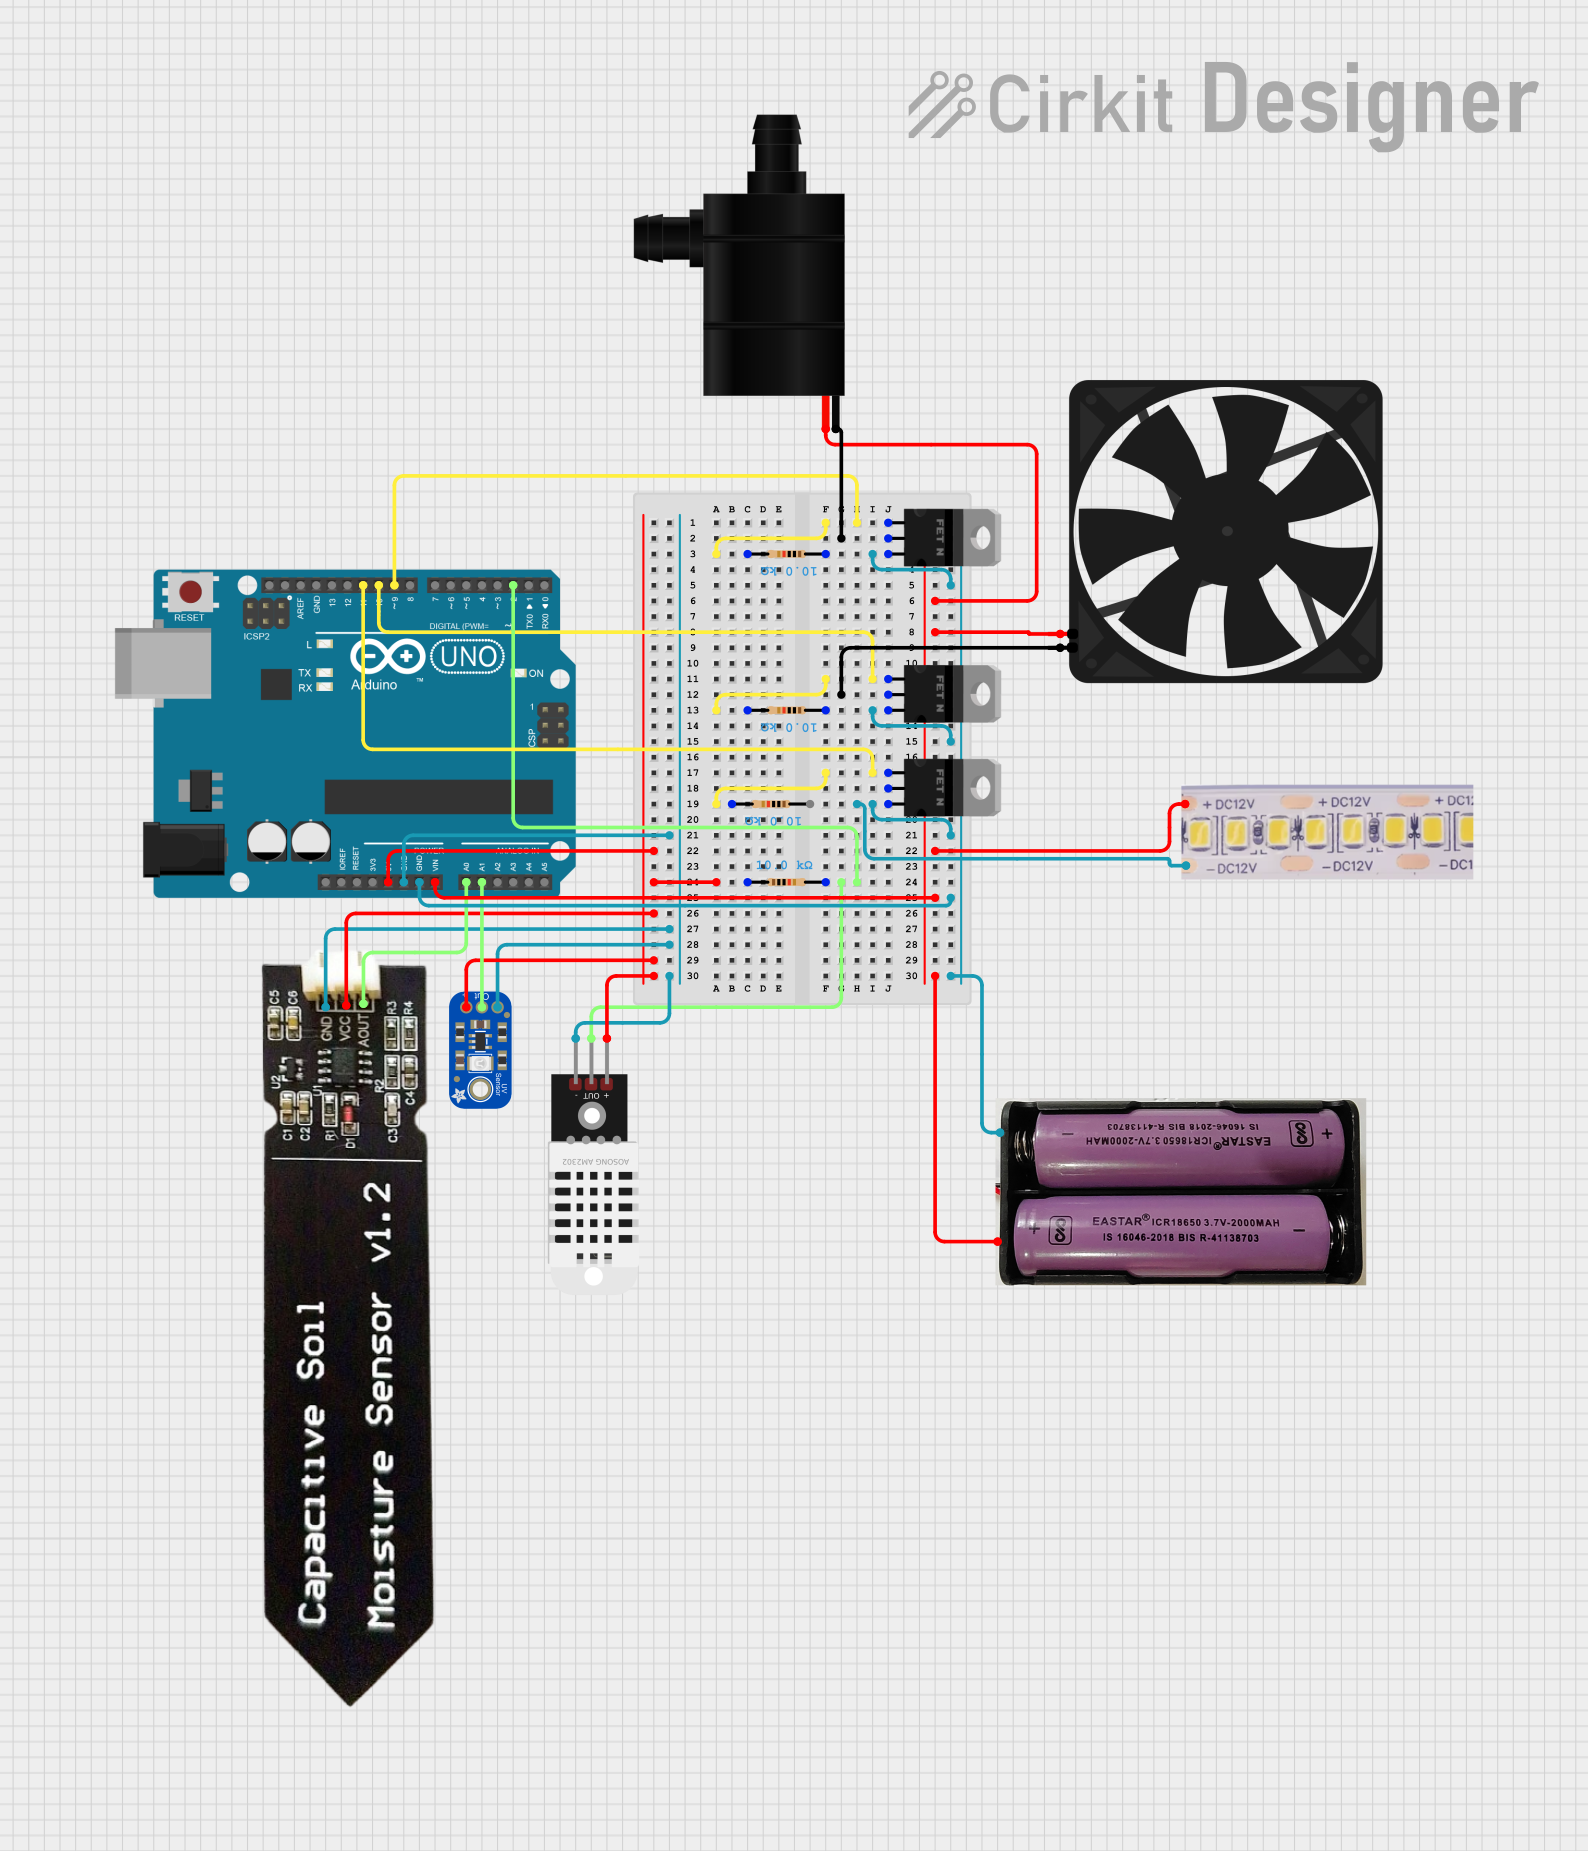 Open Project in Cirkit Designer
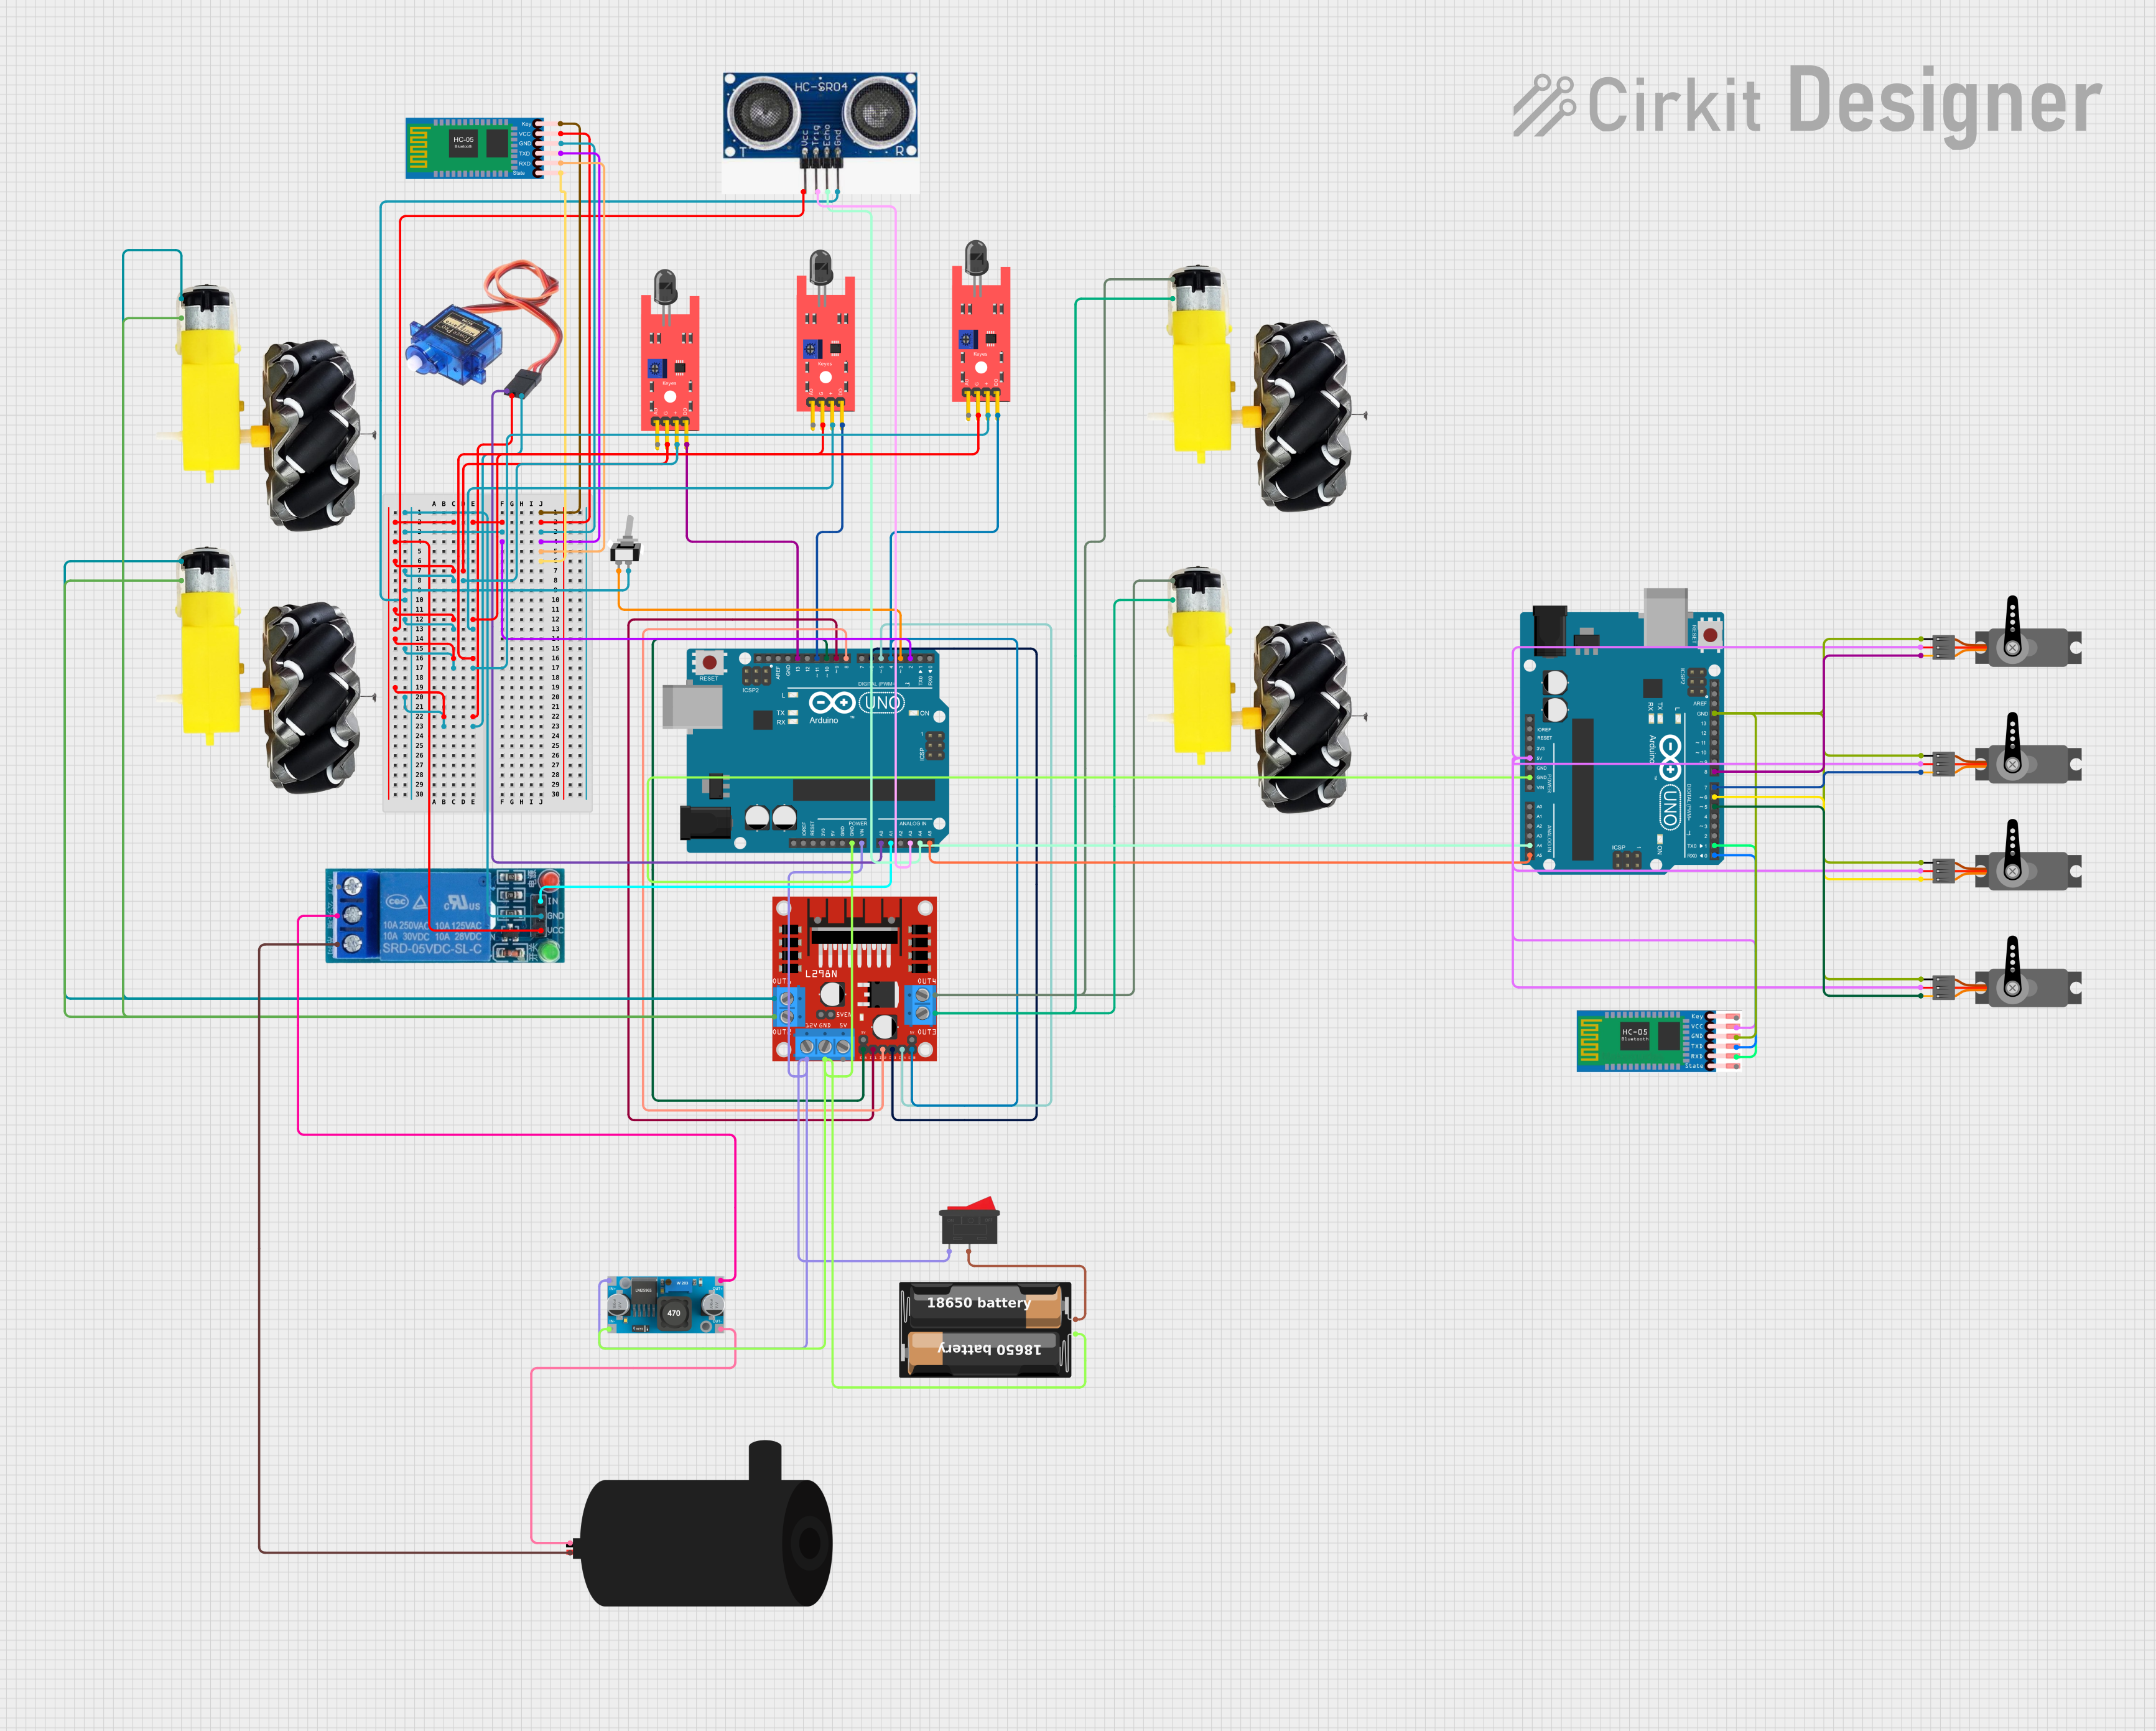 Open Project in Cirkit Designer
Explore Projects Built with U.FL
Open Project in Cirkit DesignerOpen Project in Cirkit DesignerOpen Project in Cirkit DesignerOpen Project in Cirkit DesignerCommon Applications
- Connecting antennas to RF modules in IoT devices
- Wireless communication systems (e.g., Wi-Fi, Bluetooth, GPS)
- Embedded systems requiring compact RF connections
- Prototyping and testing RF circuits
Technical Specifications
The U.FL connector is designed to meet the needs of high-frequency RF applications while maintaining a compact form factor. Below are the key technical details:
General Specifications
| Parameter | Value |
|---|---|
| Manufacturer | SparkFun |
| Part ID | WRL-09144 |
| Connector Type | U.FL (Ultra Miniature Coaxial) |
| Frequency Range | DC to 6 GHz |
| Impedance | 50 Ω |
| Mating Cycles | 30 cycles (typical) |
| Operating Temperature | -40°C to +90°C |
| Material | Gold-plated contacts |
Pin Configuration and Descriptions
The U.FL connector has a simple design with two main connection points:
| Pin Name | Description |
|---|---|
| Center Pin | Signal pin for RF transmission |
| Outer Shell | Ground connection for shielding and stability |
Usage Instructions
The U.FL connector is straightforward to use but requires careful handling due to its small size and limited mating cycles. Below are the steps and best practices for using the U.FL connector in your circuit:
How to Use the U.FL Connector
Soldering the Connector:
- Align the U.FL connector with the PCB footprint.
- Use a fine-tipped soldering iron to solder the outer shell to the ground pads.
- Solder the center pin to the signal pad on the PCB.
Connecting an Antenna:
- Use a U.FL-compatible cable or adapter to connect the antenna.
- Gently press the U.FL cable connector onto the U.FL socket until it clicks into place.
Disconnecting the Cable:
- Use a U.FL removal tool or a pair of tweezers to carefully lift the cable connector.
- Avoid pulling the cable directly to prevent damage to the connector.
Important Considerations
- Mating Cycles: The U.FL connector is rated for approximately 30 mating cycles. Minimize repeated connections and disconnections to extend its lifespan.
- Cable Length: Use short cables to reduce signal loss, especially for high-frequency applications.
- ESD Protection: Ensure proper grounding and ESD protection when handling the connector to avoid damaging sensitive RF components.
Example: Using U.FL with an Arduino UNO
If you are using an RF module (e.g., Wi-Fi or GPS) with a U.FL connector in an Arduino UNO project, follow these steps:
- Connect the RF module to the Arduino UNO using appropriate pins (e.g., UART or SPI).
- Attach an antenna to the RF module using a U.FL cable.
- Use the following example code to initialize and communicate with the RF module (e.g., a GPS module):
#include <SoftwareSerial.h>

// Define RX and TX pins for the GPS module
SoftwareSerial gpsSerial(4, 3); // RX = Pin 4, TX = Pin 3

void setup() {
  Serial.begin(9600); // Initialize Serial Monitor
  gpsSerial.begin(9600); // Initialize GPS module communication

  Serial.println("GPS Module Initialized");
}

void loop() {
  // Check if data is available from the GPS module
  if (gpsSerial.available()) {
    // Read and print data from the GPS module
    char c = gpsSerial.read();
    Serial.print(c);
  }
}
Note: Replace the RF module and communication protocol as needed for your specific application.
Troubleshooting and FAQs
Common Issues and Solutions
| Issue | Possible Cause | Solution |
|---|---|---|
| Weak or no signal | Poor antenna connection | Ensure the U.FL cable is securely connected. |
| Damaged connector after repeated use | Exceeded mating cycle limit | Replace the U.FL connector or cable. |
| Signal loss or interference | Long or low-quality cable | Use a shorter, high-quality U.FL cable. |
| Difficulty disconnecting the cable | Improper removal technique | Use a U.FL removal tool or tweezers. |
FAQs
Can I use the U.FL connector for frequencies above 6 GHz?
- No, the U.FL connector is rated for frequencies up to 6 GHz. For higher frequencies, consider using connectors designed for those ranges.
How do I prevent damage to the U.FL connector during soldering?
- Use a low-temperature soldering iron and avoid applying excessive heat to the connector.
What is the best way to extend the lifespan of the U.FL connector?
- Minimize the number of mating cycles and handle the connector with care during installation and removal.
By following these guidelines and best practices, you can effectively use the SparkFun U.FL connector (WRL-09144) in your RF applications.