
How to Use sodaq mbili: Examples, Pinouts, and Specs
 Design with sodaq mbili in Cirkit Designer
Introduction
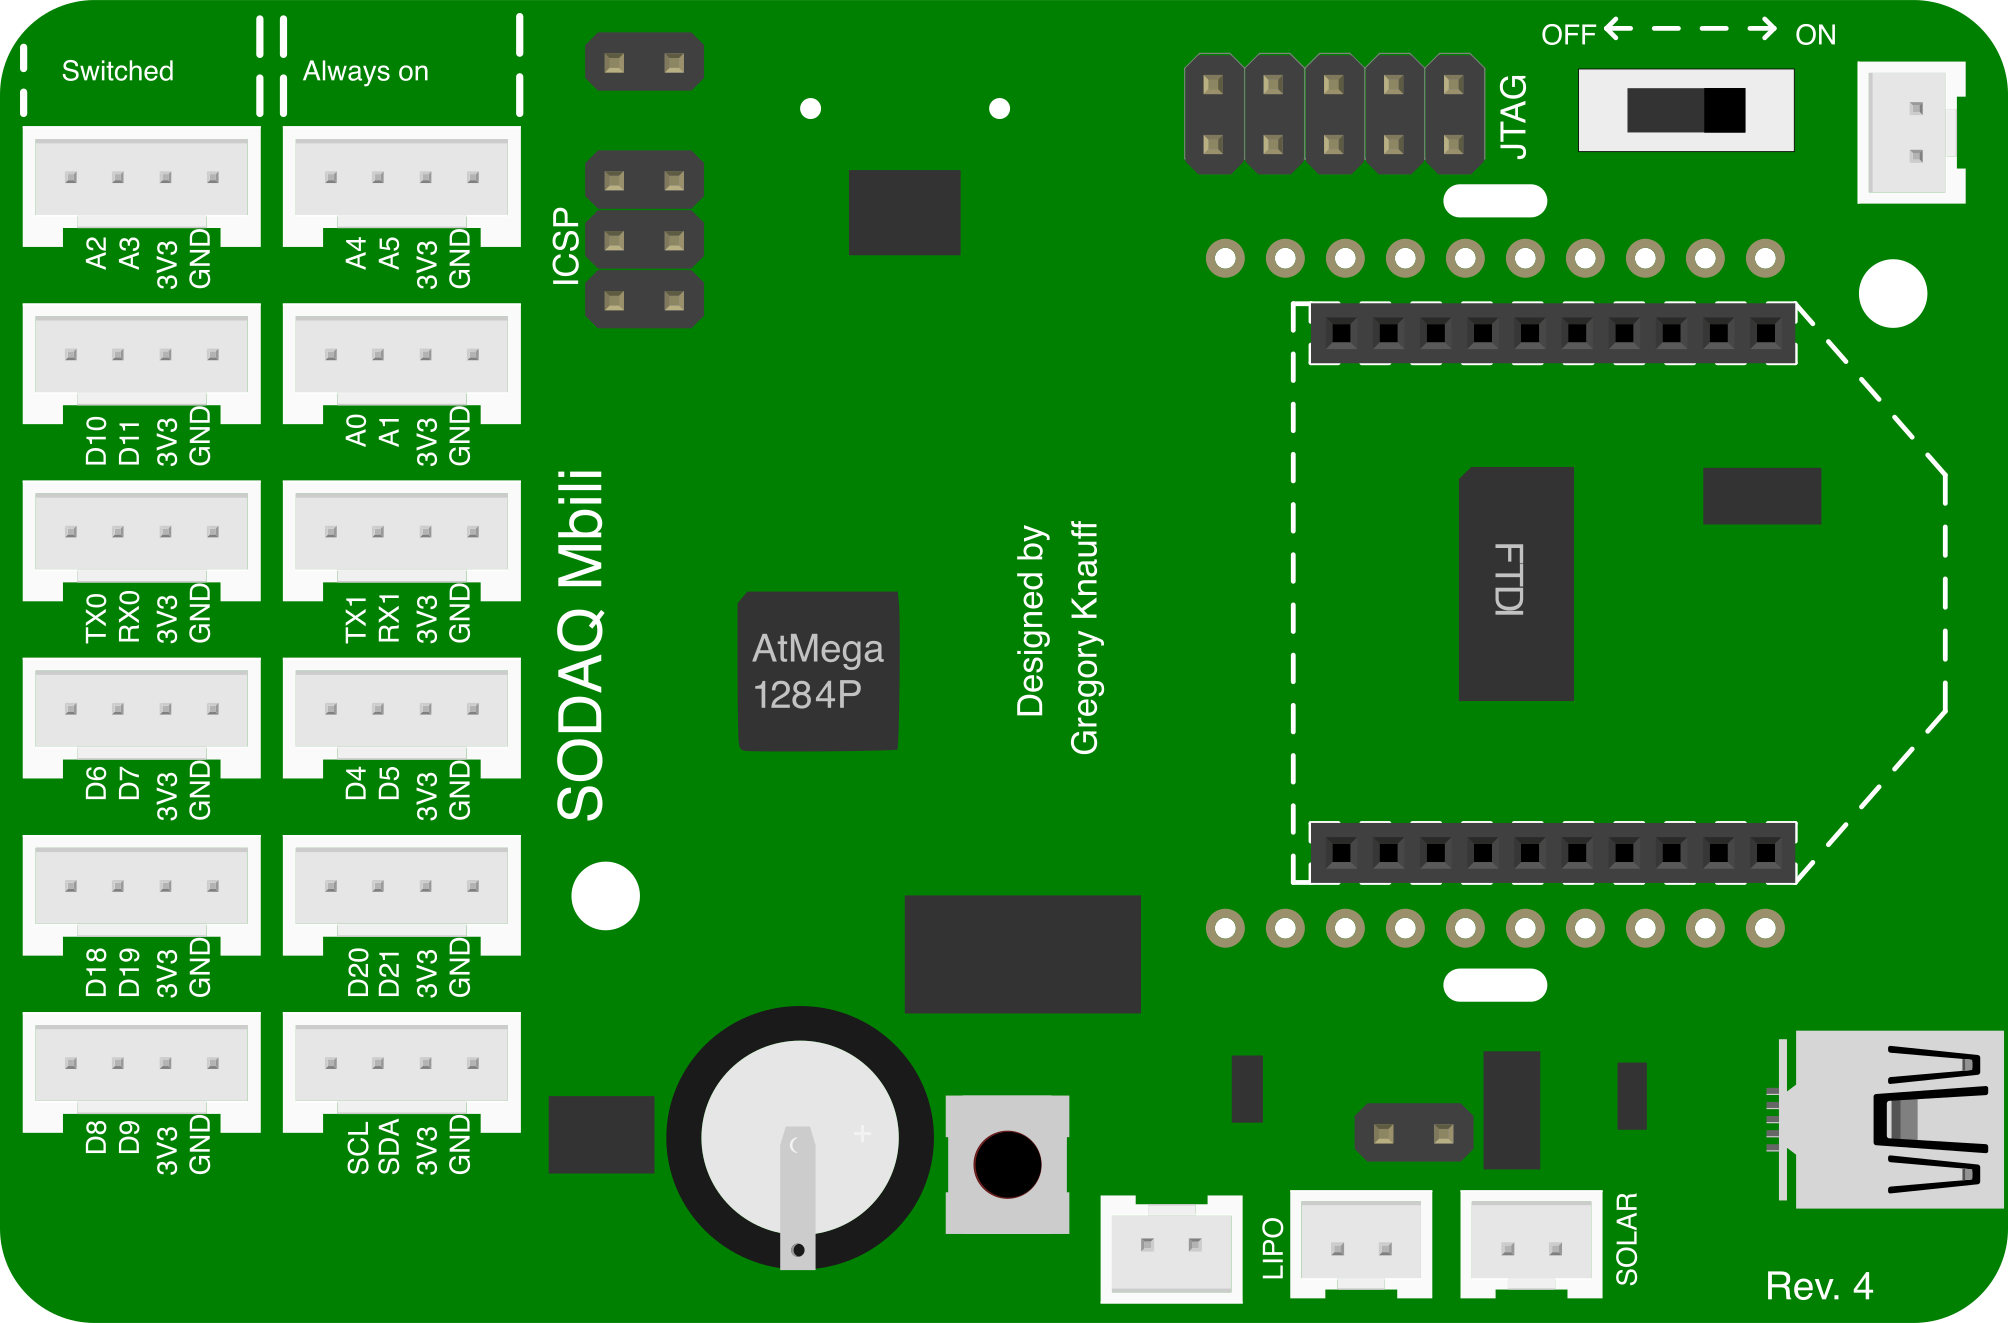
The Sodaq Mbili (Manufacturer Part ID: Mbili Rev4) is a compact, low-power microcontroller board designed by SODAQ for Internet of Things (IoT) applications. It is equipped with a built-in GPS module, cellular connectivity, and various onboard sensors, making it an ideal choice for remote monitoring, data collection, and environmental sensing projects. The Mbili is designed to operate efficiently in low-power environments, making it suitable for battery-powered or solar-powered applications.
Explore Projects Built with sodaq mbili
 Open Project in Cirkit Designer
 Open Project in Cirkit Designer
 Open Project in Cirkit Designer
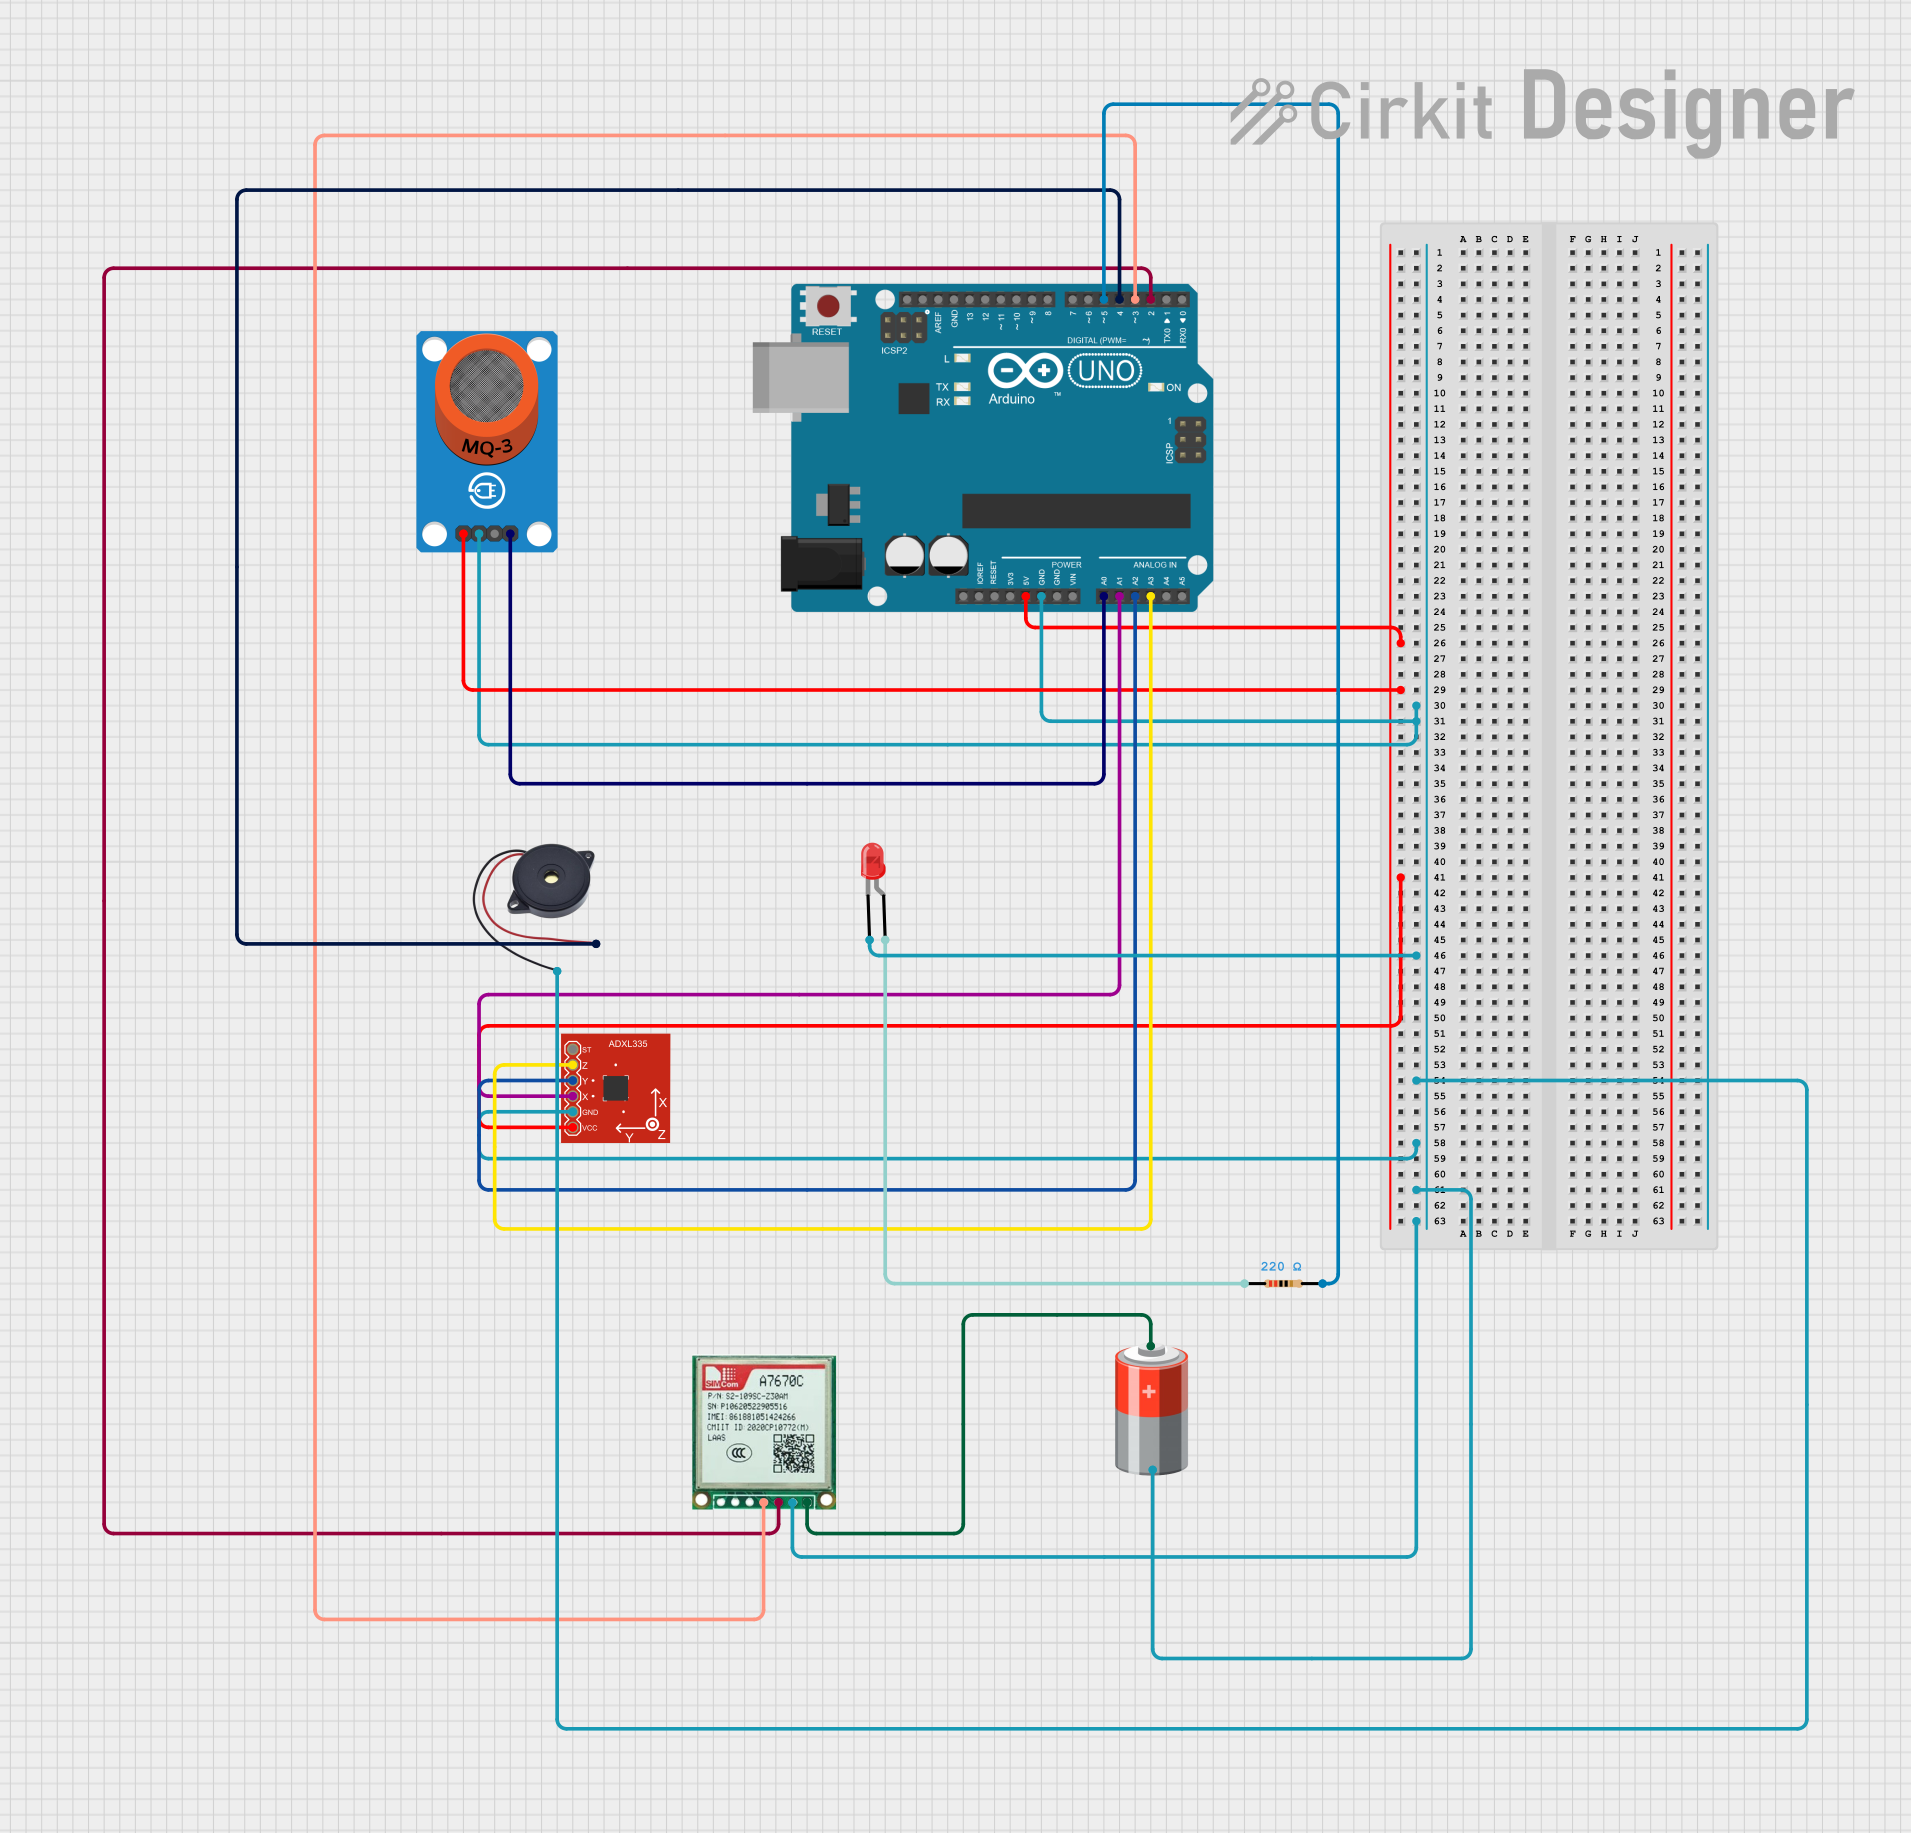 Open Project in Cirkit Designer
Explore Projects Built with sodaq mbili
Open Project in Cirkit DesignerOpen Project in Cirkit DesignerOpen Project in Cirkit DesignerOpen Project in Cirkit DesignerCommon Applications
- Environmental monitoring (e.g., temperature, humidity, air quality)
- Asset tracking using GPS and cellular communication
- Remote data logging and telemetry
- Smart agriculture and irrigation systems
- Industrial IoT applications
Technical Specifications
Key Technical Details
| Specification | Value |
|---|---|
| Microcontroller | ATmega1284P |
| Operating Voltage | 3.3V |
| Input Voltage Range | 3.6V - 6.0V |
| Digital I/O Pins | 15 (of which 6 provide PWM output) |
| Analog Input Pins | 8 |
| Flash Memory | 128 KB |
| SRAM | 16 KB |
| EEPROM | 4 KB |
| Clock Speed | 16 MHz |
| GPS Module | u-blox GPS |
| Cellular Connectivity | Optional (via compatible modules) |
| Communication Interfaces | UART, I2C, SPI |
| Power Consumption (Idle) | ~2.5 mA |
| Dimensions | 58 mm x 25 mm |
Pin Configuration and Descriptions
| Pin Name | Description |
|---|---|
| VIN | Input voltage pin (3.6V - 6.0V) |
| GND | Ground pin |
| D0 - D14 | Digital I/O pins (D3, D5, D6, D9, D10, D11 support PWM) |
| A0 - A7 | Analog input pins |
| TX (D1) | UART Transmit pin |
| RX (D0) | UART Receive pin |
| SDA (A4) | I2C Data pin |
| SCL (A5) | I2C Clock pin |
| GPS_TX | GPS module transmit pin |
| GPS_RX | GPS module receive pin |
| RESET | Reset pin to restart the microcontroller |
| 3.3V | Regulated 3.3V output pin |
Usage Instructions
How to Use the Sodaq Mbili in a Circuit
Powering the Board:
- Connect a power source to the VIN pin (3.6V - 6.0V) or use a USB connection.
- Ensure the power source is stable and within the specified voltage range.
Connecting Sensors and Modules:
- Use the digital I/O pins (D0 - D14) for digital sensors or actuators.
- Connect analog sensors to the analog input pins (A0 - A7).
- For I2C devices, connect to the SDA (A4) and SCL (A5) pins.
Using GPS and Cellular Connectivity:
- The onboard GPS module can be accessed via the GPS_TX and GPS_RX pins.
- Cellular connectivity requires a compatible module connected to the UART interface.
Programming the Board:
- Use the Arduino IDE to program the Sodaq Mbili.
- Select "Sodaq Mbili" as the board type in the Arduino IDE settings.
- Connect the board to your computer via USB and upload your code.
Important Considerations
- The Sodaq Mbili operates at 3.3V logic levels. Ensure all connected devices are compatible with 3.3V.
- Avoid exceeding the maximum input voltage of 6.0V to prevent damage to the board.
- Use proper decoupling capacitors when connecting external modules to ensure stable operation.
- For low-power applications, utilize the board's sleep modes to minimize power consumption.
Example Code for GPS Data Logging
Below is an example of how to use the Sodaq Mbili to read GPS data and log it to the serial monitor:
#include <TinyGPS++.h> // Include the TinyGPS++ library for GPS parsing
#include <SoftwareSerial.h> // Include SoftwareSerial for GPS communication

// Define GPS communication pins
#define GPS_TX 7 // GPS transmit pin
#define GPS_RX 8 // GPS receive pin

// Create a SoftwareSerial instance for GPS
SoftwareSerial gpsSerial(GPS_RX, GPS_TX);

// Create a TinyGPS++ object
TinyGPSPlus gps;

void setup() {
  Serial.begin(9600); // Initialize serial communication for debugging
  gpsSerial.begin(9600); // Initialize GPS serial communication

  Serial.println("Sodaq Mbili GPS Data Logger");
}

void loop() {
  // Check if data is available from the GPS module
  while (gpsSerial.available() > 0) {
    // Feed the GPS data to the TinyGPS++ library
    if (gps.encode(gpsSerial.read())) {
      // If a valid GPS location is available, print it
      if (gps.location.isValid()) {
        Serial.print("Latitude: ");
        Serial.print(gps.location.lat(), 6); // Print latitude with 6 decimal places
        Serial.print(", Longitude: ");
        Serial.println(gps.location.lng(), 6); // Print longitude with 6 decimal places
      } else {
        Serial.println("Waiting for GPS signal...");
      }
    }
  }
}
Notes:
- Install the
TinyGPS++library in the Arduino IDE before uploading the code. - Ensure the GPS antenna has a clear view of the sky for optimal signal reception.
Troubleshooting and FAQs
Common Issues and Solutions
The board does not power on.
- Verify that the input voltage is within the range of 3.6V to 6.0V.
- Check the power source and connections for stability.
GPS module is not providing location data.
- Ensure the GPS antenna has a clear view of the sky.
- Wait for a few minutes for the GPS module to acquire a signal.
- Verify the GPS_TX and GPS_RX pin connections.
Unable to upload code to the board.
- Ensure the correct board type ("Sodaq Mbili") is selected in the Arduino IDE.
- Check the USB cable and port for proper connection.
- Press the RESET button on the board before uploading.
Connected sensors are not working.
- Confirm that the sensors are compatible with 3.3V logic levels.
- Double-check the wiring and pin assignments in your code.
FAQs
Q: Can the Sodaq Mbili be powered using a solar panel?
A: Yes, the Sodaq Mbili is designed for low-power applications and can be powered using a solar panel with a compatible voltage range (3.6V - 6.0V). Use a battery for energy storage to ensure continuous operation.
Q: Does the board support external storage?
A: Yes, the Sodaq Mbili supports external storage via SD card modules connected to the SPI interface.
Q: Can I use the Sodaq Mbili with LoRa modules?
A: Yes, the board can interface with LoRa modules via UART or SPI, making it suitable for long-range communication applications.
Q: How do I reduce power consumption?
A: Use the board's sleep modes and disable unused peripherals to minimize power consumption.