
How to Use dial gauge : Examples, Pinouts, and Specs
 Design with dial gauge in Cirkit Designer
Introduction
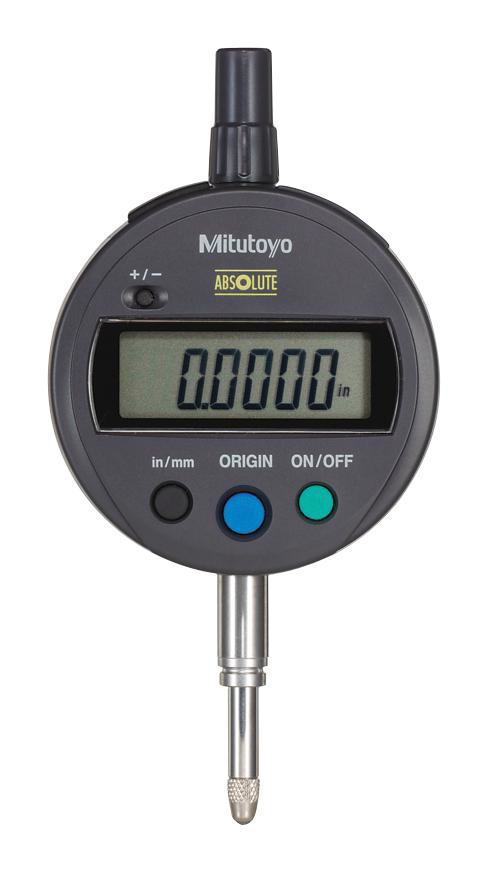
A dial gauge is a precision instrument used to measure small linear distances, thicknesses, or variations in height. It typically features a dial with a needle that moves to indicate measurements. The dial gauge holder, manufactured by Dial Gauge Holder with part ID "holder," is designed to securely hold the dial gauge in place, ensuring accurate and stable measurements.
Explore Projects Built with dial gauge
 Open Project in Cirkit Designer
 Open Project in Cirkit Designer
 Open Project in Cirkit Designer
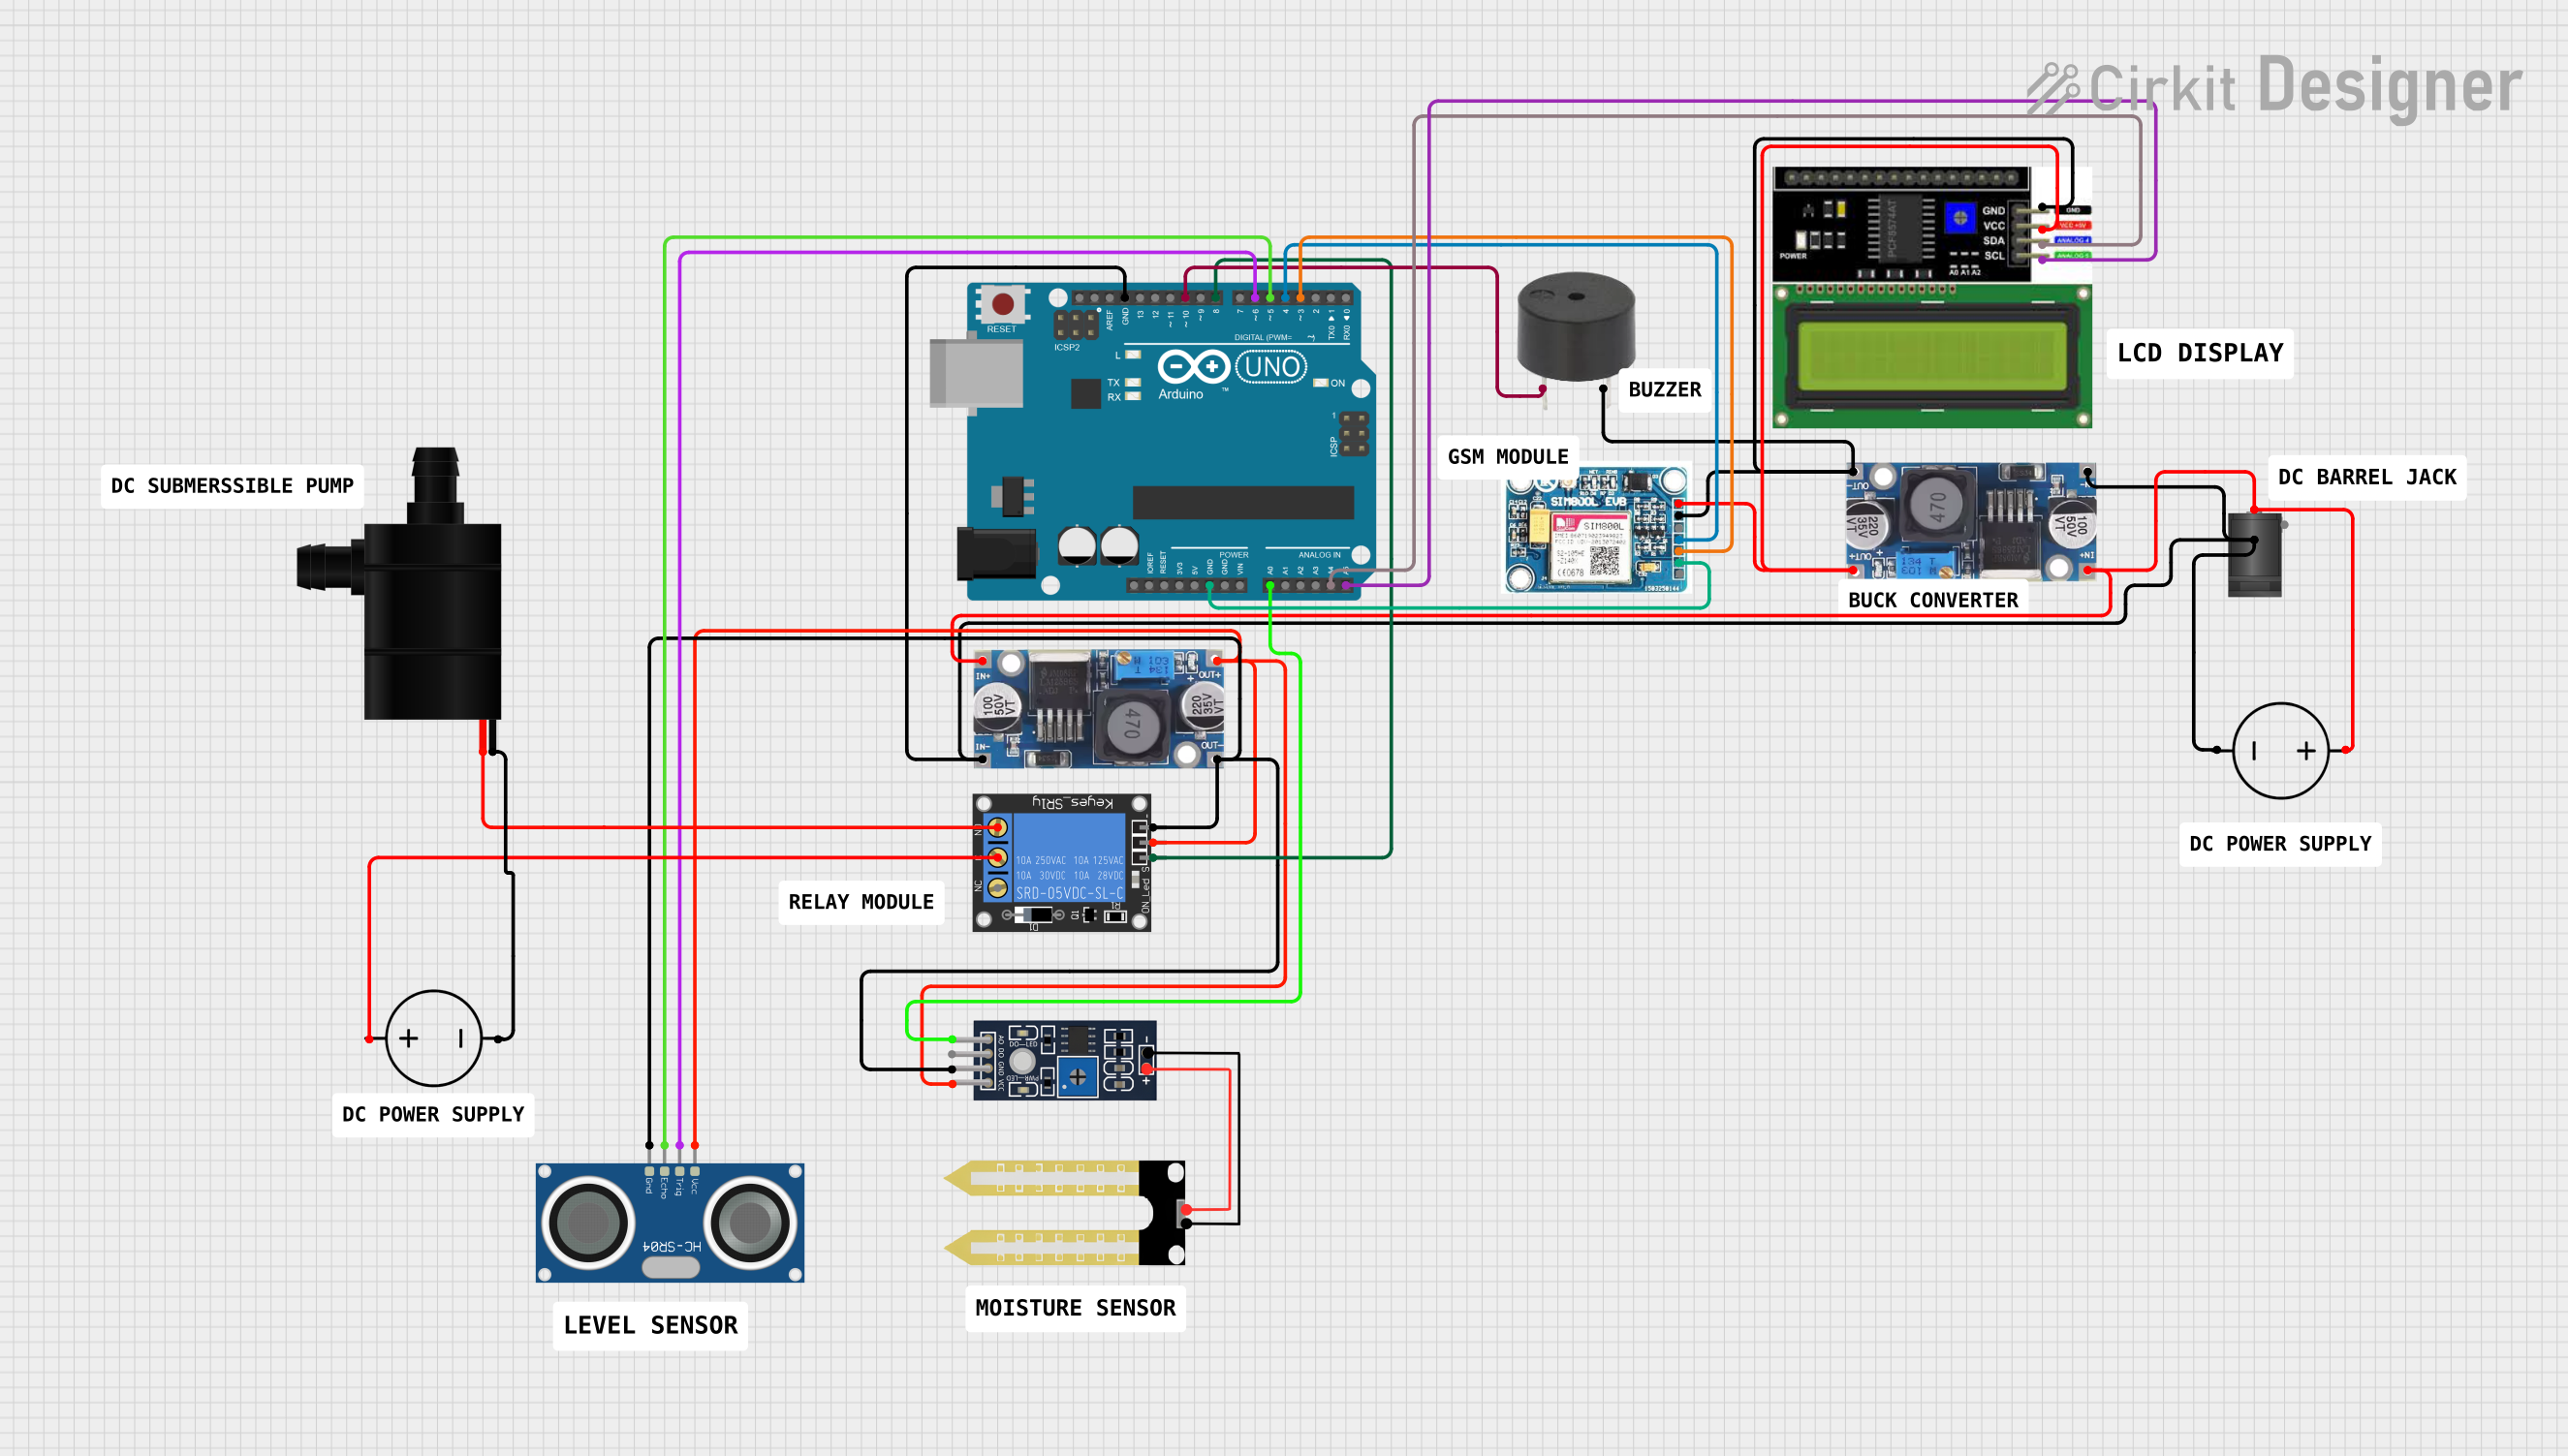
 Open Project in Cirkit Designer
Explore Projects Built with dial gauge

 Open Project in Cirkit Designer
 Open Project in Cirkit Designer
 Open Project in Cirkit Designer
 Open Project in Cirkit Designer
Common Applications and Use Cases
- Machining and Manufacturing: Ensuring precision in the production of parts.
- Quality Control: Verifying the dimensions of components.
- Engineering and Research: Conducting precise measurements for experiments and prototypes.
- Automotive Industry: Measuring engine components and other critical parts.
Technical Specifications
Key Technical Details
| Specification | Value |
|---|---|
| Manufacturer | Dial Gauge Holder |
| Part ID | holder |
| Material | High-grade steel |
| Clamping Range | 0 - 10 mm |
| Base Type | Magnetic or Non-magnetic |
| Weight | 500 grams |
| Dimensions | 150 mm x 50 mm x 50 mm |
| Operating Temperature Range | -10°C to 50°C |
Pin Configuration and Descriptions
The dial gauge holder does not have electrical pins but features mechanical components for securing the dial gauge.
| Component | Description |
|---|---|
| Clamping Screw | Used to secure the dial gauge in place |
| Magnetic Base | Provides stability and prevents movement |
| Adjustment Knob | Allows fine-tuning of the dial gauge position |
| Arm | Connects the base to the clamping mechanism |
Usage Instructions
How to Use the Dial Gauge Holder in a Circuit
Setup the Holder:
- Place the magnetic base on a stable, flat surface. If using a non-magnetic base, ensure it is securely fastened.
Insert the Dial Gauge:
- Loosen the clamping screw and insert the dial gauge into the holder.
- Tighten the clamping screw to secure the dial gauge in place.
Adjust the Position:
- Use the adjustment knob to fine-tune the position of the dial gauge.
- Ensure the dial gauge is perpendicular to the surface being measured for accurate readings.
Important Considerations and Best Practices
- Stability: Ensure the base is stable and does not move during measurements.
- Calibration: Regularly calibrate the dial gauge to maintain accuracy.
- Environment: Avoid using the dial gauge holder in environments with extreme temperatures or vibrations.
- Maintenance: Keep the holder clean and free from debris to ensure smooth operation.
Troubleshooting and FAQs
Common Issues and Solutions
Dial Gauge Slips:
- Solution: Ensure the clamping screw is tightened properly. Check for any wear or damage to the clamping mechanism.
Inaccurate Measurements:
- Solution: Verify that the dial gauge is perpendicular to the surface being measured. Recalibrate the dial gauge if necessary.
Magnetic Base Not Holding:
- Solution: Clean the magnetic base and the surface it is placed on. Ensure there are no obstructions or debris.
FAQs
Q: Can the dial gauge holder be used with any dial gauge? A: The holder is designed to accommodate most standard dial gauges with a clamping range of 0 - 10 mm.
Q: How often should I calibrate my dial gauge? A: It is recommended to calibrate the dial gauge before each use or at regular intervals, depending on the frequency of use.
Q: Can the holder be used in a vertical position? A: Yes, the holder can be used in both horizontal and vertical positions, provided it is securely fastened.
Q: What should I do if the adjustment knob is difficult to turn? A: Check for any debris or damage to the adjustment mechanism. Lubricate the knob if necessary.
Conclusion
The dial gauge holder is an essential tool for ensuring precise and stable measurements with a dial gauge. By following the usage instructions and best practices outlined in this documentation, users can achieve accurate and reliable results in various applications. For any further assistance, please refer to the troubleshooting section or contact the manufacturer.