How to Use esp: Examples, Pinouts, and Specs
Introduction
The ESP series, developed by Espressif Systems, is a family of low-cost, low-power system-on-chip (SoC) microcontrollers. These microcontrollers are equipped with integrated Wi-Fi and Bluetooth capabilities, making them ideal for Internet of Things (IoT) applications. The ESP series includes popular models such as the ESP8266 and ESP32, which are widely used in smart home devices, wearable electronics, and industrial automation.
Explore Projects Built with esp


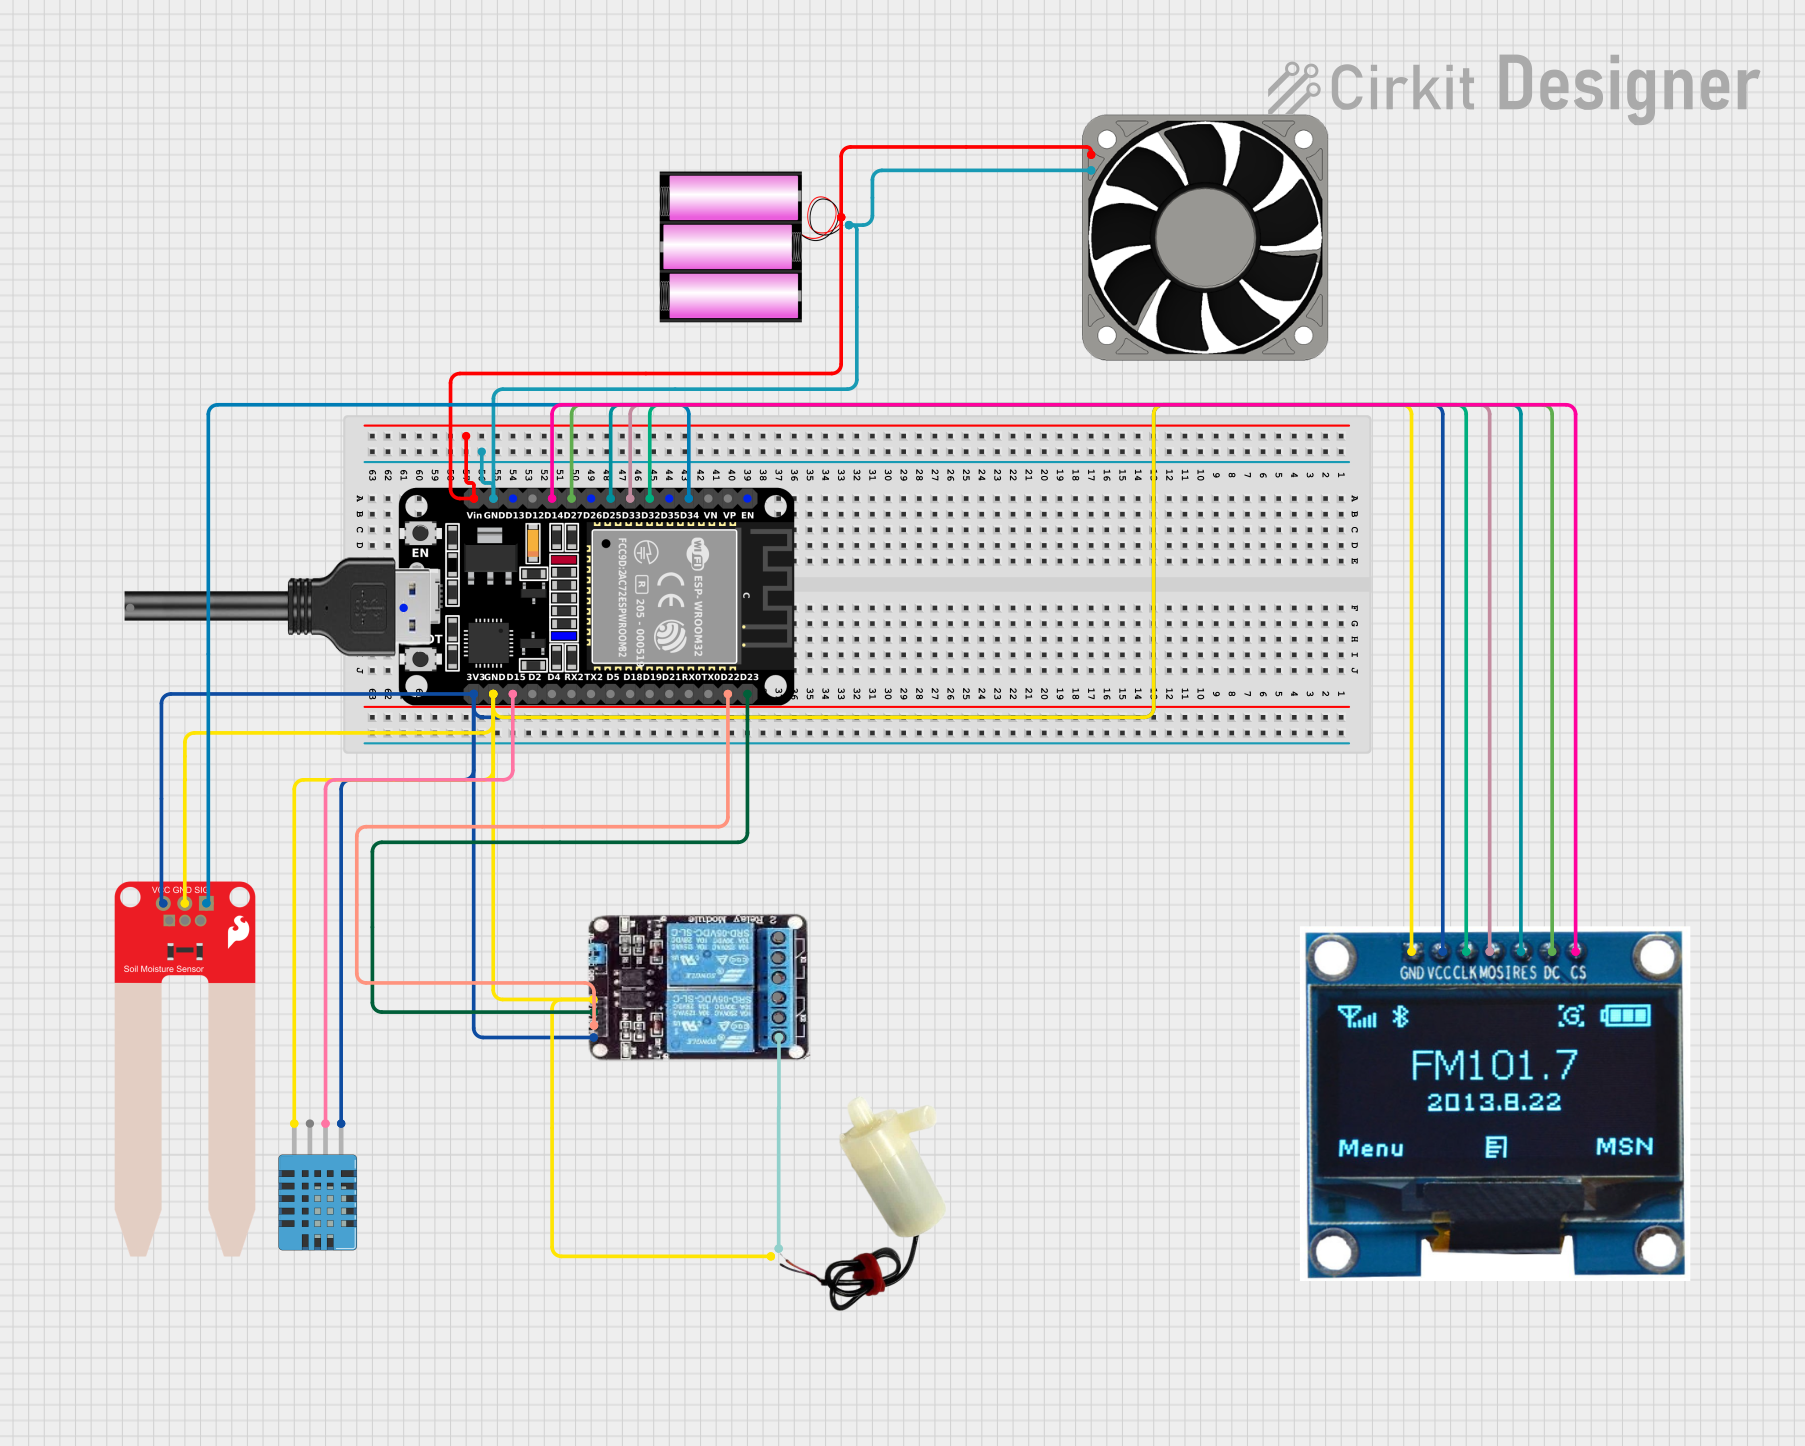
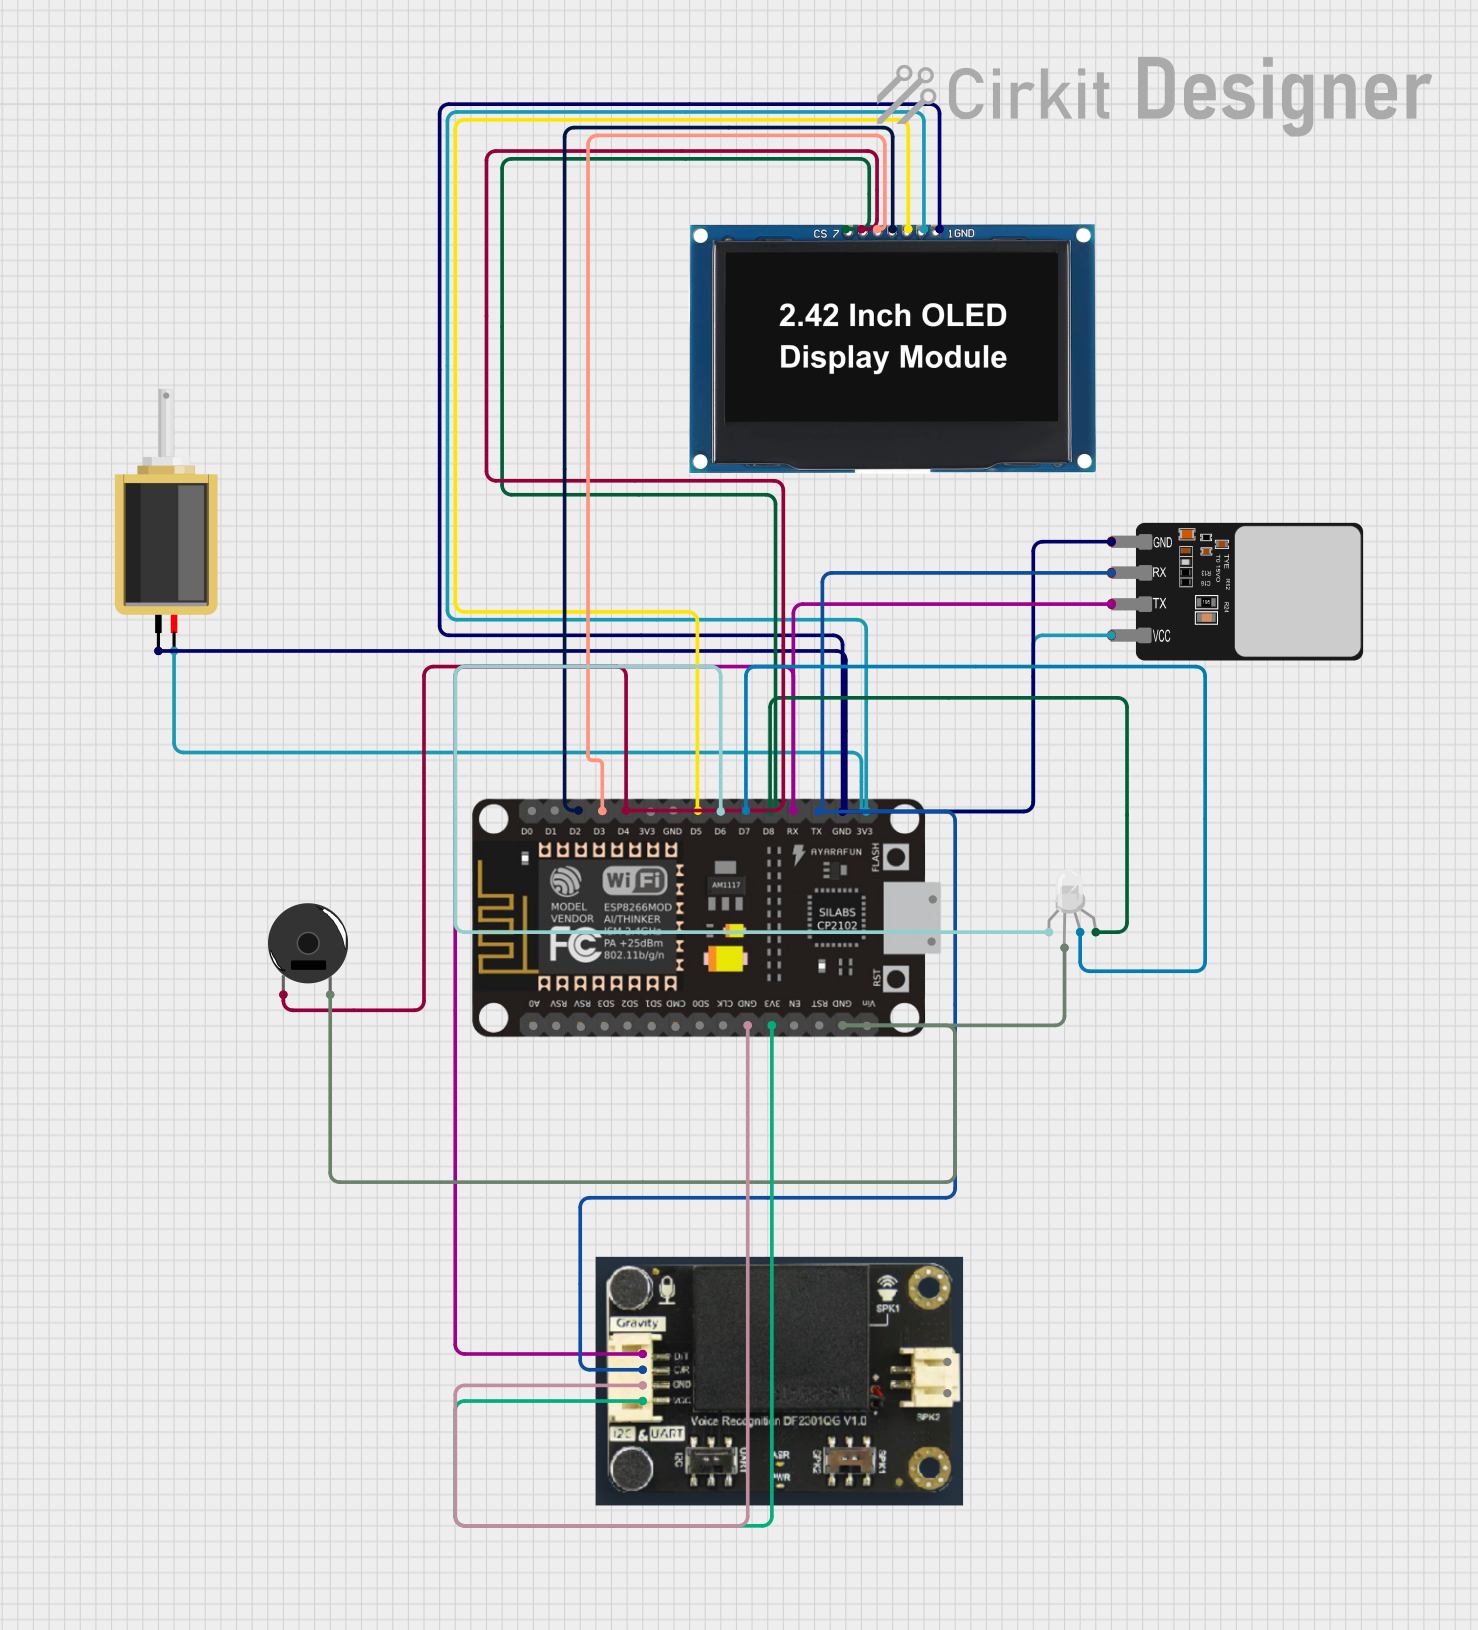
Explore Projects Built with esp
Common Applications and Use Cases
- IoT Devices: Smart home automation, environmental monitoring, and connected appliances.
- Wearable Electronics: Fitness trackers and health monitoring devices.
- Industrial Automation: Remote monitoring and control systems.
- Prototyping and Development: Rapid prototyping for wireless communication projects.
- Educational Projects: Learning and experimenting with wireless communication and microcontroller programming.
Technical Specifications
The ESP series includes various models, but the following specifications are common to the ESP8266 and ESP32:
Key Technical Details
| Specification | ESP8266 | ESP32 |
|---|---|---|
| Processor | 32-bit Tensilica L106 @ 80 MHz | Dual-core Xtensa LX6 @ 160-240 MHz |
| Flash Memory | 4 MB (external) | 4 MB (external) |
| RAM | 160 KB | 520 KB |
| Wi-Fi | 802.11 b/g/n | 802.11 b/g/n |
| Bluetooth | Not available | Bluetooth 4.2 and BLE |
| GPIO Pins | 17 | 36 |
| Operating Voltage | 3.0V - 3.6V | 3.0V - 3.6V |
| Power Consumption | Low power (deep sleep mode) | Ultra-low power (deep sleep mode) |
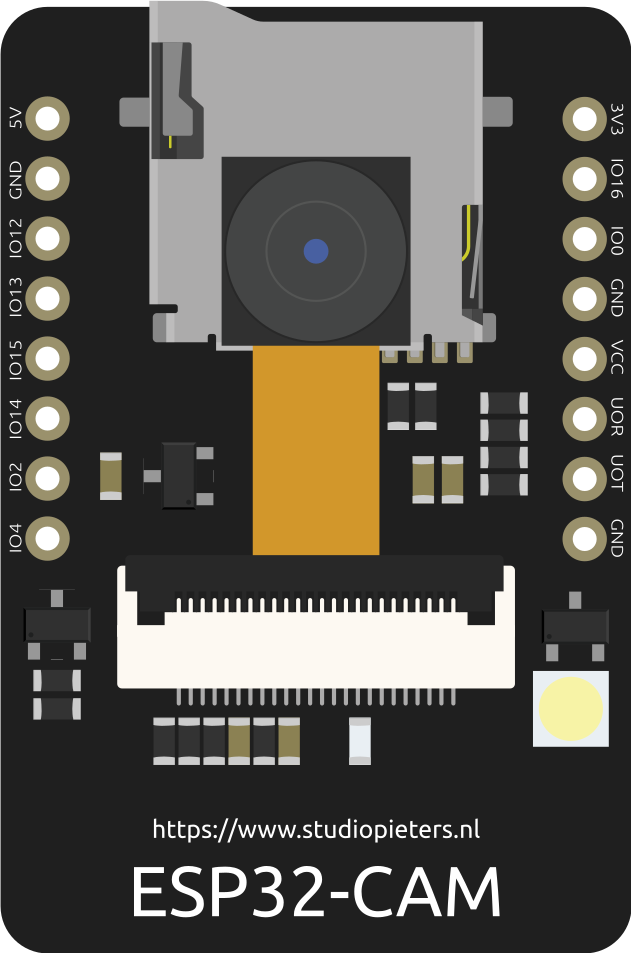
Pin Configuration and Descriptions
ESP8266 Pinout
| Pin Name | Function | Description |
|---|---|---|
| VCC | Power Supply | Connect to 3.3V |
| GND | Ground | Connect to ground |
| TX | UART Transmit | Serial communication (TX) |
| RX | UART Receive | Serial communication (RX) |
| GPIO0 | General Purpose I/O | Configurable digital I/O |
| GPIO2 | General Purpose I/O | Configurable digital I/O |
| RST | Reset | Resets the microcontroller |
ESP32 Pinout
| Pin Name | Function | Description |
|---|---|---|
| 3V3 | Power Supply | Connect to 3.3V |
| GND | Ground | Connect to ground |
| EN | Enable | Enables the chip (active high) |
| GPIO0 | General Purpose I/O | Configurable digital I/O |
| GPIO2 | General Purpose I/O | Configurable digital I/O |
| TX0 | UART Transmit | Serial communication (TX) |
| RX0 | UART Receive | Serial communication (RX) |
Usage Instructions
How to Use the ESP in a Circuit
- Power Supply: Ensure the ESP is powered with a stable 3.3V source. Exceeding this voltage can damage the chip.
- Connections:
- Connect the VCC pin to a 3.3V power source.
- Connect the GND pin to the ground of the circuit.
- Use the TX and RX pins for serial communication with a microcontroller or computer.
- Programming:
- Use a USB-to-serial adapter or a development board (e.g., NodeMCU or ESP32 DevKit) to program the ESP.
- Install the appropriate drivers and software (e.g., Arduino IDE or Espressif's ESP-IDF).
Important Considerations and Best Practices
- Voltage Levels: The ESP operates at 3.3V logic levels. Use a level shifter if interfacing with 5V devices.
- Antenna Placement: Ensure the onboard antenna is not obstructed by metal objects to maintain good signal strength.
- Deep Sleep Mode: Use deep sleep mode to reduce power consumption in battery-powered applications.
- Firmware Updates: Keep the firmware updated to ensure compatibility and security.
Example: Connecting ESP8266 to Arduino UNO
Below is an example of how to connect and program the ESP8266 with an Arduino UNO:
Circuit Connections
| Arduino UNO Pin | ESP8266 Pin |
|---|---|
| 3.3V | VCC |
| GND | GND |
| TX (D1) | RX |
| RX (D0) | TX |
Arduino Code Example
#include <SoftwareSerial.h>

// Define RX and TX pins for SoftwareSerial
SoftwareSerial espSerial(2, 3); // RX = Pin 2, TX = Pin 3

void setup() {
  Serial.begin(9600); // Start Serial Monitor at 9600 baud
  espSerial.begin(9600); // Start ESP8266 communication at 9600 baud

  Serial.println("Initializing ESP8266...");
  espSerial.println("AT"); // Send AT command to test communication
}

void loop() {
  // Check if data is available from ESP8266
  if (espSerial.available()) {
    String data = espSerial.readString();
    Serial.println("ESP8266: " + data); // Print data from ESP8266
  }

  // Check if data is available from Serial Monitor
  if (Serial.available()) {
    String command = Serial.readString();
    espSerial.println(command); // Send command to ESP8266
  }
}
Troubleshooting and FAQs
Common Issues and Solutions
ESP Not Responding to Commands:
- Ensure the ESP is powered with a stable 3.3V source.
- Check the TX and RX connections. They may need to be swapped.
- Verify the baud rate matches the ESP's default settings (usually 9600 or 115200).
Wi-Fi Connection Fails:
- Double-check the SSID and password in your code.
- Ensure the Wi-Fi network is within range and not using unsupported security protocols.
Overheating:
- Avoid powering the ESP with voltages higher than 3.6V.
- Use a proper heat sink or ensure adequate ventilation.
Upload Errors:
- Press and hold the BOOT button (if available) while uploading code.
- Ensure the correct board and port are selected in the Arduino IDE.
FAQs
Q: Can the ESP8266 and ESP32 be programmed using the Arduino IDE?
A: Yes, both can be programmed using the Arduino IDE after installing the appropriate board manager files.Q: What is the maximum range of the ESP's Wi-Fi?
A: The range depends on the environment but is typically around 50 meters indoors and 100 meters outdoors.Q: Can the ESP32 handle multiple tasks simultaneously?
A: Yes, the ESP32 supports dual-core processing and FreeRTOS for multitasking.Q: Is the ESP compatible with 5V logic?
A: No, the ESP operates at 3.3V logic levels. Use a level shifter for 5V devices.