
How to Use Adafruit Bluefruit EZ-Link: Examples, Pinouts, and Specs
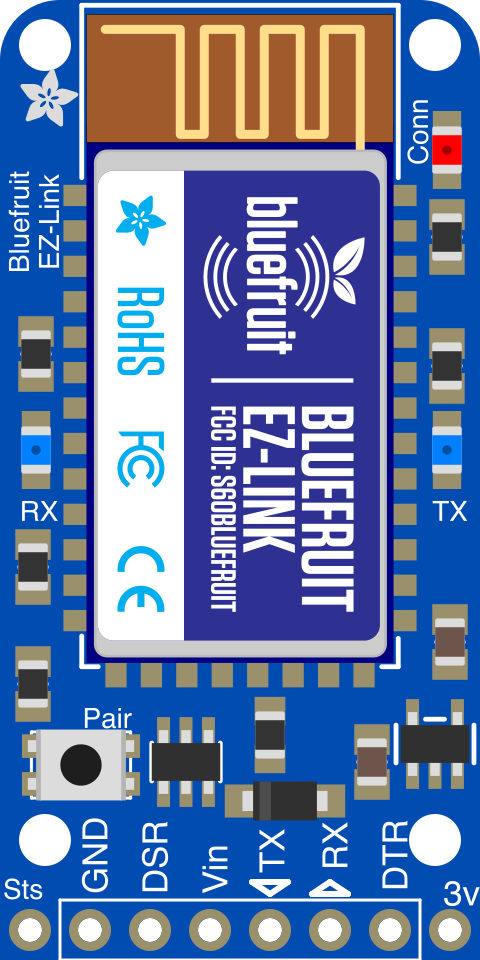
 Design with Adafruit Bluefruit EZ-Link in Cirkit Designer
Introduction
The Adafruit Bluefruit EZ-Link (Manufacturer Part ID: 1588) is a Bluetooth Low Energy (BLE) module designed to simplify wireless communication between microcontrollers and mobile devices. It provides a seamless way to integrate Bluetooth functionality into your projects, enabling wireless data transfer, programming, and control. The module is particularly well-suited for applications requiring reliable and easy-to-use Bluetooth connectivity.
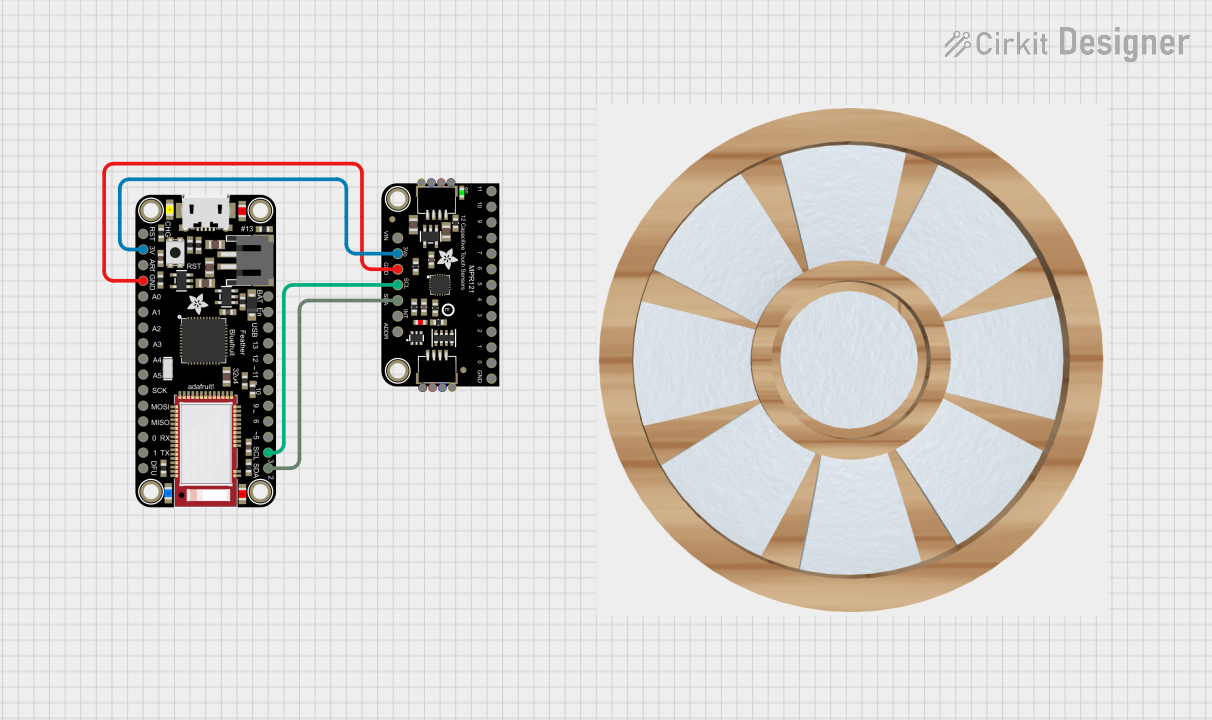
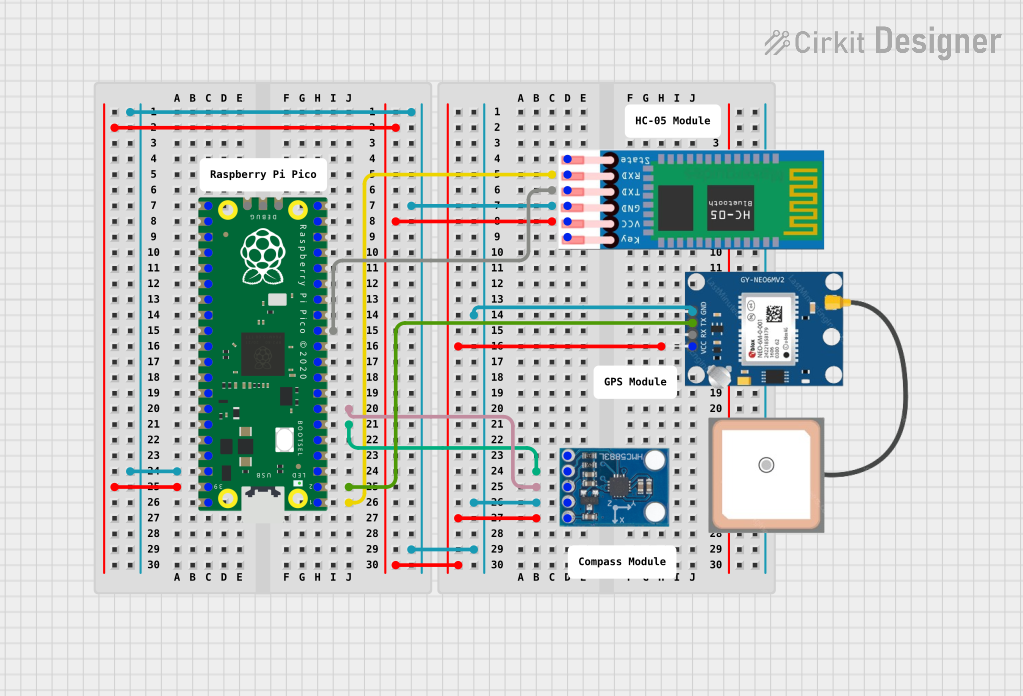
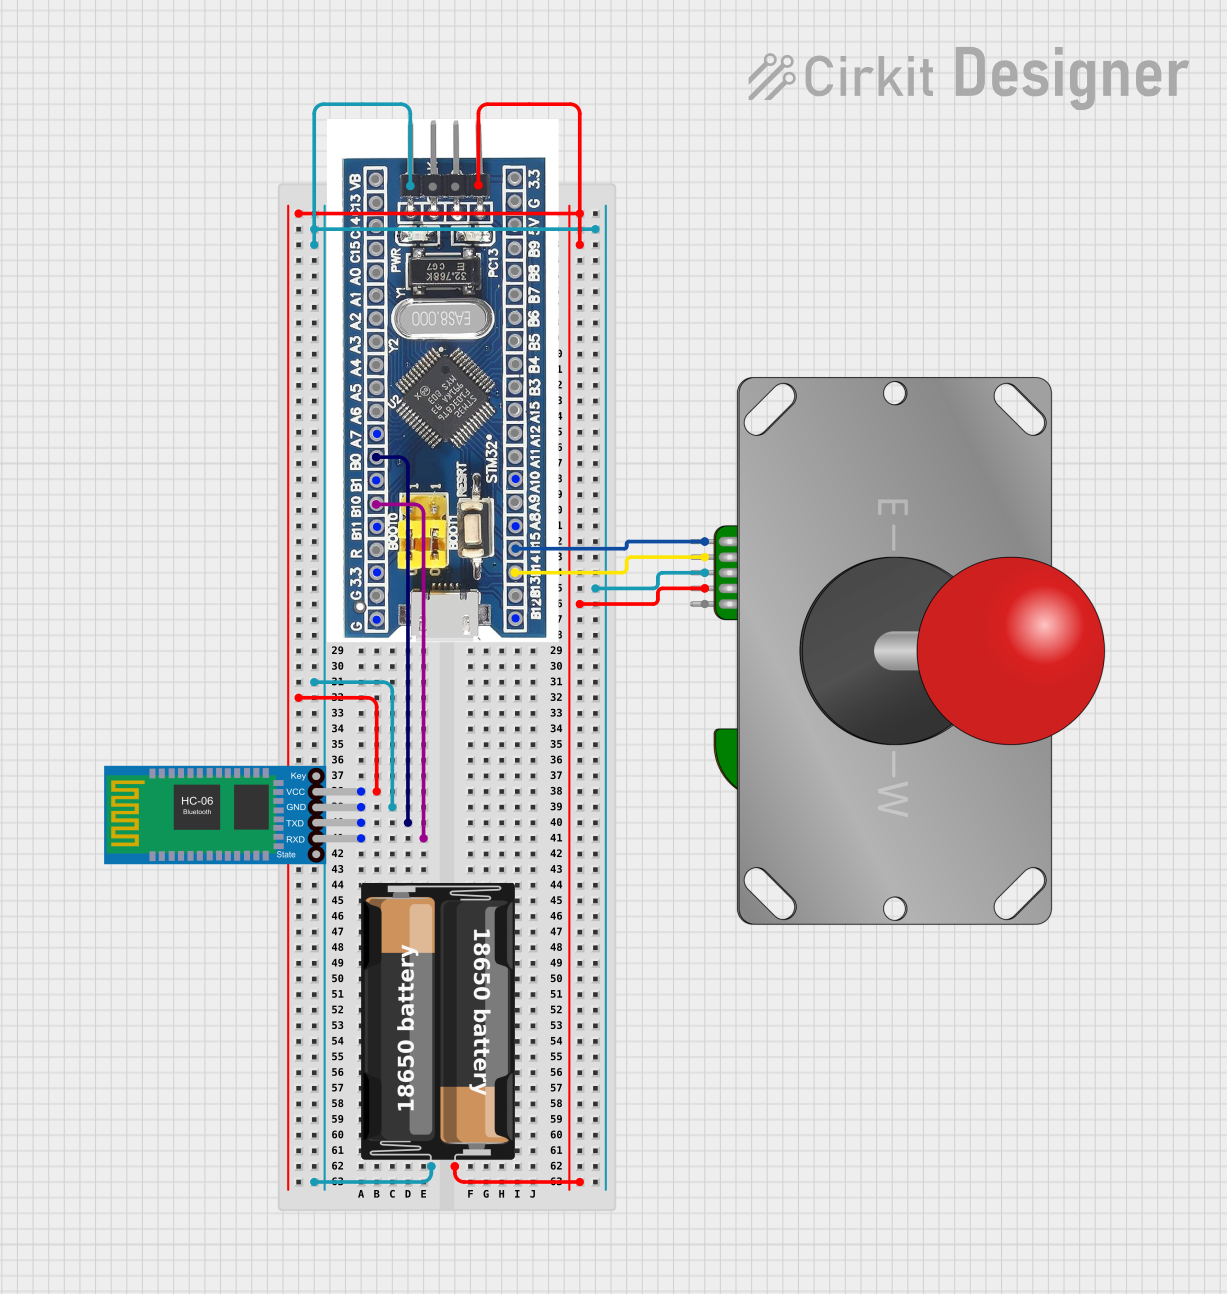
Explore Projects Built with Adafruit Bluefruit EZ-Link
 Open Project in Cirkit Designer
 Open Project in Cirkit Designer
 Open Project in Cirkit Designer
 Open Project in Cirkit Designer
Explore Projects Built with Adafruit Bluefruit EZ-Link
Open Project in Cirkit DesignerOpen Project in Cirkit DesignerOpen Project in Cirkit DesignerOpen Project in Cirkit DesignerCommon Applications and Use Cases
- Wireless programming of Arduino boards
- Remote control of robots, drones, or other devices
- Data logging and monitoring via mobile apps
- Wireless communication in IoT (Internet of Things) projects
- Serial communication between microcontrollers and computers
Technical Specifications
The Adafruit Bluefruit EZ-Link is designed for ease of use and compatibility with a wide range of devices. Below are its key technical details:
Key Technical Details
- Bluetooth Version: Bluetooth 2.1 + EDR (Enhanced Data Rate)
- Operating Voltage: 3.3V to 5V
- Current Consumption: ~25mA (active), ~2mA (idle)
- Communication Protocol: UART (Serial)
- Baud Rate: Auto-detects standard baud rates (9600, 115200, etc.)
- Range: Up to 10 meters (line of sight)
- Dimensions: 25mm x 19mm x 4mm
- Weight: ~2g
Pin Configuration and Descriptions
The module has a simple pinout for easy integration into your projects. Below is the pin configuration:
| Pin Name | Type | Description |
|---|---|---|
| VIN | Power Input | Connect to 3.3V or 5V power supply. |
| GND | Ground | Connect to the ground of your circuit. |
| TX | Output | Transmit pin for UART communication (connect to RX of the microcontroller). |
| RX | Input | Receive pin for UART communication (connect to TX of the microcontroller). |
| RTS | Output | Ready-to-Send signal for hardware flow control (optional). |
| CTS | Input | Clear-to-Send signal for hardware flow control (optional). |
| LED | Output (Status) | Indicates Bluetooth connection status (blinks when disconnected, solid when connected). |
Usage Instructions
The Adafruit Bluefruit EZ-Link is designed for plug-and-play operation. Follow the steps below to use it in your project:
Step 1: Wiring the Module
- Connect the VIN pin to a 3.3V or 5V power source.
- Connect the GND pin to the ground of your circuit.
- Connect the TX pin of the module to the RX pin of your microcontroller.
- Connect the RX pin of the module to the TX pin of your microcontroller.
- (Optional) Connect the RTS and CTS pins if hardware flow control is required.
Step 2: Pairing the Module
- Power on the module. The status LED will blink, indicating it is ready to pair.
- On your mobile device or computer, search for Bluetooth devices and select "Adafruit EZ-Link".
- If prompted, enter the default pairing code: 1234.
- Once paired, the status LED will turn solid, indicating a successful connection.
Step 3: Using with Arduino UNO
The Adafruit Bluefruit EZ-Link can be used to wirelessly program an Arduino UNO or communicate with it. Below is an example of how to send data from the Arduino to a paired device:
Example Code
// Example: Sending data from Arduino to a paired device via Bluefruit EZ-Link
// Ensure the Bluefruit EZ-Link TX is connected to Arduino RX and vice versa.

void setup() {
  Serial.begin(9600); // Initialize serial communication at 9600 baud
  delay(1000);        // Wait for the module to initialize
  Serial.println("Bluefruit EZ-Link Test");
  // Send a test message to the paired device
}

void loop() {
  Serial.println("Hello from Arduino!");
  // Send a message every second
  delay(1000);
}
Best Practices
- Ensure proper voltage levels (3.3V or 5V) to avoid damaging the module.
- Use short, high-quality wires to minimize noise and ensure reliable communication.
- If using hardware flow control, ensure the RTS and CTS pins are properly connected.
- Keep the module within the specified range (10 meters) for optimal performance.
Troubleshooting and FAQs
Common Issues and Solutions
Module does not power on:
- Verify that the VIN pin is connected to a 3.3V or 5V power source.
- Check all connections for loose wires or poor solder joints.
Unable to pair with a device:
- Ensure the module is powered on and the status LED is blinking.
- Check that the device's Bluetooth is enabled and within range.
- If pairing fails, try restarting both the module and the device.
No data transmission:
- Verify that the TX and RX pins are correctly connected (crossed).
- Ensure the baud rate of the microcontroller matches the module's baud rate.
- Check for any loose connections or damaged wires.
Intermittent connection issues:
- Ensure the module is within the specified range (10 meters).
- Minimize interference from other Bluetooth devices or wireless signals.
FAQs
Q: Can I use the Bluefruit EZ-Link with a 3.3V microcontroller?
A: Yes, the module is compatible with both 3.3V and 5V logic levels.
Q: Does the module support Bluetooth 4.0 or BLE?
A: No, the Bluefruit EZ-Link uses Bluetooth 2.1 + EDR, which is not BLE-compatible.
Q: Can I use the module to program an Arduino wirelessly?
A: Yes, the Bluefruit EZ-Link supports wireless programming of Arduino boards.
Q: What is the default pairing code?
A: The default pairing code is 1234.
Q: How do I reset the module?
A: To reset the module, disconnect and reconnect the power supply.
By following this documentation, you can easily integrate the Adafruit Bluefruit EZ-Link into your projects for reliable and efficient Bluetooth communication.