Cirkit Designer Logo
Cirkit Designer
Your all-in-one circuit design IDE
Home / 
Component Documentation

How to Use MKE-M15 Bluetooth: Examples, Pinouts, and Specs

Image of MKE-M15 Bluetooth
Cirkit Designer LogoDesign with MKE-M15 Bluetooth in Cirkit Designer

Introduction

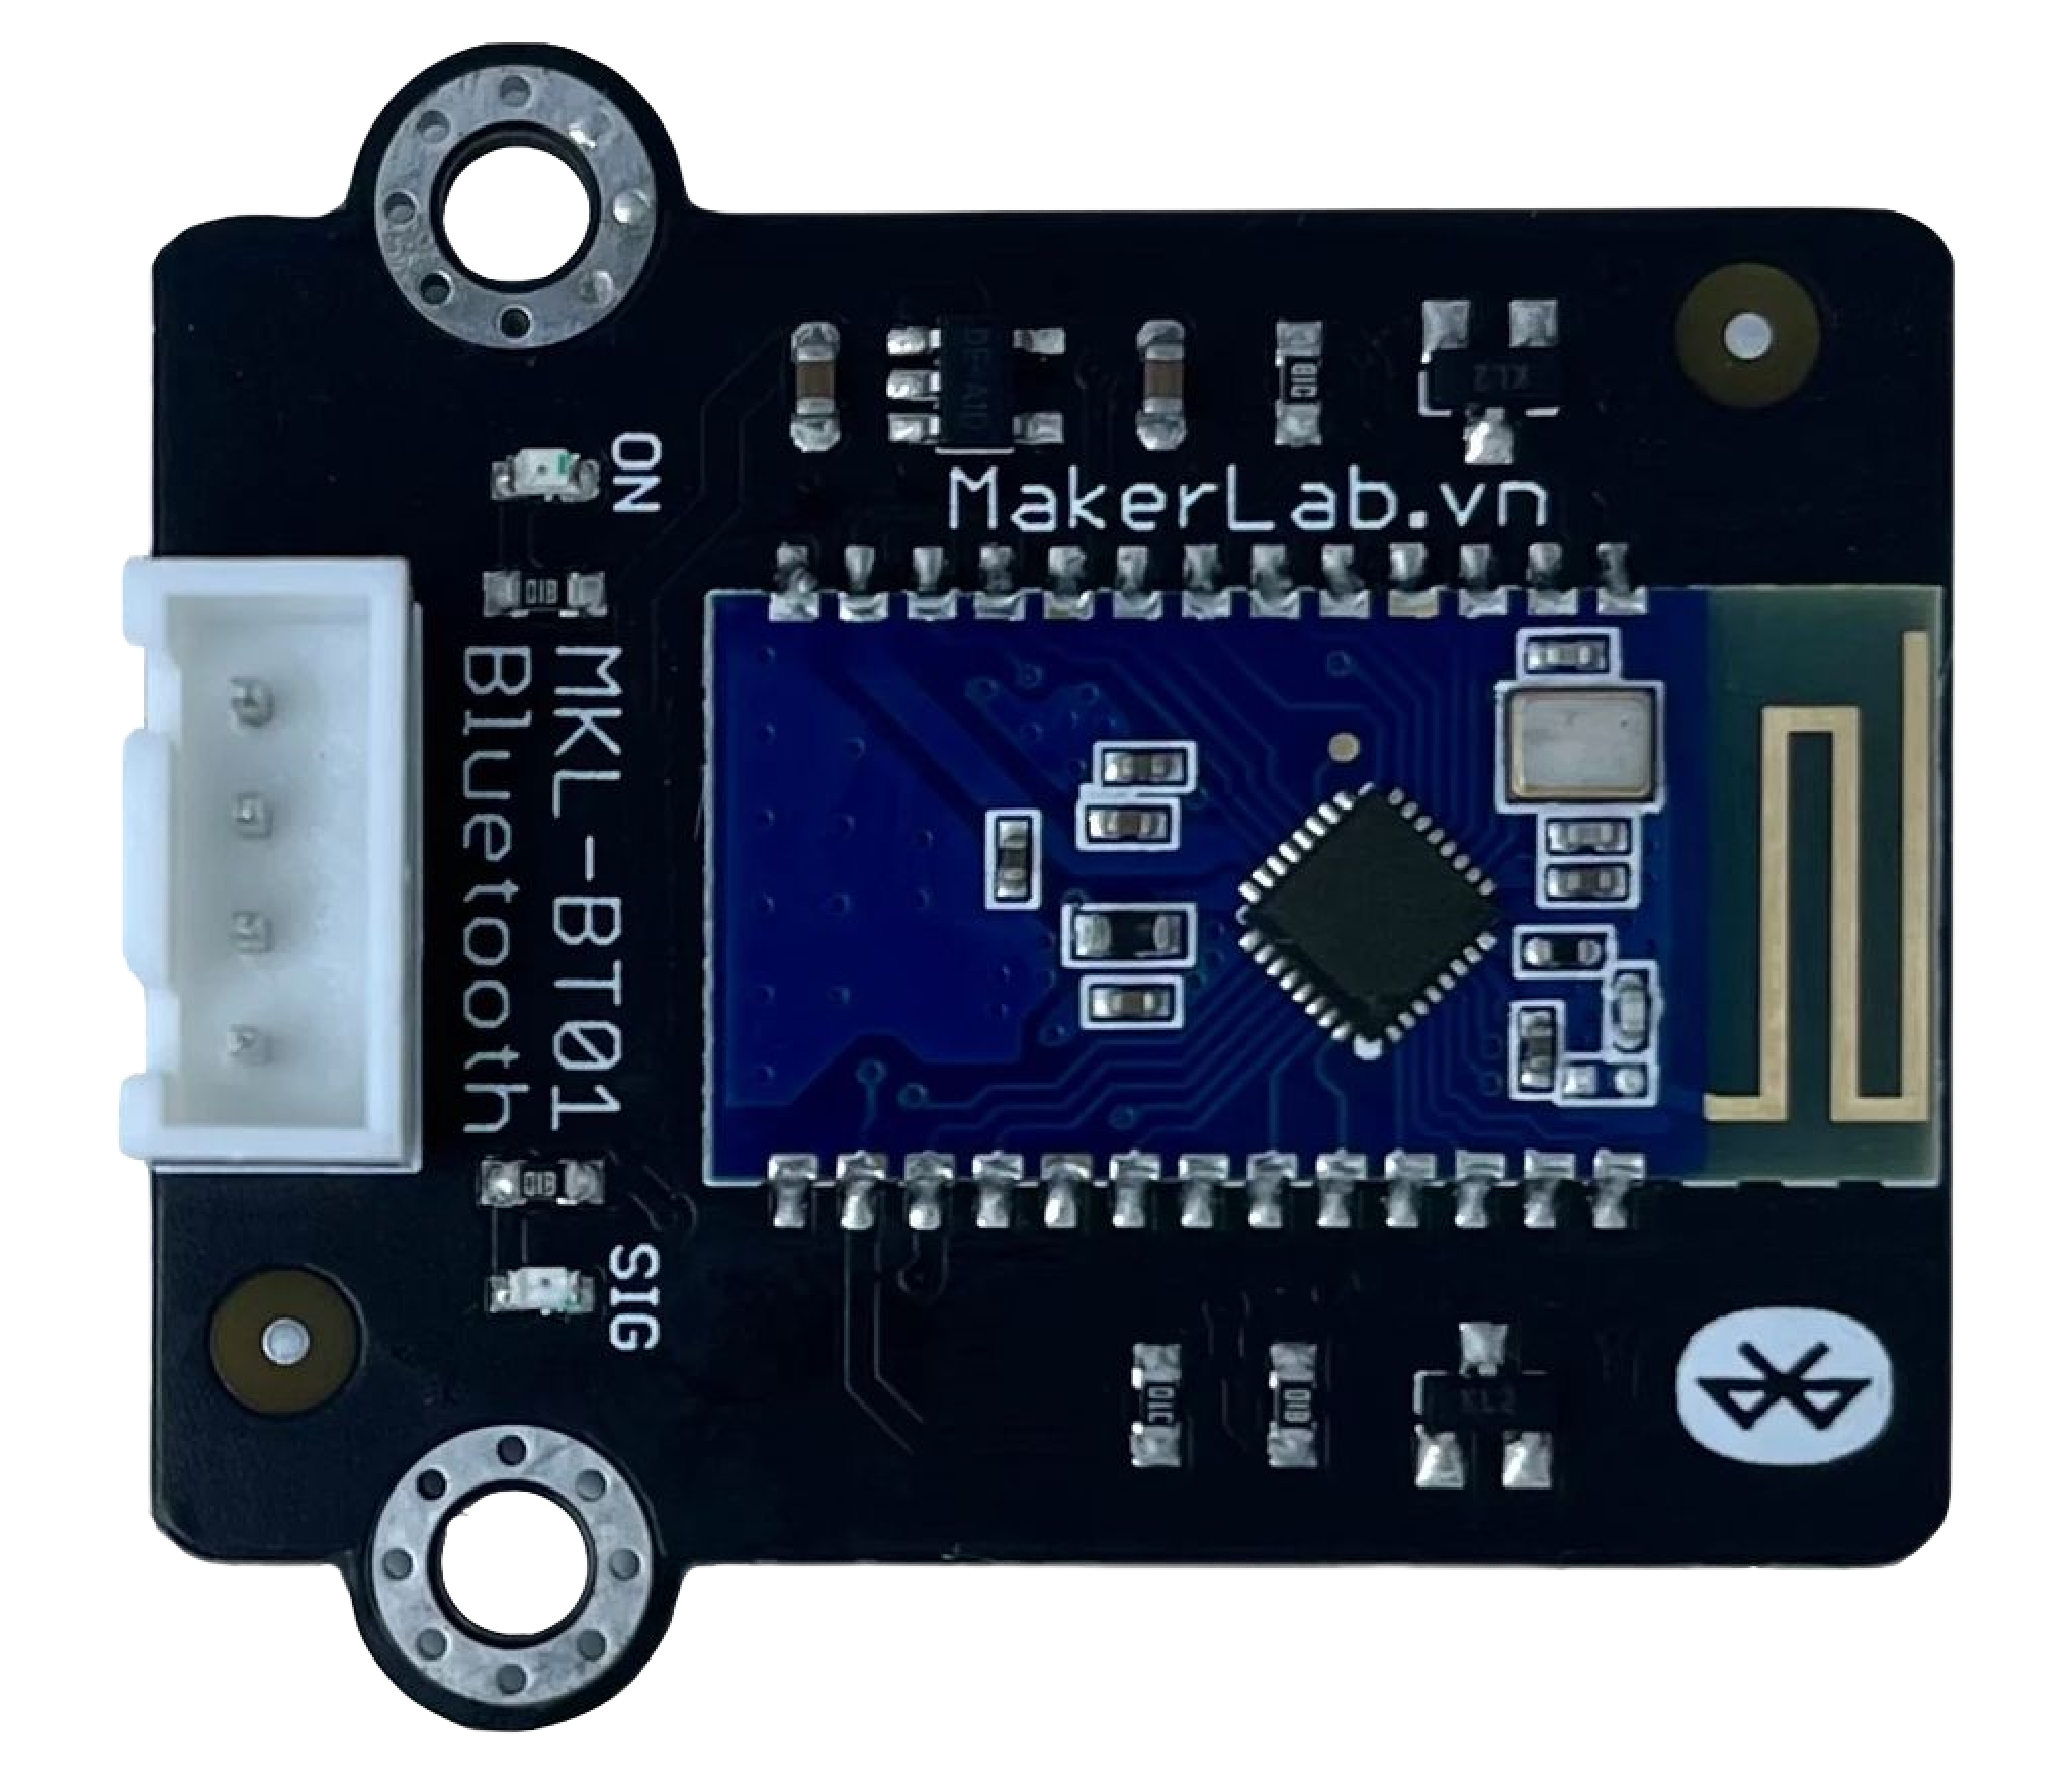
The MKE-M15 Bluetooth module is a compact and versatile wireless communication device that enables Bluetooth connectivity between various electronic devices. It is commonly used in applications such as wireless headsets, home automation, telemetry, and personal area networks.

Explore Projects Built with MKE-M15 Bluetooth

Use Cirkit Designer to design, explore, and prototype these projects online. Some projects support real-time simulation. Click "Open Project" to start designing instantly!
MakerEdu Creator with Bluetooth, IR Sensors, LCD Display, and Push Button Interaction
Image of MKL Distance Measurement: A project utilizing MKE-M15 Bluetooth in a practical application
This circuit features a MakerEdu Creator microcontroller board interfaced with two MKE-S11 IR Infrared Obstacle Avoidance Sensors, a MKE-M02 Push Button Tact Switch, a MKE-M15 Bluetooth module, and a MKE-M08 LCD2004 I2C display module. The push button is connected to a digital input for user interaction, while the IR sensors are likely used for detecting obstacles. The Bluetooth module enables wireless communication, and the LCD display provides a user interface for displaying information or statuses.
Cirkit Designer LogoOpen Project in Cirkit Designer
Arduino UNO and Bluetooth Module HM-10 Based Wireless Communication System
Image of 1: A project utilizing MKE-M15 Bluetooth in a practical application
This circuit consists of an Arduino UNO connected to an HM-10 Bluetooth module. The Arduino provides power to the Bluetooth module and facilitates serial communication between the two devices, enabling wireless data transmission.
Cirkit Designer LogoOpen Project in Cirkit Designer
Bluetooth Audio Receiver with Battery-Powered Amplifier and Loudspeakers
Image of speaker bluetooh portable: A project utilizing MKE-M15 Bluetooth in a practical application
This circuit is a Bluetooth-enabled audio system powered by a rechargeable 18650 Li-ion battery. It includes a TP4056 module for battery charging and protection, a PAM8403 amplifier with volume control to drive two loudspeakers, and a Bluetooth audio receiver to wirelessly receive audio signals.
Cirkit Designer LogoOpen Project in Cirkit Designer
Arduino Pro Mini and HC-05 Bluetooth Controlled Coreless Motor Clock with MPU-6050 Feedback
Image of drone: A project utilizing MKE-M15 Bluetooth in a practical application
This is a motion-controlled device with wireless capabilities, powered by a LiPo battery with voltage regulation. It uses an Arduino Pro Mini to process MPU-6050 sensor data and control coreless motors via MOSFETs, interfacing with an external device through an HC-05 Bluetooth module.
Cirkit Designer LogoOpen Project in Cirkit Designer

Explore Projects Built with MKE-M15 Bluetooth

Use Cirkit Designer to design, explore, and prototype these projects online. Some projects support real-time simulation. Click "Open Project" to start designing instantly!
Image of MKL Distance Measurement: A project utilizing MKE-M15 Bluetooth in a practical application
MakerEdu Creator with Bluetooth, IR Sensors, LCD Display, and Push Button Interaction
This circuit features a MakerEdu Creator microcontroller board interfaced with two MKE-S11 IR Infrared Obstacle Avoidance Sensors, a MKE-M02 Push Button Tact Switch, a MKE-M15 Bluetooth module, and a MKE-M08 LCD2004 I2C display module. The push button is connected to a digital input for user interaction, while the IR sensors are likely used for detecting obstacles. The Bluetooth module enables wireless communication, and the LCD display provides a user interface for displaying information or statuses.
Cirkit Designer LogoOpen Project in Cirkit Designer
Image of 1: A project utilizing MKE-M15 Bluetooth in a practical application
Arduino UNO and Bluetooth Module HM-10 Based Wireless Communication System
This circuit consists of an Arduino UNO connected to an HM-10 Bluetooth module. The Arduino provides power to the Bluetooth module and facilitates serial communication between the two devices, enabling wireless data transmission.
Cirkit Designer LogoOpen Project in Cirkit Designer
Image of speaker bluetooh portable: A project utilizing MKE-M15 Bluetooth in a practical application
Bluetooth Audio Receiver with Battery-Powered Amplifier and Loudspeakers
This circuit is a Bluetooth-enabled audio system powered by a rechargeable 18650 Li-ion battery. It includes a TP4056 module for battery charging and protection, a PAM8403 amplifier with volume control to drive two loudspeakers, and a Bluetooth audio receiver to wirelessly receive audio signals.
Cirkit Designer LogoOpen Project in Cirkit Designer
Image of drone: A project utilizing MKE-M15 Bluetooth in a practical application
Arduino Pro Mini and HC-05 Bluetooth Controlled Coreless Motor Clock with MPU-6050 Feedback
This is a motion-controlled device with wireless capabilities, powered by a LiPo battery with voltage regulation. It uses an Arduino Pro Mini to process MPU-6050 sensor data and control coreless motors via MOSFETs, interfacing with an external device through an HC-05 Bluetooth module.
Cirkit Designer LogoOpen Project in Cirkit Designer

Common Applications and Use Cases

  • Wireless data transmission between microcontrollers
  • Bluetooth-based remote control systems
  • Home automation and smart home devices
  • Wearable electronics and health monitoring systems
  • Industrial monitoring and control

Technical Specifications

Key Technical Details

  • Bluetooth Version: 4.0 (compatible with classic Bluetooth and Bluetooth Low Energy)
  • Frequency Band: 2.4 GHz ISM band
  • Supply Voltage: 3.3V to 6V DC
  • Operating Current: 30mA (typical)
  • Communication Interface: UART (Serial)
  • Operating Temperature: -40°C to +85°C
  • Transmission Distance: Up to 100 meters in open space

Pin Configuration and Descriptions

Pin Number Pin Name Description
1 VCC Power supply (3.3V to 6V DC)
2 GND Ground
3 TXD Transmit Data (connect to RXD of MCU)
4 RXD Receive Data (connect to TXD of MCU)
5 STATE Indicates the Bluetooth connection status
6 EN Module enable (active high)

Usage Instructions

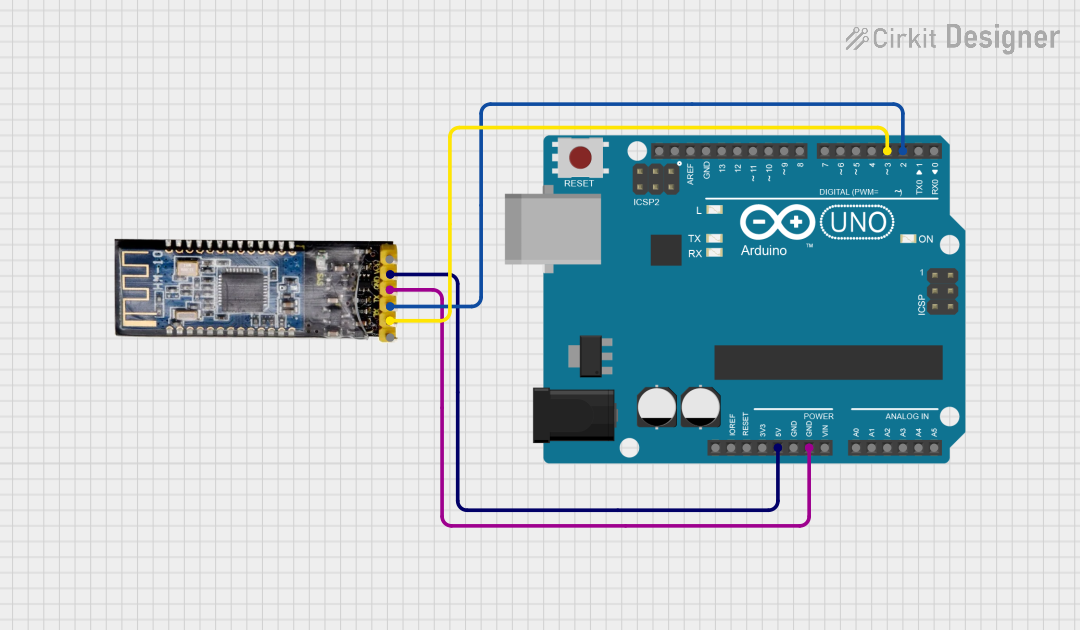
How to Use the Component in a Circuit

  1. Power Supply: Connect the VCC pin to a 3.3V to 6V power source and the GND pin to the ground of your power supply.
  2. Data Connection: Connect the TXD pin of the MKE-M15 to the RXD pin of your microcontroller, and the RXD pin to the TXD pin of the microcontroller.
  3. Enable Pin: The EN pin can be left unconnected for normal operation, or connected to a digital pin on your microcontroller if you wish to control the power state of the module programmatically.
  4. State Pin: The STATE pin can be connected to an LED to visually indicate the connection status or to a digital input on your microcontroller for programmatic status checks.

Important Considerations and Best Practices

  • Ensure that the power supply is within the specified voltage range to prevent damage to the module.
  • Use a current limiting resistor with the STATE pin if connecting to an LED.
  • For reliable communication, keep the baud rate consistent between the MKE-M15 module and the microcontroller.
  • Place the module away from metal objects and other sources of electromagnetic interference to maximize the transmission distance.

Example Code for Arduino UNO

#include <SoftwareSerial.h>

SoftwareSerial myBluetooth(10, 11); // RX, TX

void setup() {
  // Start the software serial communication
  myBluetooth.begin(9600);
  Serial.begin(9600);
  Serial.println("Bluetooth module is ready");
}

void loop() {
  // Check if data has been received from the Bluetooth module
  if (myBluetooth.available()) {
    char received = myBluetooth.read();
    Serial.print("Received: ");
    Serial.println(received);
  }

  // Check if data has been received from the serial monitor
  if (Serial.available()) {
    char sent = Serial.read();
    myBluetooth.write(sent);
    Serial.print("Sent: ");
    Serial.println(sent);
  }
}

Troubleshooting and FAQs

Common Issues Users Might Face

  • Module not powering on: Check the power supply connections and voltage.
  • No data transmission: Ensure that TXD and RXD connections are correct and that the baud rate matches the microcontroller.
  • Intermittent connection: Move the module away from metal objects and sources of interference.

Solutions and Tips for Troubleshooting

  • Verify that the power supply is stable and within the specified voltage range.
  • Double-check the wiring, especially the TXD and RXD connections.
  • Use a multimeter to check for continuity and proper voltage levels on the pins.
  • Ensure that the module is not in close proximity to devices that may cause interference, such as Wi-Fi routers or microwaves.

FAQs

Q: Can the MKE-M15 Bluetooth module be used with both classic Bluetooth and BLE devices?

A: Yes, the MKE-M15 supports Bluetooth 4.0, which is compatible with both classic Bluetooth and Bluetooth Low Energy devices.

Q: What is the maximum range of the MKE-M15 Bluetooth module?

A: The module can transmit up to 100 meters in open space, but the range may be reduced by obstacles or interference.

Q: How can I change the baud rate of the module?

A: The baud rate can be configured using AT commands sent to the module via the UART interface. Refer to the module's AT command set documentation for details.

Q: Is it possible to pair multiple devices with the MKE-M15 module?

A: The MKE-M15 can only be connected to one device at a time, but it can be paired with multiple devices and switch between them as needed.