
How to Use Adafruit 2.8inch Resistive TFT: Examples, Pinouts, and Specs
 Design with Adafruit 2.8inch Resistive TFT in Cirkit Designer
Introduction
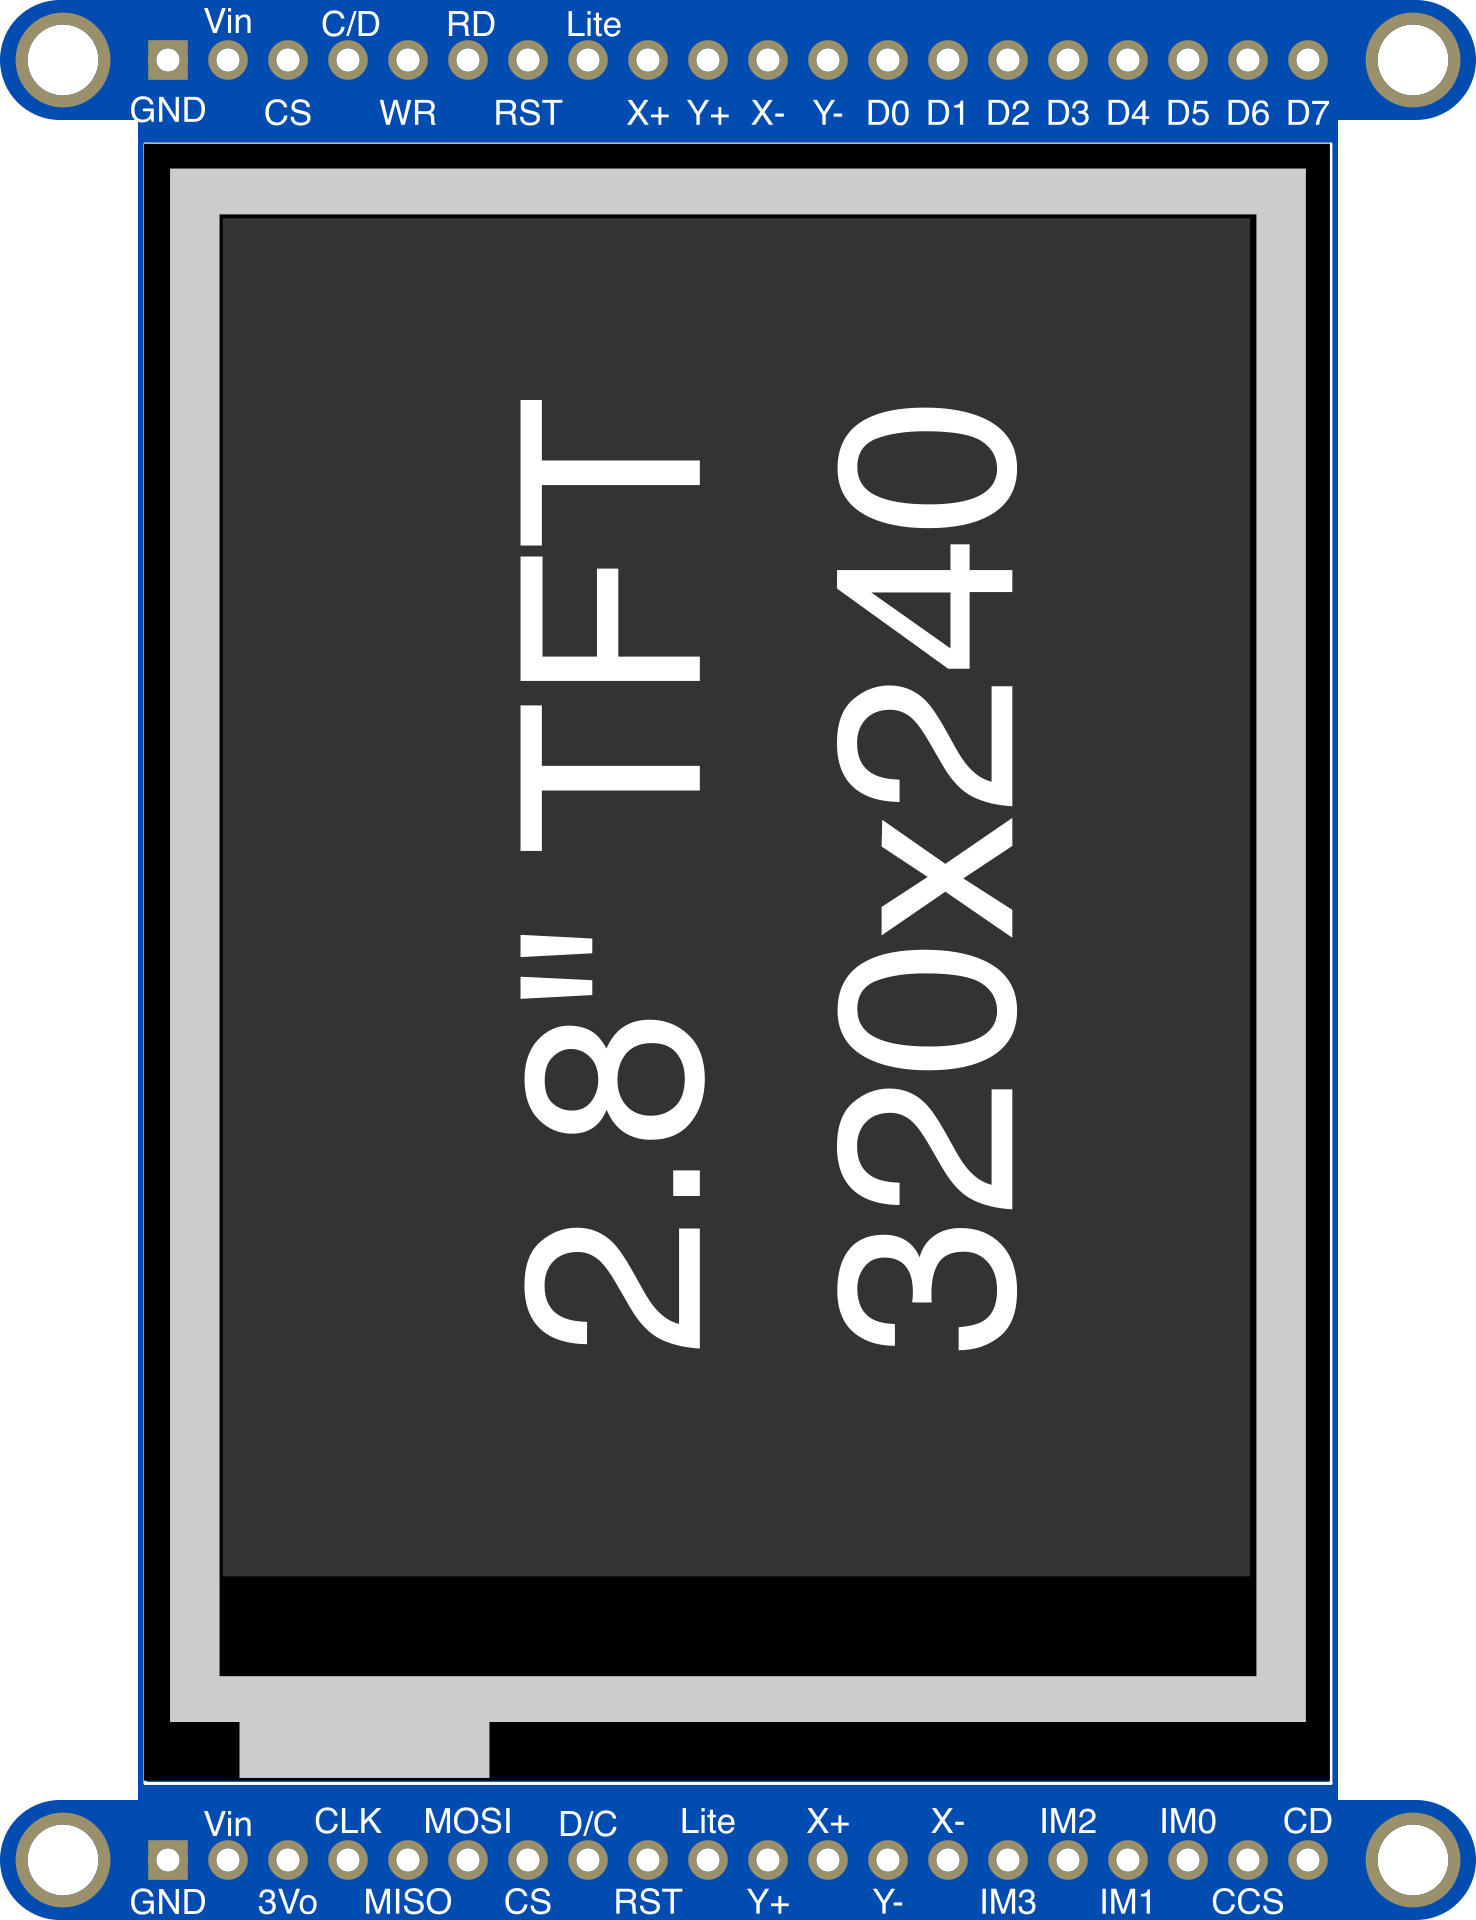
The Adafruit 2.8inch Resistive TFT (Manufacturer Part ID: 1770) is a versatile touchscreen display designed for embedded systems and DIY electronics projects. This 2.8-inch display uses resistive touch technology, enabling user interaction through pressure-based input. It is capable of rendering vibrant graphics and clear text, making it ideal for applications such as user interfaces, data visualization, and interactive controls.
Explore Projects Built with Adafruit 2.8inch Resistive TFT
 Open Project in Cirkit Designer
 Open Project in Cirkit Designer
 Open Project in Cirkit Designer
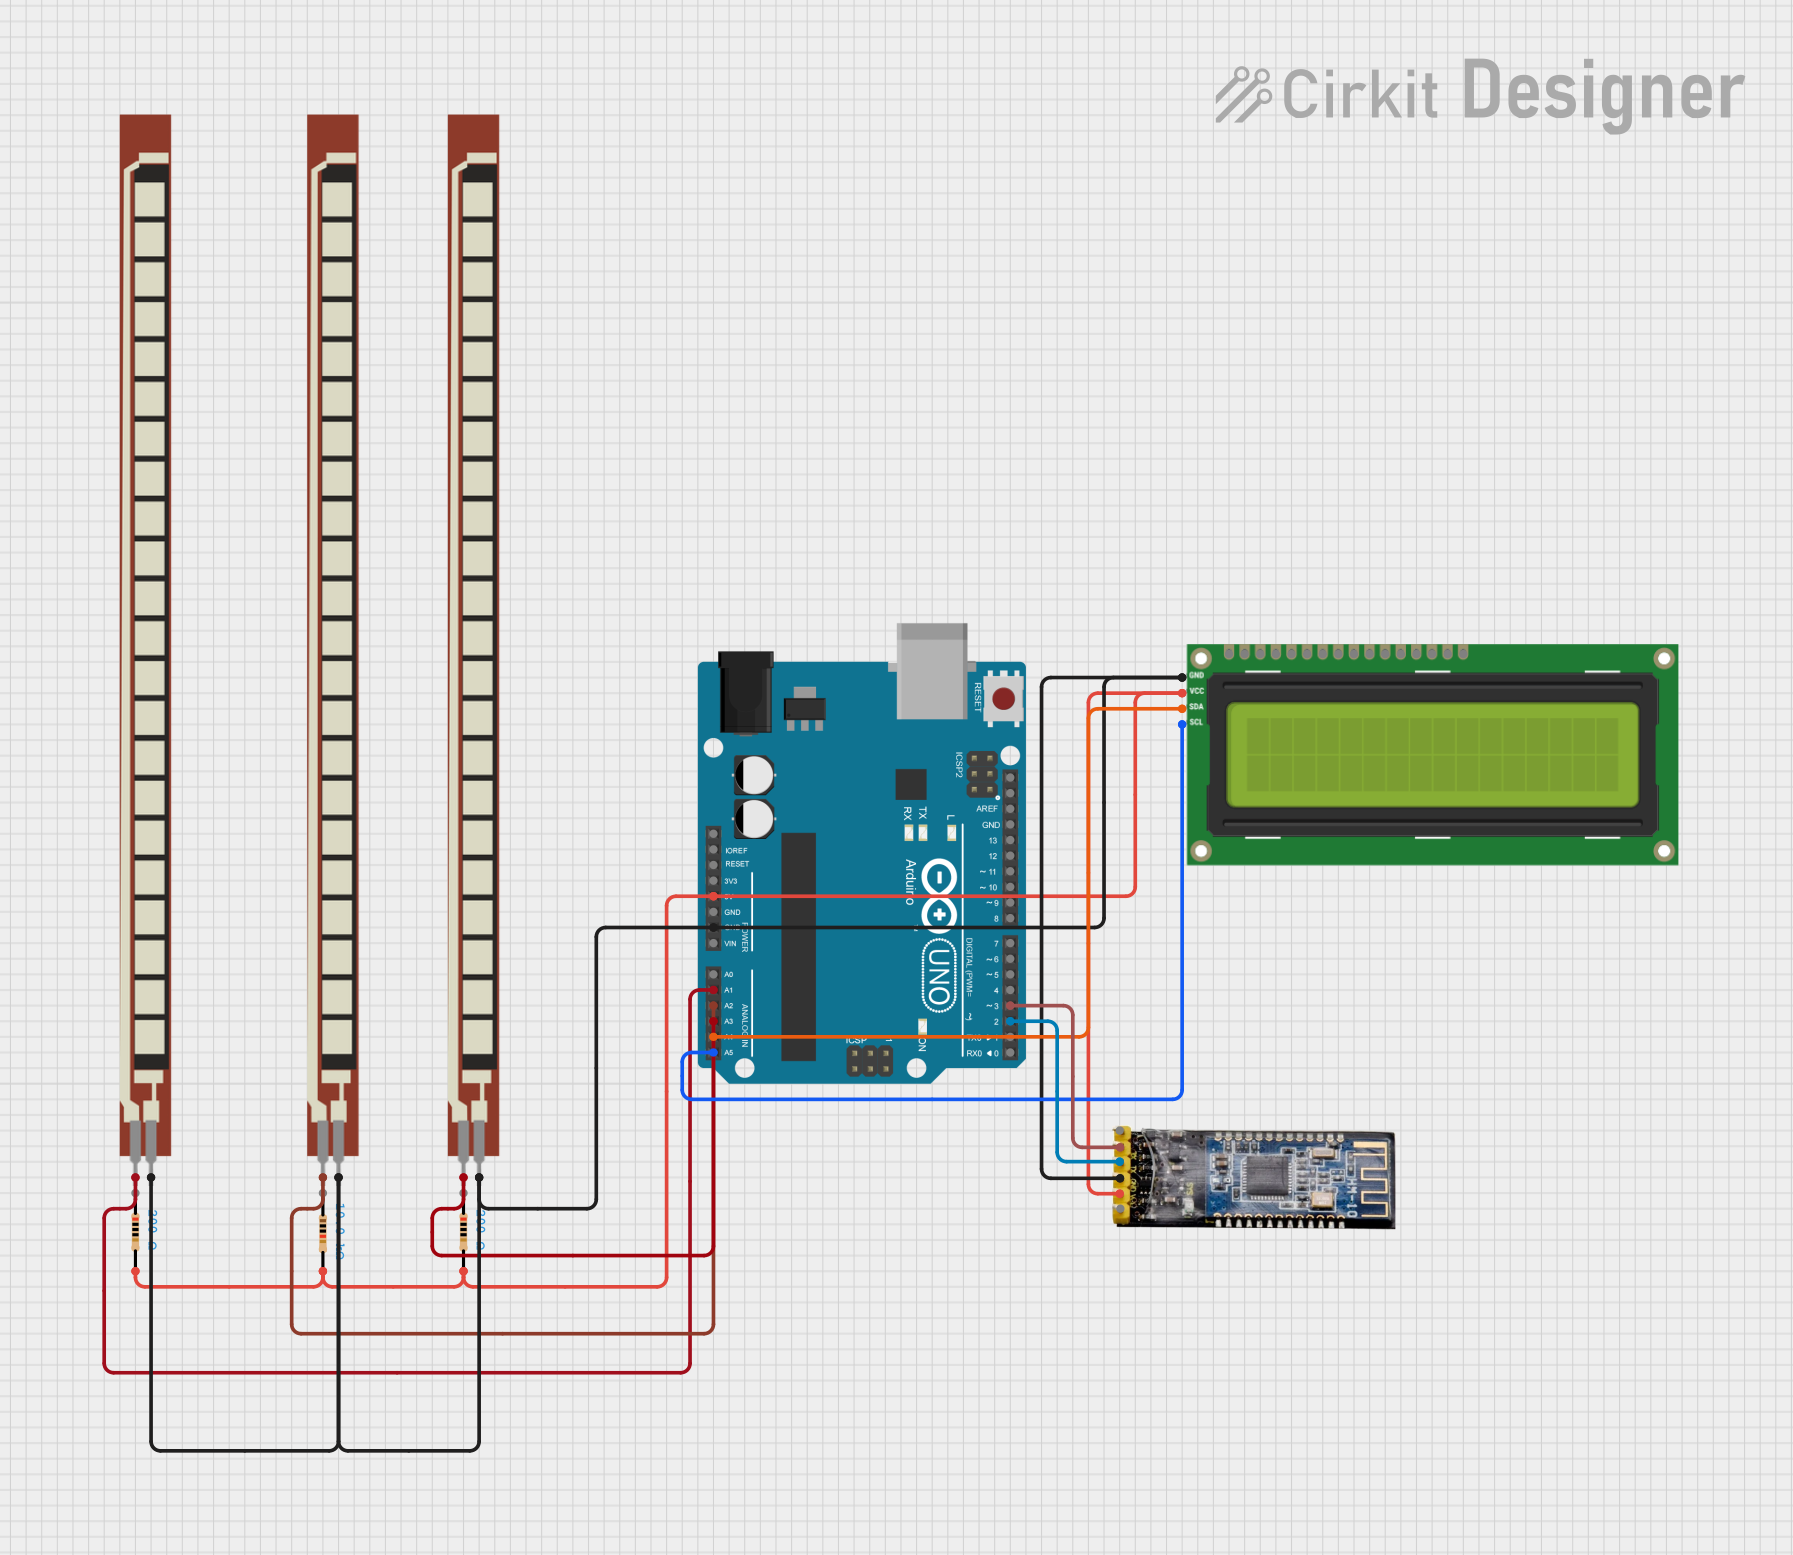 Open Project in Cirkit Designer
Explore Projects Built with Adafruit 2.8inch Resistive TFT
Open Project in Cirkit DesignerOpen Project in Cirkit DesignerOpen Project in Cirkit DesignerOpen Project in Cirkit DesignerCommon Applications
- Graphical user interfaces for embedded systems
- Interactive control panels
- Data visualization for IoT devices
- Educational and prototyping projects
- Portable devices requiring a touchscreen display
Technical Specifications
The following table outlines the key technical details of the Adafruit 2.8inch Resistive TFT:
| Specification | Details |
|---|---|
| Display Type | TFT LCD with resistive touchscreen |
| Screen Size | 2.8 inches |
| Resolution | 240 x 320 pixels (QVGA) |
| Color Depth | 18-bit (262,144 colors) |
| Touchscreen Type | Resistive |
| Input Voltage | 3.3V or 5V (logic level compatible) |
| Backlight | White LED backlight |
| Interface | SPI (Serial Peripheral Interface) |
| Dimensions | 50mm x 69mm x 6.5mm |
| Operating Temperature | -20°C to 70°C |
| Current Consumption | ~100mA (varies with backlight brightness) |
Pin Configuration
The Adafruit 2.8inch Resistive TFT features the following pinout:
| Pin | Name | Description |
|---|---|---|
| 1 | VIN | Power input (3.3V or 5V) |
| 2 | GND | Ground connection |
| 3 | CLK | SPI clock signal |
| 4 | MISO | SPI Master-In-Slave-Out (data from display to microcontroller) |
| 5 | MOSI | SPI Master-Out-Slave-In (data from microcontroller to display) |
| 6 | CS | Chip Select (active low) |
| 7 | D/C | Data/Command control pin |
| 8 | RST | Reset pin (active low) |
| 9 | T_IRQ | Touchscreen interrupt pin (optional, for detecting touch events) |
| 10 | T_CS | Touchscreen Chip Select (active low, for touch controller communication) |
Usage Instructions
Connecting the Display
To use the Adafruit 2.8inch Resistive TFT with a microcontroller (e.g., Arduino UNO), follow these steps:
- Power Supply: Connect the
VINpin to the 5V output of the Arduino and theGNDpin to ground. - SPI Communication: Connect the
CLK,MISO,MOSI, andCSpins to the corresponding SPI pins on the Arduino. - Control Pins: Connect the
D/CandRSTpins to any available digital pins on the Arduino. - Touchscreen Pins: If using the touchscreen functionality, connect the
T_CSandT_IRQpins to additional digital pins.
Example Arduino Code
Below is an example of how to initialize and use the Adafruit 2.8inch Resistive TFT with an Arduino UNO. This example uses the Adafruit GFX and Adafruit TFTLCD libraries, which must be installed via the Arduino Library Manager.
#include <Adafruit_GFX.h>    // Core graphics library
#include <Adafruit_TFTLCD.h> // Hardware-specific library for the TFT

// Define pin connections
#define LCD_CS A3  // Chip Select
#define LCD_CD A2  // Command/Data
#define LCD_WR A1  // LCD Write
#define LCD_RD A0  // LCD Read
#define LCD_RESET A4 // Reset

// Initialize the display
Adafruit_TFTLCD tft(LCD_CS, LCD_CD, LCD_WR, LCD_RD, LCD_RESET);

void setup() {
  tft.reset(); // Reset the display
  tft.begin(0x9341); // Initialize with the ILI9341 driver ID

  // Set rotation and clear the screen
  tft.setRotation(1); // Landscape orientation
  tft.fillScreen(0x0000); // Clear screen (black)

  // Display a message
  tft.setTextColor(0xFFFF); // White text
  tft.setTextSize(2);       // Text size
  tft.setCursor(10, 10);    // Set cursor position
  tft.println("Hello, TFT!");
}

void loop() {
  // Add your code here for interactive functionality
}
Best Practices
- Ensure the power supply voltage matches the display's requirements (3.3V or 5V).
- Use level shifters if interfacing with a 3.3V microcontroller.
- Avoid applying excessive pressure on the resistive touchscreen to prevent damage.
- Use the Adafruit GFX library for advanced graphics and text rendering.
Troubleshooting and FAQs
Common Issues
Blank Screen:
- Ensure all connections are secure and match the pin configuration.
- Verify that the correct driver ID (e.g.,
0x9341) is used in the code.
Touchscreen Not Responding:
- Check the
T_CSandT_IRQconnections. - Ensure the touchscreen library is correctly installed and initialized.
- Check the
Distorted Graphics:
- Verify the SPI clock speed is within the display's supported range.
- Check for loose or incorrect wiring.
Flickering or Dim Backlight:
- Ensure the power supply can provide sufficient current (~100mA).
- Check the backlight control circuit if applicable.
FAQs
Q: Can this display be used with a Raspberry Pi?
A: Yes, the Adafruit 2.8inch Resistive TFT can be used with a Raspberry Pi. However, you will need to configure the SPI interface and install the appropriate libraries.
Q: Is the touchscreen multitouch capable?
A: No, the resistive touchscreen supports single-touch input only.
Q: Can I use this display outdoors?
A: While the display can operate in a wide temperature range, it is not sunlight-readable and should be protected from direct exposure to the elements.
Q: What is the maximum SPI clock speed supported?
A: The display typically supports SPI clock speeds up to 40MHz, but this may vary depending on the microcontroller and wiring quality.
By following this documentation, you can successfully integrate the Adafruit 2.8inch Resistive TFT into your projects and take full advantage of its features!