How to Use GT-24 Front: Examples, Pinouts, and Specs
Introduction
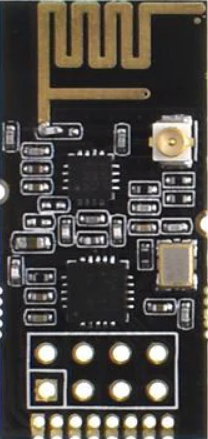
The GT-24 Front is a versatile front panel designed for electronic devices, serving as the primary interface for user interaction. It typically houses controls such as buttons, knobs, and switches, as well as displays and connectors for input/output operations. The GT-24 Front is widely used in consumer electronics, industrial equipment, and custom-built projects where a robust and user-friendly interface is required.
Explore Projects Built with GT-24 Front


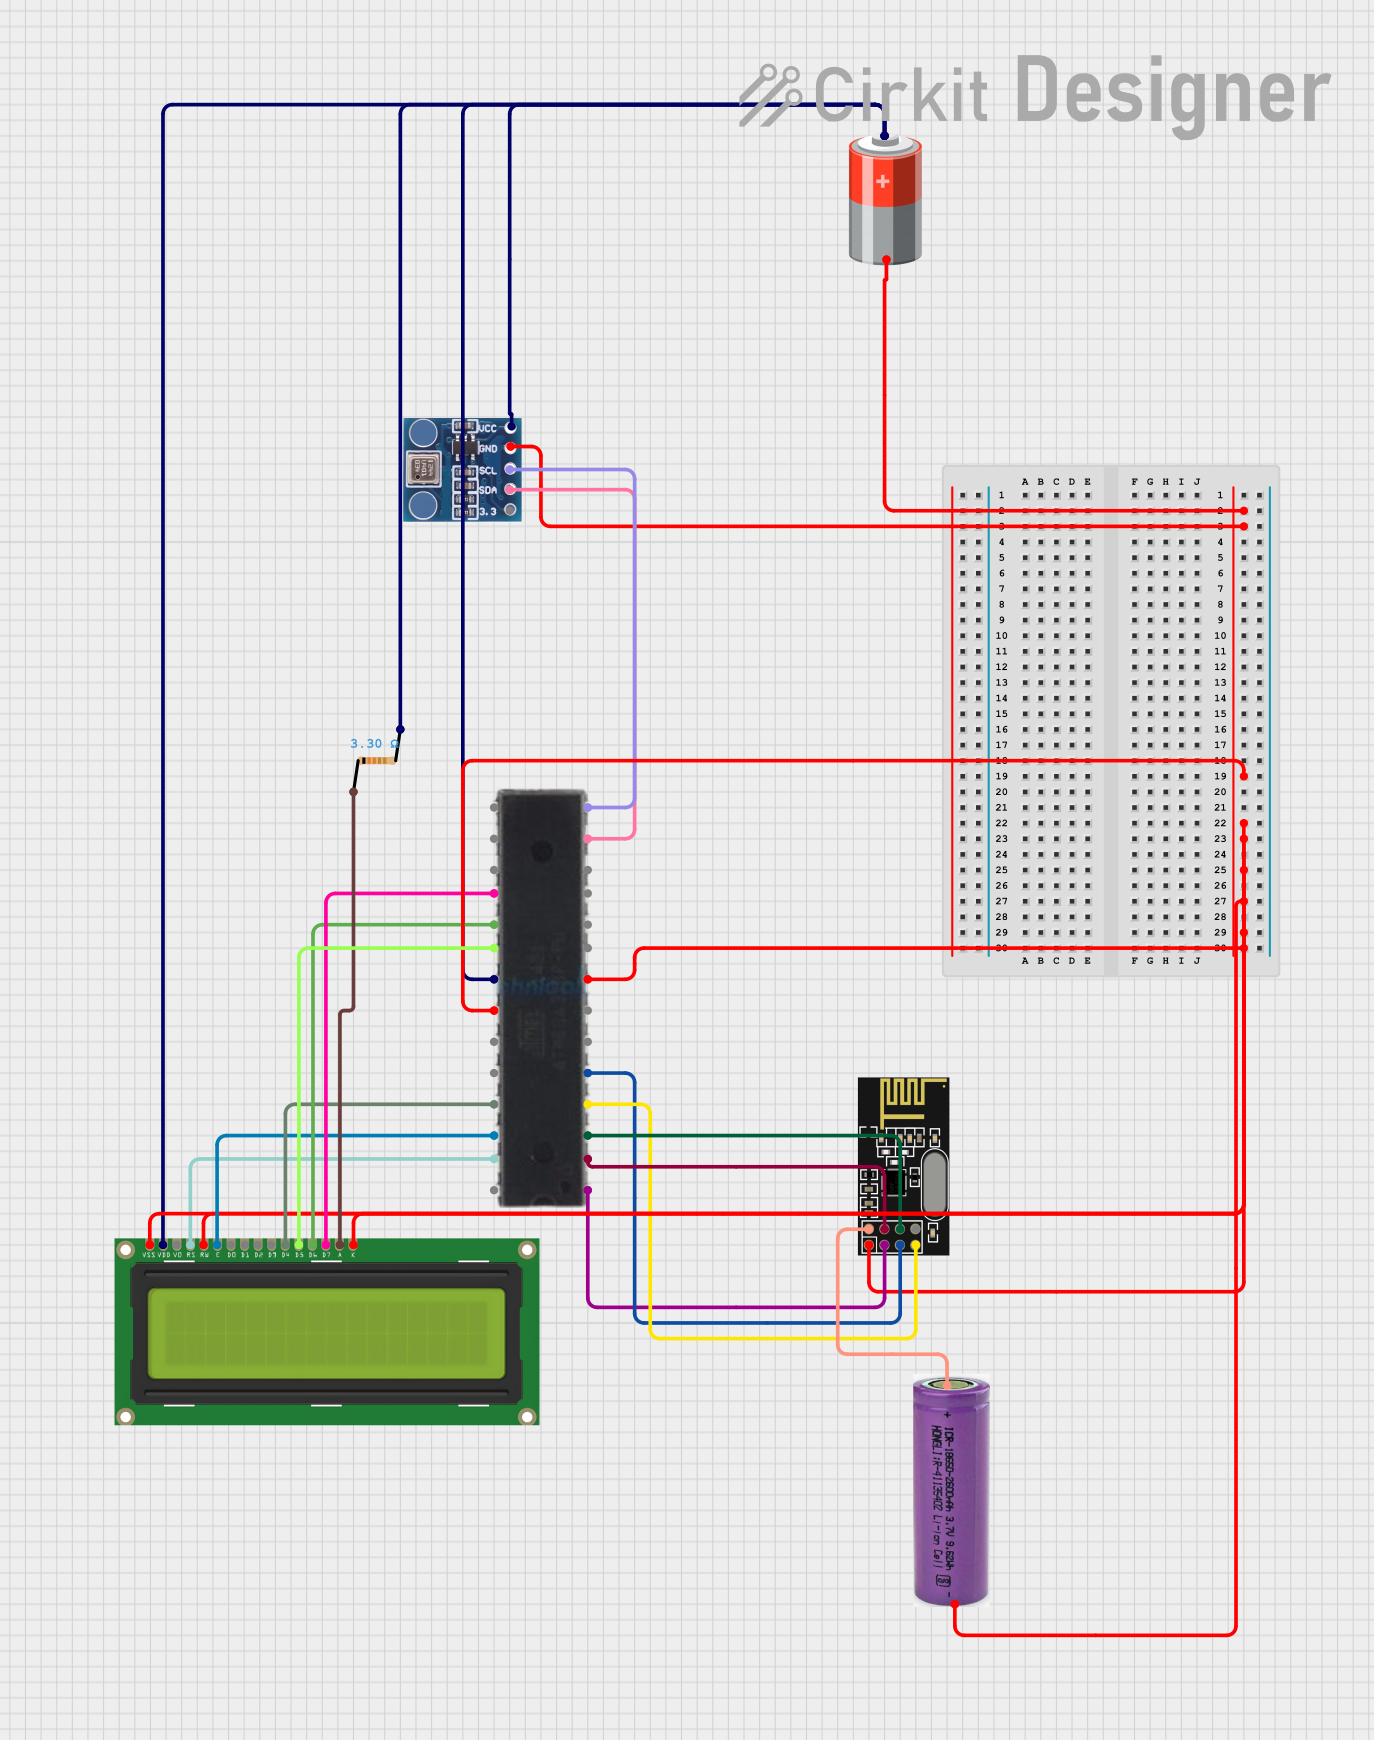
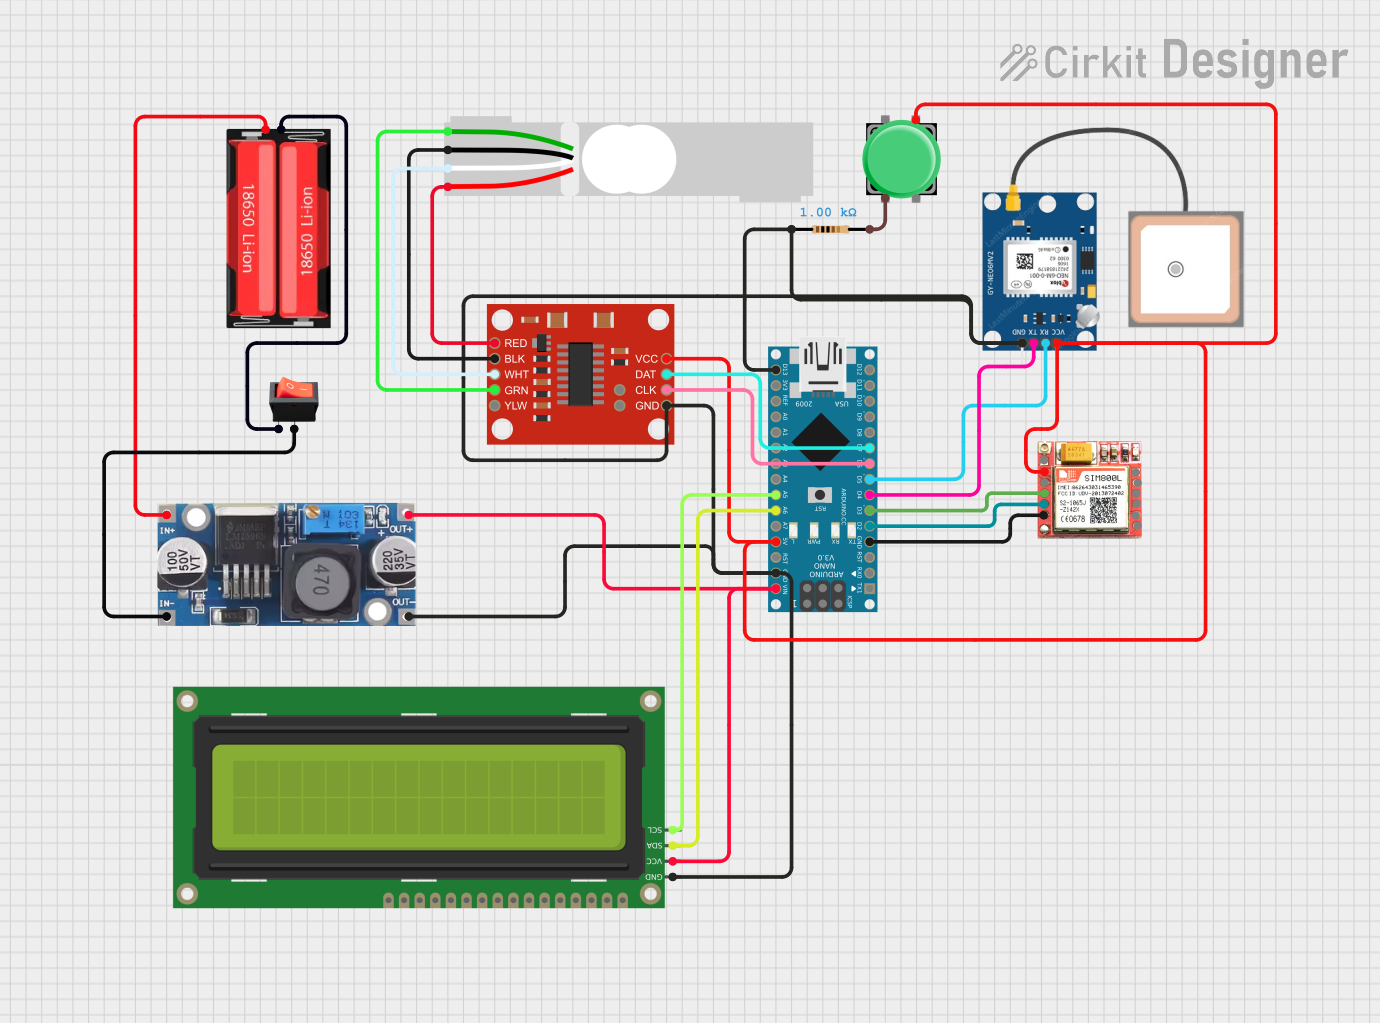
Explore Projects Built with GT-24 Front
Common Applications and Use Cases
- Consumer Electronics: Used in audio systems, home appliances, and entertainment devices.
- Industrial Equipment: Serves as the control interface for machinery and monitoring systems.
- Custom Projects: Ideal for DIY electronics and prototyping where a professional front panel is needed.
- Test and Measurement Devices: Provides a clean interface for oscilloscopes, multimeters, and other instruments.
Technical Specifications
Key Technical Details
- Material: High-grade ABS plastic or aluminum (depending on the model variant)
- Dimensions: 150mm x 80mm x 20mm (L x W x H)
- Weight: 120 grams
- Mounting: Screw-based or snap-fit options available
- Connector Cutouts: Predefined slots for USB, HDMI, and 3.5mm audio jacks
- Display Compatibility: Supports LCD and OLED displays up to 2.4 inches
- Operating Temperature: -20°C to 70°C
- Color Options: Black, White, and Silver
Pin Configuration and Descriptions
The GT-24 Front itself does not have electrical pins but includes predefined slots for connectors and displays. Below is a table describing the common cutouts and their purposes:
| Cutout/Slot | Description |
|---|---|
| USB Type-A/B Slot | For connecting USB devices or power sources. |
| HDMI Port Slot | For video and audio output connections. |
| 3.5mm Audio Jack Slot | For headphone or microphone connections. |
| LCD/OLED Display Slot | Designed to fit a 2.4-inch display module for visual output. |
| Button/Knob Mounts | Circular or rectangular cutouts for mounting buttons, rotary encoders, or knobs. |
| Ventilation Grills | Slots for airflow to prevent overheating of internal components. |
Usage Instructions
How to Use the GT-24 Front in a Circuit
Mounting the Panel:
- Secure the GT-24 Front to your device's enclosure using screws or snap-fit mounts.
- Ensure alignment with internal components such as displays, connectors, and buttons.
Installing Components:
- Insert the display module into the designated slot and secure it with screws or adhesive.
- Attach connectors (e.g., USB, HDMI) to their respective cutouts and fasten them in place.
- Mount buttons, knobs, or switches into the provided slots and connect them to the circuit.
Wiring:
- Route wires from the internal circuit to the connectors and controls on the GT-24 Front.
- Use cable ties or clips to organize wires and prevent tangling.
Testing:
- Power on the device and test all controls, connectors, and the display for proper functionality.
- Verify that the panel is securely mounted and all components are accessible.
Important Considerations and Best Practices
- Compatibility: Ensure that the GT-24 Front's dimensions and cutouts match your device's requirements.
- Heat Management: Use the ventilation grills effectively by aligning them with internal heat sources.
- Durability: Avoid excessive force when mounting components to prevent damage to the panel.
- Customization: If needed, modify the panel carefully using appropriate tools to add custom cutouts.
Example: Connecting a Display to an Arduino UNO
If you are using the GT-24 Front with a 2.4-inch LCD display and an Arduino UNO, follow these steps:
- Mount the LCD display into the GT-24 Front's display slot.
- Connect the LCD's pins to the Arduino UNO as per the display's datasheet.
- Use the following sample code to test the display:
#include <Adafruit_GFX.h>    // Include the Adafruit graphics library
#include <Adafruit_TFTLCD.h> // Include the Adafruit TFT LCD library

// Define pin connections for the LCD
#define LCD_CS A3  // Chip Select pin
#define LCD_CD A2  // Command/Data pin
#define LCD_WR A1  // Write pin
#define LCD_RD A0  // Read pin
#define LCD_RESET A4 // Reset pin

// Initialize the LCD object
Adafruit_TFTLCD tft(LCD_CS, LCD_CD, LCD_WR, LCD_RD, LCD_RESET);

void setup() {
  tft.reset(); // Reset the display
  tft.begin(0x9341); // Initialize with the display's driver ID

  tft.fillScreen(0xFFFF); // Fill the screen with white
  tft.setCursor(10, 10);  // Set the cursor position
  tft.setTextColor(0x0000); // Set text color to black
  tft.setTextSize(2);      // Set text size
  tft.println("GT-24 Front Test!"); // Display a test message
}

void loop() {
  // No actions in the loop for this example
}
Troubleshooting and FAQs
Common Issues and Solutions
| Issue | Possible Cause | Solution |
|---|---|---|
| Components do not fit into the cutouts. | Incorrect panel variant or dimensions. | Verify the panel's dimensions and order the correct variant if needed. |
| Display not functioning after mounting. | Loose connections or incorrect wiring. | Check all connections and ensure proper wiring as per the display's datasheet. |
| Panel feels loose after installation. | Improper mounting or missing screws. | Recheck the mounting process and tighten screws securely. |
| Overheating of internal components. | Poor ventilation or blocked airflow. | Ensure ventilation grills are unobstructed and align with heat sources. |
FAQs
Can the GT-24 Front be customized?
- Yes, the panel can be modified using tools like a Dremel or laser cutter for additional cutouts.
What displays are compatible with the GT-24 Front?
- The panel supports LCD and OLED displays up to 2.4 inches. Ensure the display's dimensions match the slot.
Is the GT-24 Front weatherproof?
- No, the panel is not weatherproof. For outdoor use, additional sealing or enclosures are required.
Can I use the GT-24 Front with a Raspberry Pi?
- Yes, the panel can be used with a Raspberry Pi, provided the connectors and display are compatible.
By following this documentation, you can effectively integrate the GT-24 Front into your electronic projects, ensuring a professional and functional user interface.